https://www.youtube.com/watch?v=SGDKPuz1hx8
2023-06-14 18:16:35
How to Smoke Brisket _ Mad Scientist BBQ
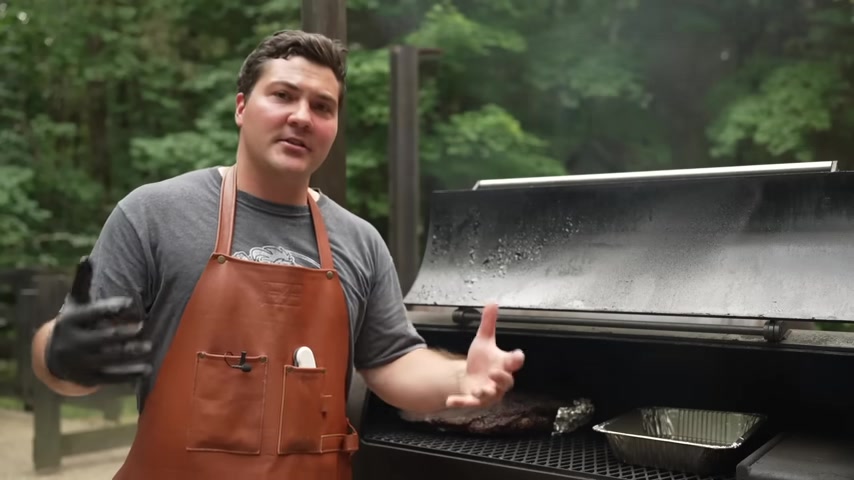
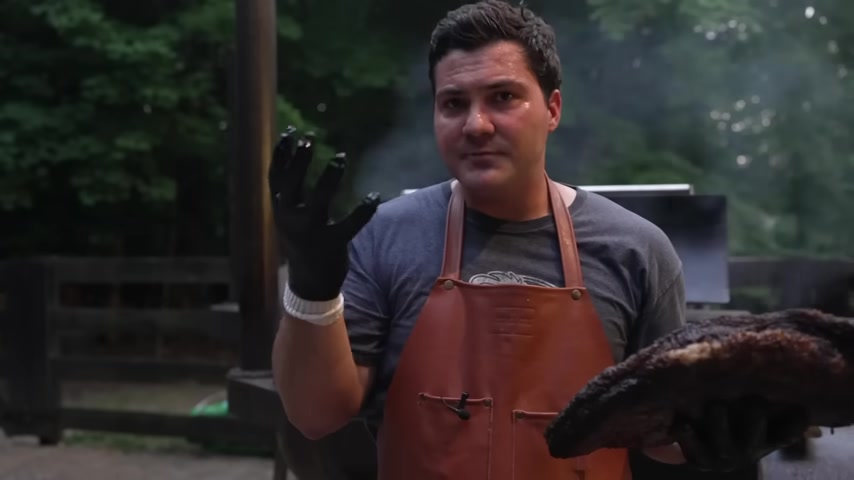
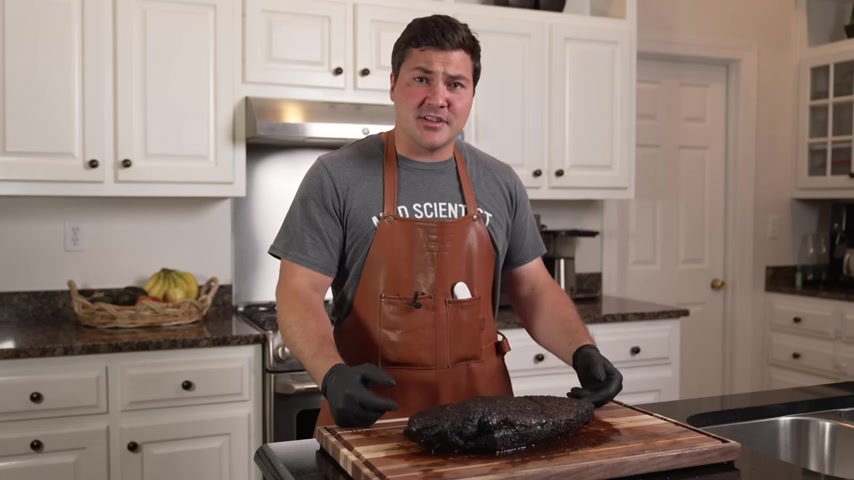
Hey guys , welcome to Mad Scientist barbecue .
I'm Jeremy O and today we are cooking the king of barbecue items .
I'm gonna show you how to smoke a brisket .
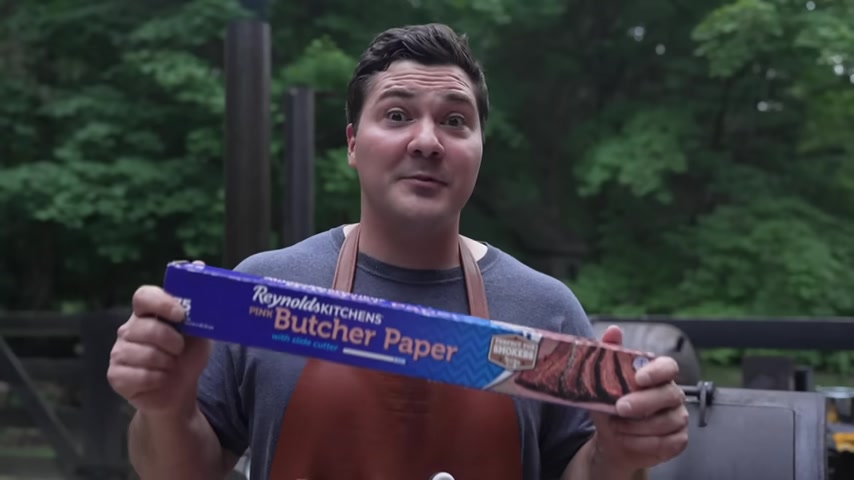
I'm thrilled to be partnering with Reynolds kitchens and featuring their butcher paper because it is a crucial element in this cook .
If you guys have been watching this channel for a while , you know that I already have a how to smoke brisket video out there and you may be thinking , well , why are you making another one ?
Well , the reason is really simple as I learn more .
I want to share that with you guys .
So I've learned new tips and tricks and techniques to really improve the process and I want to give them all to you today .
There are going to be no secrets .
Everything I know you are going to know .
So the first step in smoking a brisket is you have to go get , I recommend this .
Get the highest quality of meat that you can afford .
So if you can afford getting prime , get prime , if you can afford getting choice , get choice and then if you just absolutely have to get select , but the difference in meat quality really shows up at the end .
So it will pay off in the end to have a better product that's going to be juicier .
There's gonna be more fat .
It's just gonna be a nicer bite in the end .
So , very best you can .
We're cooking choice today because I couldn't find prime anywhere near me .
But the process is exactly the same whether it's choice or prime .
Just follow these steps to get a great brisket .
Now I'm going to give you a lot of information .
So if you want to grab a pen and paper or you want to take a note on your phone and start writing down all the steps and all the different things about how I'm going to do this process .
I would recommend you do that .
Now .
Wow .
Next , you need a knife .
This is a six inch bony knife .
These are not expensive .
I don't recommend getting the expensive ones because as you can see , we're doing this outside if it falls here on the concrete and I have a $200 custom made knife .
Well , that really is going to sting .
But if I have these , they're easy to use , they come razor sharp and they're cheap , you know , simple handle .
You can put them in the dishwasher , it does everything you need it to do and you don't have to break the bank to get it .
So I'll put a link for that in the description as well .
Now , let's get this package open and we'll talk about trimming just a little bit .
Let me tell you about the things I'm looking for .
When I select a brisket first , we want a nice thick flat because it's leaner there and it's going to need to be thick to really protect it .
So we're actually going to trim off the parts of the flat that are too thin .
We'll talk about that more in a second .
Also , bald spots , we don't want a bunch of big bald spots on the top of the brisket .
If you're ordering brisket , that's going to get mailed to you .
Sometimes you can't really avoid it but try to avoid it .
This one has a tiny little walt spot shouldn't be a big deal .
One last thing about selecting briskets is generally speaking , smaller briskets , something like , you know , 11 12 £13 .
I prefer two bigger briskets , two reasons they cook more quickly .
Also , there's a greater surface area to volume ratio .
So you get more flavor on the outside per bite .
So if you have a humongous brisket , you think only that outside surface can absorb smoke and you know , the flavorings of the rub is going to sit on top of there .
But if you have something that's smaller , you have more surface area in each bite .
So you get a more flavorful bite and you think that you're a better brisket cook , but you just chose a smaller brisket .
So I would advise you to choose one that's small enough , but it's got a thick enough flat that it's going to cook really well .
So that's what I'm thinking when I'm looking for briskets and then beyond that , we just got to trim it .
One other note is you want to trim a brisket as cold as possible .
Sometimes it's even helpful to take it , put it in the freezer for 10 , 15 minutes to get the fat as hard as possible .
Because when that fat softens up , it's more difficult to cut through , you're more likely to cut yourself .
Basically trim it as cold as possible .
Normally , when I trim a brisket , it's colder than this .
So this fat actually started to soften up a little bit but filming a video takes time and they don't always look like this , but trim your is as cold as possible .
I know this video is going to be long enough already .
So I don't want to make it even longer by doing a bunch of explanation on exactly how I trim .
If you're interested in exactly how I do it .
Step by step .
I'll put a link for a video how to trim a brisket and it shows you the method I use .
But basically , we want to trim off anything that's thin .
We want to get a quarter of an inch of fat on the fat side .
Here .
We want to clean up the bottom side So we have exposed meat .
So we have great bark and great flavor that we're creating there .
And then we want to take off any of this really hard fat .
So we can kind of even up one side to the other because brisket is a really uneven cut .
So the more even you make it , the more evenly it will cook .
So let's get to trimming and ok , we're trimmed up and we're going to season .
But one note is I've been setting aside all my trimmings .
We are not going to waste those .
I'll show you what to do with those later today .
We're seasoning with just salt and pepper .
A 50 50 mix .
So one cup of salt , one cup of pepper , it's not by weight .
Now , the salt that I'm using is diamond crystal .
It's less dense than Morton's Kosher salt .
So keep that in mind .
So if you use Morton's , your mix is going to be saltier than mine .
You don't want to over salt meat thinking that it's going to look exactly the same .
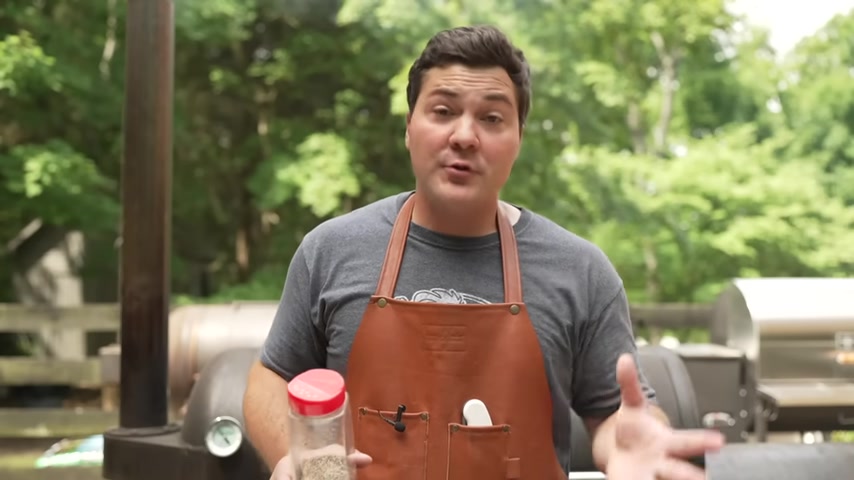
If you're using a more dense salt as for the pepper , you can go to Restaurant Depot and get a big jug like this .
But my favorite pepper is one called Monterey Bay .
It's on Amazon .
If you guys buy it all , I'm going to be upset , but it's in my opinion the best .
So I'll put a link for that in the description as well as for commercial rubs there are a lot of great ones out there .
You can find the one that you like .
The best .
One other thing you might consider is Lowry , seasoned salt .
This is really good stuff that's found in basically every central Texas barbecue kitchen people have been using it for years .
I've tried it myself .
It's really nice .
But I like the simplicity of salt and pepper .
So that's what we're going with today .
Let's season this thing up .
Some people use mustard as a binder or they'll thin it out with some vinegar or pickle juice or something like that .
And I've tried it .
I do think it does help with the bark .
But if you're doing everything else right , you don't need some help with the bark because you're going to form great bark without it .
Now , let's get this thing on and start making that bark .
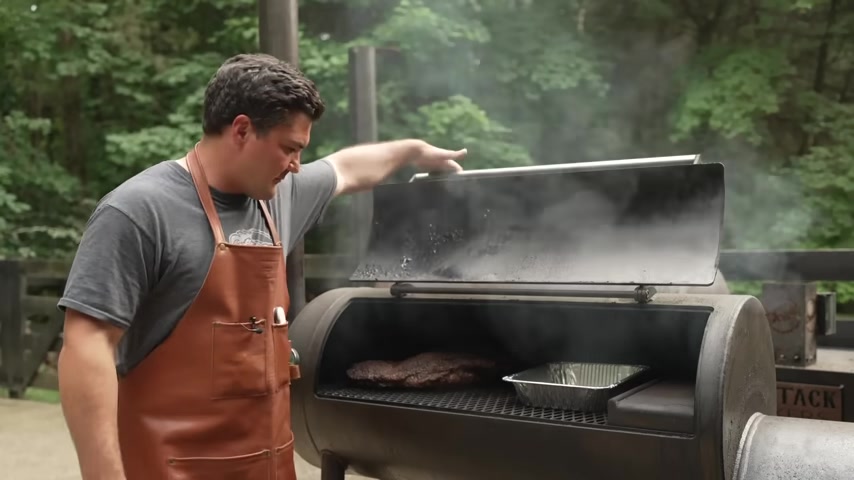
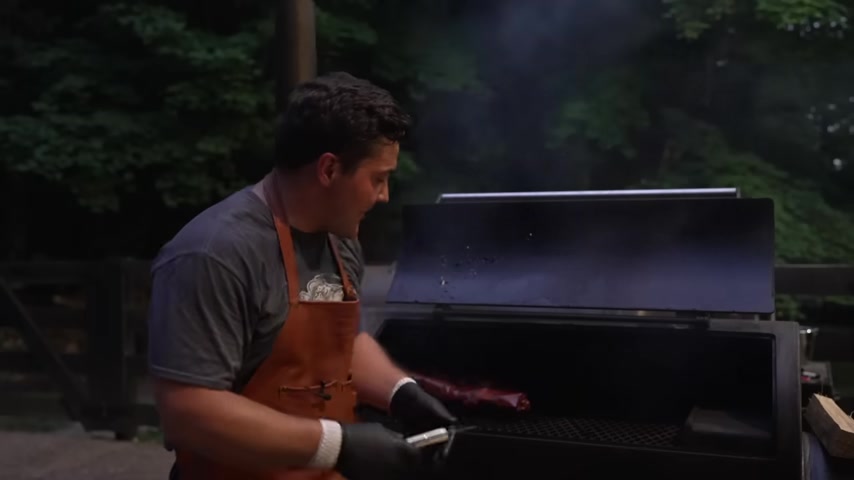
We're going to put the brisket on as far away from the fire as possible with the point or thicker part facing the fire .
As you can see , I like to orient it slightly to the side so that the part where it's all fat is facing the fire .
So everything on the opposite side gets protected .
But let's close this up and get to cooking .
As you can see , we're cooking on the Franklin pit today and we're going to talk about exactly the method in just a second .
But this is a gorgeous little cooker .
And if you would like to have one .
You can join Patreon .
I'm giving this away in our July contest .
So if you go sign up on Patreon , anyone can enter the win .
It's very simple .
And this one could be yours because look , I have got a ton of smokers and it would make me way happier if somebody who would use this thing and cherish this thing and put it to work every weekend and has it instead of rusting in my driveway .
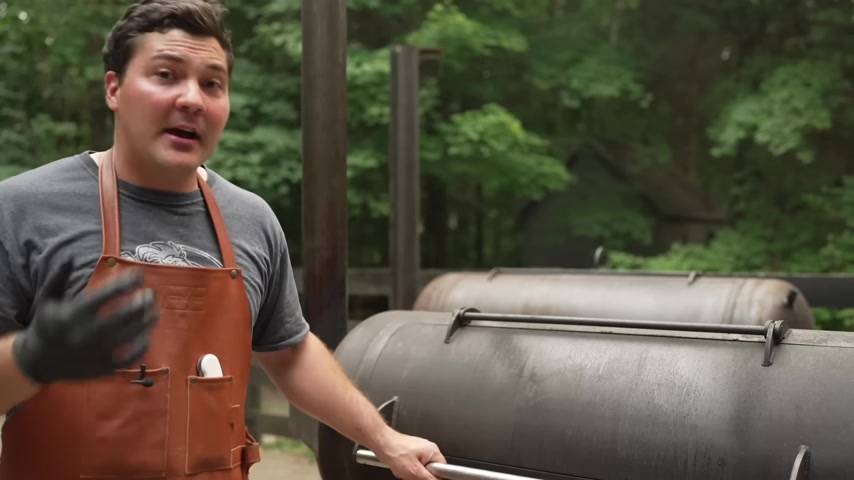
So if you want to win it , check out Patreon , let's talk about the cooking process .
I'm going to start out at about 200 degrees .
And this is something that I've changed in how I cook briskets because the brisket is going to absorb the most smoke flavor when it's at a colder temperature .
So , during those first few hours when it's at a low temperature , I want to blast it with a lot of smoke flavor .
So I don't want the smoke to be super dirty , but I want to be able to see it .
So the traditional thing , blue smoke is good if you're burning your fire so clean that all you see is wavy heat .
Well , if you're finishing off briskets , great , you're being super efficient in how you burn the fire .
But if you're trying to flavor that brisket with smoke flavor , it's a little too clean .
I find because I've done experiments where I used a 500 gallon pit and another 500 gallon pit in one , I had huge chunks of logs like this and burned intentionally a dirty fire in the other .
I had little tiny splits that would be even too small for this pit and I would just feed them in there .
And I saw like , not a wisp of smoke for the entire cook .
The food cooked with a dirtier fire tasted better .
Now , you can go overboard .
I've tried that too .
I was like , how far can you take this ?
You can put on too much dirty smoke flavor and it kind of tastes bitter .
So that is a real thing .
But a mistake that I've been making for a long time is burning a fire that was too clean and I hope this tip helps you get better and more smoke flavor .
So to recap , we're going to do three or four hours at 200 degrees .
Relatively dirty smoke .
It's not going to be super clean for about three or four hours .
At that point , we're going to open it up .
Take a look and see what we do next .
We're probably going to bump up the temperature to start rendering fat and get this thing to the place we can wrap it and finish it off .
Now , to illustrate what I'm talking about about the right amount of smoke flavor .
I'm going to show you three different examples of the smoke coming out of the stack in the beginning when we're trying to lay on that smoke flavor .
It's super critical .
It doesn't work if you try to do it later .
I have tried it both ways .
So I thought , let me burn a clean fire in the beginning , then dirty it up in the end to try to add smoke flavor doesn't work .
But if you do it in the beginning , then you don't have to worry about doing it at all later because you've set that bark and you've set that smoke flavor in place .
So I'm gonna give you three examples .
One is too clean .
One is just right for what we're doing right now .
And then one is in my opinion , too dirty .
It kind of gives you a little bit of enough flavor right here .
We have example , one , this is too clean .
Yeah .
Second example just right .
For the third example , I'm going to have to put in a piece of wood that's obviously too big .
So I'll put it in , I'll show you smoke .
If it's too dirty , then I'm gonna take this back out .
OK ?
And that is too dirty .
So the difference that I look for between the second example and this example is the second one you see kind of blue smoky stuff coming out here .
It's , it's white and billowing .
This is too much that blue , but you actually see it is just right now that we have the meat on .
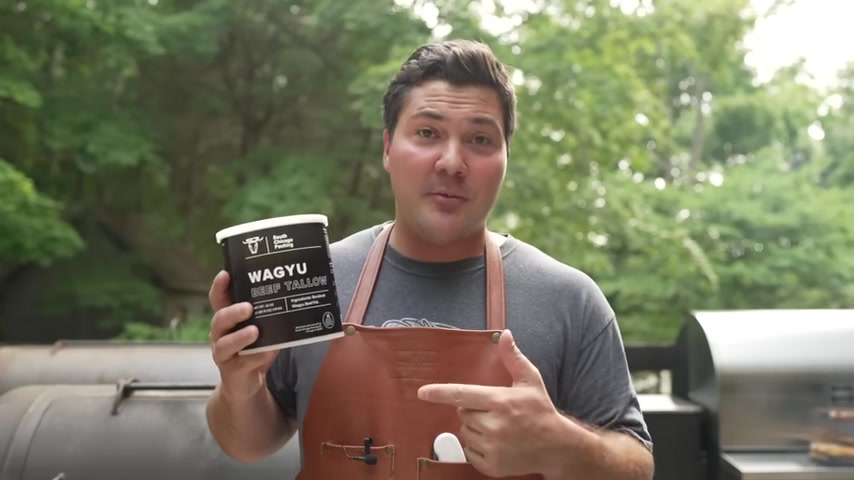
It's time for our secret weapon .
Wa you beef tallow .
Now when I made a video about using tallow to wrap briskets .
There were kind of two camps of people .
Half the people said , you know what that makes sense and half the people said , you know what , you're a moron , you have no idea what you're talking about .
There's no way that any of those places in Texas use beef .
Tallow .
Well , I think over the course of the last probably 18 months , it's kind of come out that yes .
In fact , places do use beef tallow .
I just happen to think that the wa you beef tallow is the best .
What I did to come to this one is I bought all the tallow .
This one just had a different texture , a different , you know , consistency and I tried a bunch of them out .
This one was the best .
This is what we're going to use , but we're not just going to use this .
We're going to smoke it first because there are some compounds that will dissolve in water , some compounds that will dissolve in oil .
And so some of the smoke flavors that we're producing are going to dissolve better in fat than they will in water based stuff like meat .
So I want the full spectrum of smoked flavor to cover the whole brisket .
So we're going to smoke the tallow , put it in there , let it smoke along with the brisket .
I'm gonna take it out probably an hour before I want to wrap the brisket so it kind of cools into a semi solid again , then I'll show you exactly what we do with it during the wrap .
This is a very complicated process .
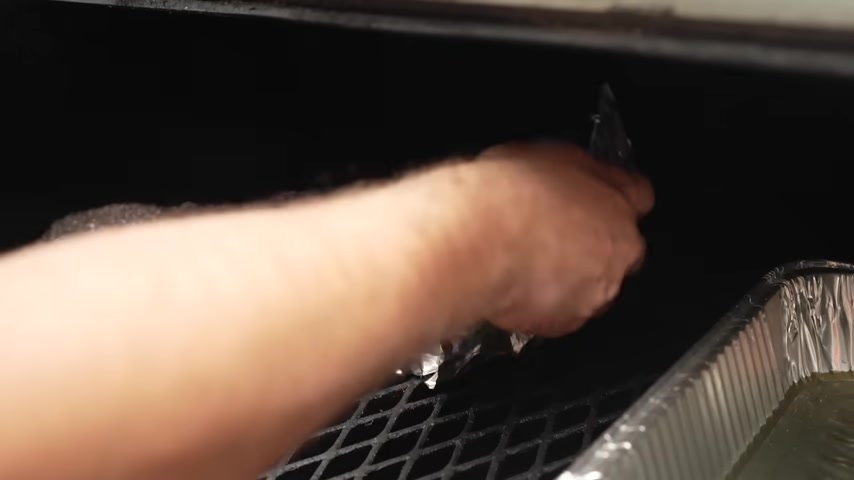
Remove lid scoop in tallow for one brisket .
We probably need , I don't know , something like three scoops , but I don't ever want to run short .
So four scoops .
Now , when this melts it's going to be clear .
But after it gets smoked , it's going to be this kind of golden amber brown that tells me that it's absorbed a bunch of the smoke flavor , which is the whole reason we're smoking in the first place .
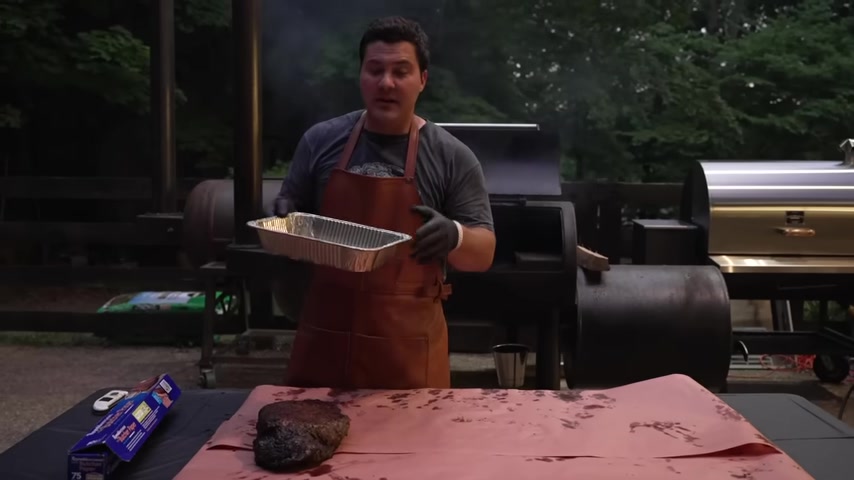
One last thing is you can take those trimmings that you trimmed off the brisket and if you're not going to use it for sausage or burgers or something like that , you can put them in a tray , put them in a smoker and allow that to render into tallow two .
That's totally fine .
I think this is better , but I have a different purpose for the fat that we trimmed off earlier .
I'll show you that in a second .
It's been a little bit over four hours since we put this brisket on .
So let's take a peek and see how we're doing with bark and color at this point .
I'm pretty happy with it .
It's looking pretty good , but it's not quite as dark as I would like because we want it to be almost black .
So we're gonna keep on , but I'm going to bump the temperature up to about 2 25 .
So we can really start rendering the fat and still add some color to the outside .
At this point , we're gonna put some of that fat we trimmed off to use .
It's going to do a few things for us .
We're gonna put it on the fire .
It's gonna flavor the meat inside .
It's going to produce a little darker color and bark on the outside .
And then the third thing is it's going to help us up the temperature a little bit to 2 25 .
But be very careful .
This can get away from you .
You can have big temperature spikes .
So don't go nuts .
Just add a little bit at a time if you want to do this .
And this is a trick I learned from Leonard at Truth Barbecue and if you've ever had their stuff , it is unbelievably good .
So kind of a unique tip or trick that can help give you a different kind of flavor .
So if you've ever grilled burgers , you know that aroma that I'm talking about and you put this on 30 seconds later , you're already smelling it .
All right .
It's been about 5.5 hours since we put this on .
So let's take a look and see how we're progressing .
We're looking really good .
I still think I want more color and I want to make sure that the fat renders , but we'll talk about that in a little bit .
Right now , I'm seeing a couple spots where it's a little drier on the outside than I would like it to be .
So part of that is how they cut it when they process it .
But there's one little spot right here that I want to protect .
You may have noticed that I haven't been spraying at all .
And one thing I've discovered is I generally don't like to spray , I spray ribs because I want the outside surface to stay soft .
But with this , I want to take it a little crunchier because after we wrap it , it's going to soften up and it's going to be glorious .
So to protect that , rather than getting over here every 30 minutes and opening up the cooker and spraying , I just take a small piece of foil and cover that spot and it works like a charm a lot of times on really big smokers say 500,000 gallon , they'll put a couple of logs in front of the brisket , they call them shield logs .
And that's just because there is so much air flow in those that it really beats up the surface of the brisket that's facing the fire doing it on a smaller smoker .
You probably don't need it if you want to , you can do it .
It's really easy .
You just take a piece of wood and put it one inch in front of the brisket and it still get smoke .
Flavor everywhere but that front side gets protected .
Mhm .
Ok .
6.5 hours into this cook .
Let's take a look at this and see how we're doing .
We're looking for the bark , we're looking for fat render , we're looking for color .
So let's see , bark is starting to form .
The color is pretty good .
The color is basically there but this fat that I poke right here , it , it doesn't want to give yet .
Once you put the brisket on when it's cold , the fat is kind of soft as it cooks as it gets to , you know , 100 and 40 degrees or so it gets hard like a rubber ball and it's , it's bouncy .
You don't want that .
What you want with fat render is you want to take your finger , be able to poke the fat and your finger just sinks into it like jello .
So imagine , you know , a jello square that you would give to a kid .
The , the level of force needed to poke through that is what you want with this fat on top .
And when you do that , it is absolutely magical .
So what I'm gonna do to render the fat is dial up the temperature one more time to 2 50 .
So we started low at 200 just trying to build in smoke flavor and build bark .
We bumped up to 2 25 because we want the cook to start progressing .
We want to get closer to wrapping and at this point , we want that fat to render .
So we want to go to 2 50 on a backyard smoker , I generally wouldn't go above 2 50 .
You can go to 2 75 if necessary .
But on those big cookers , a lot of times 2 75 is , you know , totally fine .
I don't know exactly why , but on big smokers you can cook at higher temperatures without burning things in comparison to small smokers .
So this , I'll put to 2 50 just to get that fat nice and rendered .
And then when it's time to wrap , we're going to talk about the things that you're gonna look for to wrap , to wrap .
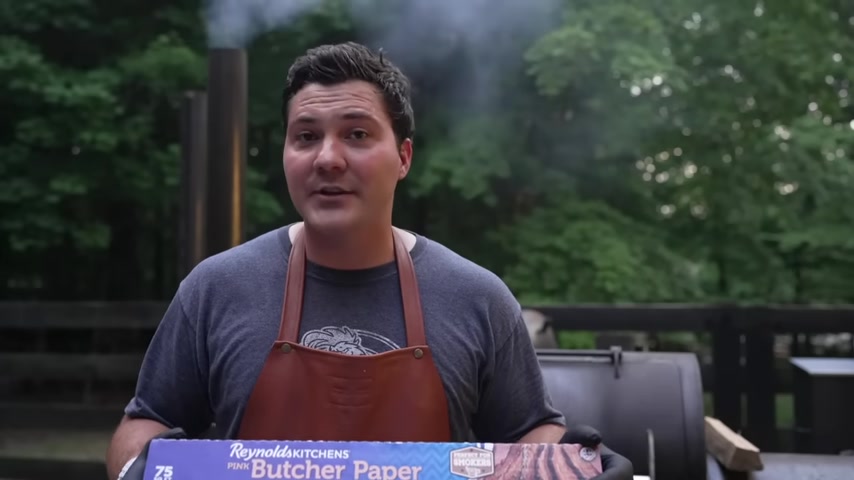
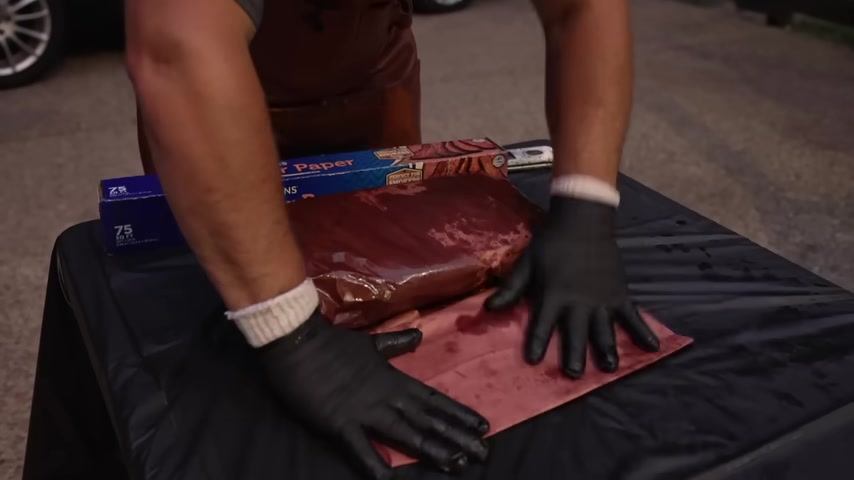
Today , we're gonna be using Reynolds Kitchen's butcher paper .
Now , this is a super convenient product .
Two things about this .
The first is butcher paper is a wonderful tool .
I use it to wrap my briskets .
I use it to wrap my ribs .
It's a superior method I think to leaving it unwrapped completely .
Even in an offset smoker .
I think it's super to a foil boat .
I think it's superior to just wrapping completely in foil .
It's because it preserves the bark , but it softens everything up .
So you don't have any hard crusty bits that you have to gnaw on when your brisket is done .
And for pork ribs , I think it's the perfect vehicle to put some smoked lard in there to wrap your ribs up .
Then you get the most tender , most juicy ribs .
My mouth is watering , even thinking about it .
Even though I've been cooking barbecue all day .
Then the other super convenient thing about this is these were the geniuses who put a slide cutter on a box of butcher paper .
I don't know how many times I've been outside .
It's five in the morning and for some reason , right , then the wind picks up and I have this unruly roll of butcher paper and I'm trying to cut it and it just doesn't work .
And I , oh , it's so frustrating .
If you want to avoid all that , just do this .
You slide out what you need , cut it and it's the perfect length .
You don't have to have these jagged edges where you rip it and it's all messy .
This does a perfect job every time .
And besides that , I use butcher paper for all kinds of things .
You guys seem to use it as a blindfold it to make lists .
I write notes on butcher paper all the time .
I don't know .
It just feels more rustic and cool to use butcher paper for other other purposes when it comes to low and slow barbecue , butcher paper is king .
All right .
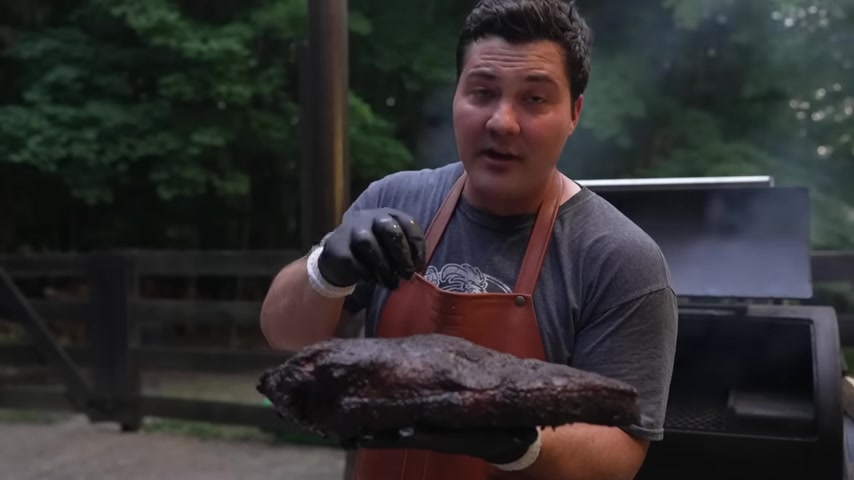
It's coming up on the eight hour mark since you put this thing in and I think it's ready to wrap .
But let me show you what it looks like .
Oh , yeah .
Oh , yeah .
This is everything right now .
Well , look at this beauty .
This is what barbecue is all about .
Oh man , that smell .
Jeez .
This is what barbecue is all about and it's also about sweating because it's super hot out here even at night .
So yeah , this is perfect .
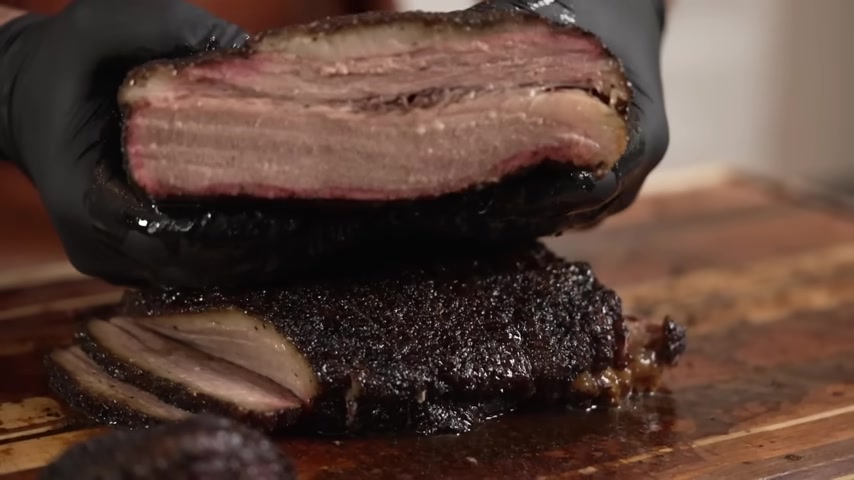
So if you guys want to know what I'm looking for when it's time to wrap , there are a couple of things .
First is color .
This has the color looks kind of like a meteorite .
That's exactly what we're after .
The second thing is fat render .
So when I poke into the fat , it just gives like my finger just sinks in , just falls right in like jello .
So that's also something that's really important .
The next thing I'm looking for is I need this thing to shrink in size because this needs to sweat out enough water so that when I wrap it up , it doesn't fill the wrap with too much water and wash away the bark that we worked so hard to create .
Next is temperature .
A lot of people focus on only temperature .
They'll say you take your brisket to 165 and at that point , you wrap .
No , no , no , no , definitely not .
So I'm gonna take my handy thermo pen and see what the temperature is .
1 78 and back there , 1 76 if you can read this greasy thermometer .
So the 165 rule I think is a myth .
You need to sweat out more water .
You need to concentrate the flavor of the beef .
And at that point when it's met all those criteria and nothing is burned .
This is all soft .
This is gonna be awesome .
So based on all those things , temperature last , this thing is ready to wrap .
Oh , I forgot .
One other , one other clue is when this pocket of fat right here , kind of bubbles out and kind of sticks out from the meat .
Then I know it's getting ready to wrap because the meat has shrunk enough because at first those proteins coagulate and the meat gets really tight and then the meat shrinks as it sweats out water and evaporative cooling takes place .
So it remains in the stall for a long time .
So the heat entering the brisket is equal to the heat , leaving the brisket because the brisket is essentially sweating just like I am right now .
The only difference is it was cooling off and I'm not .
So when I see this stick out , it means that this meat has pulled back and this guy is ready to go .
So I'm going to wrap it up in butcher paper .
I'm going to add some of the smoked tallow .
And we are going to wait for this thing to get tender .
One other thing is if you measure the temperature inside the brisket , probably going to be in the 170 maybe 180 at this point .
But if you measure just the fat , if you get the probe just underneath the fat , most of the fat is between two and five and 210 that's why it renders .
And so you have the heat on top or if you're doing this on a pellet grill or something like that , where the heat is coming from , put the fat in that direction .
Um Right now we got our wa you tallow .
It's a golden color .
It used to be white , but it's golden because it absorbed that smoked flavor .
So we're going to be adding even more smoke flavor and moisture to this brisket .
So we put the brisket on fat side down and we're going to cover the meat side with tallow , we put the fat side down because it's already covered in fat .
It doesn't need more fat .
But what the meat side needs is fat because you heard me say it , once me say it 10 million times what you perceive as moisture is usually rendered fat .
We've all had a pot roast where it's sitting in water and then you take a bite and it's dry and stringy because what you want is rendered fat , that's gonna be really juicy .
It's like a well marbled steak .
It's going to be juicy .
Why ?
Because the fat is rendered and it kind of coats the inside of your mouth and it's a delightful experience .
So we're gonna put this on .
So I bring up a slate lip roll over once .
Now it's fat side up , fold in the side and it goes slightly in with the fold because you want it to be as tight as possible .
And now it's fats side down again , I fold in the extra because I want it to be easy to grab from either side .
I roll it over one more time because I want it to be fat side up because I want to maintain that bark on the fat side .
So we're gonna take it back , we're gonna put it in the opposite direction .
The reason I go flat toward the fire is because the flat actually needs to come up to a higher temperature to be tender than the point does .
So right now , the point is actually ahead of the flat in terms of temperature .
And so when the point is done , usually I'm looking for a temperature of maybe 200 degrees for the flat .
I'm looking for probably 2526 , something like that .
And the easy thing about butcher paper is you can just poke right through it and get the temperature .
So when I actually tap this thing to see if it's done , I'm going to go right here in the side of the flat , right here in the side of the point , try to be directly in the middle of the brisket to get accurate temperature reading .
Now , O G pit masters in Texas don't use thermometers .
They go by field , they put their hands under the flat and they feel it and they know when it's right .
For us , mere mortals , we need to use temperature as a gauge for tenderness .
Those are the target temperatures I recommend .
And it's what I've had the best luck with in the past .
But really , it's ultimately about the feel when the probe goes in and it feels like softened butter , you know , you've done it .
So we're just going to let this hang out for probably another three hours or so .
When it's done , we'll pull it off and then we're going to rest it .
So let me close this down .
We'll talk about resting .
So now that all the action is done , I can probably stop sweating .
I miss the dry heat of California .
The humid heat of Kentucky is another beast entirely .
Anyway , let's talk about resting when you rest your brisket .
Say you've gotten it to perfect tenderness .
It's time to pull it off and you're going to rest it .
Now you want it to come down relatively slowly .
You want it to gently come down in temperature because what can happen is if it comes down too rapidly , it can tighten back up again .
I don't know exactly what the mechanism is , but I just know that it happens because as you're bringing it up in temperature , the longer it's at a high temperature , the softer it will get .
So if you do a really short cook , say eight hours total on a brisket , you're probably going to need to take it to five degrees higher than the temperatures I mentioned in both the point and the flat .
If you're at about a 12 hour mark , I think those temperatures are perfect .
If you're taking 16 hours , the temperatures are probably three or four degrees lower because it's about time at temperature to render the collagen .
So collagen , you can imagine as a couple springs kind of coil together and what happens with time and heat , they break apart and form gelatin .
And so that's what makes barbecue so succulent and delicious .
And so you need enough time for all that stuff to break down or you need to reach a high enough temperature for all that stuff to break down .
It's like when food reaches a safe temperature because at that point , all the bacteria is killed instantaneously .
But if you hold it at a temperature of five degrees lower for long enough , you'll kill the same number of bacteria .
So it's a trade off for this .
But I found the best results getting about a 12 hour cook on these .
And then when it comes to resting , usually I try to time my cooks so that they'll be done around midnight .
Why ?
Because then I can put them in a cooler or put them in a low oven set 1 45 or 1 50 .
I let them slowly come down in temperature overnight and then I serve them the next day .
So if I pull it off at midnight , I would expect to serve it at noon for lunch .
No problem .
So I find that between eight and 12 hours is ideal .
You can go longer , you can go shorter .
But I found that window to work pretty well .
So I would plan to be done with your brisket cook 12 hours before you plan to serve it .
You could do it 17 hours .
You could serve it at five PM .
That's ok .
Just make sure to keep it hot and keep it food safe .
That is above 135 F .
So all I'm going to do at this point is finish off the cook .
It's totally fair game to take your brisket and put it in the oven and get it finished off that way .
Or if you have a pellet grill and you just want to do everything outside because you don't want to make a mess in the kitchen totally fine too .
There's no issue with that at all .
It's not going to affect the quality of the product because we've already put in the work to make it great .
So now when it reaches the proper temperature and has the right feel , I'll pull it off and I'll rest it overnight at 145 degrees in a low oven .
And then the next time you see me will be tomorrow and we're going to be taste testing this thing .
One other note because I keep thinking about things don't underestimate the importance of the rest .
That's the biggest mistake most people make is not letting their brisket rest long enough .
This is a game changer .
For some reason , I can't explain scientifically .
It seems like all the juices fill every crack and crevice inside the brisket and it's juicier and it's perfectly tender and it just gives , when you take a bite of it , it's awesome .
Do not sell yourself short on the rest , better dress long than shorter .
So if you have the option to rest four hours or 14 hours , I would definitely go with 14 , please rest your brisket at least eight hours and you're going to have far better results .
Now , one more thing as far as the cooking goes , if you're checking the temperatures as it goes along , you can rotate it as needed .
So if the flat is way , way , way ahead , you can rotate it .
So the point is going to take the brunt of the heat and catch up .
But it's kind of a balancing act .
It's just about rotating it .
You change the orientation so that you can make sure that it finishes at the same time on both sides of a very uneven cut of meat .
That's it .
I promise .
I know I'm long winded .
But next time you see me , I'm gonna have a gorgeous brisket for you guys to check out .
All right .
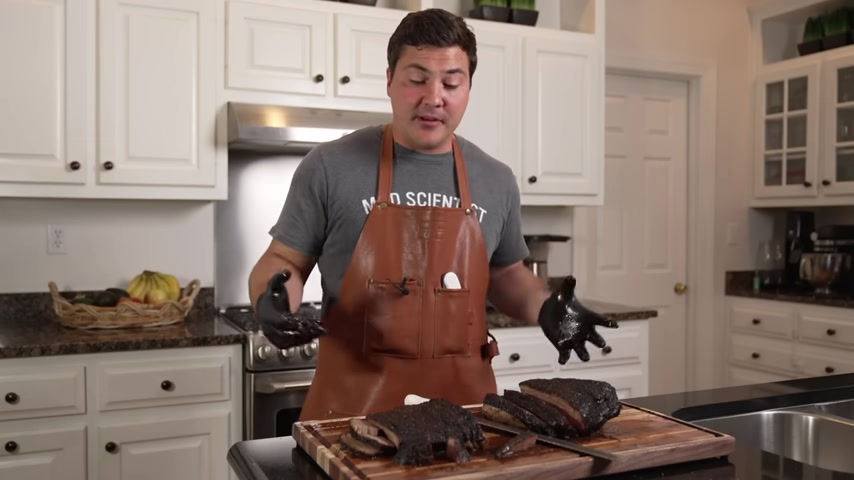
After 12 hours of resting , we have a finished brisket .
So let's unwrap .
It smells good .
Oh , yeah .
Look at that .
Oh , so much juice .
Have a good one .
Ok .
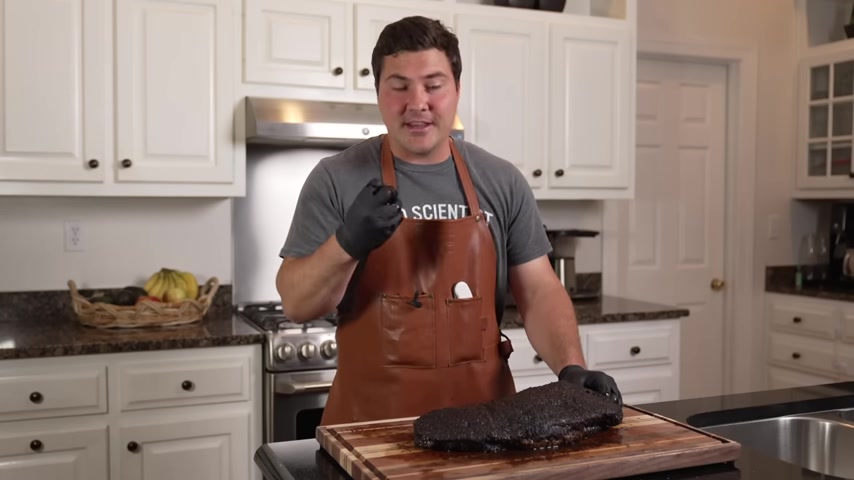
This is what makes it worth it .
This is what makes standing out there in the heat and sweating my behind off cooking barbecue worthwhile because at the end you have this black meteorite looking thing .
I still insist they're sending them in from the obelisk on Mars .
I have from top levels of the CIA .
Trust me , I have the documents briskets really are the king of barbecue .
They're so good that you could come up with 10 conspiracy theories about how somehow it's mind control .
But we'll pass that for now , this is real what barbecue is about .
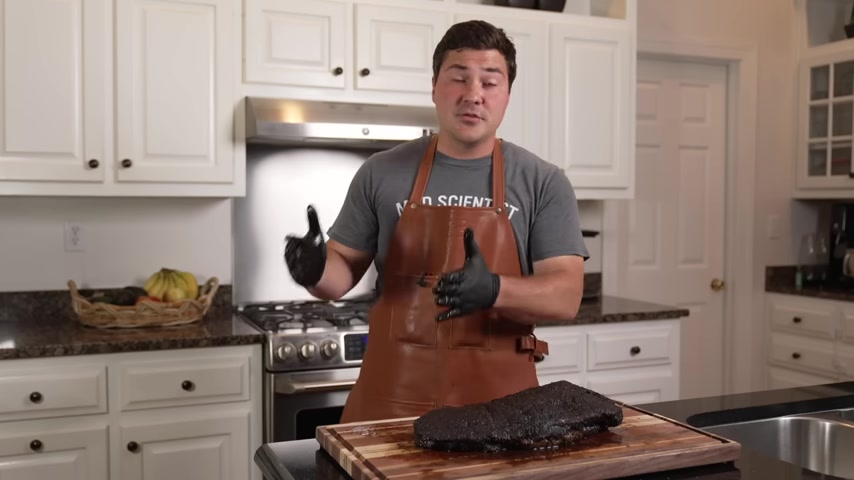
So it's about time and patience .
So a lot of times people will say , oh , that barbecue is amazing .
You must be so good at what you do and I tell them no , you don't have to be good to make great barbecue .
You have to be patient .
Now , there are people who make better barbecue than me , but I don't think anyone enjoys it as much as I do .
And for me that's what it's all about .
I enjoy the process .
I enjoy the end result .
So let's get to slice in this thing .
I'm right handed .
So I want the thinner end on my right hand side .
So I'm gonna flip this around .
Yeah , you can see this is very , very tough , you know .
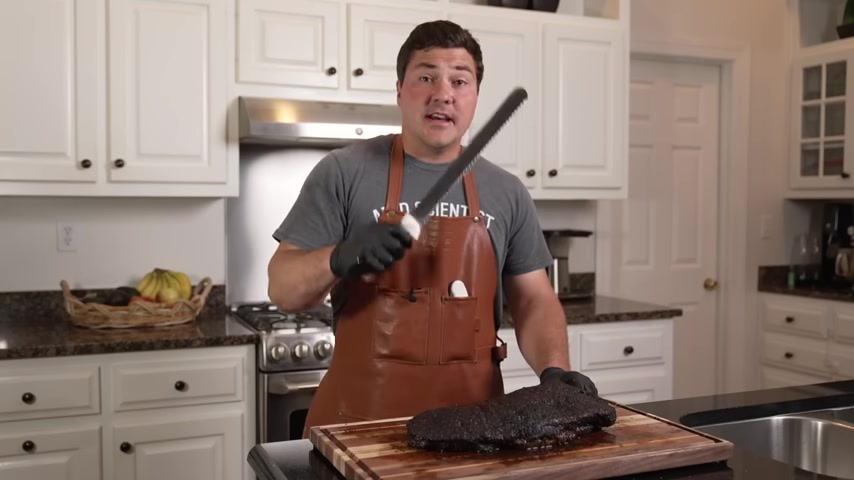
So flip this around and then we need a knife .
OK ?
Make sure you have an appropriate knife to slice a brisket .
So you need something long .
There are fancy brisket slices out there .
I use a cheap bread knife that's 12 inches long .
My philosophy on that is exactly the same as the trimming knife .
I use it so frequently .
I don't wanna have to worry about what happens to something super fancy .
So it works super well .
I'll include a link but keep it simple and use something that's gonna be long enough that you can make even strokes .
So when you slice your brisket , here's an important point that I don't think I've ever really talked about before .
When you're slicing brisket , you don't want to press down , you want to let the knife do the work .
So whenever I'm with people and they're slicing brisket and falling apart , no , you want it to fall apart in a person's mouth as they're chewing it .
You don't want it to fall apart on the cutting board .
So very light pressure , move the knife back and forth and it will slice .
That's why I like the serrated knives because they just cut through really well .
And so you're gonna have something that's perfectly tender but doesn't shred , that's really important .
Now , if your brisket is too hot , say it's 100 and 80 degrees and you try to slice it , it's gonna fall apart .
It's gonna be really pot roasty .
It's not gonna be the way you want it .
One trick to make it kind of firm up a little bit is to allow it to cool some .
If you have a brisket , that's kind of tough , then wrap it up again , heat it back up and let it stay hot for a while and it will soften up .
So the more tender your brisket is the lower the temperature you need to slice it at .
So this one is exactly how I like it .
But we're gonna start on this end and the brisket remembers two muscles , right ?
So they run perpendicular to each other .
So we're gonna have to slice the two halves differently .
So we're gonna start at this thin end and go slice , slice , slice , slice , slice until we see the two muscles on top of each other .
Then we're gonna flip this 90 degrees and keep slicing .
I typically slice briskets at between 1 35 and 1 40 .
I find that to be ideal .
Also for food safety , your hot food should stay above 1 35 and your cold food should stay below 40 degrees .
But I found that that 1 35 1 40 temperature is just right for slicing and the customer gets something .
Well , if you're selling these , but I'm assuming you're probably cooking this for your family .
So your family gets hot food , but it's not falling apart in pot roasty as you can see here is my brisket slicing knife .
It cost , I think maybe 15 , 17 bucks .
It's not expensive , but a lot of central Texas barbecue joints use a knife just like this .
And so I tried it , it worked better and this is what I use .
So we're gonna start at this end .
Slice , slice , slice , slice , slice , turn it 90 degrees and then slice the other part .
When you see the two muscles on top of each other like this , rotate 90 degrees and keep slicing right .
That's how I slice a brisket .
Now .
It's time to taste it .
And I actually had to fight my wife off .
Usually she waits until we're done filming a video but she was like that brisket looks so good .
I gotta have some right now and this is just a choice brisket .
So let me take a look at this here .
We have the flat , we have beautiful yellow rendered fat on the top .
I can hold it like this .
It doesn't fall apart .
But if you pull it just slightly , it , I mean it just breaks .
So I'm gonna have to , you know , for science purposes .
Give this a taste .
Oh Yeah , that's it .
That's everything , man .
When you start in barbecue , that's what you wanna create .
Hm .
All right .
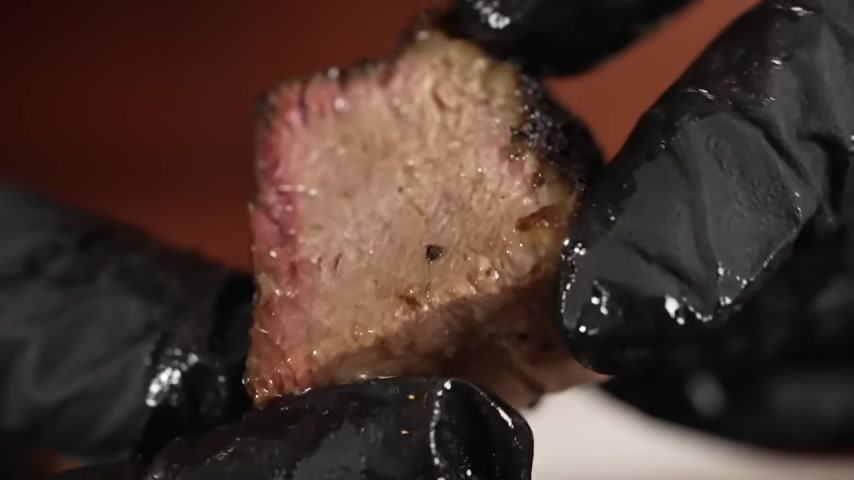
Next , let's talk about the end cut , which is in my opinion , the most underrated bite of a brisket .
It's on the outside here .
It's all barky .
Um It's got beautifully rendered fat , like you could poke it .
I could just take it off if I wanted to .
But it's still juicy , which is what we were after , even with a choice brisket .
So the reason we do the method that we do is to keep everything juicy .
So I'm gonna take a bite of this and , you know , again , for science purposes , let you know that's even better .
Nothing got crusty .
Life is good .
My very favorite bite on a whole brisket is the first cut off of the point .
So here you have beautifully marbled meat .
You have the fat that's kind of rendered perfectly into this seamless unique thing that is the bark and this is as much as I like those others .
This is gonna blow them out of the water .
So let me give this a taste and slice off one bite here .
So this , if you don't like this , you don't like barbecue .
All right .
And it just melts , it just disappears .
I'm always experimenting with barbecue or cooking for large groups of people and I don't get to enjoy the food .
It's so nice to be able to just cook a brisket like normal and enjoy it and just appreciate all the goodness .
Everything that made me want to start barbecuing in the first place .
If you've never cooked a brisket before , I've given you everything I know to help you on the path .
If you cooked a whole bunch of briskets before .
I hope I had something here to help you maybe improve your game by 1% .
If you just like looking at food that's been cooked on the internet .
I totally understand me too .
Either way .
Thank you guys so much for watching .
I really appreciate it .
I really hope it helped .
If you enjoyed the video , you can hit the like button down below and you can also subscribe to the channel for more fun and informative barbecue content and then don't forget to follow me on Patreon .
You can also follow me on Instagram , Facebook and Twitter at Mad Scientist barbecue .
Oh , and I wanna thank Reynolds kitchens , butcher paper for spot this video .
It's a tremendously convenient product .
Check it out .
It's way more convenient than all those tightly wound rules .
Trust me , I fought with those , this one you don't have to fight with .
So check them out .
I'll put a link in the description .
Thank you guys so much for watching .
I'll see you next time .
If you use Morton's , your mix is going to be saltier than freaking fly .
My very favorite bike on a whole brisket .
I should follow this first but taking ok and take a look and see what will be .
Ok ?
So that's looking pretty .
OK ?
Try again .
I thought you already have a hottest smoke brisket video out there and you know what ?
You're right .
Thanks Carl .
It's been a little over .
Try to again .
Excuse me .
Take it 6.5 hours into this cook .
Other things going on at 6.5 hours into this cook .
We come back out , I'll put it in .
Show you what's OK .
Show you the smoke float .
No , this , no , this is exactly what I want when I want a brisket .
I mean , it's , it's smoke ring .
It's rendered fat in the point right here .
It's the rendered fat on top .
It's all yellow .
I mean , it's just , it's integrated into the bark just , oh , this is exactly what I want and it's juicy and this is a choice brisket .
I mean , look , if you could do this with a choice brisket , imagine what a prime would be .
It'd be this one step above .
So , I mean , it's awesome .
All right , we gotta taste this .
Partnership
Are you looking for a way to reach a wider audience and get more views on your videos?
Our innovative video to text transcribing service can help you do just that.
We provide accurate transcriptions of your videos along with visual content that will help you attract new viewers and keep them engaged. Plus, our data analytics and ad campaign tools can help you monetize your content and maximize your revenue.
Let's partner up and take your video content to the next level!
Contact us today to learn more.