https://www.youtube.com/watch?v=KIqayXeFHfI
How to Install Garden Irrigation _ Mitre 10 Easy As DIY
Installing your own irrigation system is easy and it takes all the hassle out of water in your garden .
Here's how to get started .
You'll need some graph paper , a measuring tape , a nine liter bucket and the easy as PDF guide from our website to help with calculations and materials .
Now , the first thing you're gonna need to do is check your water pressure .
Really simple task .
Grab yourself a standard nine liter bucket and time .
How long it takes to fill it ?
The really important part here is to make sure your tap is on full blast before you start the timer .
Great .
So that's about 19 seconds to work out our L PM or liters per minute .
We multiply the nine liter bucket by 60 seconds , which equals 540 .
Then divide that by the time it took to fill which was 19 .
So 540 divided by 19 equals 28.4 liters per minute .
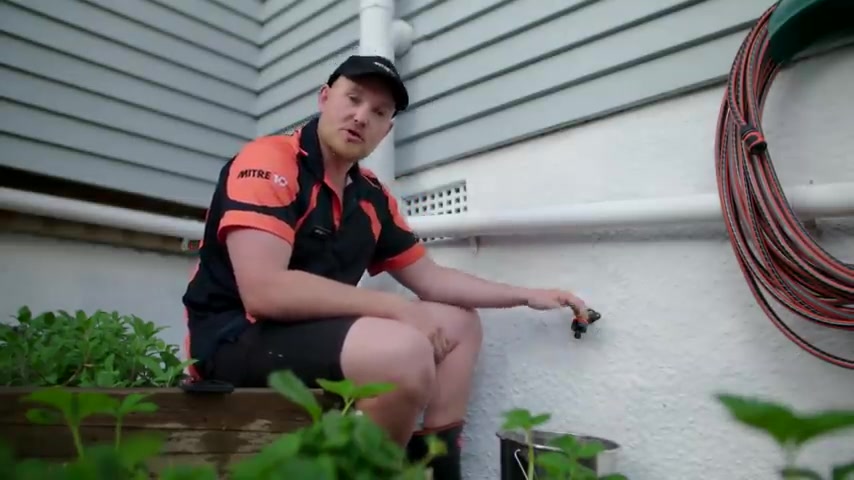
This helps us work out how many lines and sprayers our systems can handle right .
So next , we're going to map out the garden to scale .
Really important to note where the water source is and any of the other obstacles in the garden to work around for the irrigation .
Take your time with us .
It does need to be really accurate in this garden .
We'll be running water to the four beds , two pots and the lawn .
And even though it's a small area , the same principles apply , now , there's a range of different parts you can use to create your irrigation system .
First up , we've got the pop-up sprayers really great for use in lawns and they come in a range of different spray patterns .
You got sprayers great for garden beds and things like that can be directional or a 3 60 spray .
You got little dripper , great for garden pots and containers .
Good for getting a lot of soaking down through , down to the roots , elbows and tea bars for connecting the whole system up and then your main pipelines your 19 mil 13 mil and your four mil pipes .
Now your next step is to work out how many of each component you need for your garden .
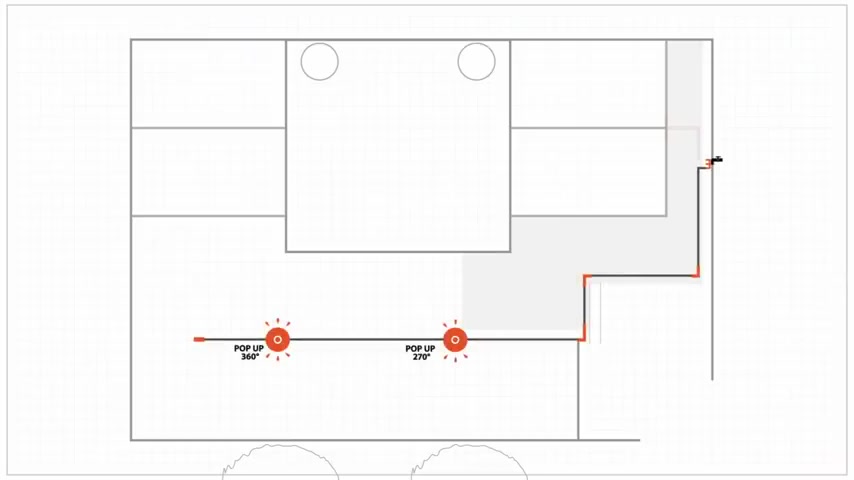
So grab your drawing your easy as guide and get planning .
I'm gonna run one line for the lawn with a couple of pop-ups and a separate line on a tea bar for the beds and pots with a combination of sprayers and driers .
You wanna aim for the least nozzles as possible with the correct spray patterns which will save water and money use 19 ML pipe for lawns , 13 mil pipe for your beds and four mil pipe for any lines feeding off from those .
So now that our plan is sorted , we need to check that this 28.4 liter per minute water source can handle all these nozzles .
So grab your guide and start adding them up for my bids .
I have three sprayers and each of them uses 30.75 liters per minute .
You can find this info on the back of the pack .
So 0.75 times three equals 2.25 plus five driers at 0.55 and a raise dripper at 0.6 making the total for this line 5.6 L PM .
And for the lawn , my 2 70 degree pop up runs 7.5 liters per minute and the 3 60 uses 10 .
So that's 17.5 all up which makes these lines all well under the 28.4 L PM flow rate from my tap .
So we're good to go , right .
So it's time to get started .
Now , I fitted our three way adapter onto the tap here .
So first up , you're gonna need to get a tap to pipe connector for the 13 mil pipes to make sure it's got the 13 mil adapter on there right next up .
Basically , you're gonna measure out our first length of pipe which will run from the tap to the ground .
Get a rough gauge of how long that's gonna need to be , give yourself a little bit extra .
So you can always cut it off afterwards .
So that looks good .
You can just keep that mark and then get a nice solid surface behind you and just cut that pipe .
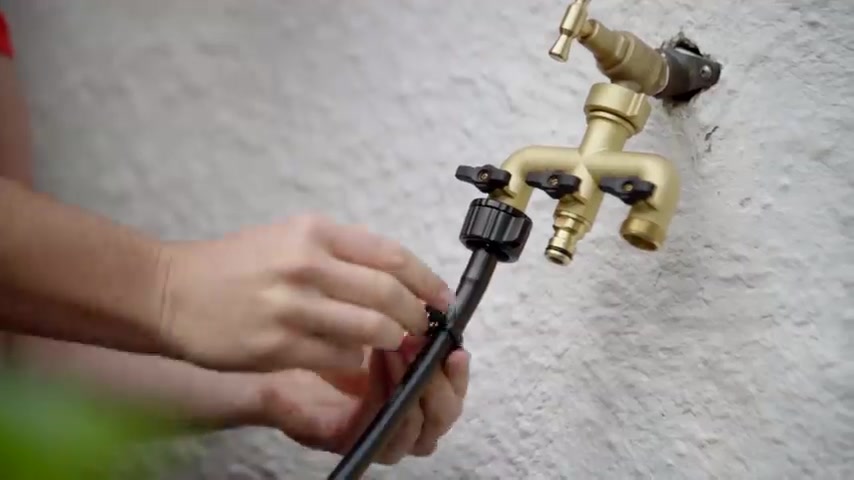
Give you 13 M G clamp slide that over first , twist that on until it's all the way out .
Slide up the clamp .
Every joint will need the support of one of these clamps which will keep things water tight cool .
So we're ready to put in our first connector .
Now , check if there's any excess on here .
Just uses of teas to trim it off .
Now , what we're gonna use is a 90 degree elbow .
It's gonna help us come along the ground here and it's gonna mean we're not gonna have any kinks in our hose .
So grab another 13 mil little clamp , put that on first , then pop the connector in and just tighten it up .
Right .
First stage done .
We're gonna attach our next length of pipe , cut that off .
I see then and just tighten it up and we're gonna get into our tea bar .
Really simple .
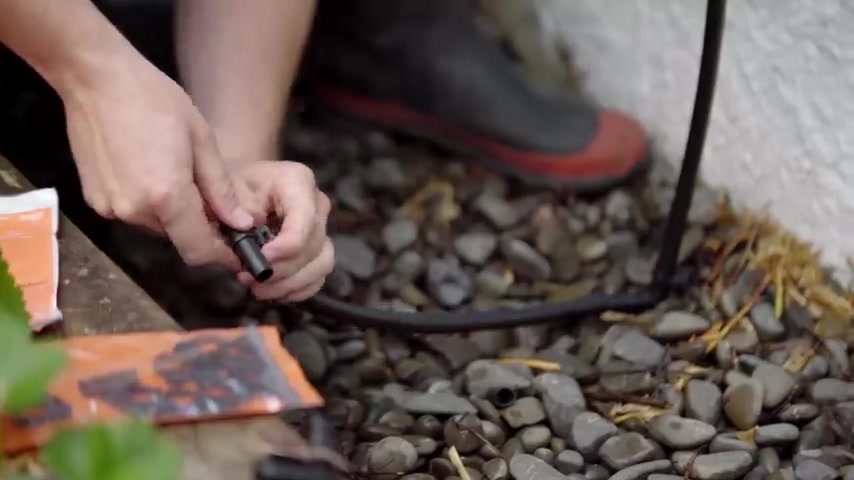
Same process here .
Now , this can be a little bit stiff .
You can put it in some warm water to help soften up the plastic .
So now our tea bar that we've just put on here is gonna help us split the line into our two different beds .
Next , we're just gonna use this pipe measure how much we need to get along and then use 90 degree elbows again to come up and into our beds .
Now , we've got that all set up just gonna secure our lines to the bed and to the ground using these little 13 M saddle clamps and some stakes , secure the lines as you go .
It keeps things tidy and easy to work with .
Then I'll feed a couple of lengths of pipe under the deck to the far beds and connect them up .
Now , important before we put any stopper or sprayers on just to run water through the system .
It's just gonna make sure there's no bugs or any dirt or anything like that in the pipe .
Now , do this before you make the pipe hard to get to .
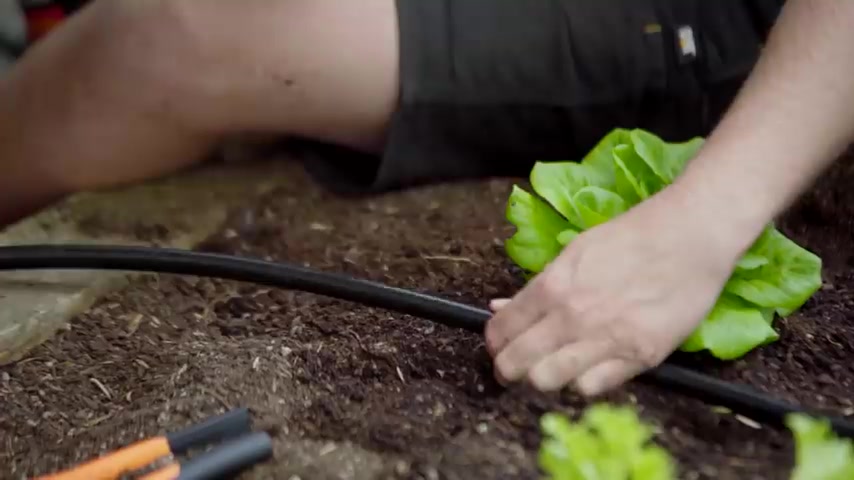
So you can sort out any blockages , right .
So now lastly , just gonna put our little end stopper on the end , make sure that's where we want it to be .
Just slice it off again with a little ratchet , clamp on first , just pop that on and the line's done , right ?
So we're pretty much ready for our first sprayer .
Now , I've chosen this one .
It's a little 3 60 degree sprayer and I know it's gonna cover this whole bed .
There are lots of different ones to choose from .
So just check on the back of the packet .
Now , we're gonna use our multi tool here .
It's got a little point on the end just to prick into our pipe and then simply screw in the sprayers .
Make sure here not to get any dirt anywhere near the little join as well and just twist that on , just make sure it's nice and tight and gets a good seal .
So for our next bed , we're gonna do the same thing again with another 360 degree sprayer .
Just this time , we're gonna put on a 200 ml riser stab our hole .
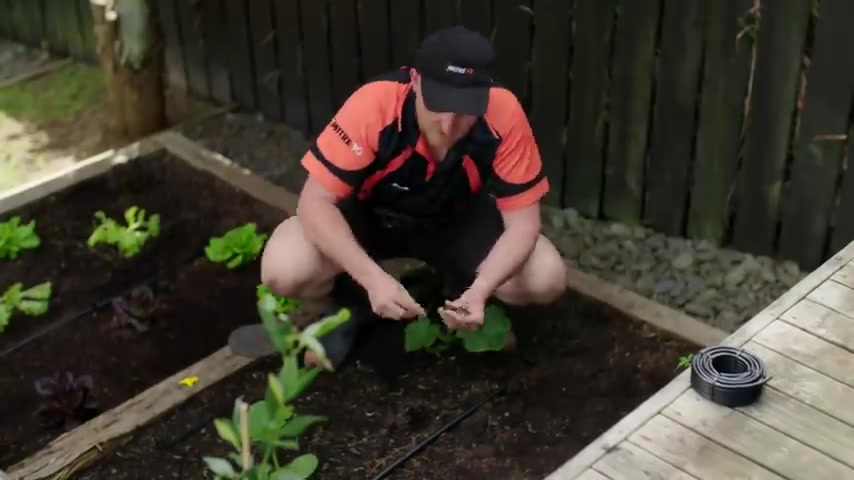
But you go one in this bed again and it just screws onto the top .
Nice and easy .
Let me just pop that into the pipe and once that's in , just secure it with a little riser pipe stake , it helps it stay up nice and straight .
So for my pots , what I'm gonna do is run some of this four mil pipe up to them with some dripper on the end .
So it's just the same process again , just pop a hole in the side .
I've got one of these little four millimeter joiners and that'll slot into the back of your multi tool like that .
And that'll just help you screw it in .
Now , just attach a little four mil tubing that just screws on .
It's gonna run it out so that we know we've got enough to get up into our pot here .
Give it a little bit of extra .
I'm gonna just cut that off .
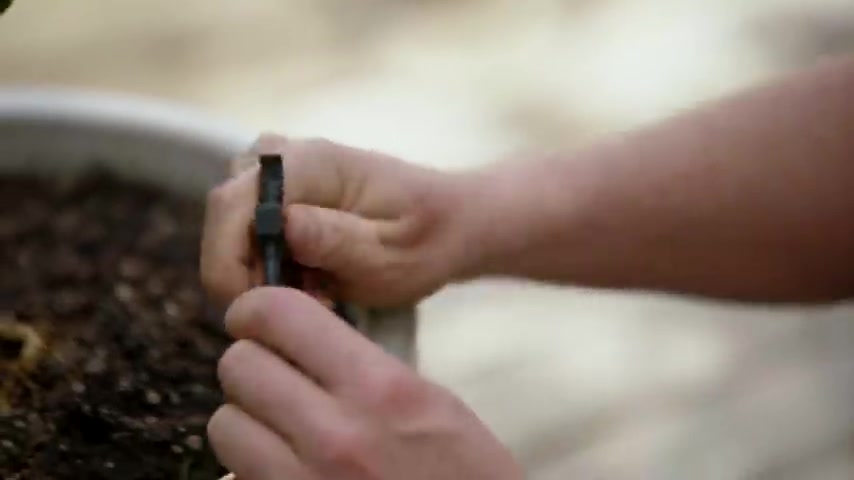
And what we've got here is a little steak with a dripper on the end of it really clever , just pop it onto the end and just set that in the pot just like that .
Next , we'll crack into the lawn .
Start by digging a trench about 200 mil deep along the line of pipe .
Keep it in tidy chunks to pop straight back in when you're done .
Right .
So that's our trench all dug .
Next thing we're gonna do is just run this 19 mil line over to our lawn and cut that off , pop it under this timber edging we've got here again , just same with the little ratchet , clamps and our last elbow , make sure it's nice and tight .
Last part of her elbow there just feed that along the length of our trench and don't forget to run water through it again to clear it .
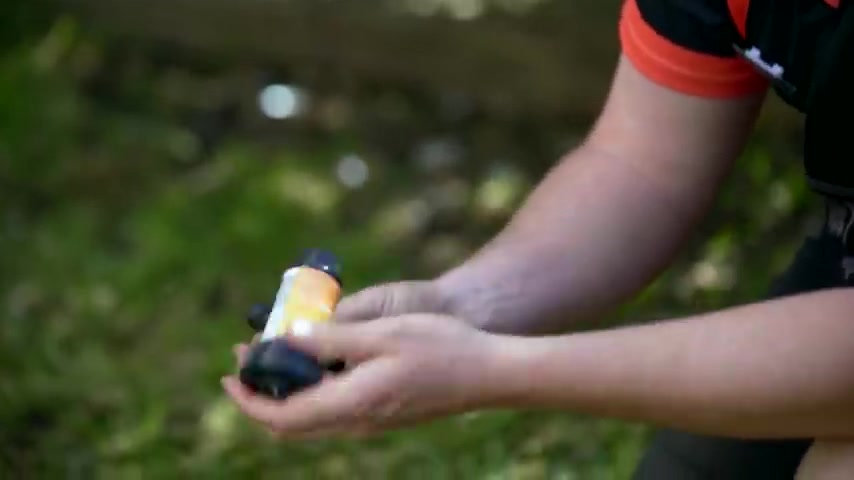
So the first pop up we're gonna use here is a 2 70 degree sprayer .
That's because we've got some stones over here and we're trying to conserve water .
So we're only gonna end up with water on the lawn now to put one of these in .
It's the same sort of tea bar as we used before , but this one's got a thread on the top of it and that just goes into the base of our pop up sprayer .
Just twist that on in the same principle as before .
Cut this pipe and then we'll just attach on both sides , clamp on first spray it in and clamp it up sam again on the other side , right .
So that's our first pop up done .
I'll set it down on the ground and make sure that this is just above ground level .
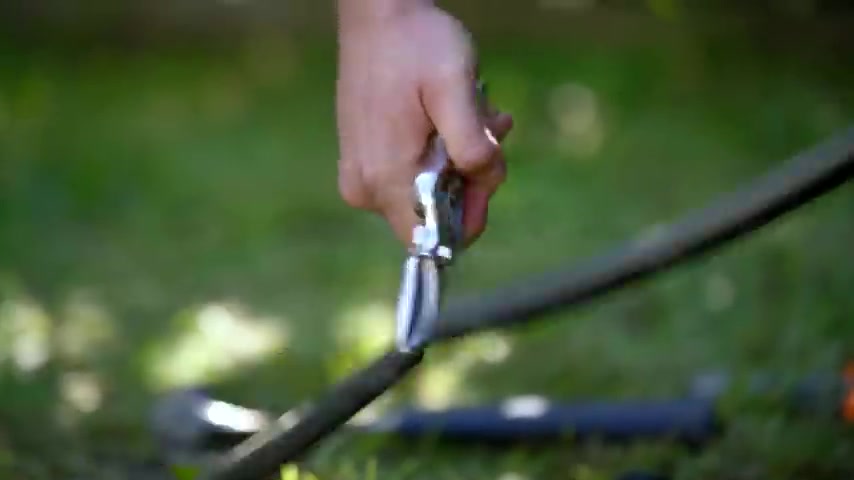
So the lawnmower just avoids it and then the water pressure will pop the little sprinkler up , then just repeat the process to the end of the line and pop a cap on the end to finish up next , backfill your trench and tidy up any areas you dug up along the way .
Lastly turn on the tap to check your handiwork , adjust any nozzles to make sure they're covering the right areas and it's job done to make things even easier .
You can install a timer .
There's a huge range to choose from in store .
So go in and choose the one that's best for you .
Easy as
Are you looking for a way to reach a wider audience and get more views on your videos?
Our innovative video to text transcribing service can help you do just that.
We provide accurate transcriptions of your videos along with visual content that will help you attract new viewers and keep them engaged. Plus, our data analytics and ad campaign tools can help you monetize your content and maximize your revenue.
Let's partner up and take your video content to the next level!
Contact us today to learn more.