https://www.youtube.com/watch?v=5owyhOi90jQ
2023-06-14 18:15:50
DIY Headboard - Rustic Headboard Tutorial _ The Home Depot
The bed is one of the main focal points of the bedroom to ensure it catches your eye and the eyes of others .
Why not create your own ?
In this instructional video , you'll learn how to build a wooden headboard for a queen size bed .
It complements our video on creating a wooden bed frame and includes a Chevron pattern inset which is a bold inverted V shaped design .
You'll need wood screws , bed rail handles and other tools and materials that will be covered a little later .
Be sure to measure the bed frame to determine the size needed for the headboard .
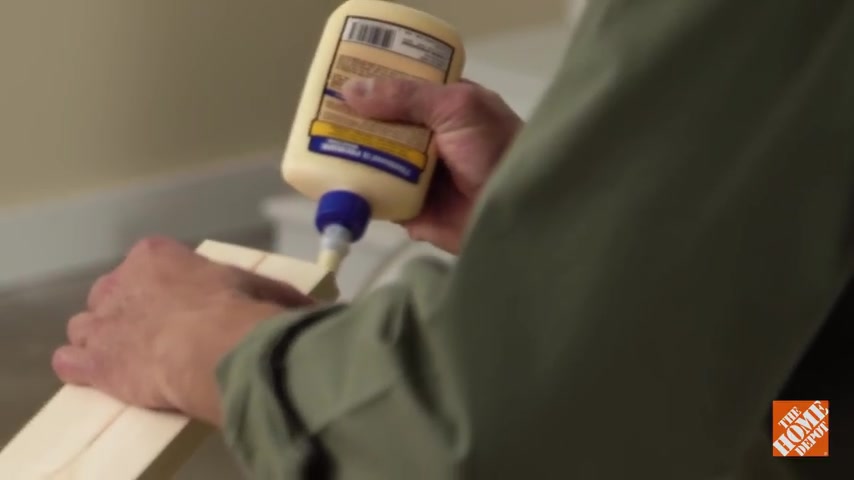
Once your measurements have been taken , gather the necessary amount of lumber to complete the project , use wood glue for additional bonding support when connecting the lumber pieces together to get started pre cut the lumber pieces based on the dimensions outlined on your cut list .
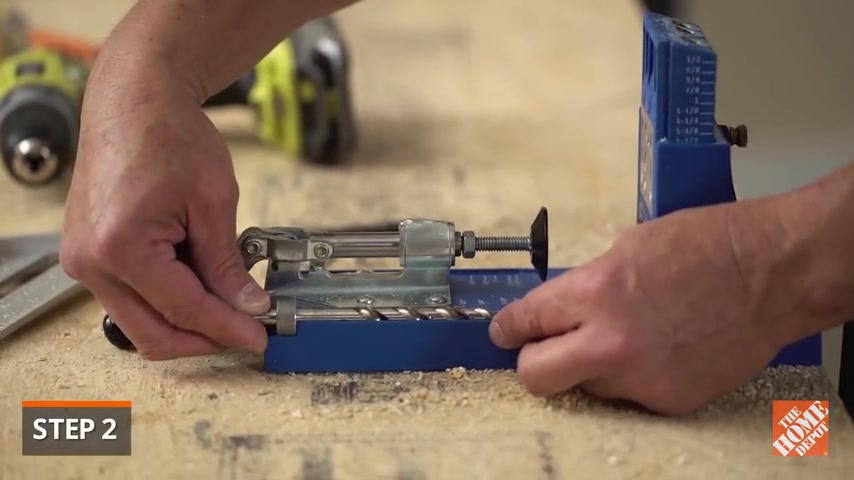
Provided at the end of this video include scrap pieces to help support the headboards frame during the installation , then use a pocket hole jig to create pocket holes for your cut lumber pieces .
These holes are drilled at an angle to hide the screws that connect the pieces together .
The depth of your pocket holes are determined by the thickness of your cut lumber pieces .
The Home Depot sells pocket hole jig kits that you can use to complete this step .
Use the guides provided to adjust the thickness of the lumber you're working with , you can cover each hole with a pocket hole plug .
Be sure to follow the complete instructions provided by your manufacturer when using any pocket hole kit .
Also refer to the list at the end of this video to apply the specific pocket holes needed for this project .
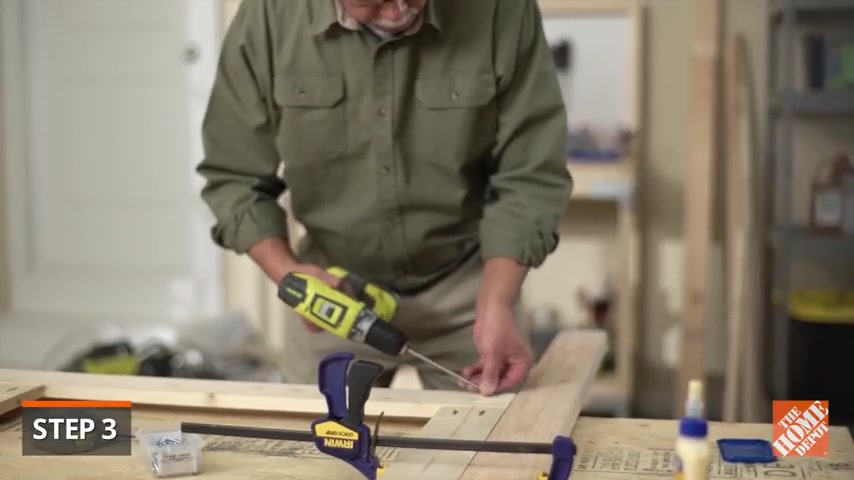
Now , you can assemble the parts , the side with the pocket holes will be the back side , clamp , the top support down to your work table and align the uprights , one on the left , one on the right and the other 30 inches into the center .
This creates a proper fit for the bender boards , secure the pieces together with wood glue and one and a quarter inch screws .
Next place a couple scrap pieces of one by four lumber under the center assembly , align it with the center assembly and the top of the legs .
This creates the inset for the frame clamp and secure these parts together using wood glue and one and a quarter inch screws , center the top trim piece so that it's a half inch on both sides and two inches in the front place , four scrap pieces of two inch blocks at the corners of the center assembly so that it's flush with the trim clamp and secure the top and center assembly together using wood glue and screws .
2.5 for the top of the legs and 1.5 for the support .
Next , remove the scrap pieces of lumber and reposition the frame , set the bottom trim piece onto the bottom and ensure that it's flushed with the back clamp glue and nail it in place with 1.5 inch brad nails .
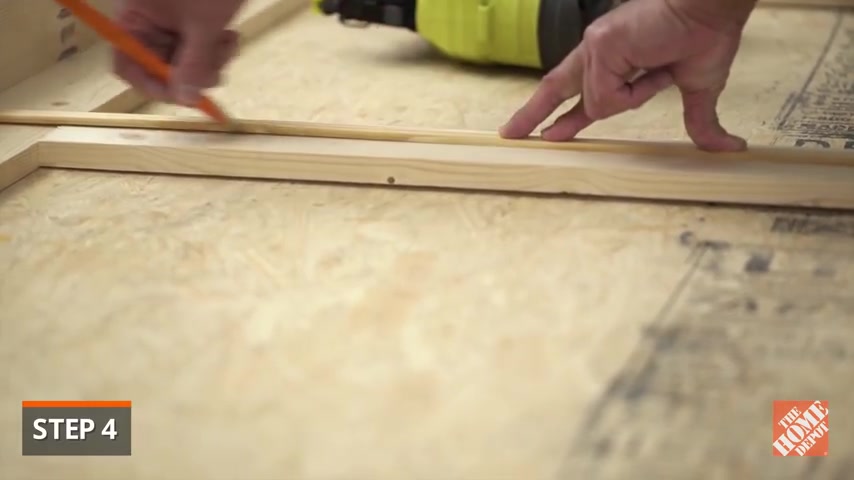
Now it's time to create the Chevron pattern for the inset or interior part of the frame measure and mark a line down the center of the center upright board .
The Chevron striped pattern is going to work with the line created on the center upright .
Follow the dimensions of your cut list to create the design .
All cuts are done at a 45 degree angle line .
The tips with the center line at the bottom then work your way to the top , filling the entire space inside the frame , glue and nail the pieces in place at both ends with three quarter inch brad nails .
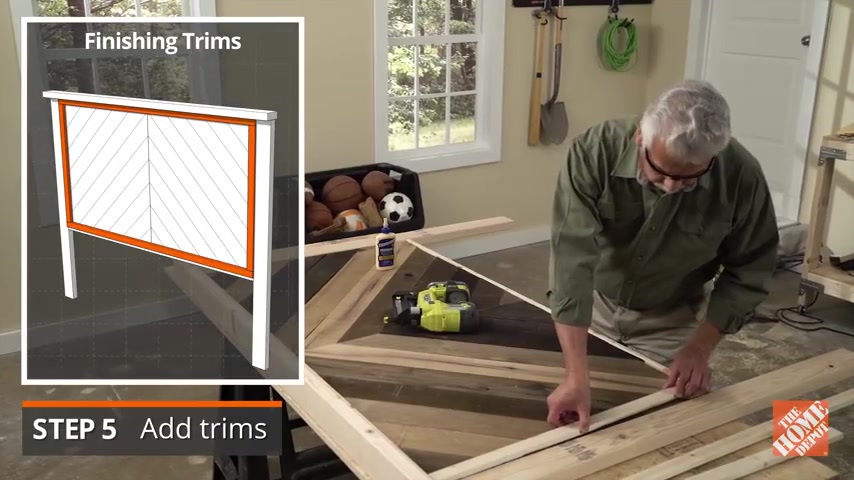
Next , install the top sides and bottom finishing trims , double check that each piece fits correctly , glue and secure them with 1.5 inch brad nails , fill all visible nail holes with wood filler , sand , entire unit and white clean of all sawdust .
Apply stain or paint to the headboard .
If you desire once dried , attach the completed headboard to the wall or directly to your bed frame , creating the perfect look to accentuate your bedroom .
Here are all the materials you'll need to build your wooden headboard .
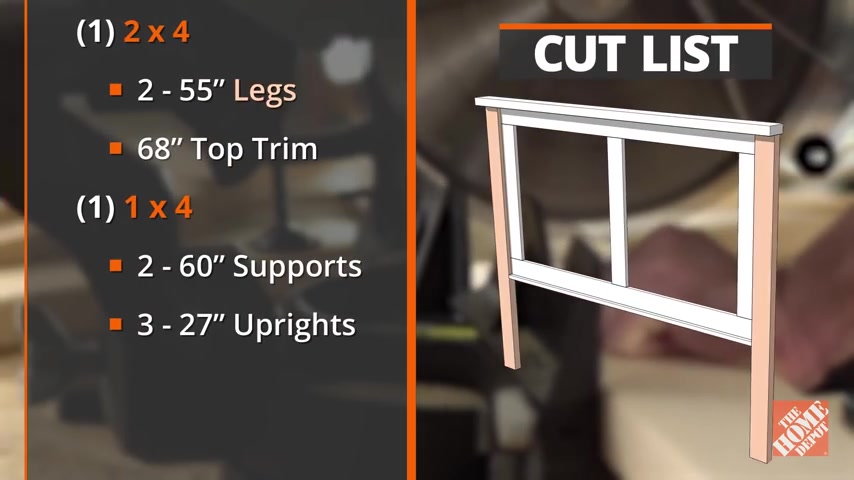
Here is a cut list for the lumber needed to complete this project drill these pocket holes at the following measurement points with the cut lumber pieces positioned vertically , drill these pocket holes at the following measurement points with the cut lumber pieces positioned horizontally .
And lastly , you'll need the following tools for the job .
For more detailed information about this and many other popular projects .
Check out the diy projects and ideas section of home Depot dot com or talk to one of our store associates .
Good luck and thanks for shopping at the Home Depot .
Partnership
Are you looking for a way to reach a wider audience and get more views on your videos?
Our innovative video to text transcribing service can help you do just that.
We provide accurate transcriptions of your videos along with visual content that will help you attract new viewers and keep them engaged. Plus, our data analytics and ad campaign tools can help you monetize your content and maximize your revenue.
Let's partner up and take your video content to the next level!
Contact us today to learn more.