https://www.youtube.com/watch?v=xDuaY9GnbAI
2023-06-14 18:15:48
How to Build a Pizza Oven
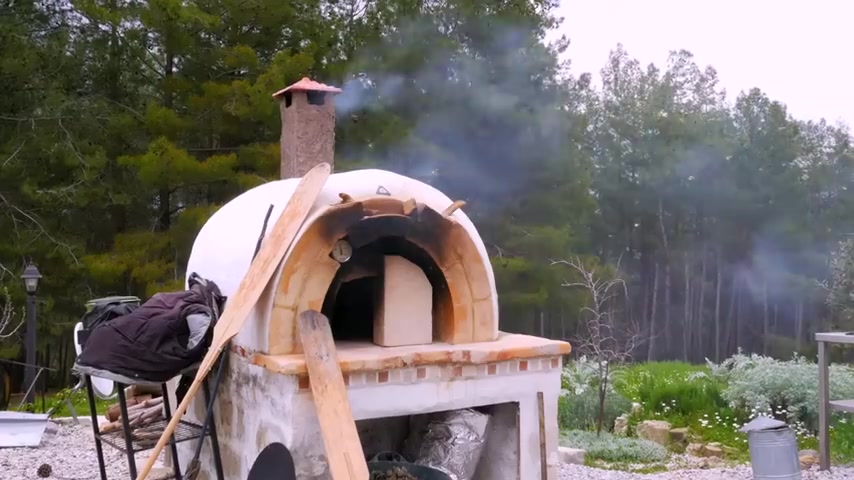
Hey , everyone , Jason and I are gonna show you how to build a backyard pizza oven .
If you love making pizzas , then this project is for you .
Not only is this a totally doable diy but a pretty sweet thing to have in your backyard .
Heads up , you can find all the links to the products we're using in the description below .
Are you ready for a pizza party ?
Let's go .
So the first thing you want to do is figure out where you're going to put your pizza oven location is very important and here are a few things to consider .
This is going to be a permanent installation .
So plan accordingly , install your oven on sturdy level ground .
You may have to create your own foundation .
You want the oven to have at least three ft of clearance on all sides , consider a location that's easily accessible to dining , entertaining area for our oven location .
We've chosen this area of the patio because it checks off all the boxes for us .
Now that we have our location , we need to determine the design .
There are many ways to make a pizza oven , all different shapes , sizes and materials from clay to concrete to brick .
It really will depend on your location , personal preference and di skill levels .
We're building a three ft by three ft base to accommodate for a 34 inch oven .
We're going for a wood fire design built from both bricks and pavers .
It will have a dome shaped oven and will even create a spot for firewood storage in the base .
Not only is this oven going to be functional , it's gonna look great too .
We know that our patio's 12 ft .
First thing I'm gonna do is measure and find the center and make a mark .
That's where our first block will go .
We're going to do a dry run with our first course to see how our layout looks .
The base is going to be a three by three each .
One of our blocks is 12 inches .
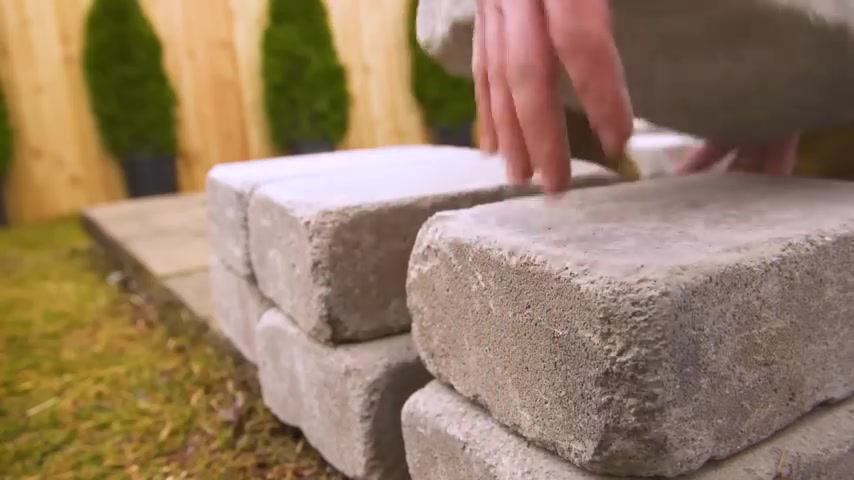
We're creating our base out of concrete pavers .
We chose this material for a few reasons .
They're strong and sturdy enough to hold the weight of the oven while still working aesthetically with the patio .
We don't have to worry about the heat of the oven for the base .
So the pavers don't need to be fire rated since we've decided that our base is going to be 36 by 36 .
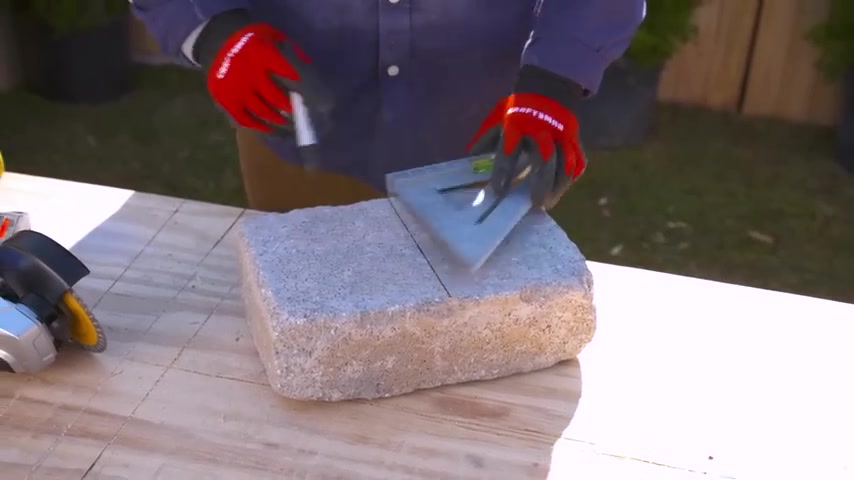
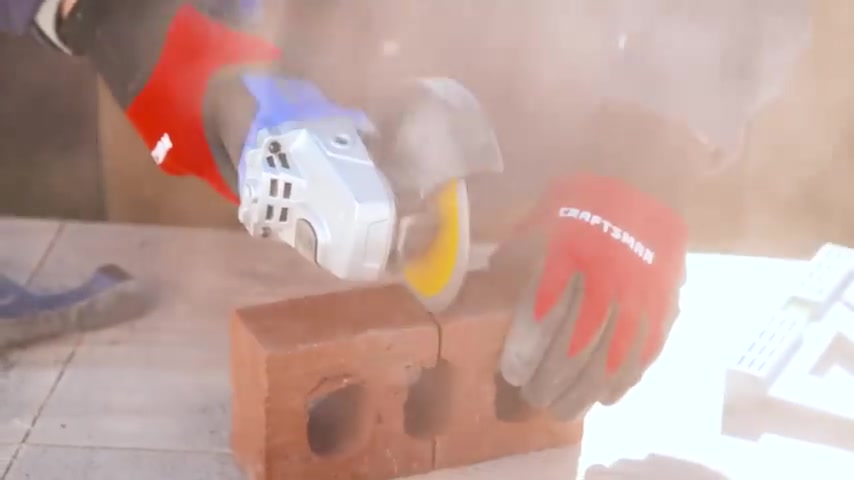
And our full blocks measure to 31 a half , we're going to have to make a few cuts to cut our papers .
We're first using a speed square to mark our measurements , then taking an angle grinder to score the paper on each side .
Cutting about a quarter inch one score will use a chisel to finish the job , making sure that we're both level and square on our first course for our base is the most important step when building before we can go up .
So what we don't want is our joints to line up .
We want to stagger them for structural integrity .
After we set our first row , we can start building upwards to add here our block together .
We're going to use this landscape adhesive , specially formulated for this process .
When I'm laying my glue down , I'm keeping it in towards the middle a little bit more just so we're not getting any squeeze out now that we have our course laid here , let's make sure we flush it all up , give it a couple of tens and then always check for plumb and level on every course we do .
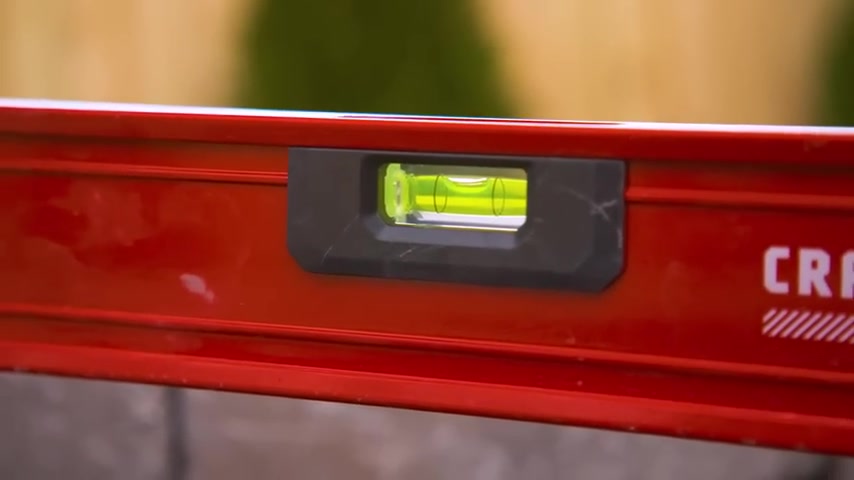
All right , we've got our desired height .
We're gonna check our level here .
And if you haven't caught on already , our theme of the day is make sure everything is level .
All right , we're ready for our capstone .
Our next step is to set the capstone that the oven will actually be built on .
We built our base to the exact size to accommodate our capstone to secure it .
We're adding landscape adhesive on top of the paper base .
Once it's in place we're ready to start laying some brick .
So we're gonna start with the fire brick , which is going to be used for the floor where hot coals make direct contact with at the brick , fire brick is essentially the same sort of brick you'd find inside of a fireplace .
We'll also lay the first course of our dome shape for the oven for this .
We're using clay brick which will go around the perimeter of the fire brick .
It's a good idea to first lay out and dry fit your pattern .
Traditional pizza ovens have a hair and bone floor .
So that's the design we're going to do now that we have our layout , we're going to mortar our brick .
We're using high heat mortar suitable for ovens .
We're mixing our mortar with water following manufacturers guidelines for ratios for this application .
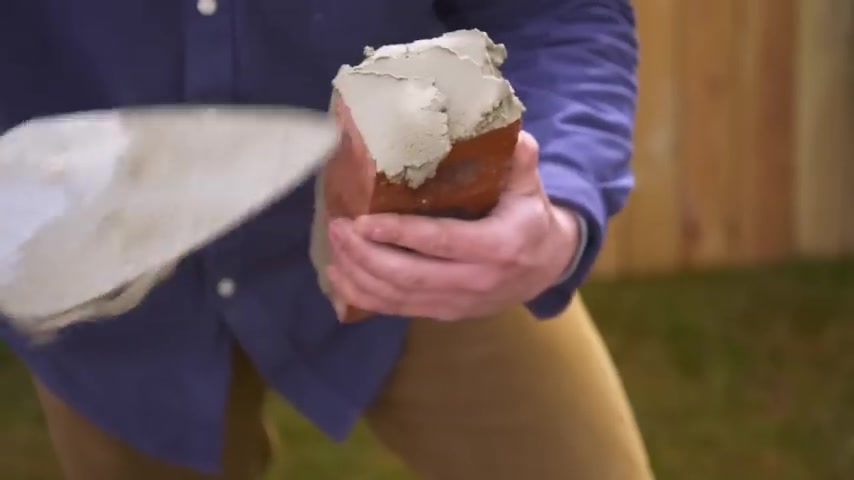
We want our mortar to have a consistency of a melt shake using a 10 inch brick trowel .
We're applying a thin layer on the underside of the fire brick .
We don't want to raise the height of the brick with a mortar .
So just a thin layer will do the trick .
Any mortar spills or drips onto the face of the brick can be easily cleaned up by using a damp sponge to make any cuts .
We're again using an angle grinder .
Once we get this brick laid , we're going to wait 24 hours for it to set and then we're going to start our dome .
The reason you see the dome shape for most pizza ovens is science .
It's an efficient design for cooking mainly as it radiates the heat evenly from above while also storing heat in the oven floor .
The dome shape allows a space for air circulation above the cooking surface , creating high heat and kind of an oven inside an oven .
That's why you can cook pizzas so quickly in a brick oven like this .
In order to make the dome shape , we're going to build a mold out of wood .
This will be a temporary structure that we build our brick mold around .
Then we'll remove it .
We know that our fire brick floor is 27 inches .
So that's the first measurement we have to take and then we'll find center .
So essentially , we'll be making an arch shape and what we need to make that shape is a nail string and a pencil .
The string will be attached to the nail at one end .
It will be attached to the pencil and that's how we're gonna make our arch .
Now , we're gonna cut this shape with a jig .
Now we have our oven opening , we're gonna make one exactly like this by tracing it on another piece of wood .
We'll attach each arc using two by fours cuts of size .
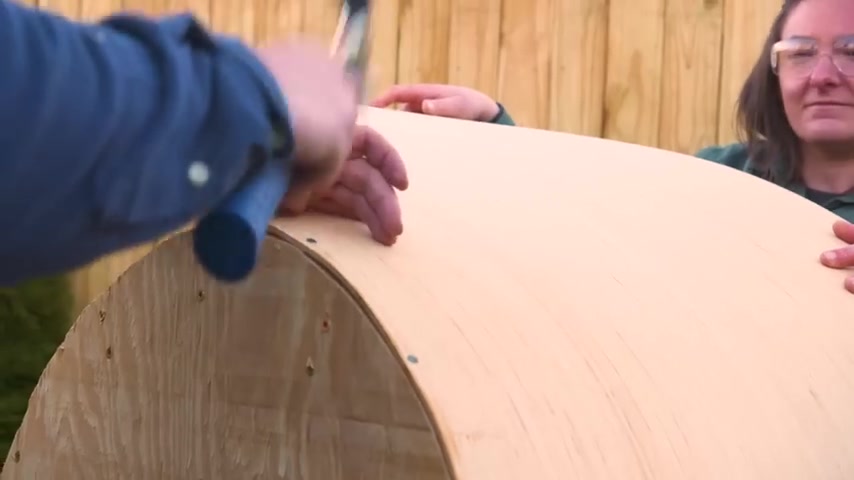
Our last step is to take 11 and bend it over the structure .
When complete , we'll have a solid mold to build our brick around .
We finish our mold and remember our bricks are going to go around it and this will be removed to help with that process .
I'm going to drill a couple holes .
All right , our dome is in place .
We're gonna get our mortar mixed up , get our bricks ready .
We're gonna start building this dome for this mortar .
It's going to be a little bit thicker than what we use for our fire brick so that everything sticks properly as we start to form our dome .
So we're going to do the whole face here and we're going to do one side for our vertical joint .
When building our dome , we want to keep a stagger just like we did in our base .
This keeps the dome stronger .
So we're gonna end up with half bricks throughout the process .
This is a tuck pointer .
But what I'm going to go back and do with this is fill in our voids .
You can also use this to pump up your level of your brick to match our dome mark .
Not only is this going to make it look good , it's also going to help support our next course when we go up .
So we want to keep in mind that we want to roll each brick to the shape of our dome as we build up .
Now that we've made some progress , I want to show you how we varied our mortar lines to make the shape of our dome .
As you can see at the bottom , it starts off as a little thinner .
And as we work our way up , that mortar line gets thicker .
So we're almost to the end and now we're going to move on to our chimney .
So we left an eight by eight square and then we're going to go four courses high with our brick to build our chimney .
Our chimney is located at the front of our oven so that fresh air gets drawn in hits our coals rolls through and comes out of our chimney and creates a nice natural convection .
All right .
So our oven is complete and it looks pretty incredible .
We're just gonna wait a few days , wait for our motor to dry up once our mortars dry , it's gonna release from our wood .
It'll make it a little bit easier to pull our mold out .
After all this hard work , I can't wait to cook some pizzas .
So we've waited a few days for our mortar to dry .
And what we're going to do next is remove our wooden mold in a perfect world .
This may come out in one piece , but we may be forced to break it down piece by piece .
For our removal process .
We're using a combination of a hammer pry bars , a utility knife and an oscillating multi tool to cut out and remove the wood in multiple pieces .
Be aware of any exposed nails in the wood once removed .
We're cleaning up the inside of the oven of excess mortar and dust and then it's time to light this thing up .
We're building our fire in the back corner of the oven to allow space for pizzas and optimal heat distribution .
And now we have an amazing wood fired pizza oven .
It's also become a centerpiece on our patio .
We hope you enjoyed the process as much as we did and feel confident to build your own pizza oven at home .
All the products we use in this video can be found in the description below .
Thanks for watching .
Partnership
Are you looking for a way to reach a wider audience and get more views on your videos?
Our innovative video to text transcribing service can help you do just that.
We provide accurate transcriptions of your videos along with visual content that will help you attract new viewers and keep them engaged. Plus, our data analytics and ad campaign tools can help you monetize your content and maximize your revenue.
Let's partner up and take your video content to the next level!
Contact us today to learn more.