https://www.youtube.com/watch?v=qB_i8_Y0Oyo
How To Build A Deck!! Layout, Framing, and Composite Decking Guide _ DIY Deck Build
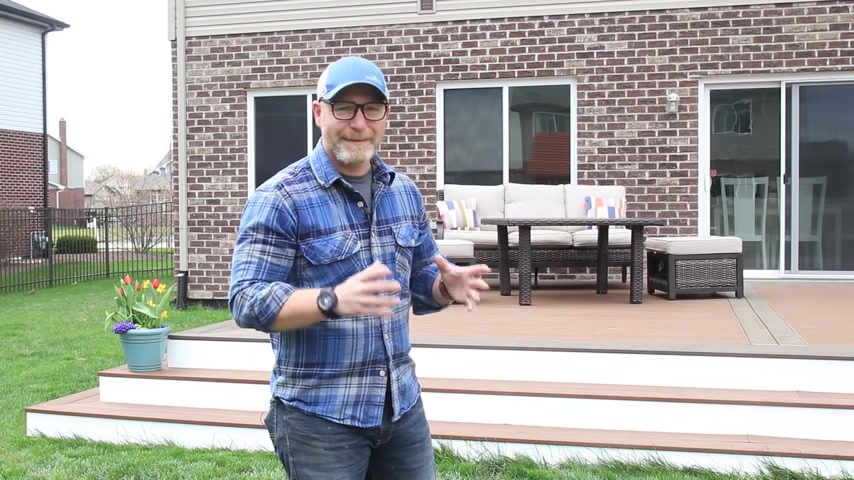
Hey guys , my name is Bart .
In this video .
I'm gonna show you guys exactly how I built this low level deck and cover it with composite decking .
We're gonna talk about how to lay it out .
So your deck is actually square , the framing of the structure and the decking material , how to install it .
But first , let me show you why we're building this deck because it came from a need .
Not a one .
You guys all understand in a second .
Oh , again , four .
Hey , you see this .
Why do you always have to poop right outside the door ?
You know what I'm gonna do ?
I'm gonna build a deck all through here .
He doesn't care .
Anyways , we're gonna build a deck right in front of the door .
So he has to find a new pooping spot .
Welcome to the Kmart Project .
This is all your fault .
Are you gonna clean this up ?
Right .
So this is the back of our suburban home .
Nothing special about it .
Just a rectangular building , but we're going to be given it a huge transformation by adding a large composite deck that's gonna give us years of maintenance , free enjoyment in the backyard .
The plan is to have it framed with traditional pressure treated lumber and deck , it with composite decking from tracks to start the prep work .
I want to make sure that no weeds actually grow through the deck .
So I use the grass killer to spray the lawn area where the deck is going to be .
Next .
I needed a layout of the mentions for the deck and somehow I lost the footage of the actual layout .
So I'm gonna be breaking down the process on a smaller scale for you guys .
But this is exactly the same thing that I did .
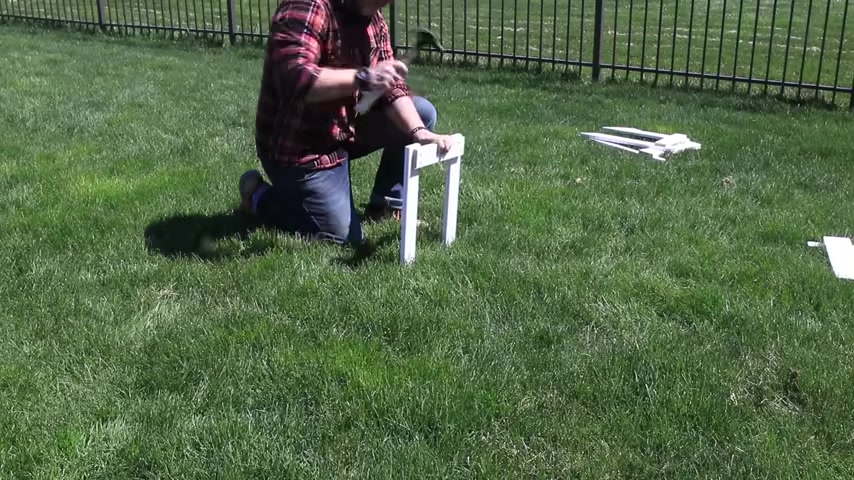
So I know I want my deck to be 18 by 24 ft and to help make sure it's square and to mark the location of my post , I made a couple of bat boards and all this is is just a couple of pieces of scrap wood that you screw together into a U shape and then later pound it into the ground and you're gonna need eight of these batting boards to help with the layout .
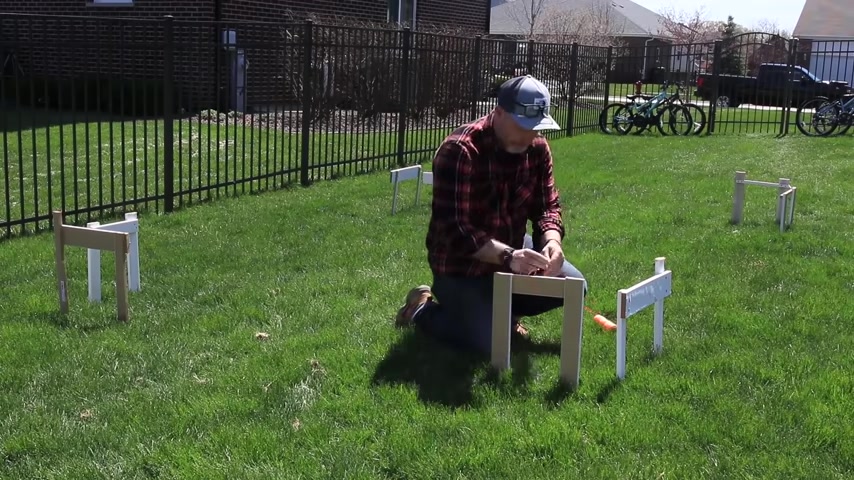
So after you get them all put together , you hammer them into the ground around where the deck is going to be two on each corner , making an L shape , then you can tie four pieces of string to the batons that are facing each other .
And what this does is it allows you to move the string from side to side to make sure that your deck is square .
And to check for a square of a rectangle or a square , you measure from corner to corner across the rectangle and again , on opposite corners .
If your measurements are exactly the same , you're good , you're square .
If not , you can just adjust the string left or right until you get the same exact measurement from corner to corner .
Then using the string as a reference , I spray painted the location of the corners for the deck and all my post locations .
Next came the exhausting task of digging all the post holes .
And to help with that , I rented a gas .
This is one of those tools that if you're building a large deck like I am , it is absolutely indispensable .
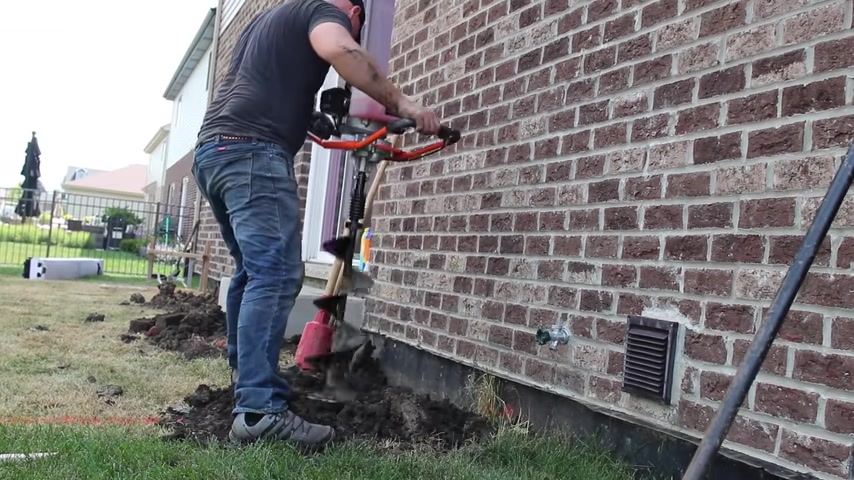
We live right outside of Chicago so our windows can be pretty cold and our required hole depth is 42 inches deep .
So hand digging , all these holes would be backbreaking .
Now , before starting a project like this , I would definitely call Julie and check all your local codes .
Also contacting your local building department may save you lots of headaches and structural mistakes before you start .
Next , I needed to pour the concrete from my frost footings .
A frost footing is a chunk of concrete , no less than six inches thick that your post sits on inside the hole .
It also needs to sit below the frost line .
So my actual whole depth was 48 inches I'm using about a third of a bag per post and then I just add some water and mix it directly in the hold , stop it .
I know what you guys are thinking .
Not cool .
That sounds good .
Ok , I'm done with the frost footings .
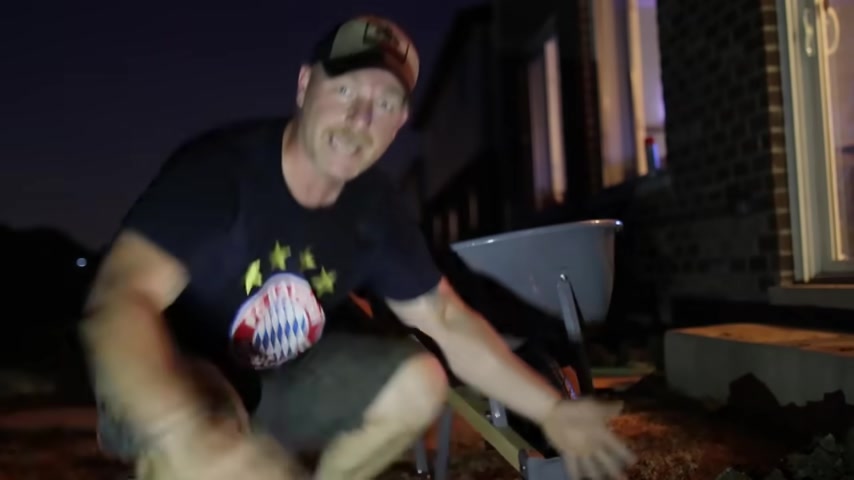
It's 10 o'clock at night , but at least tomorrow I'm gonna be able to start framing , put my post in and build in the deck .
Oh , glory days for my posts .
I'm using 10 ft treated four by four posts that I couldn't have .
This way .
I don't have to worry about calculating the height right now and it leaves me with plenty of posts to work .
And once my deck is completely framed , I can trim them to the height of the deck .
You guys will see a little bit later .
What I mean ?
Next , I set my posts in the holes , using the string from the batting boards as a reference .
Make sure they are plumped with a post level back , fill them with dirt and pack them down really well .
With the back end of a post utility bar , I'll have a link to it and all the tools and materials I used on this built in the description below .
And with that , I had all my posts set and it was time to spend some quality time with honey bunny and try to teach Thor how to climb a ladder like the agile and nimble beast that he is .
Good job .
Come on .
Keep going .
Good boy .
Good .
After having some family fun , it was time to get the height of where that deck framing is actually going to be in reference to my back door .
Now , I could have done this next step with a laser , but I figured not everybody has one .
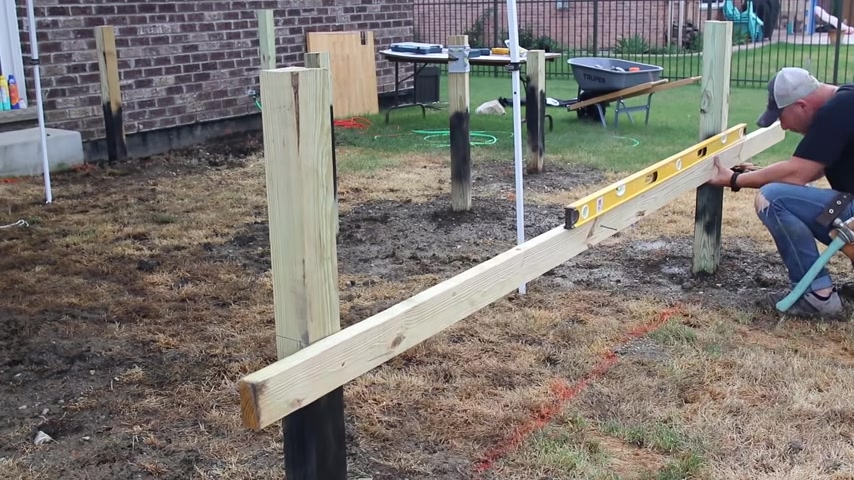
So I marked the closest post using a level then using a long straight two by four , I screwed one end of it to the post and clamped the other one with a clamp .
I then placed the level on top of the two by four , got my bubble in the middle and I knew I was good from post to post .
Then I just repeated the process till all my posts were marked with the height of the deck .
Ok .
Time to start framing .
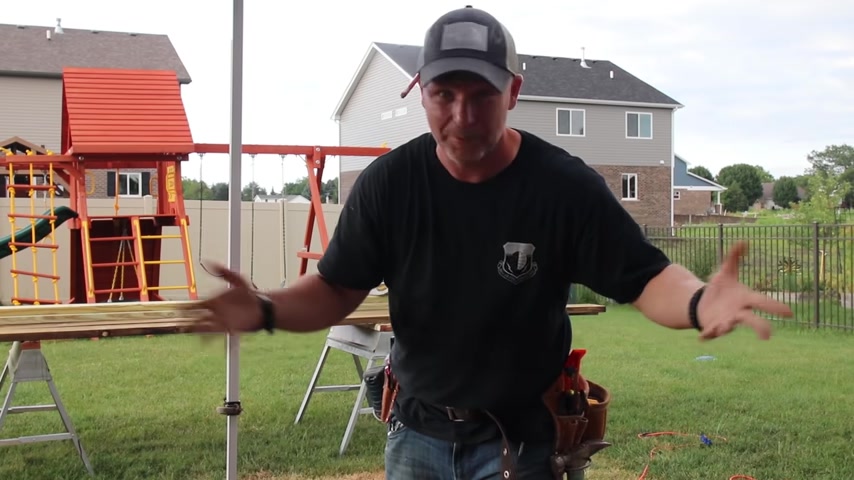
This is my favorite part of the entire project because it's framing .
It's rough , right ?
You screw up by a little bit , you can fix it since I'm working mostly by myself on this project and holding a 16 ft two by eight is not easy .
I screwed a scrap piece of wood to one end of the post and laid my outside ledger on top of it .
Then I could nail it to the post using three and a quarter inch hot dip nails .
Now , these nails are just holding the ledger in place for me .
I'm going to come back later and screw lag bolts in for structural strength .
I then repeated the same process for all the ledgers around the deck since my deck is too large to span the two by eight joy all the way from end to end .
I needed to split the deck in half according to my local codes .
So in the middle of my deck , I'm constructing a sandwich beam or some people call it a double beam .
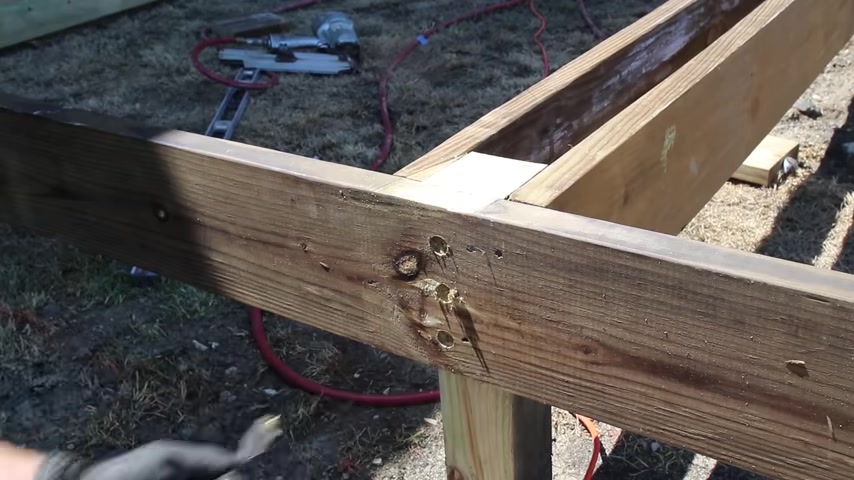
Basically , you install a ledger on both sides of your post in the middle of the deck and run Joice from them .
This is going to allow me to add shorter joy on each side of the beam and still maintain the deck size .
Now to figure out a way around this concrete step that we have outside of our door to do this .
I'm gonna construct a beam that will sit under the ledger and span the length of a deck .
This beam is gonna let me run joy on top of it all the way up to the house with a short candle lever .
And when I get to the step , I can just not a few of them .
This is gonna make total sense in just a minute .
After all my beans are installed , I can finally cut off the tops of all the posts that were left over and start laying out the joy locations .
I hook my tape measure to the end of the deck and place the mark every 16 inches .
Then with a carpenter square , I transfer the line down on the ledger this way I know that the joy is going to be squared to the frame and I repeat the same thing on the double beam .
Then I pre drill holes for all my lag bolts .
These are self tapping 5 16 by four inch ceramic coated construction lags made by power bolt and are awesome for deck building .
Next , I cut all my joy to fit between the ledgers .
If your deck is square , the joist should all be the same dimension .
But if not , don't worry about it , just cut them all individually .
Then I told nail eat Joyce to hold it in place and use the speed prong on the joy hanger while I nail it in place using inch and a half galvanized nails .
Just make sure you put a nail in every single hole of the hanger for the joy sitting on a beam .
I used hurricane straps to hold them in place right when you're installing this raft of joys , make sure you put them on the opposite sides of each other .
Let me show you .
So this joy here , I put both rafter joy on the same side and watch it .
It's fairly easy to make it move right now on ones that I put one here and one on the opposite side .
This thing is absolutely sturdy .
It is not going anywhere .
So make sure you're doing it this way and not this way where they're both on the same side .
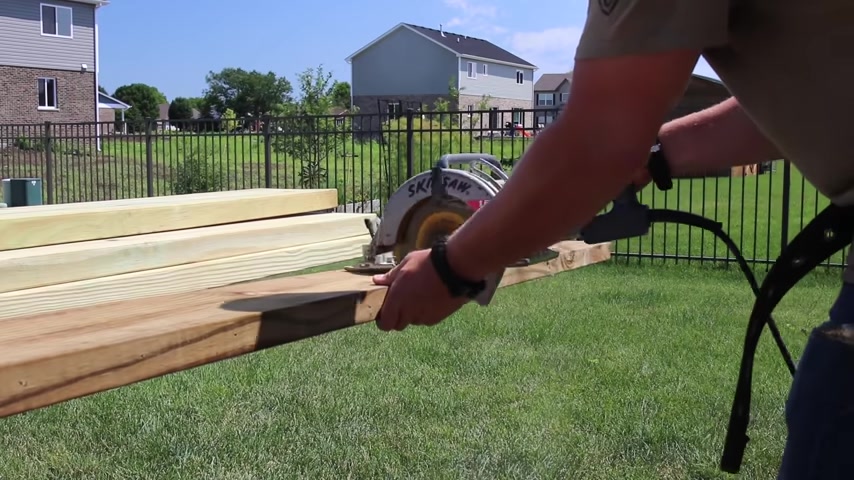
Next , using a circular saw and a jigsaw , I matched out the joys that are going over the concrete step and installed them in the same way as the others .
And then guys , it's just a repetitive process of cutting and nailing until you have all of your joy in place .
And before you know it , it's time to install a duck .
But before I could do that , I had to put down some landscape fabric to ensure that the weeds don't grow through .
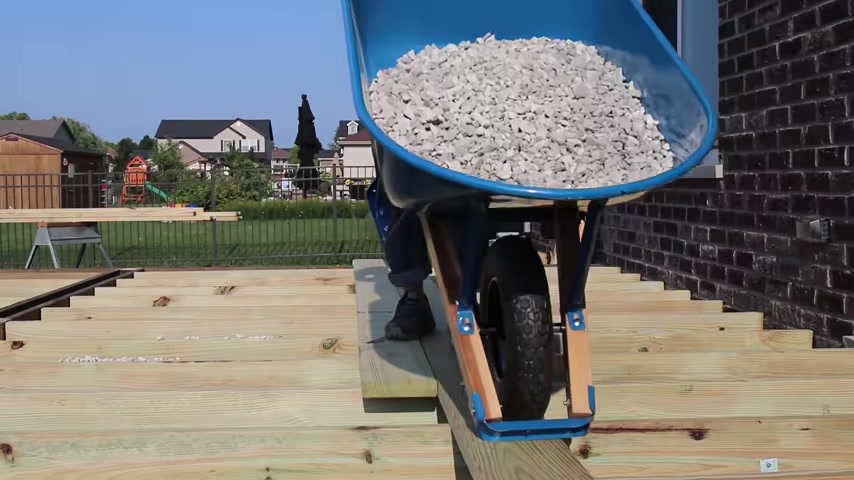
And then I covered it with a ton of gravel and I literally mean a ton of gravel .
This will ensure that the fabric stays in place and doesn't rip and blow away over time .
After what felt like a million barrels of gravel , I started working on the stairs since my yard slopes quite a bit from the house , which is great for drainage but difficult for figuring out stringers .
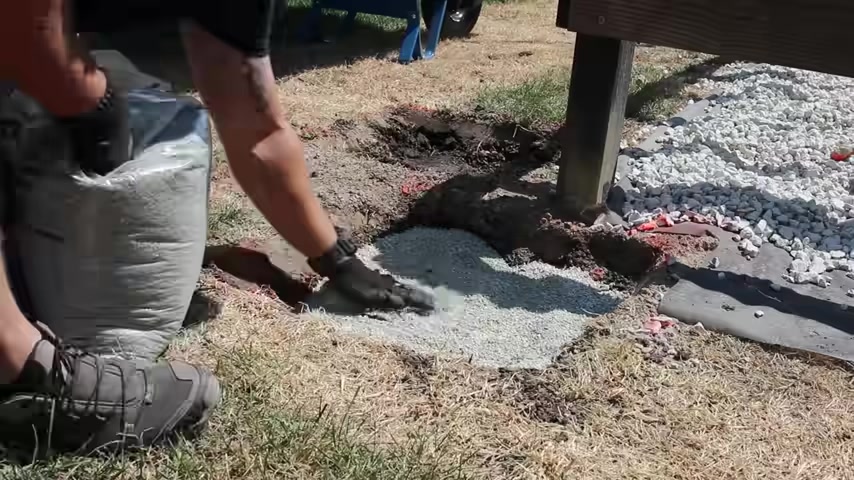
I went with a simple box construction to support my stairs .
I'm installing some 18 by 18 concrete pavers every six ft .
I used paper gravel to level them up and made sure they were even with my deck all the way around .
After the concrete pavers were in place .
I could install the two by 8 , 16 treated boards to make up the frame of my stairs .
This worked out perfectly since my stairs are 7.5 inches tall .
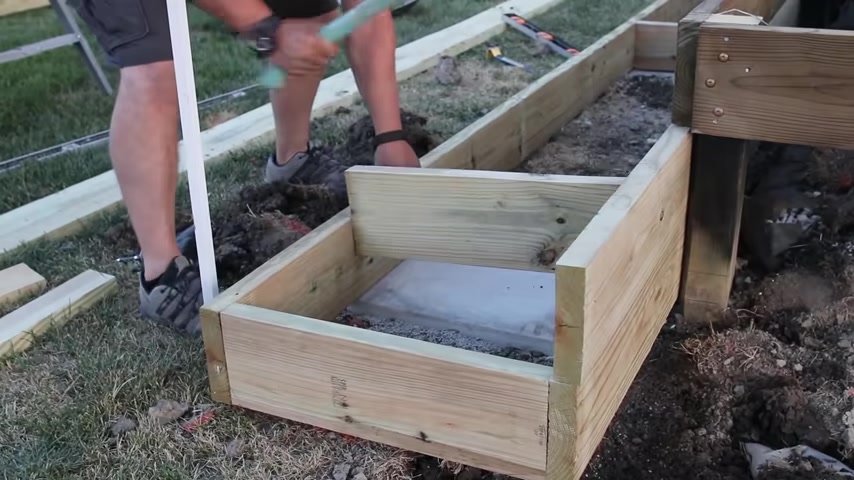
And I didn't even need to rip down the two by eight s since each two by eight is 7.5 inches after I had the bottom step installed , Honey Bunny joined me with her sexy tool belt to cut all the support pieces which are 16 inches apart .
I can't tell you guys how much I appreciate it when she comes out to help me on projects .
Not only do we finish them faster , she makes me have a good time to like to say what happened after giving our cat a heart attack , we finished up all the bracing on the stairs and started working on the middle and the outside bracing of the deck .
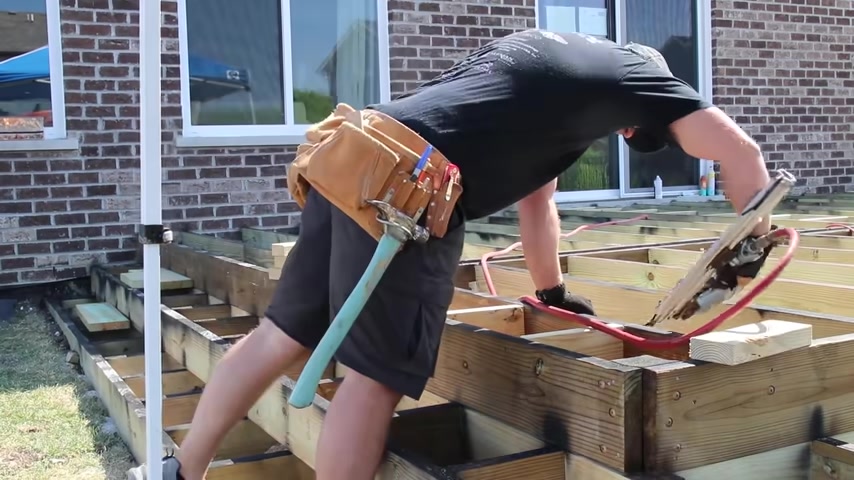
This is where our two tone border is going to go to give the stairs a little pop .
I'm installing a white facia from a a and to make the install easy , the screw packet comes with the screws , obviously the correct fit and what looks like a little crack baggie with plugs to cover the screw holes to make it look seamless .
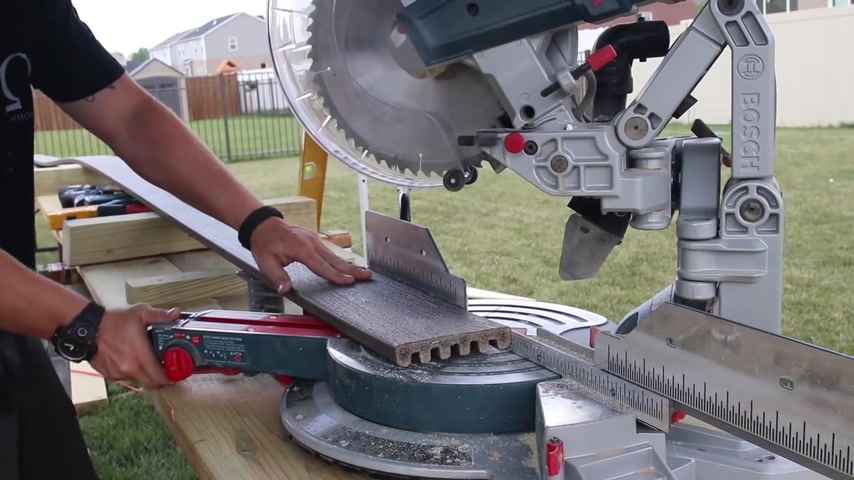
After the show was installed , I started working on the composite decking border which is coastal buff from trucks , 45 degree miters in the boards and pre drilled them on the corners before driving in the screws for the steps and on the inside of the deck , we chose a color called saddle with the intent that the coastal bluff and saddle will contrast each other enough to give the deck a little bit more character and connections where two boards me , I like to reinforce the frame by adding some additional two by four pieces on both sides .
This way , each board has its own backing and can be screwed down much easier .
Next , fighting the 100 degree weather laid out half of the 12 ft ducking boards to be screwed down .
Get the Yes , have some fun .
Once in a while .
After cooling off a bit , I used the round over , bit in my router and gave the boards a soft round over where they meet the border for a smooth transition .
Then using the hidden deck fastener , we drove an inch and 78 s edge deck screws made by Camel .
This duck fastener is designed to drop a screw in on both sides of it and drive them into the side of the board using the provided bit with each box of screws .
Now , what's great about this tool is that you don't have to use it just on composite decking .
You can use it on regular treated board to get a nice concealed fastener appearance .
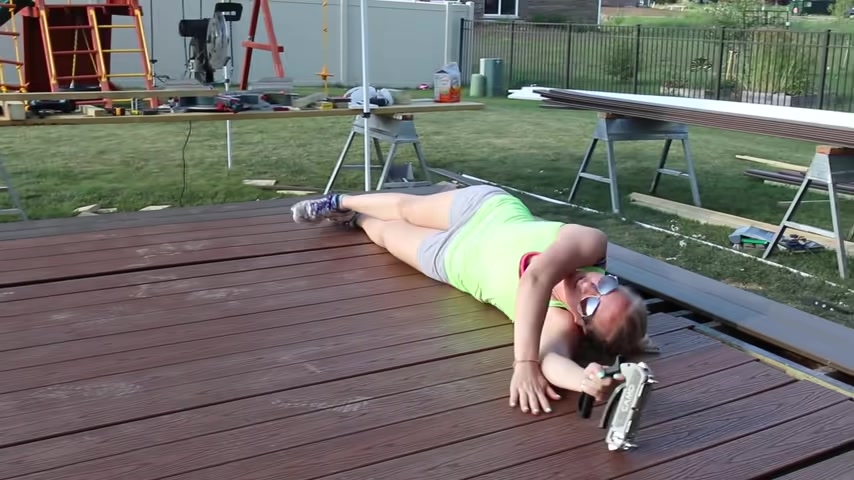
It's looking like a , it works cool while honey bunny took a well deserved duck knap .
I went through and installed the rest of the planks on one side , ripped them down with my circular saw so I could put in the divider pieces using the same border color .
This creates a design feature and I don't have to join any boards together on the deck .
Then it was back to screwing down the boards on the second part of the deck , cut off the ends with my circular saw , finish up my border and just like that , this deck is done and that's it .
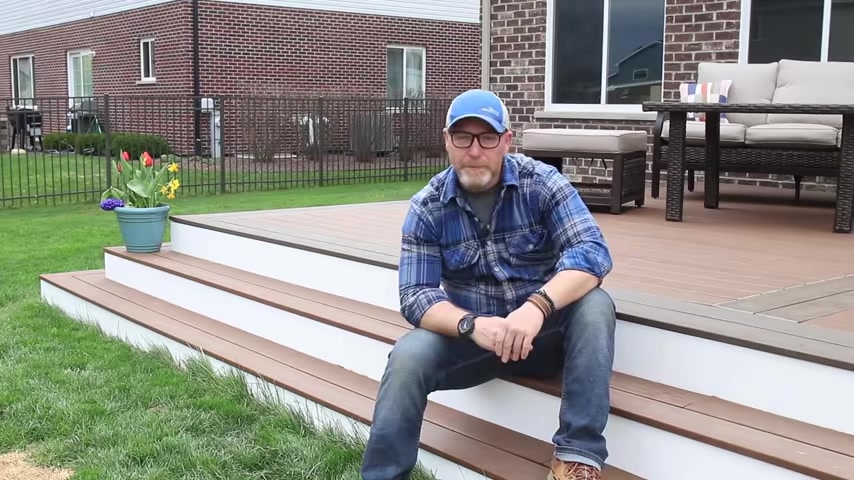
So , there you go , guys , the deck is finally complete and we couldn't be happier with the way it turned out .
But more importantly , Thor actually found a new spot to go .
Pee .
Yeah , there's no controlling a bulldog .
I've given up .
So the size of the deck is 18 by 24 with two steps down that wrap around on two sides , on the opposite side , we have some curve stairs that lead down to our patio area .
That area is still not finished because the bending of the composite decking is actually giving me some problems .
But as soon as I figure it out , I'm gonna release that video for you guys so you can see how that process went .
So if you guys have any questions or need clarification on the process , leave those comments down below and I'll get to them as soon as possible .
If you're new to the channel , consider subscribing and hitting the bell notification .
So you don't miss upcoming bills .
Thank you so much for joining me on this experience .
I'll see you guys next time .

So tonight I'm done with pouring my oh , I don't do not lick me , do not lick her like a
Are you looking for a way to reach a wider audience and get more views on your videos?
Our innovative video to text transcribing service can help you do just that.
We provide accurate transcriptions of your videos along with visual content that will help you attract new viewers and keep them engaged. Plus, our data analytics and ad campaign tools can help you monetize your content and maximize your revenue.
Let's partner up and take your video content to the next level!
Contact us today to learn more.