https://www.youtube.com/watch?v=zP0R5ZGOm0g
How to Hang a Chandelier with Multiple Lights _ The Home Depot

Installing a beautiful light fixture like a dramatic chandelier can transform a space and you can probably do it yourself .
Here's what you'll need to hang it properly before you begin assembling the new light fixture .
Make sure you've read through the installation guide and are familiar with all the pieces and hardware .
Then once assembled , wipe it down .
So the glass or metallic finish is left fingerprint free .
You'll also need to calculate how much chain you'll use to hang the chandelier .
Ideally , the bottom of the fixture should hang between 30 and 36 inches above your dining room table .

So adjust accordingly first , ensure a safe installation by turning off the power at your home's breaker box , then turn the light switch off and on in the room to confirm the electricity is off .
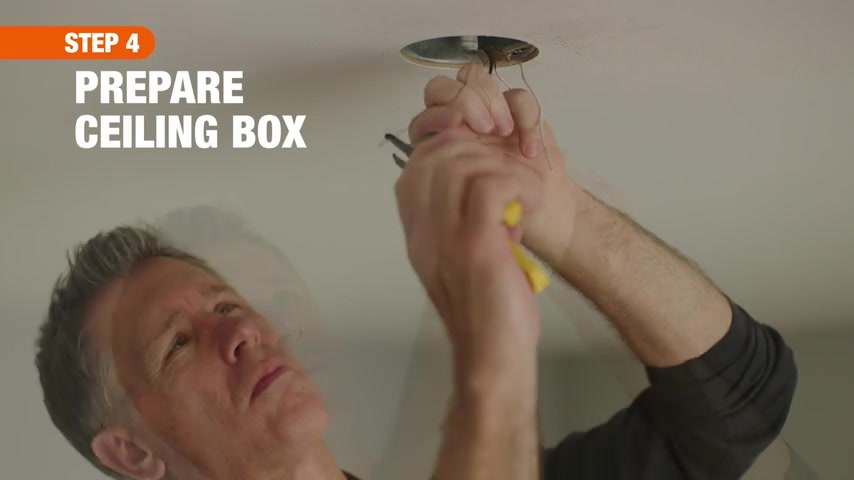
Once you've removed and disconnected the old picture , examine the wiring .
If you don't see an adequate amount of exposed wire to make good connections , strip the wires .
Also inspect the electrical box to make sure it's secured firmly to the ceiling and tighten screws if necessary .
Keep in mind the fixture must be attached to a ceiling joist or an electrical box with adequate bracing if it weighs more than £50 .
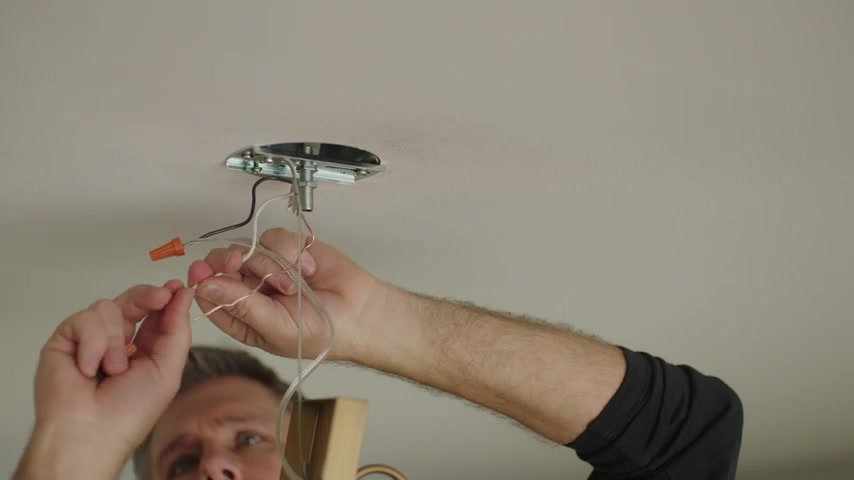
Now , you can attach the chandelier to the electrical box depending on your light , you'll either install the fixture's mounting bracket to the electrical box or thread .
The fixtures mounting stem into a metal strap secured to the electrical box to connect the wiring .

You'll twist the black supply wire with the fixtures , hot side wire using the caps provided , connect the white wires to the fixture's neutral wire .
Then gently push all the wiring up into the electrical box and install the canopy using the provided screws to complete the installation .
Add the appropriate bulbs , then turn it on to showcase your stylish new chandelier .
Good luck and thanks for shopping at the Home Depot .
Are you looking for a way to reach a wider audience and get more views on your videos?
Our innovative video to text transcribing service can help you do just that.
We provide accurate transcriptions of your videos along with visual content that will help you attract new viewers and keep them engaged. Plus, our data analytics and ad campaign tools can help you monetize your content and maximize your revenue.
Let's partner up and take your video content to the next level!
Contact us today to learn more.