https://www.youtube.com/watch?v=lkSU0mpOyyc
HOW TO SPROUT SEEDS _ EASY GUIDE _ Foolproof Method
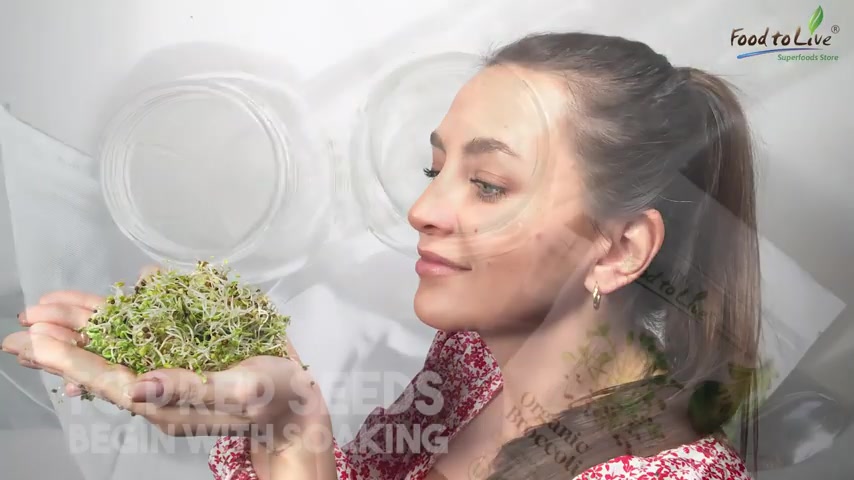
Hi , healthy food lover .
Today , I will teach you how to sprout seeds at home using a jar method .
We will be sprouting organic antioxidant mix and organic broccoli seeds by food .
To love to prep our seeds for proper sprouting .
We will begin with soaking , take two tablespoons of broccoli seeds and place them into a 32 ounce mason jar , do the same for organic antioxidant mix , which by the way includes broccoli seeds , alfalfa seeds and clover seeds .
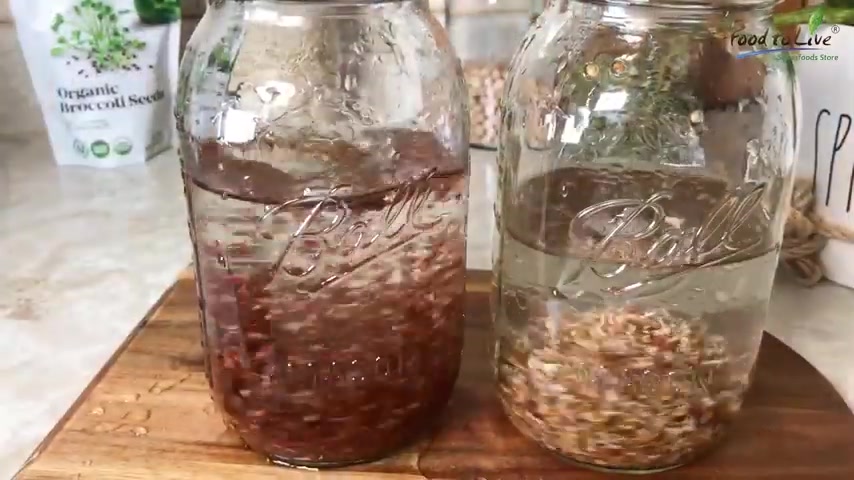
Once your seeds are in , fill up your mason jars about halfway with filtered water .
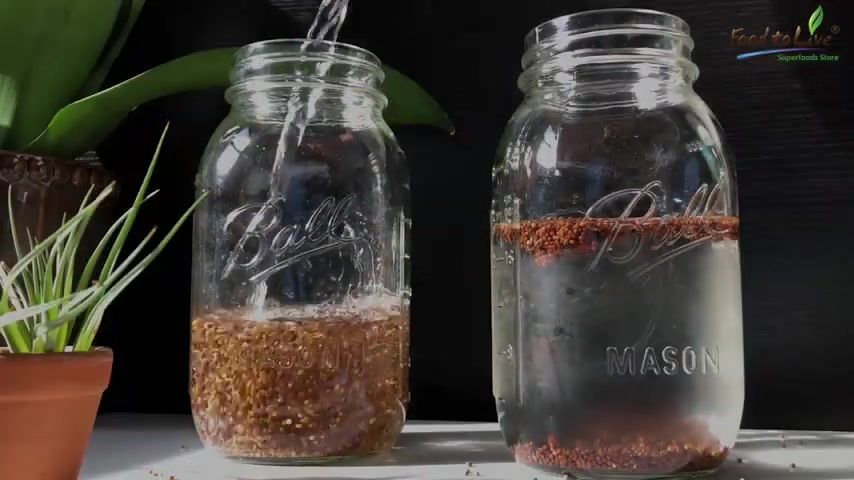
Now , it is important to use filtered water because we'll be soaking the seeds overnight .
The seeds tend to plump up so you can take a spoon and mix them around a little bit to give them a chance to evenly spread out in the water as a cover .
I'm using these stainless steel sprouting lids .
They're comfortable for rinsing and draining the seedss .
Once your seeds are ready , place them in a dark dry place for about 10 to 12 hours .
I place mine inside a kitchen cabinet and let them soak overnight .
It is easier to keep track of time .
Good morning .
Day one .
As you see , some of the seeds may float to the top , they might or might not germinate and it is absolutely normal without taking off the lid .
Drain out the seeds and add clean filtered water .
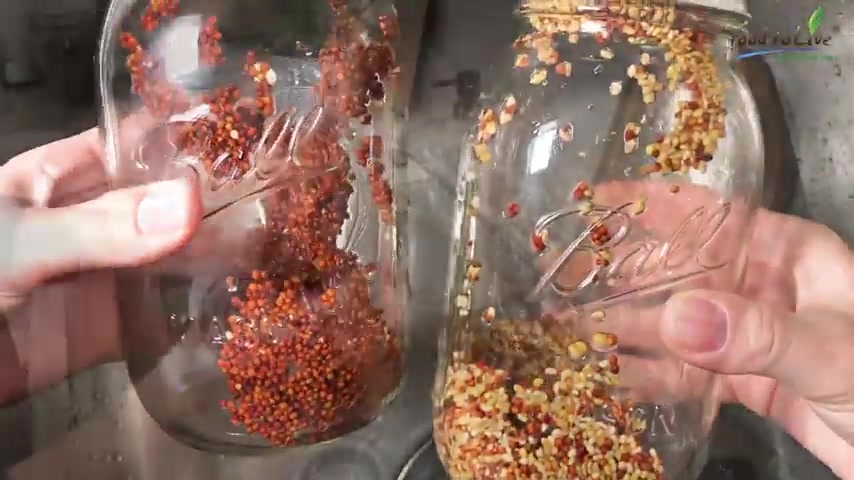
Switch the seeds around to give them a nice thorough rinse repeat this process twice in order to prevent clumping up , spin the jar around to spread out your seeds onto the walls .
If the seeds are clumped up together , they might retain extra moisture which eventually will cause them to rot .
Here is a closer look on day one .
As you see here after an overnight soak , some of the seeds started to open up , especially the antioxidant mix .
Alfalfa .
Seeds tend to germinate very quickly .
They resemble little tiny beans , isn't it cute ?
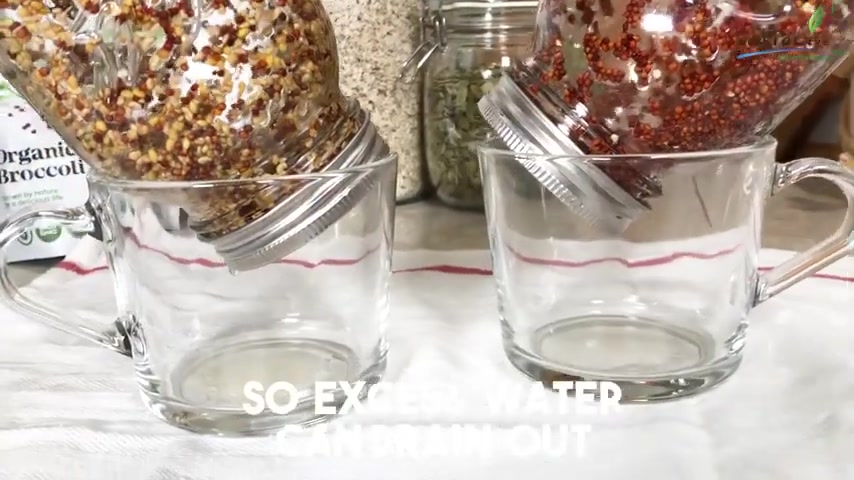
Now , take two cups or two bowls and place your jars upside down at an angle so the access water can easily drain out , then place your seats in the same dark and dry place until the evening .
Rins at around nine in the evening , take out your jars and give them a nice thorough rinse .
Again .
Repeat two times .
Don't forget to spread out your seeds to avoid liquid retention .
Load up your filter with fresh water for the morning and place your seats back in the cabinet for a good night's sleep .
Good morning .
Day two .
By now , you're a sprouting professional .
Fill up your jars halfway with fresh water and give those seeds a nice fresh rinse , repeat the process twice , then spin the jars to disperse the seeds onto the walls .
Since the seeds are getting bigger in size , it is harder to drain out all of the water .
So it is especially important to keep your jars at an angle .
Put the jars back in the cabinet and don't forget to rinse in the evening .
Now , let's take a closer look on day two .
Please notice that the seats are taking a real different shape .
Here , most of the broccoli seeds have produced tiny cracks .
Our antioxidant mix however , has developed little tails .
This is so fun to observe , especially if you're growing sprouts with your Children .
Good morning , day three .
Now we have definitely progressed since day two .
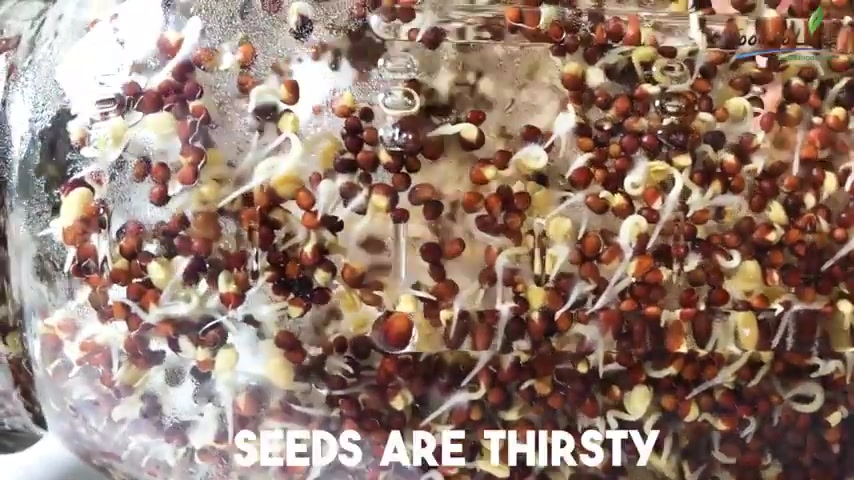
What is especially unique about day three is that broccoli sprouts develop tiny little white fuzz around them .
Don't panic .
It is not mold .
It's little Celia hairs indicating that your seeds are thirsty .
Celia hairs do not have a smell and are not slimy .
Once you rinse your badge , they will be gone .
Mold .
On the other hand , has a very distinct unpleasant scent and does not disappear after rinsing .
Let's take a closer look at it .
Our seeds after a rinse , as you see , Celia hairs have disappeared , our seeds are not fully hydrated and are ready to go back into the cabinet until the evening runs .
Good morning .
Day four .
Wow .
Look at those sprouts .
They're already looking like the real deal , as you may have guessed , we will rinse them twice since the jar is becoming more and more fun .
It is especially , especially important to rinse the sprouts thoroughly , add more water than you normally do and switch that jar around real good .
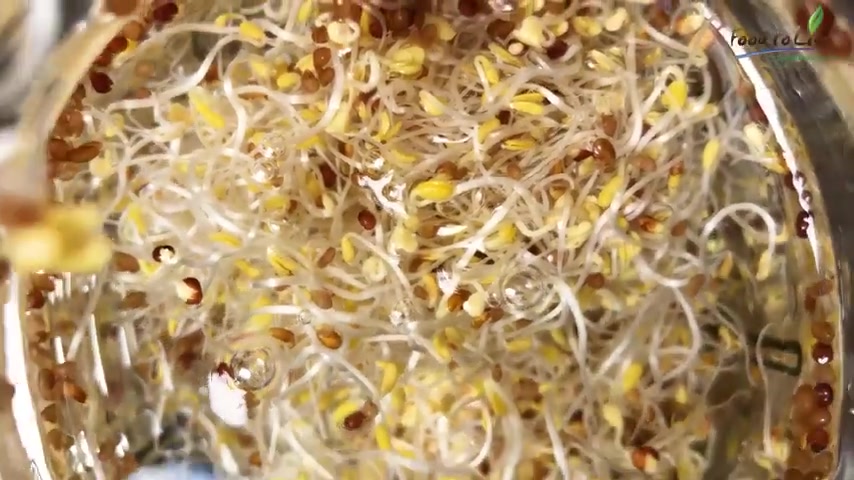
Here is a closer look at our beautiful sprouts as they're taking a quick bath and filtered water .
As you see here , there is a certain percentage of seeds that did not germinate .
That is absolutely normal .
Don't worry about them , just leave them in there .
The most noticeable change on day four is small leaf production for now .
The leaves are yellow and that's due to our dark storage location .
However , today we will move our jars onto a new spot so they can absorb some natural light place .
The jars in a fairly lit room just not under direct sunlight .
I put mine near a window in the kitchen with a see through curtain reminder to rinse in the evening .
Well , good morning .
Day five , my jars are almost full on the left here .
I have my broccoli sprouts and on the right is the antioxidant mix .
Let's give them a nice rinse and take a closer look .
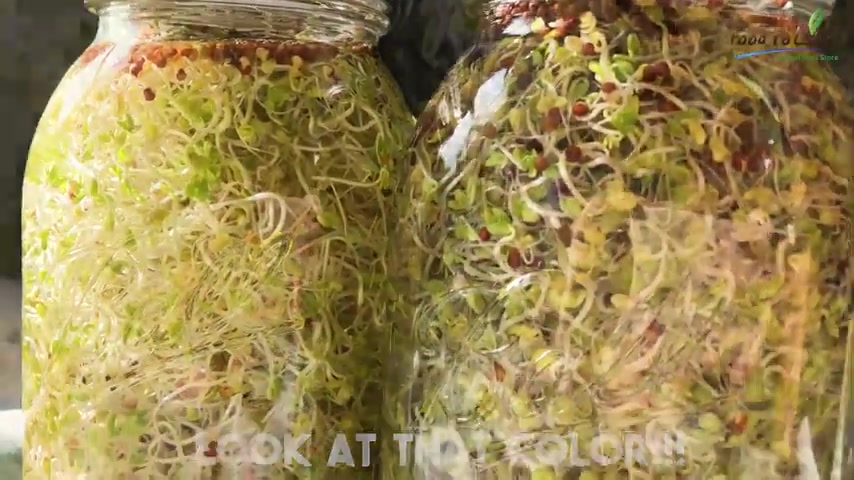
In the meantime , look at that change in color .
How gorgeous and presentable our sprouts started to look , we have a nice mix of green and yellow leaves which look awesome in a salad .
Nevertheless , we're not done yet .
After two rinses , I will place the sprout on the same spot near a window to give them more time to green up .
I have to admit I can't take credit for all of this .
I did get some help from this little guy who by the way loves sprouts too .
Reminder .
Don't forget to rinse in the evening .
Good morning day six , also known as Harvest Day .
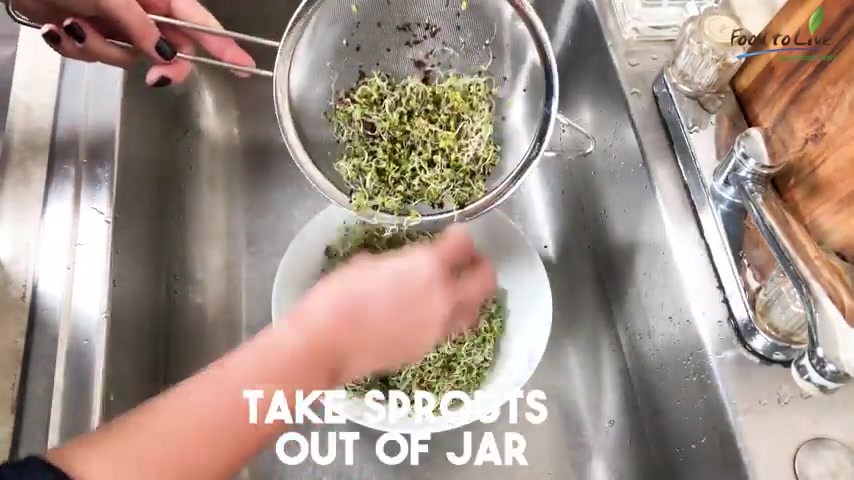
I took the broccoli sprouts out of the jar and will give them one final bath place the sprout into a large bowl and fill it up with filtered water with your hands , lightly massage the seeds to separate them from the sprouts .
Most of the seeds will flow to the top .
Some will stay on the bottom .
Now take a strainer and strain out the seeds .
This process requires a little bit of patience .
I will repeat the process for our antioxidant mix as well .
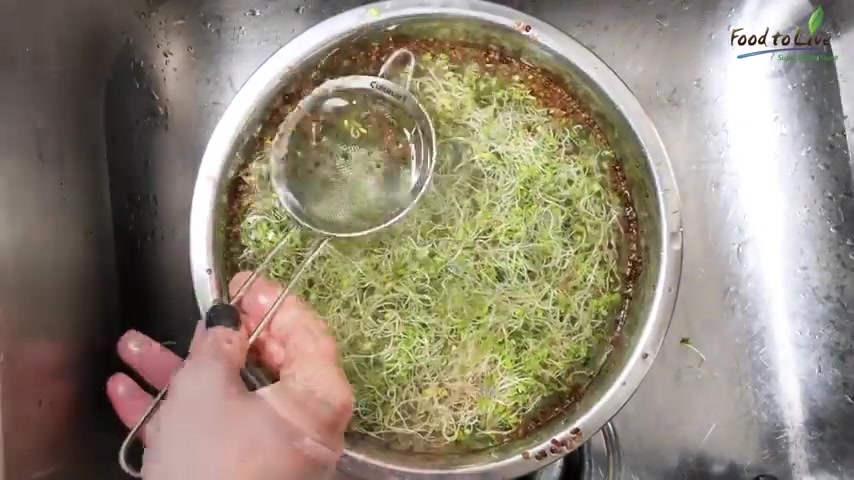
Once again , as you're straining your seats , please be patient .
You might not get all of them out .
And that's absolutely ok .
After you're done , take a plate and layer it with a paper towel or a cloth , gently lay out your finished product onto the plate to dry .
After the paper towel absorbs most of the moisture , place your sprouts into a glass container and store it in the fridge .
Now , let's look at food to live sprouts side by side .
Well , my dear food lovers , I think we deserve a round of applause .
Our sprouts are curly crunchy , fresh green and simply perfect .
You can eat them with just about anything .
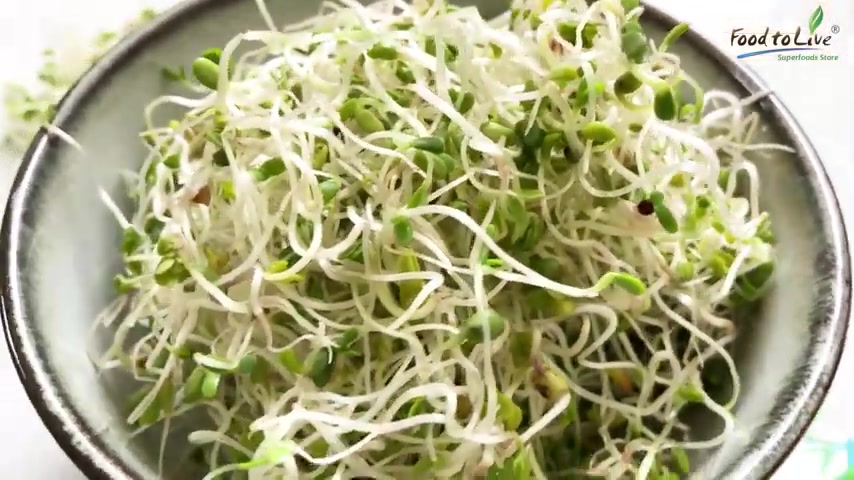
Sandwiches , soups , salads , stir fried dishes , veggies , pasta , eggs , hummus and all the grains in the world .
Not only are they super healthy , they can also be used to decorate your dishes .
Just a side note , sprouts taste the best if they're eaten within the first week .
However , if you feel like you sprouted too much to be eaten in one week , you can freeze half of your bag and little ziplock bags to later be used in a smoothie .
Thank you for watching and Happy sprouting .
Are you looking for a way to reach a wider audience and get more views on your videos?
Our innovative video to text transcribing service can help you do just that.
We provide accurate transcriptions of your videos along with visual content that will help you attract new viewers and keep them engaged. Plus, our data analytics and ad campaign tools can help you monetize your content and maximize your revenue.
Let's partner up and take your video content to the next level!
Contact us today to learn more.