https://www.youtube.com/watch?v=YHaVEN6ijxU
2023-06-14 18:14:56
DIY DECK Part 7 _ Building Stairs
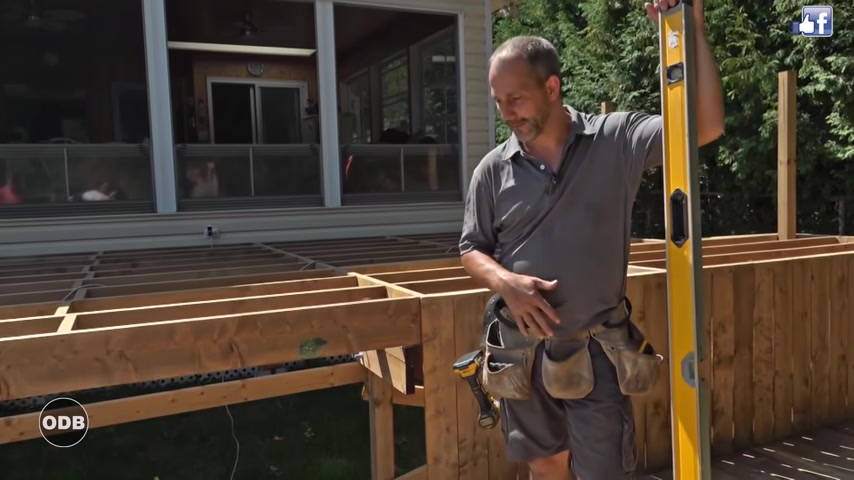
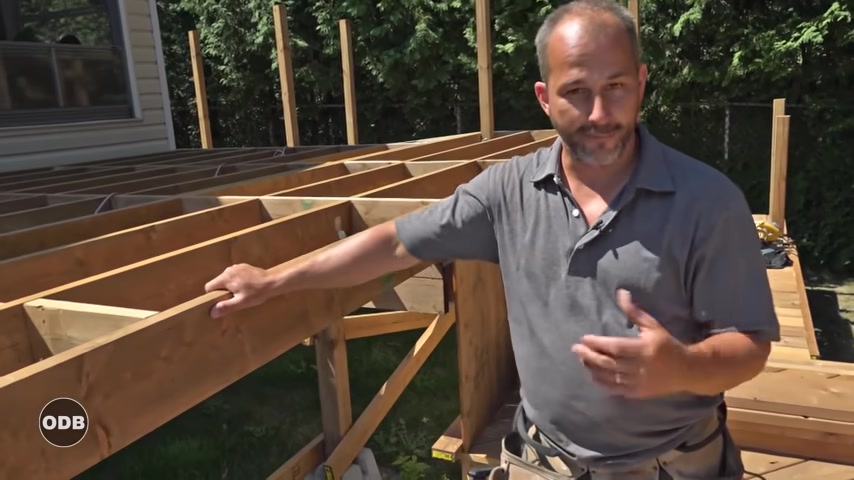
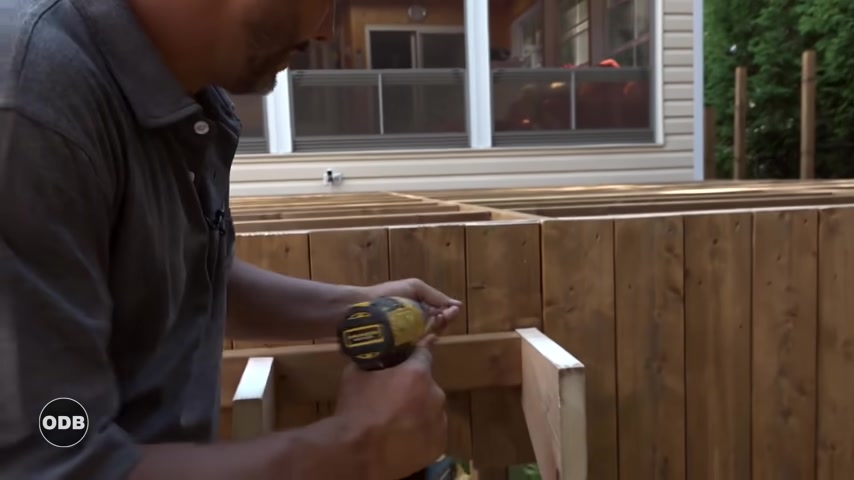
So now we're going to deal with the stairs .
I would think that the stairs , technically speaking are the most difficult element of any deck .
There's a couple of sheets that you can do .
I've seen a lot of people make just a platform box and they deck it and they build another one and another one smaller and smaller until you get to the top .
That's a lot of material .
But if math is not your strong point , then sometimes that's just a great way to go about it .
You have to decide if you're going to put your skirting behind the stairs and leave them open or if you're going to use the stairs as part of the cover .
Because remember , we're trying to make sure we don't get rodents and stop living under the deck .
So our skirt board is going to come out up along the side of the stairs .
So we get to measure our staircase in raw frame onto decking .
I prefer it this way just because I get a nice finish .
So what we do , basically , there's two numbers .
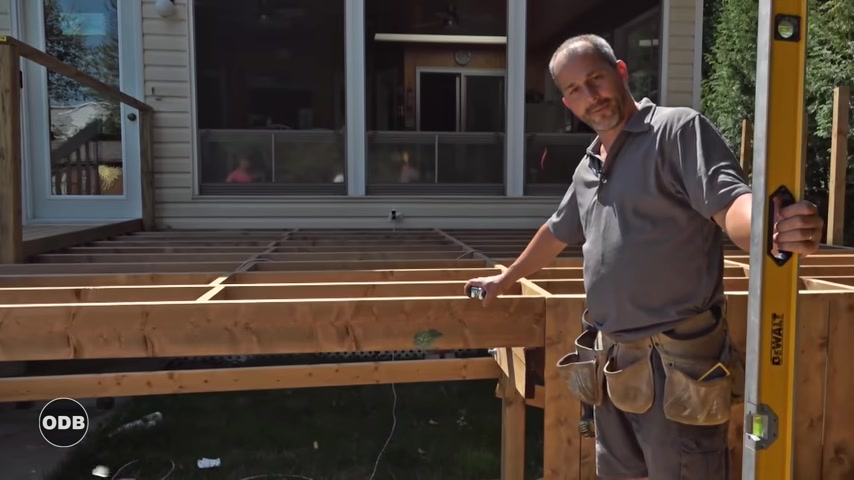
We need the rise , which is the distance from this deck to this height of our rough structure and the run , the distance from here to the end of the stairs .
Now , the run is determined by you have a minimum width that a stair can be .
Ok .
So it's a little bit tricky .
So let's deal with the rise here .
First .
We have a couple of code issues .
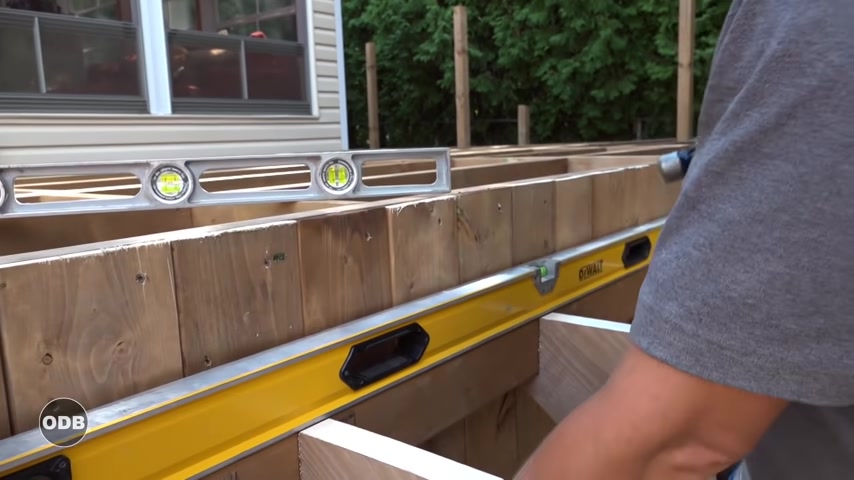
I need you hold this and tell me when you're perfectly level .
So basically what we've got here is we're taking care of the two major issues that we need to know .
Rise and run .
So Nate , let me know when we're level .
Yeah , 39 a half , we'll try this side of the staircase as well .
Good to know these things .
If we built it as we're supposed to , then we will be 39 a half .
Yeah .
Good , nice around the money .
So 39 a half .
So just to get the math close to 40 inches , ok , when you take a look at it this way , um , you can have a rise of eight inches and that's our region .
Make sure you check with your own code and where you live .
But our in area is eight inches is a rise .
That's a good rule .
Good rule of thumb .
So as an eight inch max that gives me five steps , five sections of rise .
So I actually have four stairs five times , I'm going up four times I'm going across .
So I'm basically 39 inches high and 40 inches out .
So it's almost a 45 degree angle that will be very comfortable .
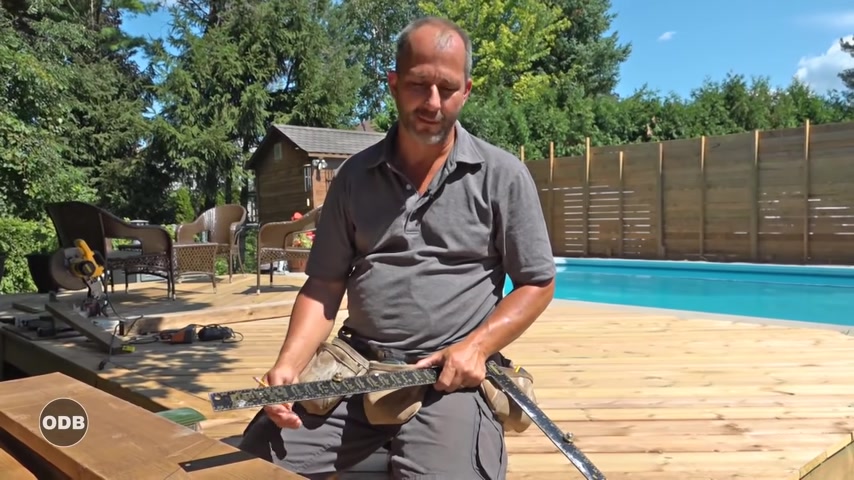
Now , I bought this today just to demonstrate , this is something you can get at your building stores .
Right .
And it's a great little cheat .
And if I was to purchase this and install this , what I'd end up with would be an extension of my deck onto the first step .
Now , that's not what I'm looking for .
I want to have the first step coming off down here .
Ok .
That way my post on my railing system work .
Well , I do this , I've got all kinds of engineering issues with where my posts go and my railing .
But if this works for you , then sometimes it's easier to make your deck a little bit bigger .
Buy one of these , buy a few of these , cut them down , stick them together and it will work if your rise and run don't fit properly though , something like this won't work .
So just a little demonstration , the higher of the rise , the shorter you step away from your body .
Ok .
So for instance , if there's just a two inch rise , you're going to take a longer stride .
And this is the way that code works .
They have it organized so that the shorter the step , the deeper the step needs to be .
It's like a 27 rule .
It's two times your run plus your rise should equal 27 .
So if you only have a five inch rise .
Then that means five off 27 leaves you 22 .
You need an 11 inch step .
Simple math .
And that's how you have to build your stairs .
We have five rises .
We have four stairs , 40 inch , we need a 10 inch step .
Nice and simple .
So what we're going to do is we're going to build our own stringers because this one , although it was close , believe it or not , wasn't close enough .
The length of my step was actually about a half an inch shy .
So this left this useless for me today .
This is my framing square .
Now , I'm not a framing expert , but I have used these things before and these are just great little dials , they attach to the , to the square .
Ok ?
They just screw on and you can adjust them .
And the idea is I'm looking for my numbers turned out to be seven and a quarter and basically just under 10 inch .
Ok .
So you put these on your square and you can draw out your step and you just bring it down to where it intersects .
Now , every one of your stairs is exactly the same size .
Now , I'm going to use five stringers .
I like my stairs to be really extra solid .
I don't like weak steps .
There's nothing worse than when you're going up a flight of stairs and you feel like you might fall through .
So we're going to go a little overkill our stairs are six ft wide .
I'm going with five stringers .
That should be plenty .
We're going to use solid inch and a quarter deck board on them .
So when it's all screwed together , we'll have a little bit of back support and then we'll drop it into place .
What we're going to use for .
This is a skill saw .
We're going to set the depth for cutting through wood .
It's two inch thick .
Now it's a round blade .
So when I'm following my line , when I cut to my intersection in the pencil , it's going to cut on a curve .
I'm not going to cut , I can come from both directions and the wood won't be freed up .
I still have to cut it straight through .
So after I'm done cutting with the skill saw , I got to come back with a jigsaw just to finish off the cuts and not make sure that everything is clean and square so that it is a perfect cut with the skill saw .
But then you got to follow up with the jig and place it in the spot .

It makes the perfect inside cut nice and clean .
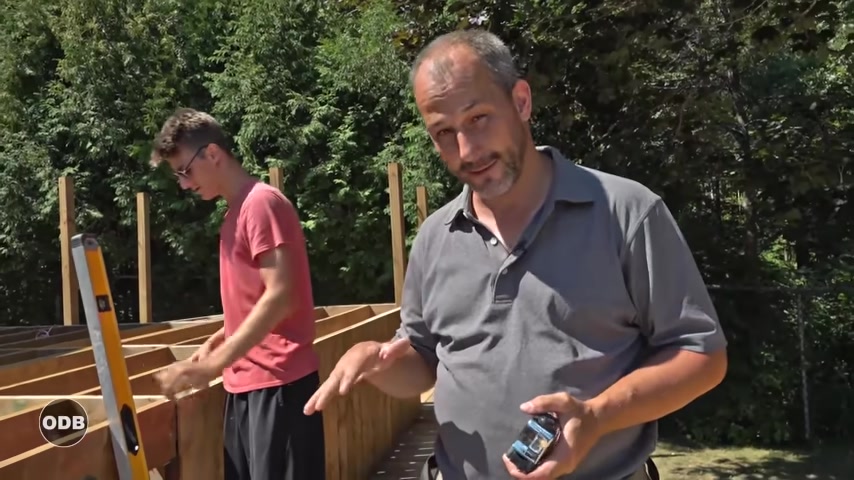
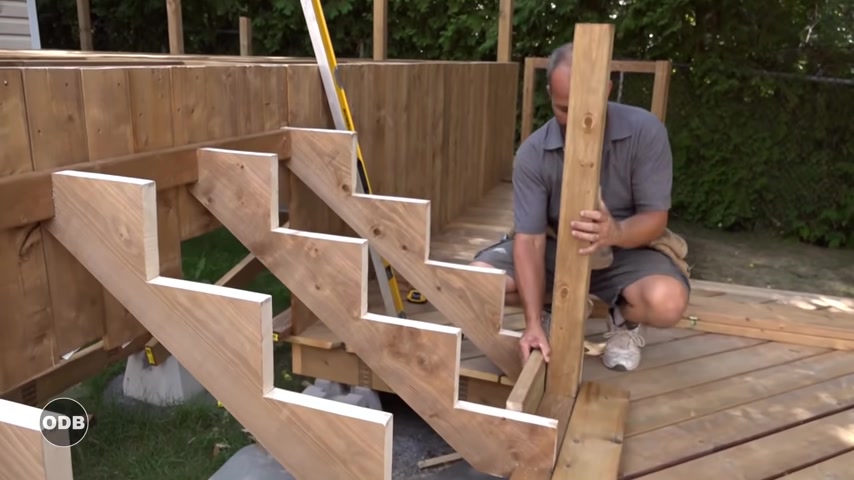
We would just do that over and over and over again with all five of our stringers , then we're ready to attach them .
OK .
How old , right when you check those out .
All right .
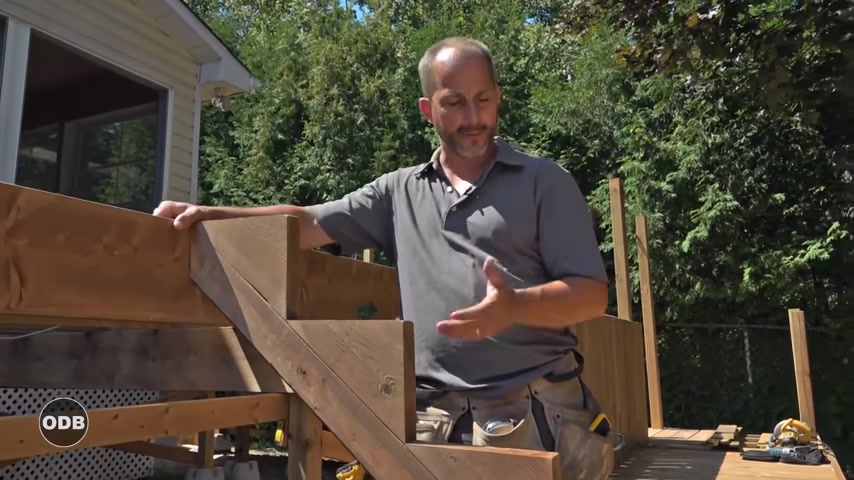
So now we've got all of our stair stringers tacked into place the outside is screwed together .
Um You can see what we did is we continued on with our skirt looking behind where the stairs are going to go .
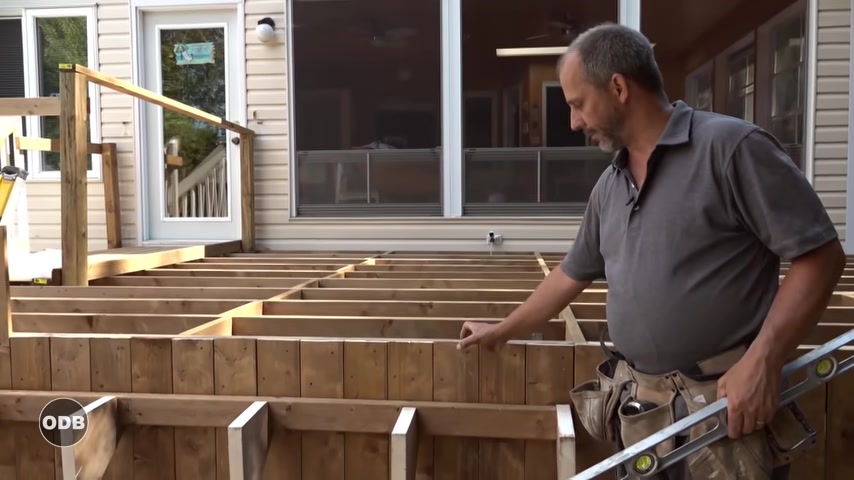
This is going to be important because we're doing picture frame deck similar to the other level .
This here is going to come out about an inch and a quarter will be a nosing .
So this acts like its own riser .
Um I think it's just going to give it a really nice clean look when we bring it all around .
So what I got to do here is just roll this over this .
No , I've marked my center lines from my joy from my stringer story 18 3 ft and then 53 .
So what we're going to do is just transfer those lines .
Ok .
Try to keep it as square as you can before you're scribbling together .
Now , these inside stringers , I've notched out the area where the two by four goes .

And the reason for that is really just so that we have some stability .
This keeps everything from twisting side to side as the wood dries over time after we're done there .
We'll just do the same thing over on this side .
36 53 .
Yes .
Ok .
So once you have it all assembled , we just lift it into place , gonna need my drill with me here .
Now , what I've done is I've pre marked my seven and a quarter rise over here .
So I know where to attach this two by four .
Now , I've got this corner tacked in .
I'm just checking my level and I want to be off just a little bit here .
Stairs at our level are nice .
The stairs that have a one degree incline towards the stair is really sweet .
If there's ever any movement with this deck , it gives me a little bit of mercy .
You never want to go down a set of stairs that are throwing you forward .
So having them leaning a little bit , it's never a problem .
I take up my six ft level again because the longer the better and I'm gonna basically just kick out the back or lift the front to get this in that position because in the same regard that you don't want to be falling away from the stairs .
You don't want to feel like your stairs are throwing you to the left or to the right .
Here we go .
Here we go .
Now we're tucked in , check all of our stairs , but we're well within allowable limits here , maybe come and go 1/16 of an inch here there .
I'm gonna be real pleased with that .
Right .
So once we have our stairs in place , it's just our basic frame .
Uh , we've got it tacked in , we're gonna throw a few more screws , but I'm just going to show you the rest of the components of building a staircase .
So basically , you've got to put in your four by four post up against your stringer and where we are , our code requires us to block both sides .
Ok .
So we have a two by six riser across the front , it'd be screwed in from all different directions .
And that means it also has to be blocked from here across .
Ok .
And then after we're done with that , we just cut our floorboards and I'm going to go about an inch past the stringer on each side so that I can bring my skirt boards all up the sides .
Ok .
I'll do a little back framing with some two by fours , screw the skirt in top and bottom , close off that area for animals .
And then that'll be the finish with this one here .
We'll end up drawing the size of this post .
We'll cut it out with a hole saw and , and a jigsaw and then we would just lift it up and slide it over our post and slide it down and that would be it .
And we just stairs and rise all the way , close it up and then we're finished .
So for more tips and tricks on how to renovate your home , make sure you subscribe to our channel at Ottawa Design and build here on youtube .
Partnership
Are you looking for a way to reach a wider audience and get more views on your videos?
Our innovative video to text transcribing service can help you do just that.
We provide accurate transcriptions of your videos along with visual content that will help you attract new viewers and keep them engaged. Plus, our data analytics and ad campaign tools can help you monetize your content and maximize your revenue.
Let's partner up and take your video content to the next level!
Contact us today to learn more.