https://www.youtube.com/watch?v=ZwoArNsNP_s
2023-06-14 18:14:43
DIY Concrete Weight Plates _ SAVE MONEY & DON'T BUY MOLDS
Hey , everybody .
My name is Mike Montgomery .
And today I'd like to show you how I built these diy £45 concrete weight plates on modern builds .
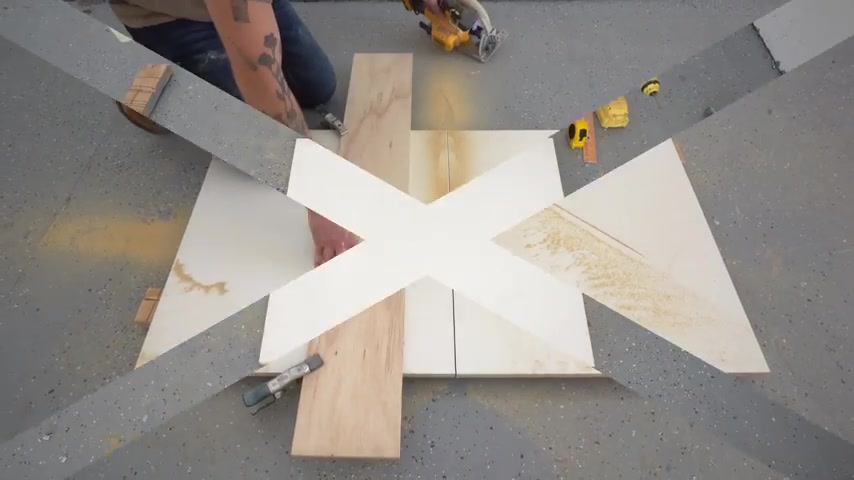
I cut the base pieces for my two molds out of three quarter inch thick melamine .
This will be strong enough to stay flat and the melamine will help the concrete release .
After I found the middle of each piece , I then used the diy compass to mark an 18 inch circle .
Making these reference marks is gonna help lighting up our side walls later .
And speaking of the side walls , I built these out of scrap three quarter inch plywood .
I used that same compass to mark half of the circle on each piece .
And I cut that out with my jigsaw .
After I successfully cut one of these pieces , I use that to measure and mark the other three blanks .
Ok .
Each of these side wall pieces will make half of our circular mold .
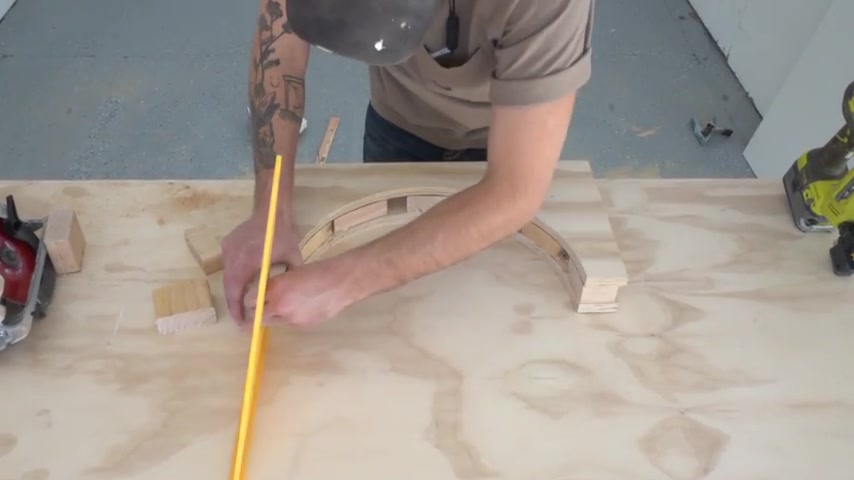
And in this shot , you can see me gluing and nailing in my scrap two by four risers between the three quarter inch plywood pieces .
We just cut my goal here is to make sure that that inside curve is aligned and as square as possible because we're going to use this to attach some whiteboard material to in our next step .
And here you can see how the two pieces will assemble at Home Depot .
I picked up this marker board panel with a really thin half inch or quarter inch MD F backer panel .
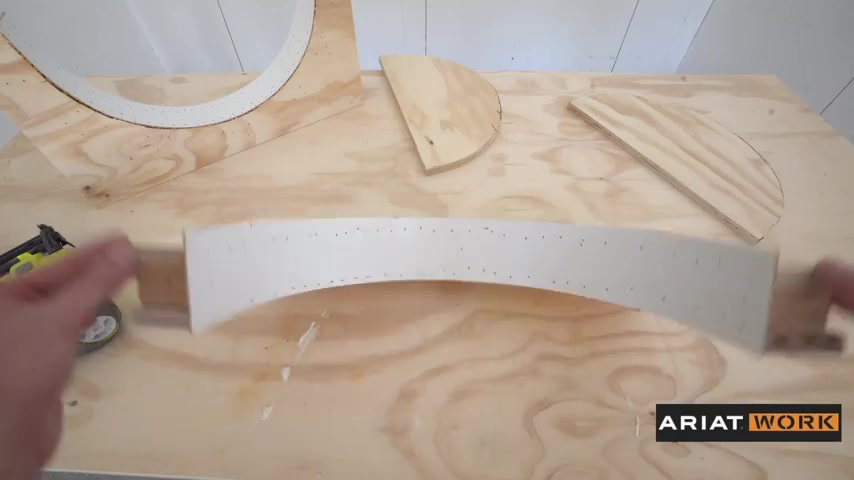
I'll be using this to line the inside of the curved molds we just made Once I cut my pieces to length , I then raised my circular sauce .
So it was only going about half or two thirds of the way through the material .
These relief cuts or curve cuts allow it to bend way more easily .
I applied glue to the back of this piece and then I used my nail gun to attach it .
It's a good idea to turn the pressure down on your nail gun here .
So it doesn't shoot through the marker board .
If you're interested , I'll be sure to leave a link down in the description to all of the tools , materials and supplies that I used for this project .
I'll also leave a link to my list of a workwear favorites , which includes the shirts , jackets and boots that you see me wearing all the time .
There will also be a 10% off link in the description as well .
After using some to fill all of those nail holes , I used a flush trim saw to make sure I had a good square meeting edge .
And any time you're using whiteboard or melamine material , using painter's tape helps prevent tear out really well .
Awesome .
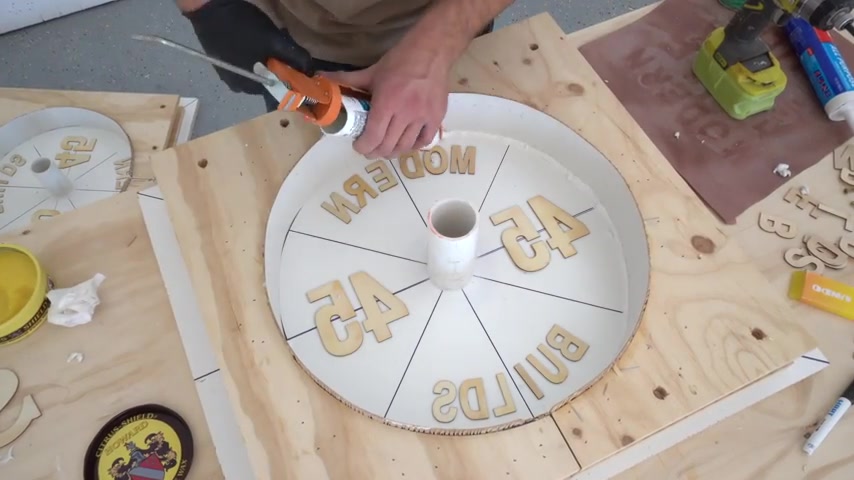
I picked up these wooden letters from Amazon .
I'll be sure to leave a link down in the description .
I thought it would be next level if I could get the weight and some letters to imprint in the concrete .
So I figured , why not give it a try ?
Just remember that whenever you line up your letters or numbers , the actual mirror image is what's going to be imprinted into them .
So I lined everything up then flipped it and rearranged it .
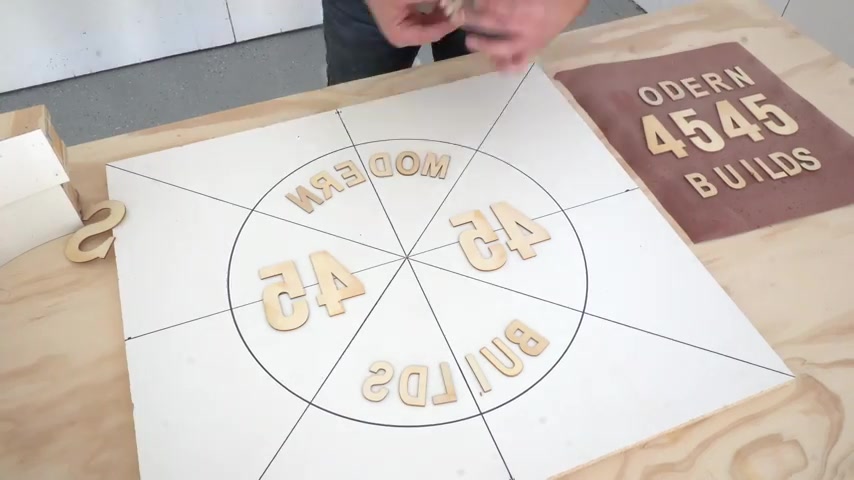
So it was backwards .
I applied a healthy layer of three M spray adhesive and I let it sit for a couple of minutes before attaching my letters .
This way it gets tacky and has the best bond .
After the letters and numbers were attached , I used one and a quarter inch Power Pro screws to attach the side walls to the base .
After that , I applied a pretty heavy coat of paste wax to the entire mold .
This is going to help the concrete release easier .
It's also gonna help whenever we make our KK beads in the corners .
This two inch schedule PV C is the perfect inner sleeve for concrete weight plates .
It slides over in an Olympic bar perfectly .
After making some grooves in it with a round file , I then used lock tight power grab construction adhesive to adhere it to the mold , I did have to clean a little bit of that wax away so it stuck .
You wanna make sure that your mold is watertight and a part of this is running a KK bead around that inside corner .
I used the round end of a glass cutting tool to round it over .
And then after it dried , I was able to peel it away because I had a good wax layer built up for each plate .
I'm measuring out £45 of original .
Quick .
I want to use the most standard concrete available for these tests .
I'm sure using a crack resistant mix or adding fiberglass could help .
But I wanted to try something that is not complicated .
First , after I had exactly £45 of dry mix , I added water and it's best to do this gradually as you go .
So you don't add too much .
I didn't exactly do this and I do wish I used about 5% less water .
I added the concrete into my mold by hand .
That way I could press it into the corner and all of the letters .
I tried my best not to make a mess and I tried to use 100% of what I had mixed up .
That way my two plates would be as similar as possible .
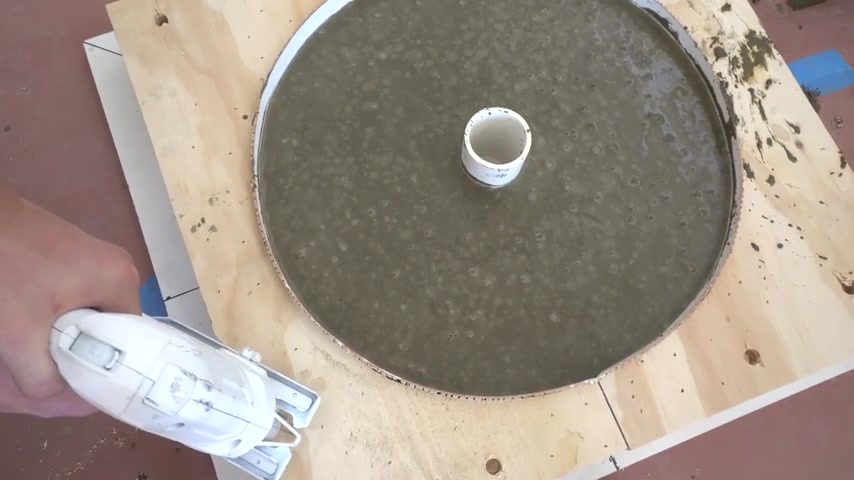
And pro tip , the jigsaw is the ultimate tool for removing air bubbles in concrete molds .
Check it out after the first concrete pour was a success .
I did my best to repeat that .
This time I added water a little slower and you can see the mix that I got is slightly more dry .
I still packed this into place by hand and then vibrated out all the air bubbles with a jigsaw .
And while we let that concrete cure , I'd like to give a big thanks to the sponsor of today's episode .
Squarespace .
If you need a website , an online store or just a custom domain .
Squarespace is your one stop shop .
And the best part is is you need zero website building experience .
If you can upload files in drag and drop text blocks , you are well on your way to a one of a kind site , Squarespace designer templates are designed to look great on desktop tablet and mobile number or where customers find you .
Plus they are packed with great features like no limits to the number of items you can sell on Squarespace stores , the video studio , mobile app that helps you create professional level content to drive engagement in sales and a really cool feature called member areas where you can package premium content behind a pay wall on your Squarespace site .
So if you're interested in learning more , make sure and go to squarespace dot com slash modern builds where you can build out your entire squarespace site before entering any of your credit card info .
And then when it's time to make your website live , make Sure .
And use my code .
Modern builds for 10% off your first site store or Domain Big .
Thanks to Squarespace .
Now , let's get this concrete out of the molds .
I gave the concrete about 10 days to cure and then I took everything out of the molds and I couldn't be more excited to see how it came out .
Oh , yes .
Got it .
Look at how cool that is .
I'm gonna have some letters and numbers to remove .
But first I used a flush trim saw to cut back the PV C inner sleeve .
And then I used a mixture of tools to remove the letters and numbers .
First , I found that a screw worked by screwing it in a little bit and then pulling up on the letters .
So the main trick here is you wanna make sure and not screw past the wood and into the concrete .
As you can tell I had a couple of letters float a little bit .
We had a thin layer of concrete build up , especially on this floor , but I was able to chisel it out and chisel out the number and I didn't film it .
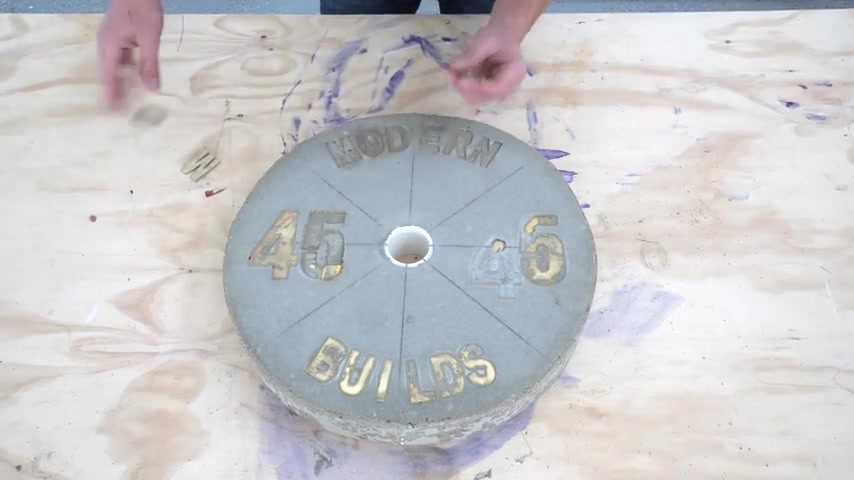
But Acetone did a good job of cleaning up those marker marks on the plates .
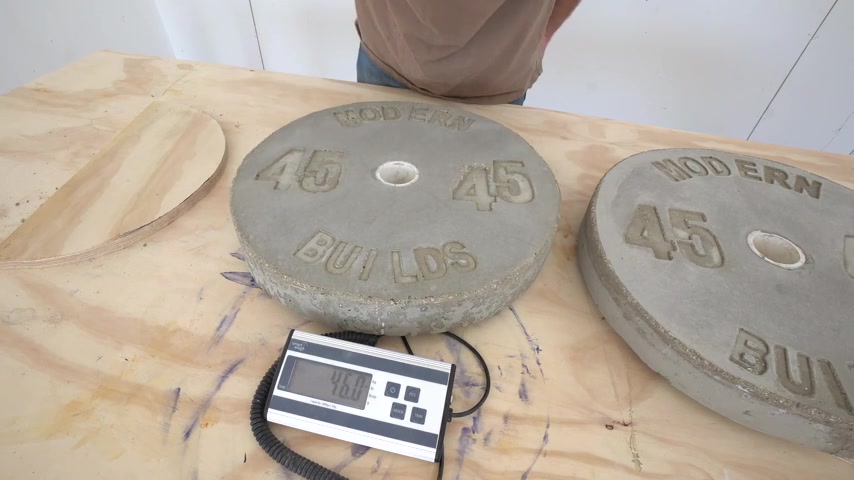
And remember we started with exactly £45 of dry mix and we are currently 46.7 .
So it's still got a little bit of moisture in there .
What about number two , 46 0.5 ?
So they are only £0.2 different .
I'm gonna leave these secure a little bit longer and check back .
Let's see what we got .
Wait , wait , number one is gonna be a final weight of £46 even .
And then weight plate number two is going to be £45.6 .
So both of these are still really symmetrical and super close to the target weight of £45 .
A quick fun fact is that cast iron weight plates typically have a weight tolerance of 1 to 2% between them .
And the fact that mine fall in that threshold is really cool even though they're not exactly £45 .
This whole run of videos where I've been experimenting with Diy exercise equipment has been fun and I've learned quite a bit .
I'll leave a link to the full playlist in the description of this video .
You can check them all out .
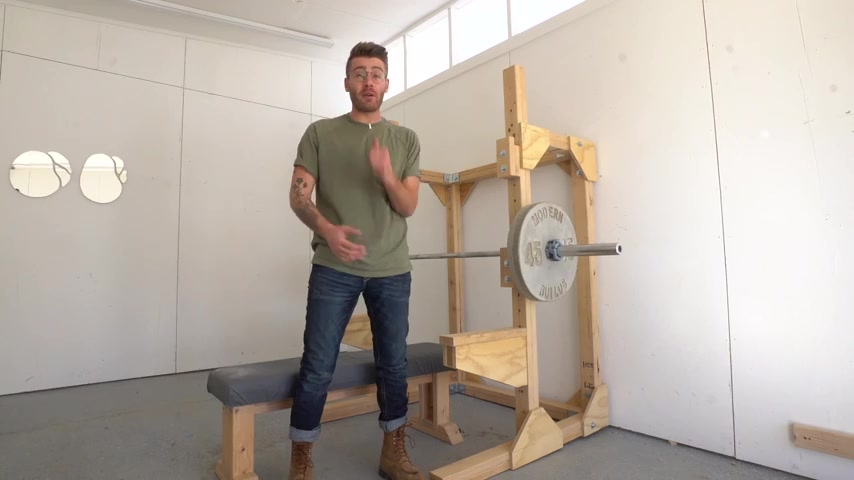
I've done a couple of different versions of concrete weight plates as well as this full bench press squat rat combo as always .
Thanks a ton for watching .
And if you build a set of these for yourself , I would love to see , make sure and tag me at Modern Builds on Instagram as always , make sure and like , comment and subscribe with that little notification bell and we will see you next time on Modern Builds .
Partnership
Are you looking for a way to reach a wider audience and get more views on your videos?
Our innovative video to text transcribing service can help you do just that.
We provide accurate transcriptions of your videos along with visual content that will help you attract new viewers and keep them engaged. Plus, our data analytics and ad campaign tools can help you monetize your content and maximize your revenue.
Let's partner up and take your video content to the next level!
Contact us today to learn more.