https://www.youtube.com/watch?v=AI1poE8dn10
DIY Stairs Makeover for Under $200 with Full Cost Breakdown!!
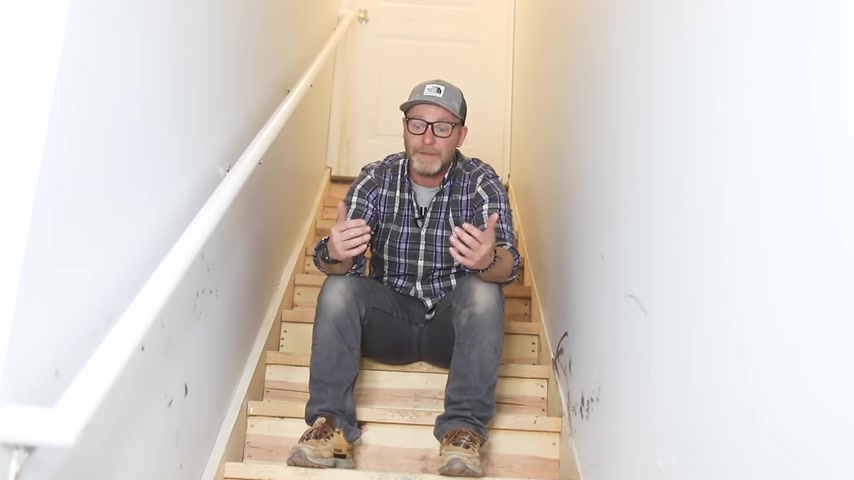
Hey guys , my name is Bart .
And right now we are under quarantine , COVID-19 has put a huge strain on our country and all of our finances .
So , renovating stairs is probably not on everybody's top 10 to do list .
But if this is something that you want to tackle , I'm gonna show you guys a very inexpensive way to get these stairs looking like this and all for under 200 bucks .
And along the way , I'm gonna break out the entire cost of this project for you guys .
So you can determine whether or not it's worth it .
So let me show you guys exactly what I did here and get this thing going .
Welcome to the project .
All right guys .
So these are our stairs going down into the basement and obviously they've never been finished .
But today's the day first , let's talk about what part stairs are made of because I'm gonna be referring to them quite a bit .
The sides of the stairs are called stringers .
The part you actually step on is called the tread and the rising part from the tread .
Well , that's called the riser .
So I start off by eliminating the connection between the dry wall and stairs by adding a one inch piece of trim to the top of the stringer .
Then I spackled everything to include the nail holes and wood knots on the stringers .
Only , I'm not worried about any imperfections on the treads or risers at this point because everything is going to be covered soon after the Spackle had a chance to dry and Thor got out of my way .
I started sanding everything smooth , using my orbital sander with 100 and 20 grit .
Unfortunately , this part here is pretty important to get everything nice and smooth because this is the only part of the stairs that's gonna get painted from the original construction and any imperfections is going to show through the paint .
So I took my time here and I also removed all the glue from the original construction .
Ok .
So the magic trick in creating these stairs for under 200 bucks is using solid oak strips for the bull nose and quarter inch oak plywood for the treads .
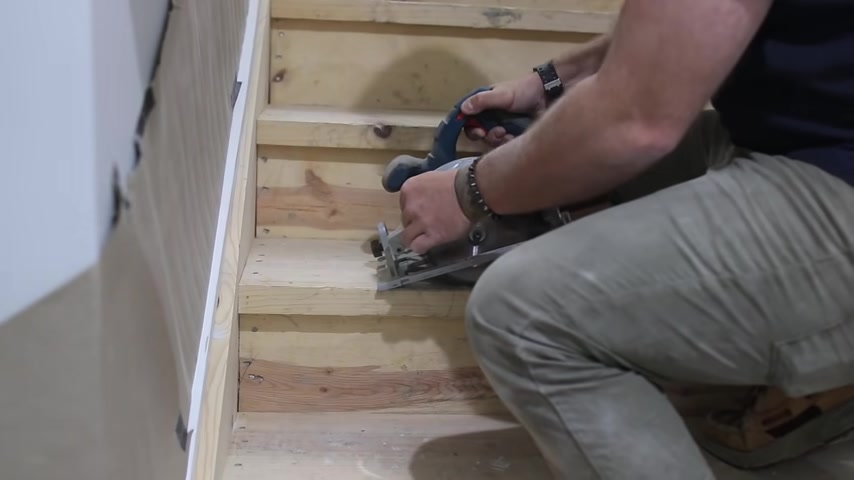
And to do this , I need to cut off three quarters of an inch from the original stairs where I'm going to be adding the oak strips .
It will all make sense .
Shortly after marking three quarters of an inch in on the stairs , I use my circular saw and free hand cut as far as the saw would go .
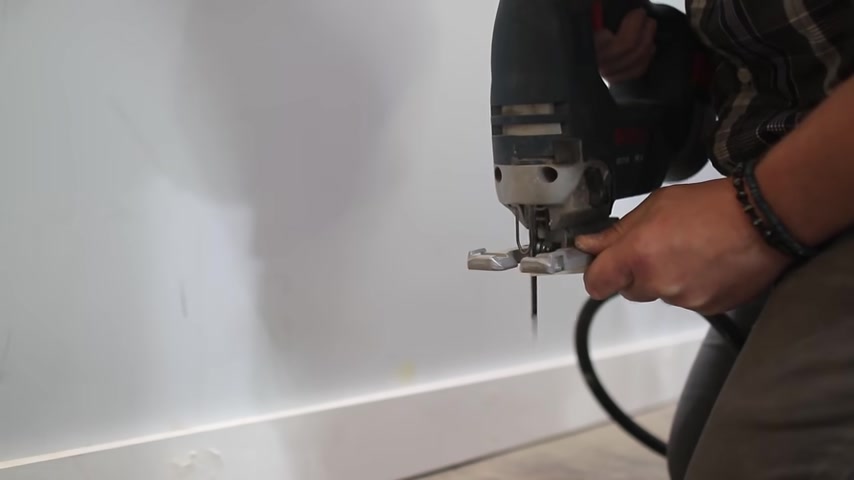
Then using the jigsaw , which is by far my favorite tool and a little persuasion from the handsaw .
I cut off that three quarters of an inch .
I use the combination of three because at the time it just made sense for me , but you really just need the circular saw and the handsaw .
Unfortunately , you don't need the jigsaw , a jigsaw .
Alright then .
So we got everything spackled up next .
We're gonna save it down a little bit just to make sure everything is nice and smooth on these stringers .
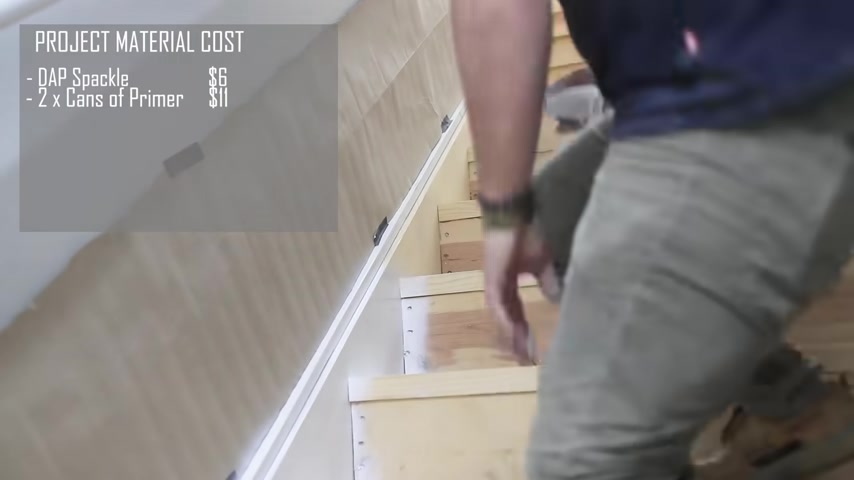
So that when we put the paint on , there's no issues right next , we're actually gonna primer them to make life down the road a little bit easier because if we don't primer them , this wood is just gonna soak up paint .
So let's put on the primer first .
So we don't have to worry about it later and now it's all open and it's easy .
So let's do it like they do on the Discovery Channel .
I don't think that's how it goes .
Yeah .
While the primer dried , I went shopping in my ninja mask and picked up some oak quarter inch plywood , a sheet of brown cardboard which I'm going to be using for the risers and they actually ripped it down to smaller pieces for me at the store and some oak hardwood which you can get in thin strips or wider pieces , whichever you prefer back in my driveway .
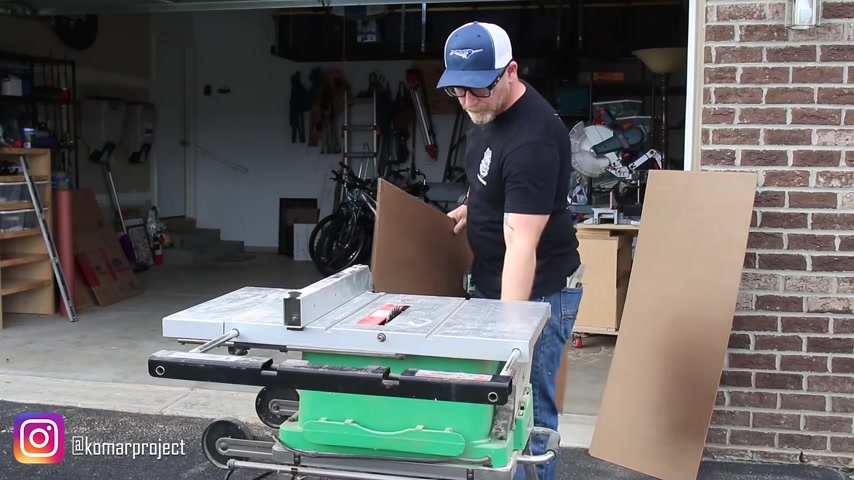
I use my friend's table saw to rip the oak plywood into sections that are going to make up the treads for all the steps .
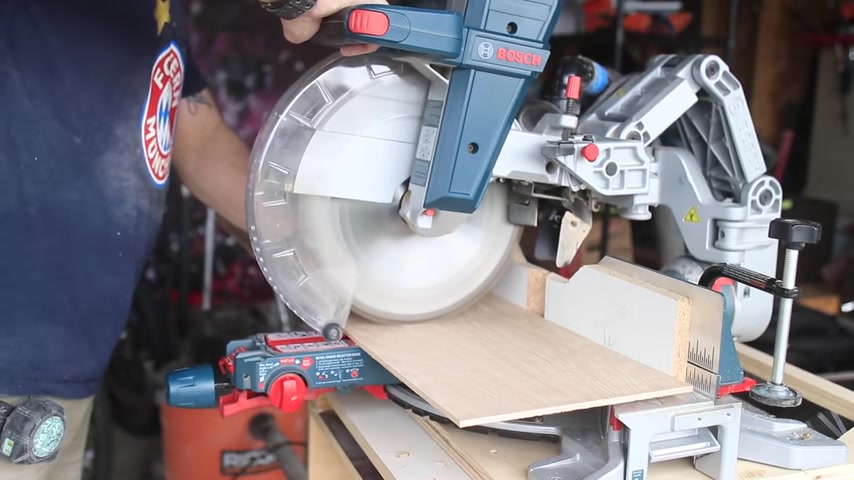
Then using the original cut off from the front of the stairs as a measuring guide , I cut all of them down to size on the side .
Lex , I could install the plywood treads to the stairs , using some liquid nails and a brad nailer .
Later , I ended up switching to a pin nailer and that basically eliminated all the nail holes .
I repeated the process for all the steps making sure that the plywood lined up with the front of the step .
And later I found that the steps that I extended the plywood out past the step by about 1/16 gave me a tighter fit and virtually no gap when I installed the front solid piece .
What are you doing ?
Bye bye .
You just check it out .
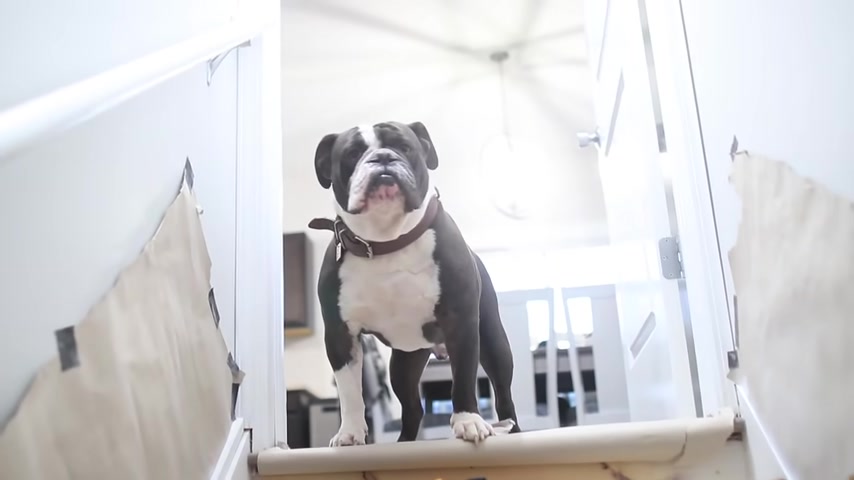
If you're ready to work out , you ready to lift you , pump some iron .
Yeah .
No , neither am I .
No .
Uh uh , we ain't doing it while the glue dried on the steps .
I went back outside and started to rip down the oak for the bull nose .
And this is where I made a mistake .
I ripped them down to an inch and a half , which is the thickness of my original stairs .
But I forgot to take into consideration the quarter inch of plywood I just added to the stairs .
So now I'm going to have a quarter inch of stairs showing under the bull nose to me .
It's no big deal .
I'll just paint it to match the riser and tell people it's a intentional architectural feature .
But if you guys are gonna be doing something like this , just keep in mind that you are making the stairs thicker .
So it's up to you whether you make the same mistake as me or do it a different way .
Hope that makes sense .
Next , I pulled out my palm router and using a three quarter inch round over bit .
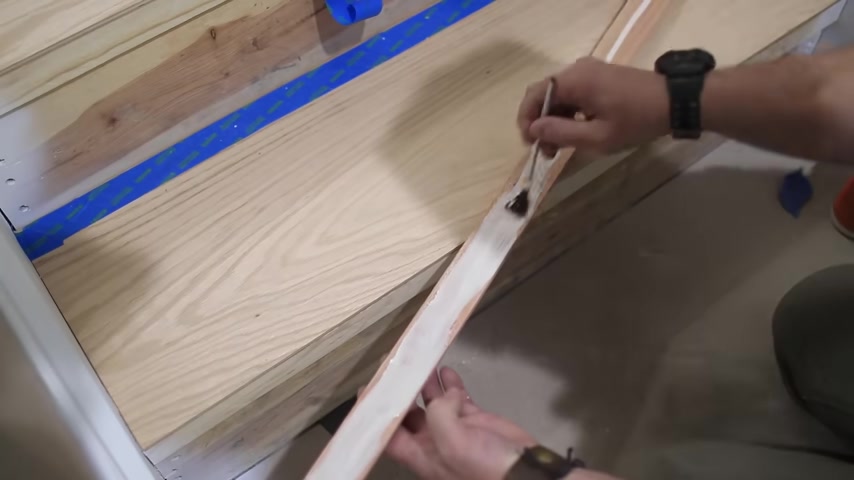
I routed both sides of the oak to create the bull nose effect that I've been telling you guys about .
Then I sanded any imperfections from the round over with 100 and 20 grit , sandpaper and it was time to glue them into place .
I made sure to apply plenty of glue , flushed it with the step as much as I possibly could and nailed it in with the PDA .
It's ok if they're not perfectly flush just as long as the oak full nose is higher than the plywood .
So I can sand it later on .
I don't wanna have to sand the plywood to make everything even and risk sanding through the veneer .
So if the oak is a little bit higher , you can sand that down .
It's the other way around .
I might have a problem then , but luckily everything turned out great and I was ready for stain .
The stain .
We Joe's is called Early American , I believe .
And it just came out too brown and didn't match our existing flooring .
So I tried putting on another coat of beige to bring out some of the gray tones .
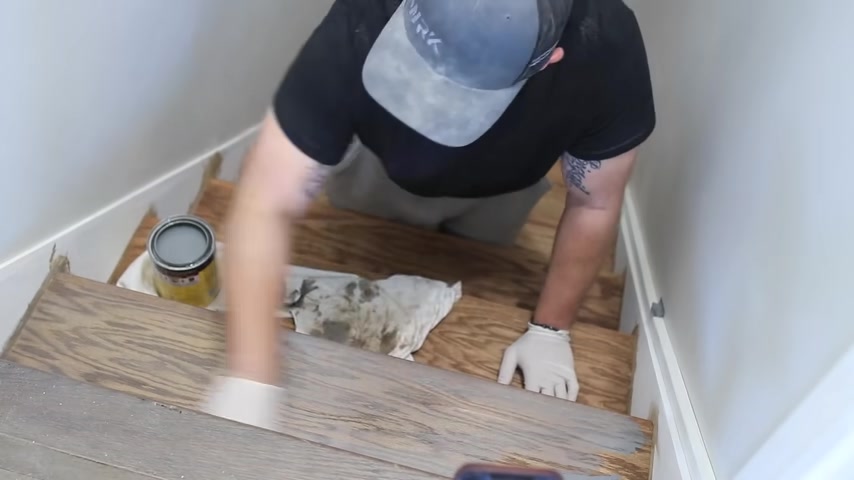
After the first coat , it looked ok , but I decided to put on another coat and I just kept messing around until I got the perfect color .
And after about three coats , it looked just right .
Typically on stairs , I would apply the traditional three coats of polyurethane .
But since time was over the issue for me with finishing these stairs , I decided to try a one coat poly from Min wax using a natural bristle brush .
I applied it to the top and to the front of the tres .
And then I just ran the brush very gently over everything to smooth out the finish .
And to be honest with you guys , I can tell the difference between three coats of polly and this one coat poly .
Um , but I guess time will tell .
So if you guys are curious about how these floors are holding up , go ahead and follow me on Instagram very active there and I post stories all the time and I'm sure I'll be doing updates on these stairs as the weeks go by next , I started working on the risers by ripping the hardboard down to t and then honey bunny jumped in to help me and cross cut all of them to length .
You sure .
That's right .
I don't know .
This can also be done with a circular saw .
However , I found that the edges are not as sharp as you would get from a table saw .
So a little hand sanding with some 1 20 grit , we'll take care of that then some honey bunny primer action with the same Zinser primer and we're ready for the installation of them .
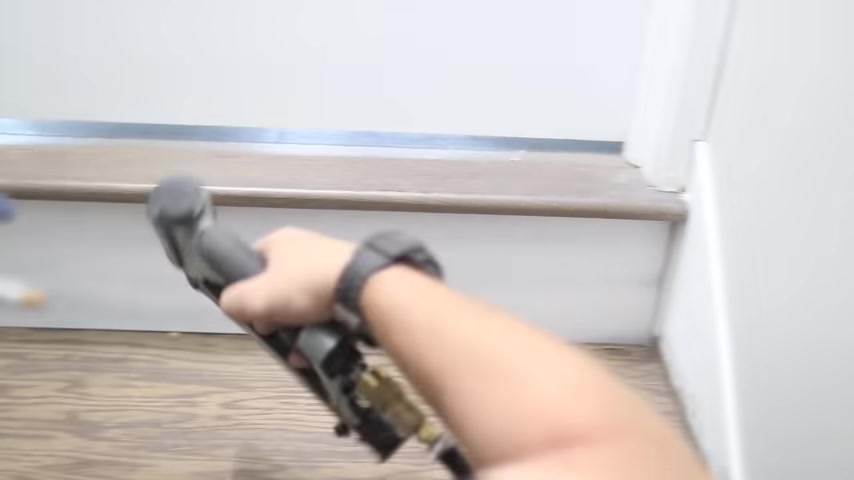
The installation is pretty much the same as the treads .
You apply a little bit of glue and use a pin nailer or brad nailer to nail in place .
Give it some time to dry and it's time for the that I always use for paint projects is Alex Fast Dry by da .
It's an acrylic ca you can paint over it and it goes on super smooth and comes out of the tube really fast , which means that I can start painting , but I really don't like painting .
So , yeah .
And with that last step , it's time to see what these stairs actually look like .
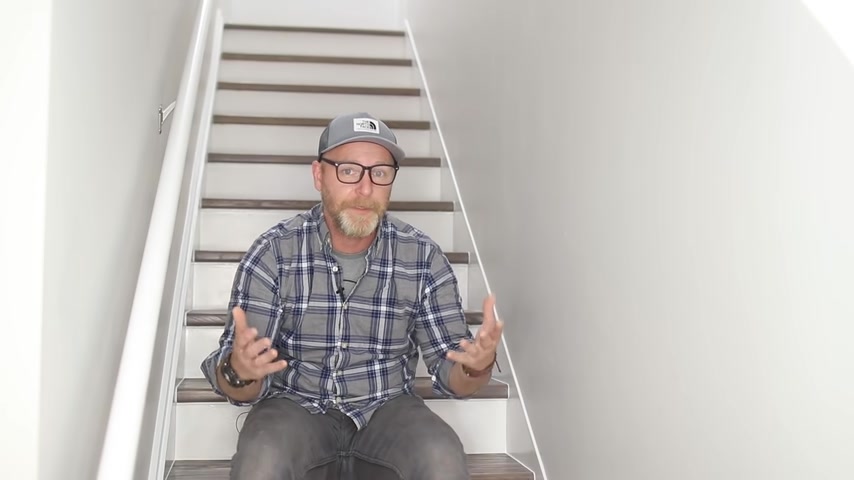
So there you go , guys , the stairs are done and if you ask me , they came out pretty darn good for just under 200 bucks .
Now , I have 13 steps and if you do the math and break it out , it's just over 13 bucks per step , which if you ask me is a lot better than the 40 to $50 range that you would have to spend on traditional oak treads .
So if you guys enjoy this video or got something useful out of this project , go hit that subscribe button along with the bell notification .
That way you don't miss any upcoming Diy Bills that we have and let me tell you we have quite a bit of them .
So thank you so much for joining me on this experience .
Stay safe out there and I'll see you guys next time .
Hey , you watch your mouth about the glorious score .
Oh , he's so glorious .
He's a he he smells amazing .
He smells like puppy , smell 24 7 .
Like chocolate .
Why are you looking at me like that ?
Huh .
Huh .
I'm doing .
Oh wow .
Wow , dude , it's like that .
Ok .
Are you looking for a way to reach a wider audience and get more views on your videos?
Our innovative video to text transcribing service can help you do just that.
We provide accurate transcriptions of your videos along with visual content that will help you attract new viewers and keep them engaged. Plus, our data analytics and ad campaign tools can help you monetize your content and maximize your revenue.
Let's partner up and take your video content to the next level!
Contact us today to learn more.