https://www.youtube.com/watch?v=xUtOeFJJycg
2023-06-14 18:14:27
How to Remove and Install Bottom Brackets - Threaded Shell (BSA, T47, Cartridge, etc.)
Calvin Jones here , Park Tool Company .
This video will walk through the removal and installation of Bonner brackets into threaded frame shells including the three piece cartridge style and designs that use threaded barring cups , adjustable cup and cone bonum brackets are not covered in this video .
Also for cap no ultra torque systems , the cups are not removed for bearing replacement as the bangs are installed on the crank spindles .
See our full bottom bracket playlist here .
If you have one of these bottom bracket styles or if you're unsure of the bottom bracket design , you have the frame shell for the bottom brackets .
In this video use internal threads to accept bearings .
The bottom brackets that use these threads can be one of two styles cartridge Bonner brackets feature a spindle integrated into bearings as a self contained unit .
These are used on three piece crank sets which have separate left and right crank arms which attach to the integrated spindle threaded through spindle .
Bonner brackets are comprised of a cup with a cartridge bearing .
These Bonner brackets are threaded into the frame and then the crank spindle is passed through the bearings .
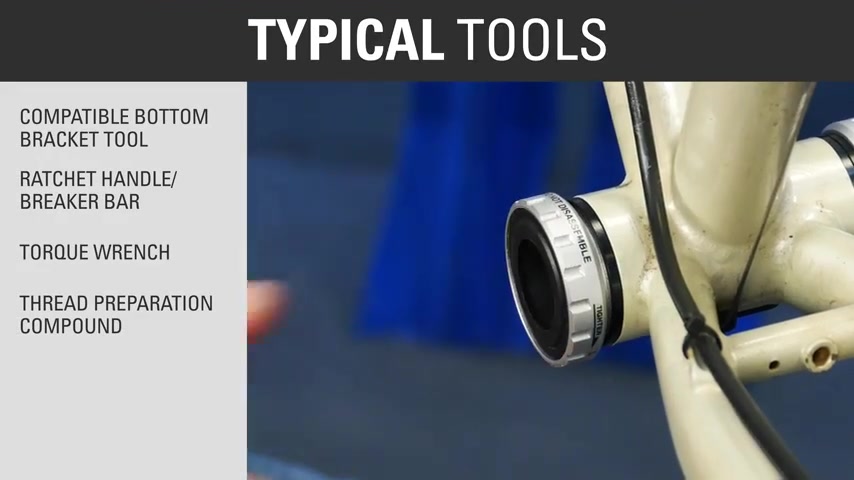
Typical tools and supplies include an appropriate bottom bracket tool to fit the cup .
A three H drive ratchet or breaker bar .
A tar rench , an appropriate thread preparation .
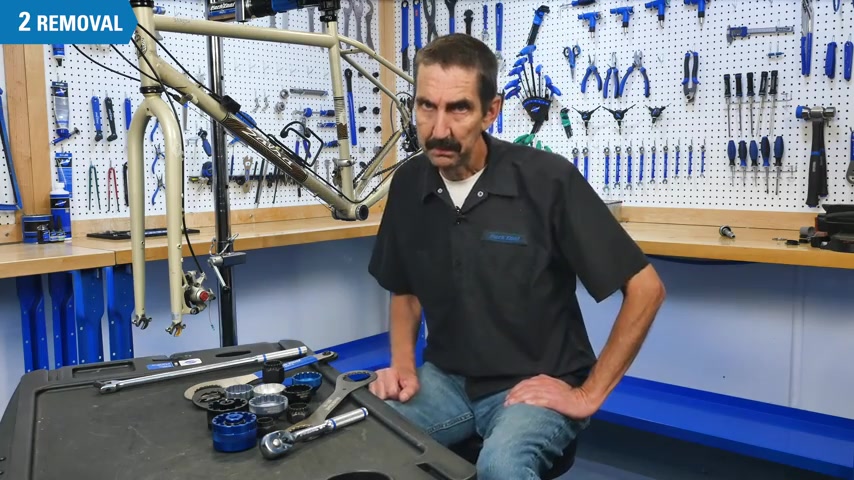
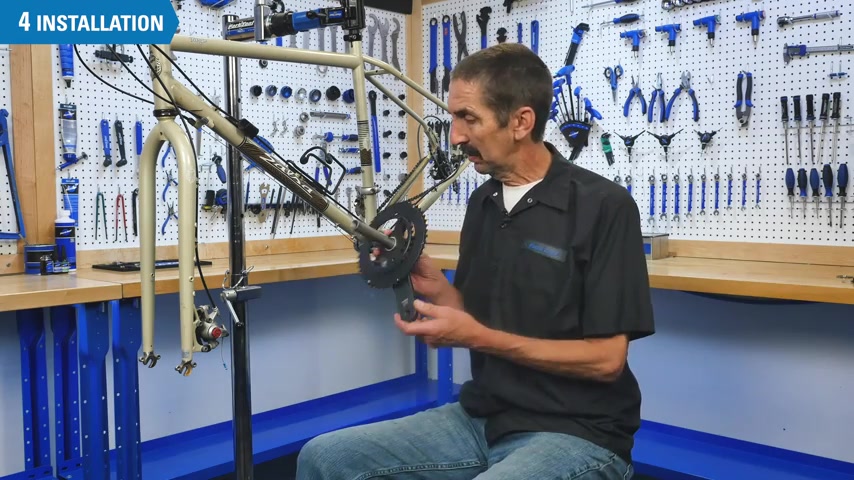
We will begin with the cranks removed .
See our crank playlist for information on crank removal , especially if you are reusing the crank set .
Make note of your system , use spacers between the frame and the cup will begin by removing the non drive side , bottom bracket cup .
But first , you will need the proper tool .
There are many options to find the correct tool .
You should count how many notches are on the tool fitting , then measure the outside diameter with a caliper .
See this page on park tool dot com .
For a detailed description of the tools and parts , they've hit a 38 inch drive ratchet or breaker bar to drive the tool , make sure the tool is fully and evenly engaged on the tool fitting , apply pressure to the tool while loosening so it does not slip off under heavy load .
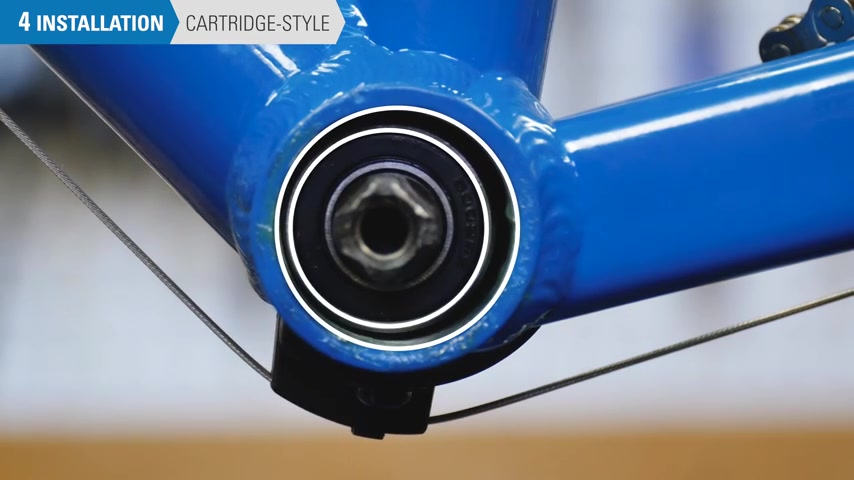
Some models , the bottom bracket cups have very shallow tool engagement be especially careful to hold the tool against the bottom bracket fitting , the cup is removed , pull out any protective sleeve that is still inside the shell .
Next , remove the drive side cup for shells with the common English threading , the drive side is the left hand thread .
It tightens to the left and moves to the right turn the drive side clockwise and remove it .
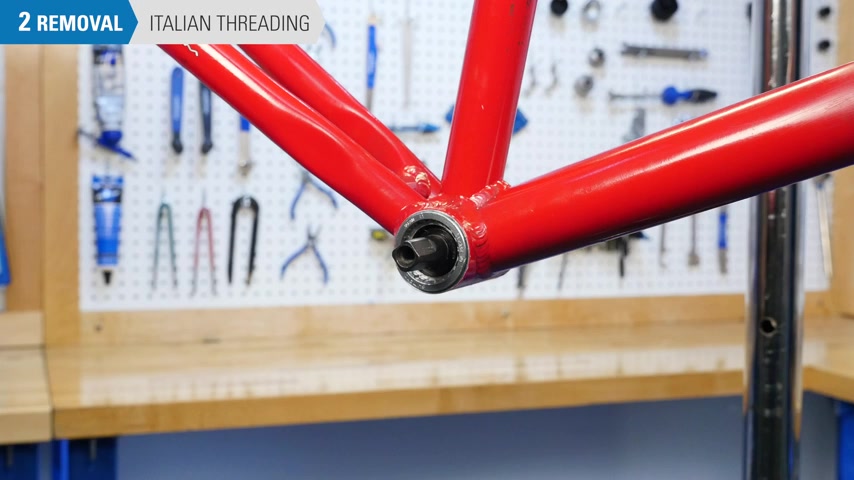
Note for bikes that use the Italian threading standard .
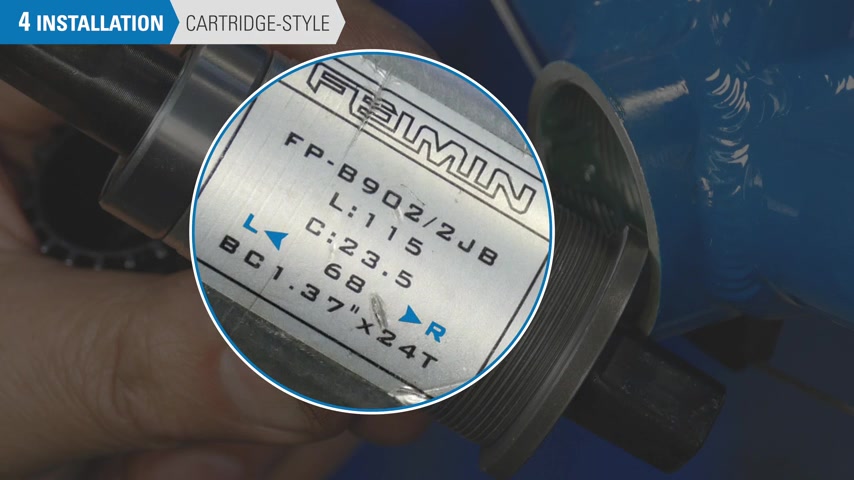
Both non drive and drive side are right hand threads , inspect the cups for markings stating 36 by 24 to confirm this standard , turn these counterclockwise to remove .
If after you remove the cups , you find that they look like this and the bottom bracket shell is not threaded .
You have a thread together style bottom bracket .
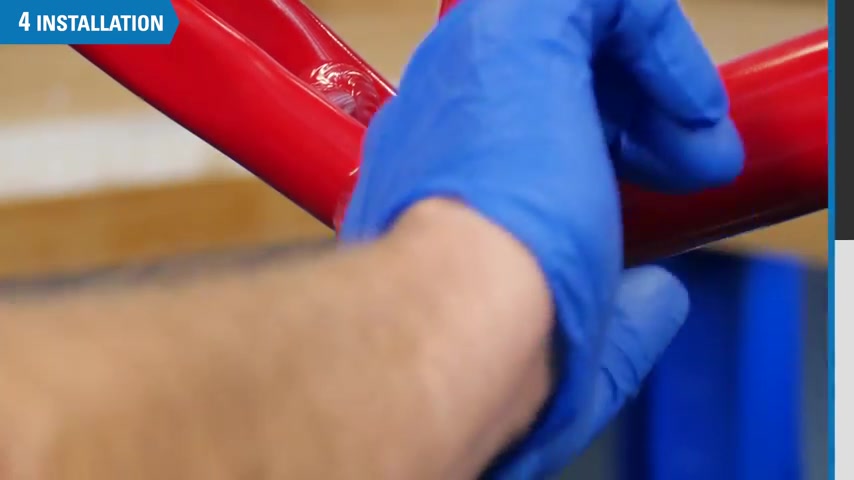
See this video for the proper installation procedure , wipe the bottom bracket , clean of dirt .
The interface between the crank and the bottom bracket can be complex with a lot of things to consider for parts compatibility and availability .
Consult the component manufacturer or contact your local bike shop .
Preparation is an important part of the installation process .
A new bond bracket may come with a dry thread locker already installed if so it can be installed as is another option is a liquid thread locker such as Park tool T L R one .
This lubricates the thread when tightening and then expands and hardens as it dries helping the cup stay tight .
Yet another option is an any seized compound such as park tool ac one , it provides a very durable and long lasting lubricant for the threads .
But if you have nothing else , at least use some grease .
A good technique is to put the preparation inside the shell and spread it around that way .
When you thread the cup in the excess doesn't back up against the cup and make a mess .
Install spaces on the new cup .
If applicable , taking note how the bottom bracket came apart .
The following is for threaded through spindle bottom brackets commonly used with two piece cranks .
The cups may be marked L and R for left and right side of bike .
You may also find directional arrows indicating which way to turn by hand , begin to thread in the drive side cup .
Remembering it is a left hand thread carefully counter clockwise until you are sure there is no cross threading to manufacture specification using a tore .
This can be between 24 50 Newton meters .
If using a hand wrench , use perceived effort for a wrench held at 20 centimeters from the bottom bracket .
Apply about 18 kg of effort .
Insert any internal sleeve install spacers as applicable to the non drive side cup , put it clockwise and secure to the same torque as the drive side for cartridge bottom brackets integrated with the spindle note the thread direction , some but not all models will have the left and right side markings .
These refer to the side of the bike , not thread direction , install the bottom bracket with the flange side .
First .
In this example , the flange is on the right , which is the drive side , use car to install the spindle straight and not to cross thread the bottom bracket if it feels hard to turn or seems off in any way , have a look at the opposite side .
Here , you can see the spindle is not centered in the shell , meaning it is cross threaded , remove realign and try again .
Once you are sure it's going in straight , you can use the tool to secure this side .
Typical torque is 25 to 30 Newton meters .
Consult the manufacturer .
If in doubt if using a hand wrench , use perceived effort for a wrench held at 20 centimeters from the Bonner bracket .
Apply about 14 kg of force .
repeat the process on the other side , reinstall the cranks share a playlist for more information on your specific crank .
Thanks for watching this repair health video from Park Tool .
We're constantly adding videos and articles here on youtube as well as our website at park tool dot com .
Please give this video a thumbs up if it helped you out and of course , subscribe for the latest content from Park Tool .
Partnership
Are you looking for a way to reach a wider audience and get more views on your videos?
Our innovative video to text transcribing service can help you do just that.
We provide accurate transcriptions of your videos along with visual content that will help you attract new viewers and keep them engaged. Plus, our data analytics and ad campaign tools can help you monetize your content and maximize your revenue.
Let's partner up and take your video content to the next level!
Contact us today to learn more.