https://www.youtube.com/watch?v=_Ld3Y1N4X4k
2023-06-14 18:14:19
How to Build Under Stair Storage Drawers
Everybody .
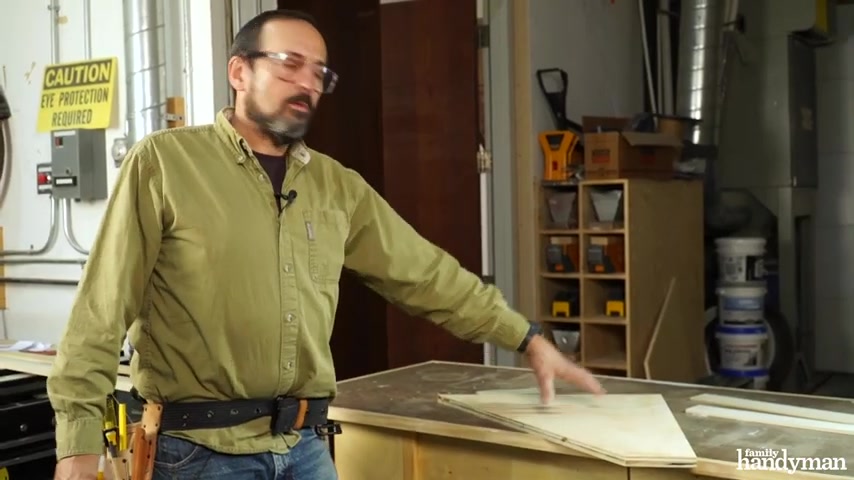
This is Bill from Family handyman .
And today I have a project from the past for you .
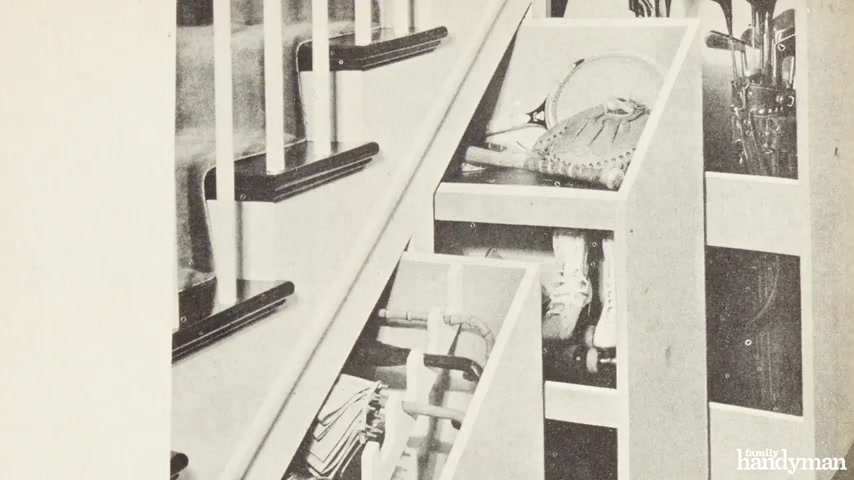
Way back in 1955 we created some under stairs storage and today I'm going to do the same thing .
The area under the stairs is typically under utilized .
So today , I'm going to create some convenient pull out storage for everybody in the family to use .
The design and concept is basically the same , same as it was way back in 1955 only the tools and materials have changed .
So let's get started before we tear off our wall covering .
We wanna get our trim off .
I'm gonna use a utility knife to score the top of the baseboard and pull that off .
And then because I have trim on this adjoining wall , I'm gonna use a piece of three quarter trim and this oscillating tool so that I can cut it back three quarters to receive my new trim when it goes in .
Yeah , got the studs out of the way now and cleaned up and reset .
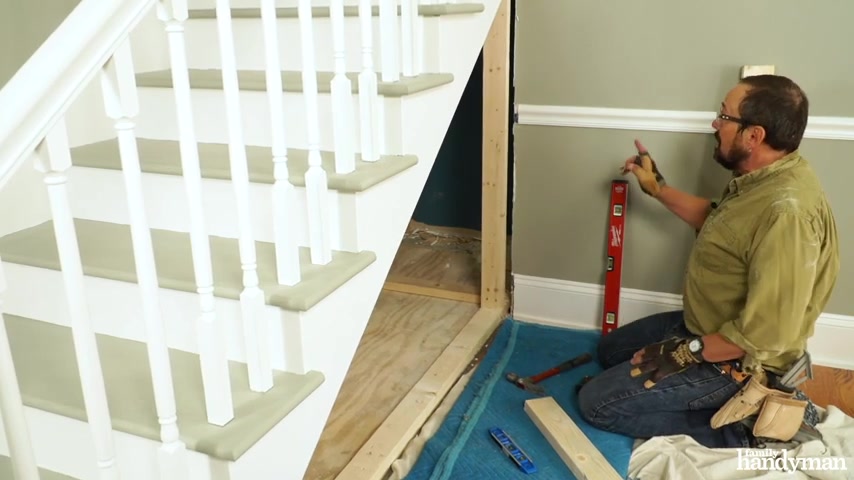
And the next thing to do is to divide the opening into three equal sections for our drawer boxes .
I'm going to use these existing studs because they are in a good spot .
You definitely want to make sure that your wall is plumbed so that your door is closed the way you want them .
Um So I've already adjusted this to where it needs to be , but just make sure that that's nice and plump .
The next thing you want to do to make it easy for layout .
Once you've done your math for your openings , just cut a stud to the width of your opening .
Put it up to your existing this way , you'll know that things are just where you want them and make your marks .
And then you can actually use the width of the stud if you want both sides like this to mark your other edge .
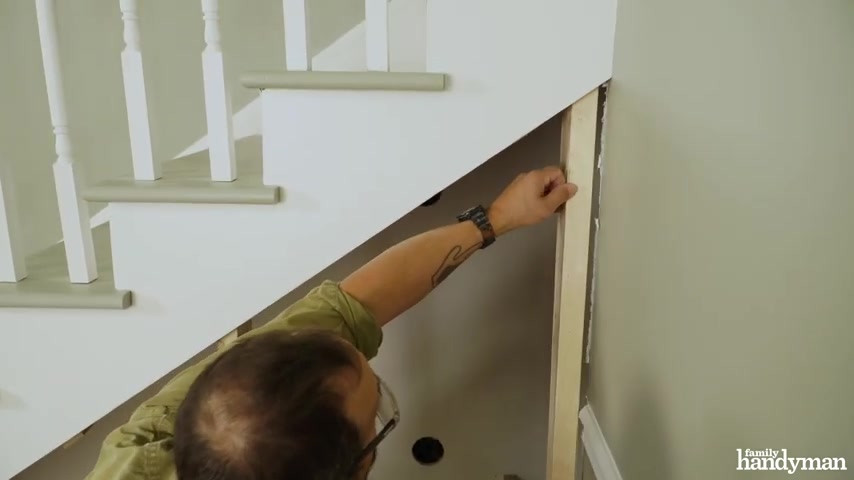
And right here , I chose inset doors and wanted the door faces and the trim to be flushed with my skirt board .
This meant adding half inch furring strips to the adjoining wall stud and the floor stud plate .
Before attaching the trim , the drawer fronts or doors covered the other three studs .
So they didn't need furring strips just quarter inch thick trim .
I primed and painted these trim pieces before applying them .
Ok .
It's time for drawer slides .
I ordered these super heavy duty £500 slides which are perhaps overkill .
I think most of you could get away with a £200 slide , which might be a better option because that type of side actually comes apart in two pieces .
This is a one piece slide which makes it a little bit more difficult to install .
But we're gonna go ahead with it anyhow and show you how we put them in set the slides , 3/16 of an inch back from your finished faces and attach them to the supports , make sure that they're level .
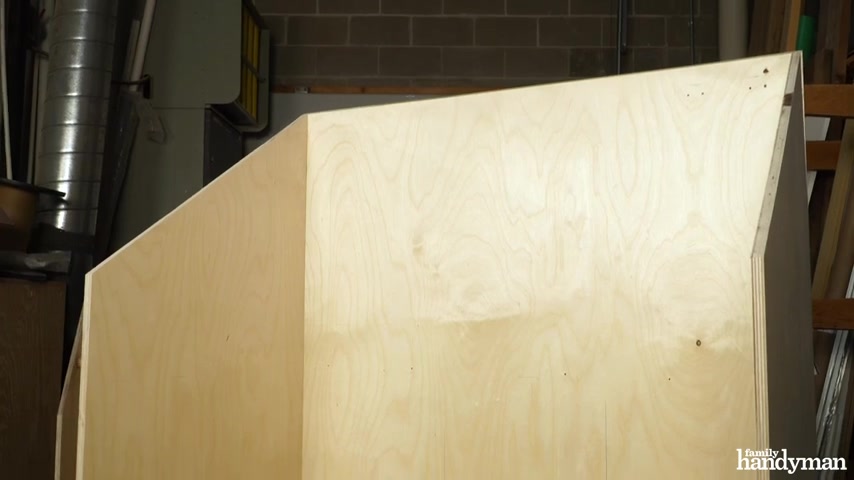
So I finished a cut list for my plywood that I'm going to build my boxes out of my drawer boxes .
I decided to use half inch Baltic Birch for the sides and the backs because it holds screws well , it finishes really well .
And once it's sanded out , it has a nice appearance for the open edges for the bases and the shelves , I'm using a three quarter veneer ply that came pre finished .
So before I cut my parts out of my half inch ply , I actually pre finished that with a water based poly as well .
Building in a diagonal opening is tricky .
So I made a loan plywood template here to make sure that my doors are the right size .
I simply held the doors against the template right where I wanted them and check to make sure that they were the right size .
Ok .
So I've got my door or my drawer face cut out to the right size here and I'm going to apply the perimeter trim this quarter inch by two and a quarter poplar .
I want to make sure that I keep my factory ads facing out .
And the easiest way to mark these instead of using a tape measure is just to put them in place where you want them and give them a mark for your cut line .
You want to make sure that you cut your sides or your styles first and then do your top and bottom your rails .
After that , that way you don't see any ugly butt joints on your top and bottom pieces .
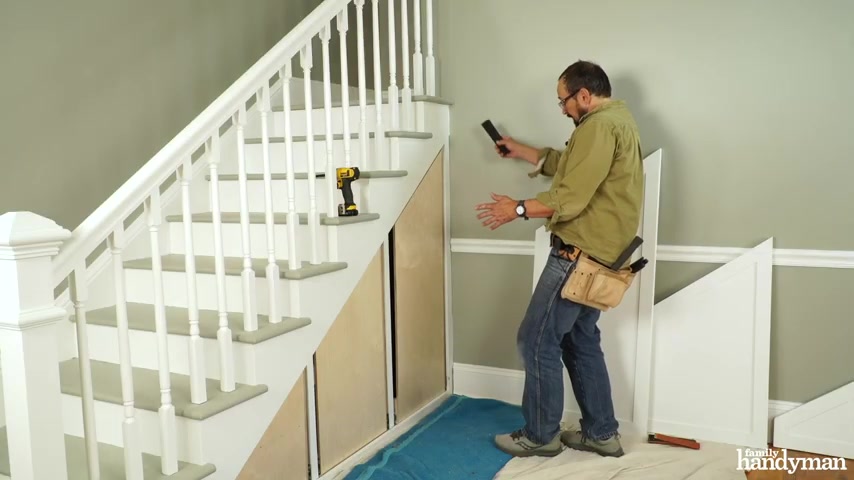
When you're done , I've got my drawer boxes installed .
Now , I made a few adjustments so that they're operating smoothly and they're where I want them to be .
It's time to install the drawer faces or the doors .
What I do to do this is set the door on a couple shims on the bottom trim piece .
And then I've got two screws in here that are slightly protruding .
What I'll do is set the door on those shims , adjust my reveal or gap on the top and the side and then I'll push the door into those screws .
So they leave a couple of marks for me to put some pilot holes in .
So I know where to hang the door .
I wanted a minimal look on the doors and didn't want to use handles or knobs .
So I decided to use these push , push latches .
Basically , you just push the door in and it will hold it close and then when you want to open it , you just give it a slight little push and it pushes it back open again .
They're really great to use in a situation like this , but they're a little tricky to install .
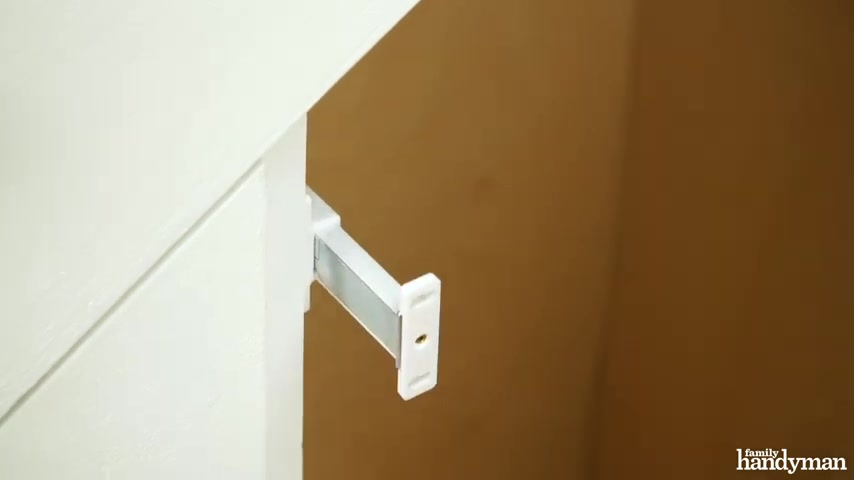
So I'll show you how set the push lat approximately where it needs to go and put two screws into the adjustable oblong holes , attach the magnetic plate and with the latch fully extended , carefully , push the door into the plate and grab the plate and pull it back , then make some marks and drill two small 3 30 seconds holes , then mount the plate , push it into the push lat and then adjust the push la so that it's functioning properly after the adjustments are made , put the remaining two screws in the push latch so it doesn't move around over time .
This is a really great project .
I hope what I've shown you today will help you figure out how to gain some storage in what is an awkward and often unused part of the house under your stairs .
For more great project ideas like this .
Visit us at family handyman dot com .
Partnership
Are you looking for a way to reach a wider audience and get more views on your videos?
Our innovative video to text transcribing service can help you do just that.
We provide accurate transcriptions of your videos along with visual content that will help you attract new viewers and keep them engaged. Plus, our data analytics and ad campaign tools can help you monetize your content and maximize your revenue.
Let's partner up and take your video content to the next level!
Contact us today to learn more.