https://www.youtube.com/watch?v=oL7F3h5joEE
Professional Baker Teaches You How To Make CRÈME CARAMEL!
Now it's time for a caramel dessert that every pastry chef needs to know .
Creme caramel .
Now , creme caramel is different than creme brulee .
It's got a lighter consistency and more of a silky texture , but it's all about the caramel .
Still before I get to the caramel though , I have to make the custard base .
So I'm going to break into a bowl two whole eggs and then separate out two yolks .
Now I'll add to this six tablespoons of sugar , give this a little whisk and now I'll grab my milk milk is a key difference between creme caramel and creme brulee .
Creme caramel uses milk .
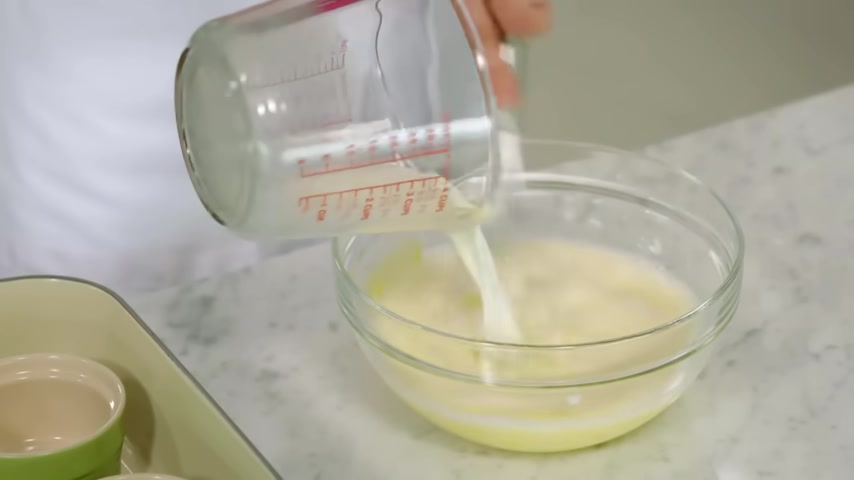
Creme brulee uses whipping cream , makes it lower in fat and gives it that silky texture .
I'll measure out two cups and I do find 2% milk does work best while most other custards are prepared using hot milk .
Creme caramel custard is made using cold milk that ensures a gradual cooking process .
Guaranteeing the silky texture , a teaspoon of vanilla and then just a pinch of salt .
Stir that in .
And it's a good pastry chef habit to strain your custards before you bake it .
That way , every single bite will be silky smooth .
So as this settles , I'll take this opportunity to make my caramel layer .
I've got three tablespoons or thereabouts of water .
And this time you just need half a cup of sugar .
Always the addition of acidity or liquid sugar .

So just a little squeeze of lemon juice and now I'll get this going on high heat .
Always my brush and cool water handy .
And because I'm pouring this straight into my ramekins that are the base for the creme caramel .
I let this go to about a medium amber color , so a little darker than I did with the caramel apples and there we go .
So you do want to work fairly quickly now and divide this between your ramekins just pouring it right into the bottom of each four in total .
Oh , I love that smell .
Who could guess that burning something could smell so good and it doesn't take long .
The caramelized sugar has already set .
But even though it's rock solid now , once it cooks with the creme caramel custard on top , it liquefies the sugar underneath it and it actually allows you to remove it from the dish easily .
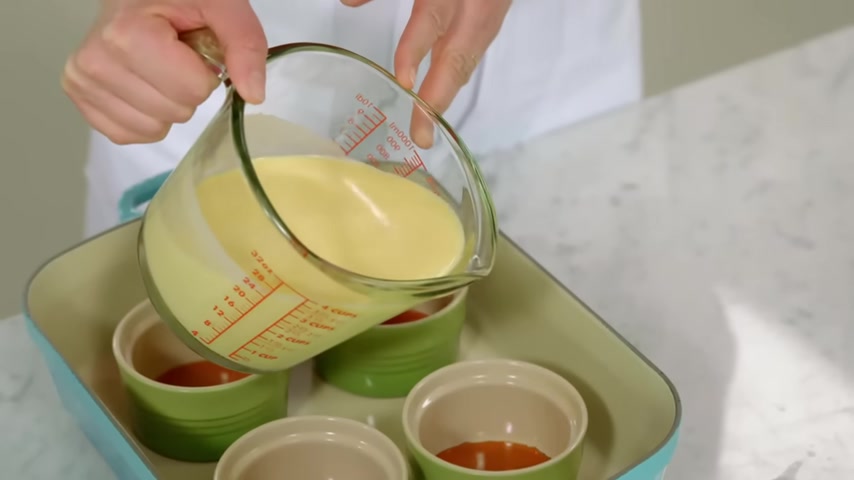
And now I just gently pour the custard over the cooled caramel .
Try and do it slowly so you make as few air bubbles as possible .
Now , the final little trick to take your creme caramel to pro level to remove those last few air bubbles .
I take a paper towel and just dab them or pop them , the paper towel will just pull them right away .
And now you are assured a silky perfect texture to your creme caramel to cook a custard .
You need a water bath .
A ba Marie .
That's why I have the Ramekins in this large roasting pan and the pan is actually a little bit higher than the Ramekins themselves .
So let me take these over carefully to my stove and I have a tea kettle with boiling hot water .
And I'm going to fill the roasting pan halfway up .
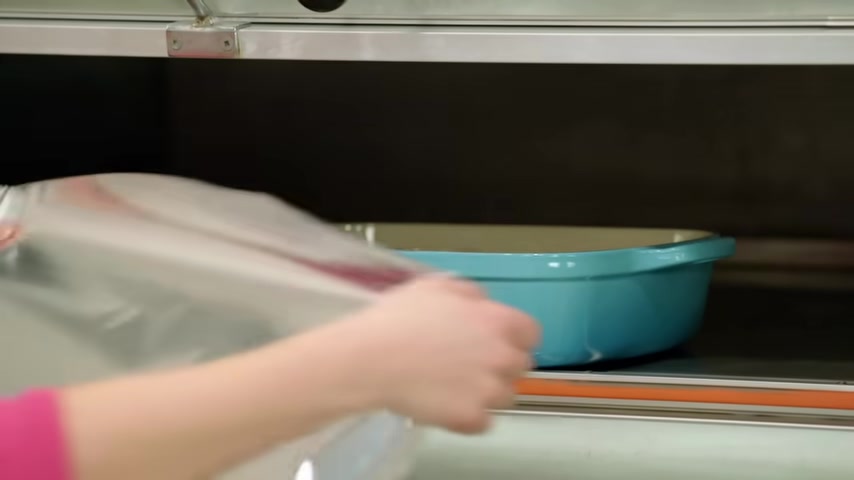
It's actually the gentle heat of the steam and the water itself , it almost insulates and protects the custard as it cooks it .
At the same time , I've preheated the oven to 300 degrees .
A low oven for that gentle slow cooking .
And the last step before these get baked is to actually cover the entire dish that way it holds in the heat .
The creme caramel take 30 to 35 minutes to bake and I check the doneness , not by jiggling the rain , but I insert a skewer in the center of the custard .
If it comes out clean , then I know the custard is done and I can't wait for you to see them once they've chilled and I can turn one out on a plate to show that beautiful caramel sauce .
And here are those beautiful creme caramel .
I've done my skewer test .
So I know they're fully cooked .
And before I can get to making this spectacular garnish .
I want to take them out of the water bath just so they stop cooking .
Now , here is a great tool .
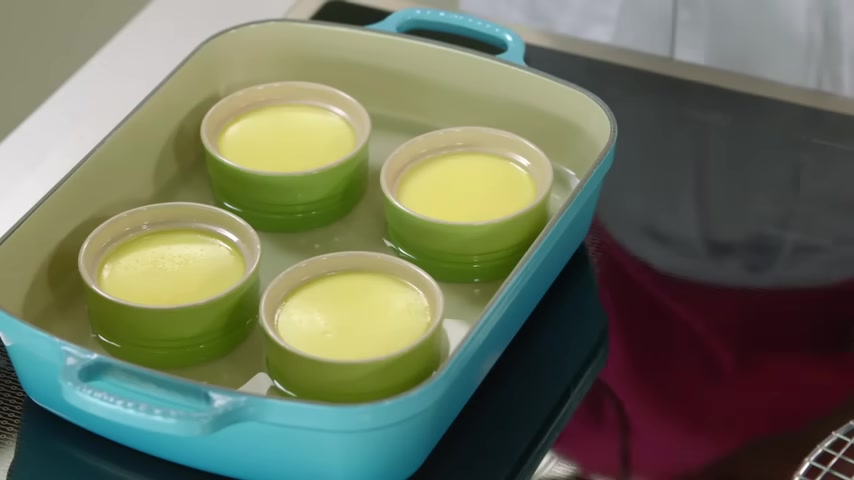
It is a jar lifter that you use for lifting canning jars out of your pot .
The rubber coating makes it so easy to grip onto the ramekins to pull them out of the water .
Now , these have to cool to room temperature before I pop them in the fridge to chill for a good 3 to 4 hours .
But I have time right now to make these caramel hazelnut spikes .
These are actually single hazelnuts dipped in caramel and left to hang .
So each gets a spike or almost like an icicle of caramelized sugar .
So I have individual toasted and peeled hazelnuts and this may sound strange .
You have to stick a toothpick inside each one .
Now , a hazelnut kind of has a natural heart shape to it .
So you want the point at the bottom and not at the seam of the hazelnut , but on the side , you just lightly pierce the hazelnut .
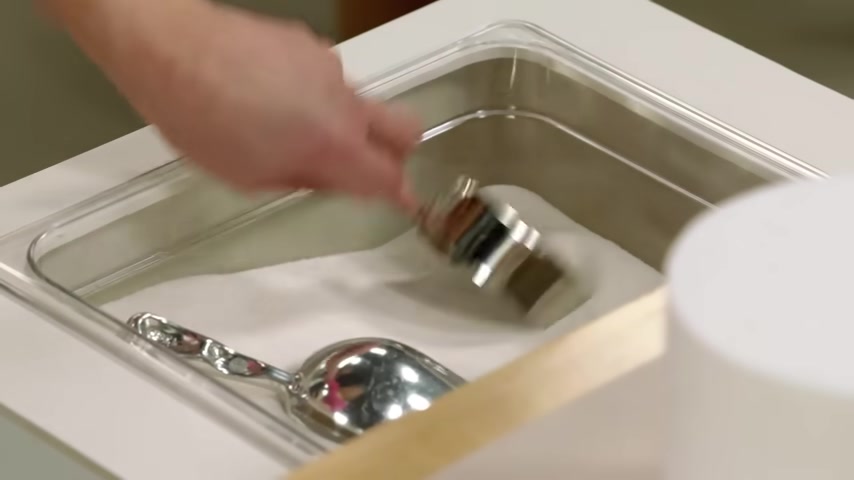
Now for making a batch of caramel , just a couple of tablespoons of water and a half a cup of sugar .
And this time I'm adding a little corn syrup to keep the sugar liquefied as I'm cooking it .
But also the corn syrup helps elongate that spike after I dip the hazelnut in the caramelized sugar , high heat uncovered , no stirring .
You know , all the rules .
My goodness .
If you could count the kilos of sugar , I've caramelized .
You could definitely fill this kitchen a few times over .
Now .
My sugar is almost fully caramelized and I need to halt the cooking soon after I take it off the heat .
So I have an ice bath ready .
I drop the pot into a metal bowl filled with ice water and that immediately stops the caramelization at that perfect level .
And it also thickens the caramel .
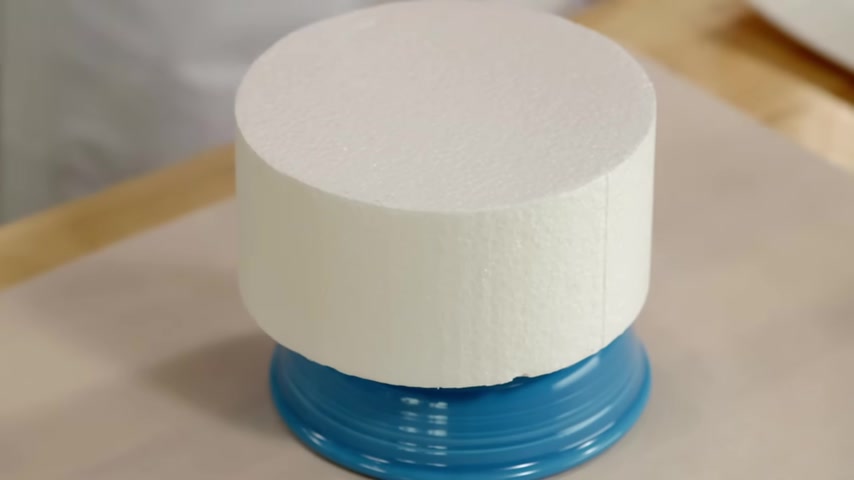
At the same time before you start dipping your hazelnuts , you want to get a piece of styrofoam and elevate it and the elevation is to build the length on your hazelnut spikes .
And now I want to work with it while it's warm and take each hazelnut with that little heart point at the bottom , just dip it halfway .
There we go .
And you wanna to coax that droplet and then carry it over and you just let that drip hang down when you're dipping , make sure you don't dip the toothpick because then it's really stuck in the hazelnut .
Don't worry about the little threads and strings of caramelized sugar .
You see you can break those off after everything has cooled .
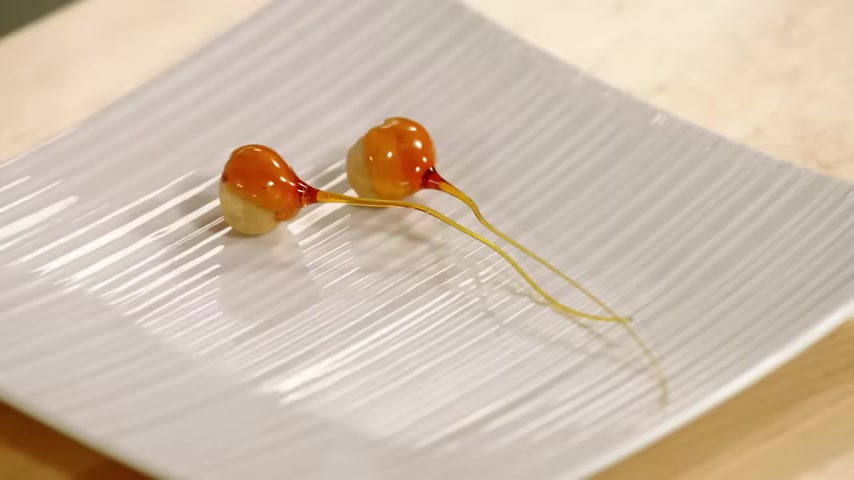
So now the idea is once it's set , you break it off at that point , pull the toothpick out and you've got this crazy little garnish that you can put on just about anything .
It could go on a slice of cake , a tart .
But you can make them ahead of time and keep them in an airtight container .
Just don't refrigerate your caramelized hazelnuts because that sugar will turn to a syrup and now that these are done , it is time to plate that creme caramel .
Yeah .
For a creme caramel to be really refreshing and satisfying .
As a dessert you want to serve it ice , ice cold .
So make sure you give it at least 3 to 4 hours to chill .
I've got a little palate knife .
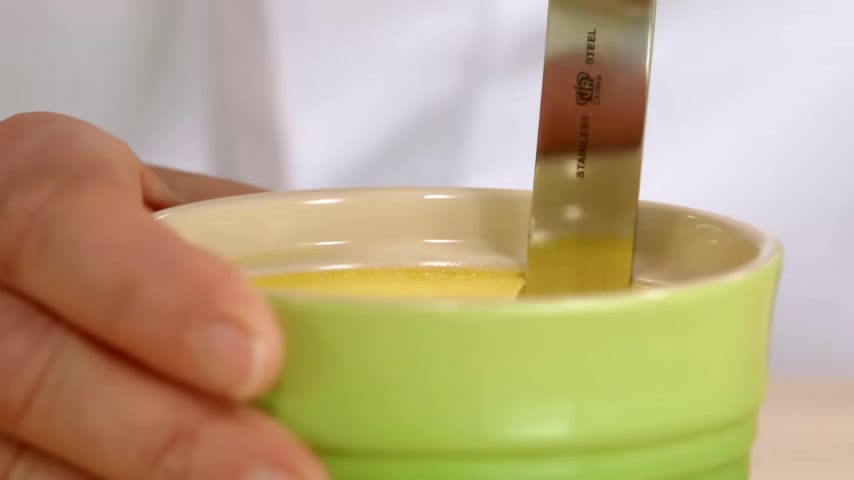
I just run my pallette knife around place over and you will get that caramel syrup come out and you see the caramelized layer on top .
This lovely sweet syrup .
Couple of garnishes .
Oh , lovely .
And who would have guessed you could do so many things with caramel .
Hm .
Silky satin .
Perfect .
Are you looking for a way to reach a wider audience and get more views on your videos?
Our innovative video to text transcribing service can help you do just that.
We provide accurate transcriptions of your videos along with visual content that will help you attract new viewers and keep them engaged. Plus, our data analytics and ad campaign tools can help you monetize your content and maximize your revenue.
Let's partner up and take your video content to the next level!
Contact us today to learn more.