https://www.youtube.com/watch?v=-egbs4284gU
2023-06-14 18:13:25
DIY Raised Planter Box with Hidden Drainage _ How to Build
What's up guys ?
I'm Brad Rodriguez from Fix this build that .
And today , I'm gonna show you how to make a Planner box with a cool hidden drainage feature .
And I'm also gonna show you how to remove dents from wood with a clothes iron , stay tuned and I'll show you just how I did it .
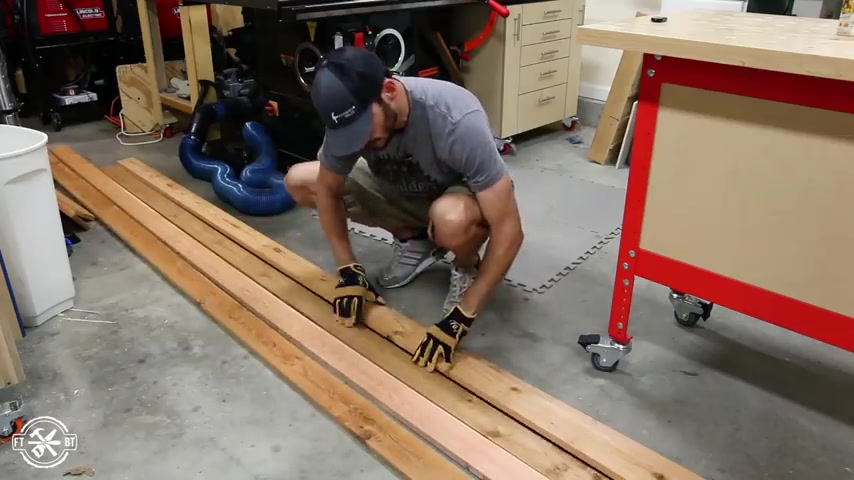
The planner box is made entirely from cedar one by fours and I love the look of cedar for outdoor projects , but it has a lot of color variation .
So before you start cutting , it's a good idea to lay out the pieces and think about how to use the dark and lighter boards .
I started off by making the leg assemblies .
Each leg is made from 21 by fours joined at a right angle .
I cut all eight leg parts to the same length , but since I'm using a butt joint to join the legs together , one side of the leg assembly would be three quarters of an inch wider than the other without any modification .
So I cut three quarters of an inch off the width of four of the leg parts .
And now each side of the assembled leg will be 3.5 inches wide .
Other than the color variation , another problem with cedar is , it tends to have a lot of knots and some of my boards had loose knots which would fall out later .
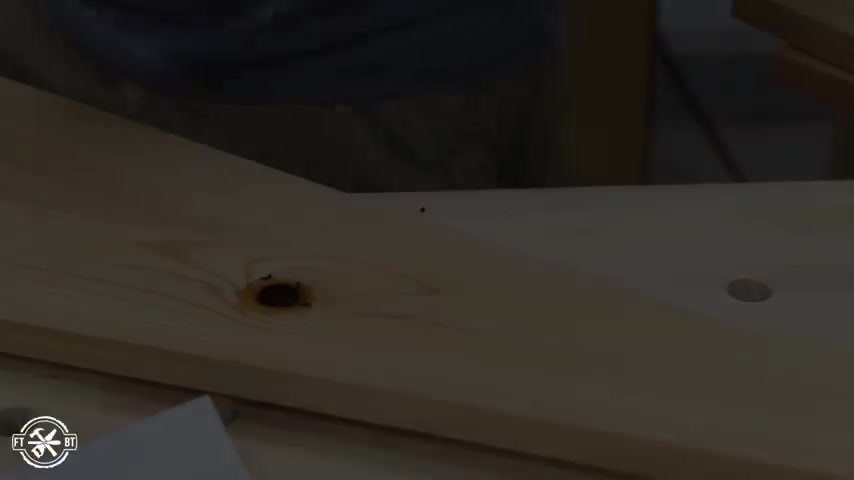
So I mixed up some five men and epoxy and applied it liberally to any loose knots to hold them in place .
I'll be joining the legs together with a combination of pocket hole joinery and glue on an unpainted piece .
I always hide the pocket hole joints .
So I only made holes where they would be covered by the legs or the lower shelf to assemble .
I put glue on the edge of the narrow piece and clamped it to the full size leg part and secured it with exterior pocket screws to get a good bond in the large gap between pocket screws .
I used a small f clamp to clamp the parts together while the glue dried .
I repeated this process for all four legs and set them aside to dry .
Then I moved on to cutting the front back and sideboards and here's where the color planning really comes into play .
I laid out my cuts .
So I would get two fronts and four sides from the same 12 ft board .
So the color would wrap consistently around the box .
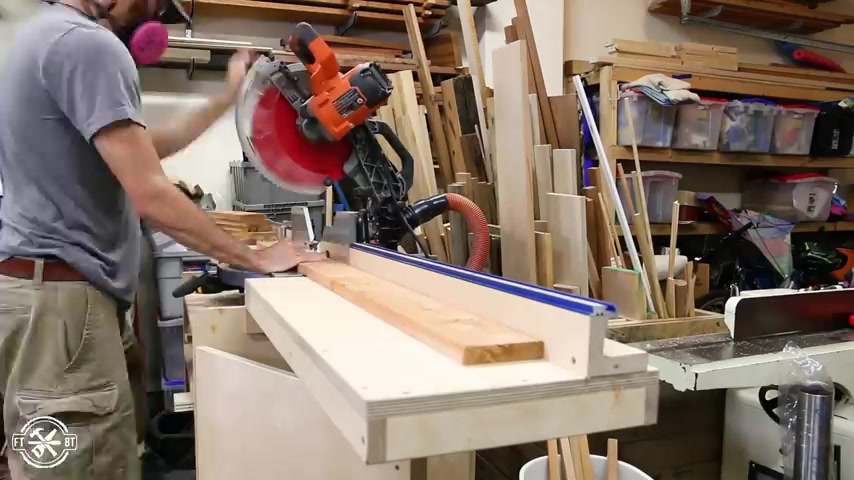
I cut the long boards first from each 12 footer .
Then I moved my stop block in and cut the shorter sideboards .
I think keeping track of the cuts .
And the board layout here really makes a difference in the final product to add a little detail to the planner box .
I put a small chamber on the edge of each of the boards that make up the box .
And since I'm not gluing the boards together into a panel , this will also help hide any gaps between the boards as they expand and contract with humidity .
Before heading back inside for assembly , I sanded everything to 150 grid so it'll be ready for finish after it's assembled back inside .
I laid out the boards for each panel .
You can see here the design I went for alternating between dark and light boards for a racing stripe look .
I laid two of the leg assemblies out and used side pieces at the top and bottom as spacers to make sure everything was parallel .
Then I put down a nice beat of glue where the boards would go and attach the side panels one by one with exterior screws .
I repeated this process on the other side and I had my two side panels done to join the sides together .
I clamped down a scrap of plywood to my bench as a straight edge for reference .
And I butted the sides up against it and laid down some glue and put the top and bottom boards in place .
It was a bit tricky here to keep everything aligned .
So I used a long clamp on the top and the bottom of the panel to position them in place .
Then I attached them with one and a quarter inch exterior screws like this side to finish off the other side .
I flipped the assembly over and repeated the process , making sure my boards were laid out with the right color combination .
Ok .
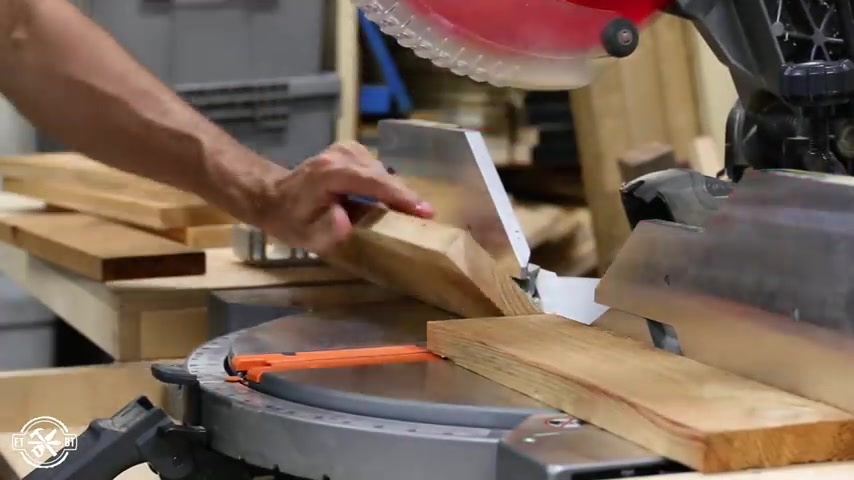
I went back to the miter saw and I cut boards the size for the lower stretchers and for the front and back batons and each of these pieces is going to be 1.5 inches wide .
So I cut them the size on the table .
I laid out the position for the lower shelf stretchers and glued and screwed them to the legs on each side .
And while the planter box was still on its side , I attached the front and back batons , I centered each baton then secured it to the top and bottom boards with screws .
Then I put a screw in each of the other boards to hold them all flush in the same plane next up .
I cut all the parts for the lower shelf .
The shelf needs eight slats all the same size along the bottom to keep the slat edges from chipping and to add a little bit more detail .
I put a small champ for on the top edges of each board and when routing all the edges of a board , do the ingrain first and then the long sides .
Now the ends are more prone to tear out and a second pass on the sides will help clean up any tear out that does happen .
I'll be screwing down the slats to the stretchers .
So I pre drilled holes on the ends of each board to get consistent spacing and a nice clean look which you guys know that I love .
I used a little plastic cabinet , hardware mounting jig and drilled an extra hole in it .
It worked great and it gave me exactly repeatable holes .
Ya O CD .
I want to thank Rigid for sponsoring today's video and for being a longtime sponsor of my channel , you'll see me using a variety of their tools in this video and all my videos and they've really done a great job of extending their 18 volt cordless lineup with tools like the cordless router and the cordless sander you've seen here .
I'll have a link down below in the description where you can see all the latest promotions that rigid has going on and check out their full lineup .
Next up .
I cut the parts for the top frame .
It's a simple minored frame from full size one by four .
I started by cutting one of the shorter parts of the size cutting minor on each end .
And I use that part to mark the cut for the second short piece to get it to the same length for the long frame parts .
I got a little smarter and I made a 45 cut on the end of two boards , then I stacked them together and cut the other ends .
At the same time , this made getting them the same length a lot easier to give the minor joints a little reinforcement .
I drilled pocket holes on the underside of each end of the short pieces for assembly .
I laid out the parts upside down on my bench and applied a liberal amount of glue to the short boards .
I used the band clamp to pull everything together and referenced each of the corners with a machine of square before screwing them together with pocket screws .
OK .
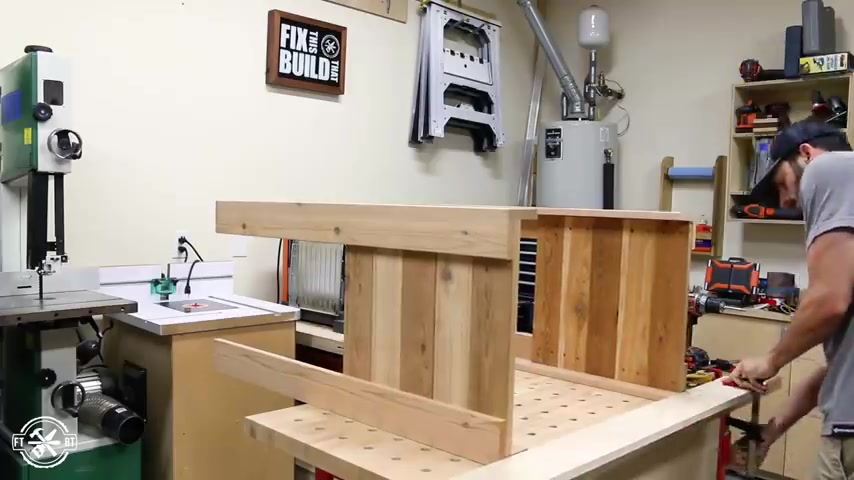
Be honest , who realized that the planner in the thumbnail had a four board front panel versus the five board panel you see here .
Well , this was the exact moment that I decided the look of the planner was off .
The fifth board made it look way too chunky and the drainage system that I was gonna use .
I didn't need the extra space for it anymore .
So I swallow my pride and I took a lesson in failure and setbacks .
And luckily , I'd not glued the pieces together as a panel .
So I was able to use a flush cut saw and remove that bottom board pretty quickly .
Unfortunately , the ends were still glued and it took quite a bit of time and persuasion to remove those little bits with a chisel .
But I'm glad I did this in the end because it looks a lot cleaner .
In my opinion , after all the struggle , the assembly and the disassembly , some of the parts had a few bumps and bruises on the planner .
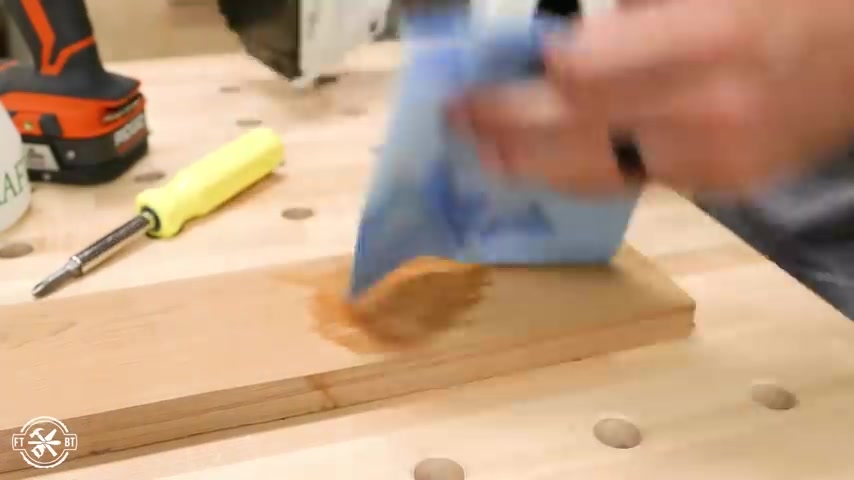
And whether you hit your board with a screwdriver , a drill or a hammer , you can likely remove those dents and marks .
All you need is a damp towel or rag and a close iron lay the wet rag right over the dents and put the hot iron on top of it .
And the steam penetrates the wood and expands the crushed wood fibers .
If the fibers have been severed , it won't work as well .
But you can see here after sanding , it really turns out nice and you can't even see some of these dents .
The last piece of the planter box was the bottom in the hidden drainage system .
The bottom is split into two sides and I cut four cleats to hold the bottom slats .
I laid out marks for the cleats so that they had a half inch slope from the outside to the middle of the planter box .
Then I pre drilled each cleat and secured them to the sides with screws for the bottom .
I used the worst of the boards that I picked up from the lumber yard .
I cut them all to size , pre drilled a hole in each of them and then laid them into the planner on top of the cleats .
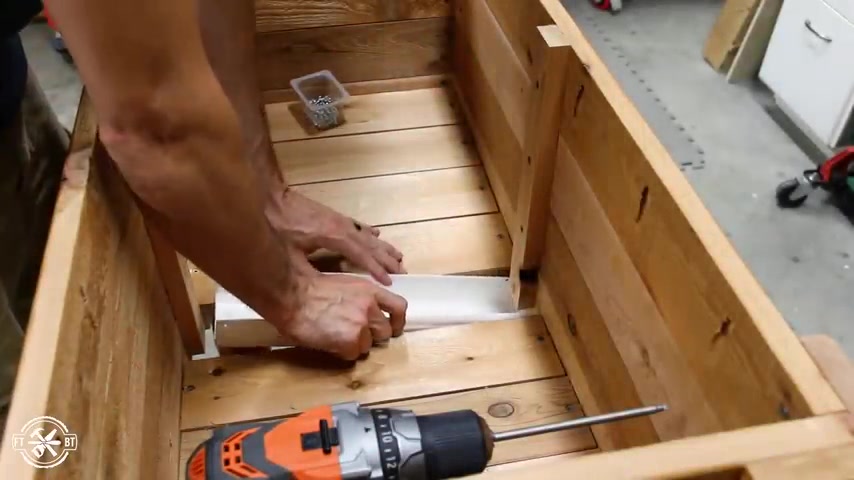
Now , the heart of the drainage system is this two by three inch section of PV C downspout .
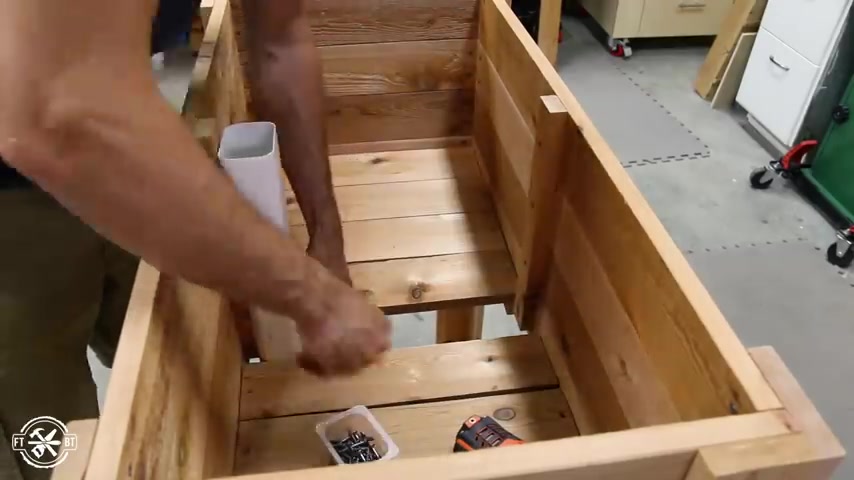
I positioned the inner board so that the down spout just fit between them .
Then I just evenly spaced out the rest of the boards and secured them to the cleats as well to keep the bottom shelf clean and dry .
The spout will extend out of the back of the planner and drain the water safely away from the shelf .
I marked off some lines on the PV C that would let the spout stick out past the planner .
Then I just cut that section out using some tin snips .
Now , jigsaw or Bana or dribble tool would also do this easily with a notch cut out .
I could mark the top of the pipe for a sloped cut to allow the water to run off .
I cut it at an angle and I had the base of my drainage ready .
But before I attached it in place , I wanted to apply my finish and attach the top frame .
I forgot to cut pocket holes in the top of the panels earlier .
So I had to use my job max right angle attachment to get the job done .
It worked .
But doing it beforehand would have been a lot easier for the finish on the planner .
I brushed on two heavy coats of spa , Urethane .
I really love how the spa brings out the warm tones of cedar and it protects really well outdoors when the finish was dry .
I went back and installed the hidden drainage .
I just pre drilled some holes in the down spout and attached it to the sides of the bottom boards .
And I'll show you how this works after I install the liners .
Before putting in the liners .
Though I installed the top with pocket screws in those holes that I just drilled earlier .
And the last part of the drainage system is a combination of the landscape fabric and some plastic sheeting .
I started by covering the bottom with a layer of landscape fabric stapling it in place .
And I made a little trough right above the downs spout .
The fabric is just to keep the soil from getting out and into the drain and clogging it up .
But the main part of the planner liner is this black plastic sheeting .
The plastic liner will keep the moisture off of the cedar and it's gonna let your planner last for a long time .
It'll also collect and direct all the extra water down to the middle of the planner where it can go into the downs spout to let the water escape .

I poked four large holes in the plastic right above the down spout using a dow that has sharpened on a sander .
You can poke holes with anything you just need to give the water somewhere to escape .
So , of course , I had to test out my contraption to see if it really worked .
So I poured some water into the planner and it drained right out the back just like I'd planned this worked out really cool and it's a great option to keep that bottom shelf dry and clean .
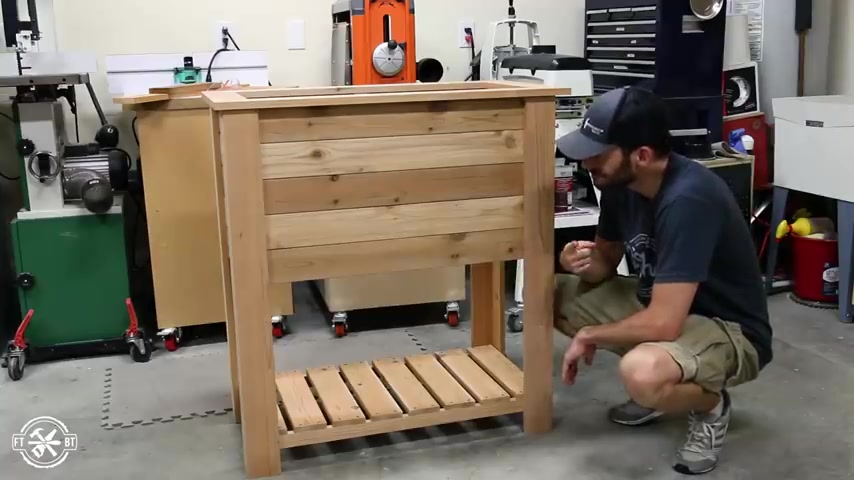
We took the planner out to the yard to get some good pictures of it .
My boys helped me fill it up with soil and plants and this could be a great father's day project to do with your kids and use the planter box to garden with your family .
We plan on growing some herbs and veggies , letting the kids care for them and learn about gardening and growing your own food .
It's gonna be a fun little activity to do together as a family .
If you want to build your own planner box , check the description below .
They'll have all the details there .
If you're not subscribed to the channel already , I'd love to have you as part of the team .
And until next time guys get out there and build something awesome .
Partnership
Are you looking for a way to reach a wider audience and get more views on your videos?
Our innovative video to text transcribing service can help you do just that.
We provide accurate transcriptions of your videos along with visual content that will help you attract new viewers and keep them engaged. Plus, our data analytics and ad campaign tools can help you monetize your content and maximize your revenue.
Let's partner up and take your video content to the next level!
Contact us today to learn more.