https://www.youtube.com/watch?v=n7Dx4AsbRxI
2023-06-14 18:12:53
How to Build a Pergola Attached to Your House _ Mitre 10 Easy As DIY

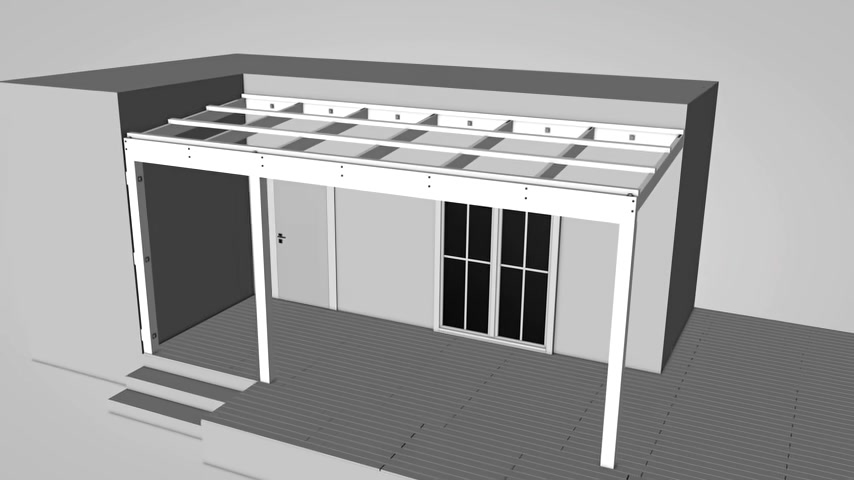
A paola that's attached to your house can be a great addition .
It's a good way to create a useful sheltered outdoor area and give you shade from the sun .
It will also add to the visual appeal of your house with a bit of initial planning and prep building one yourself isn't as hard as what you might think .
I'll take you through the job step by step so you can do it yourself before you start .
There are a few important things that you need to know while you don't actually need a building permit , you will have to adhere to the building regulations .
So you'll need to get a licensed building practitioner or L B P to help design it for you .
This will help you make sure that you're doing it right and that you're using the correct materials when designing the structure with your L B P .
There are a few things you should just keep in mind , you wanna make sure it's high enough .
So the beam doesn't obscure your view from inside , you wanna build it .
So it's keeping with the overall style of your house .
And if you think you might want to put a roof on your pago .
Then it'll need to be under 20 square meters and you'll want to design it with a fork so the water can run off it .
Right ?
Is the plan I've had drawn up by my L B P .
It's got all the measurements I need and it tells me exactly what materials I need to order .
So all you need to do is take this into minor tin and the guys in the drive-through will help you out with slick in the right materials and a trailer or delivery if you need .
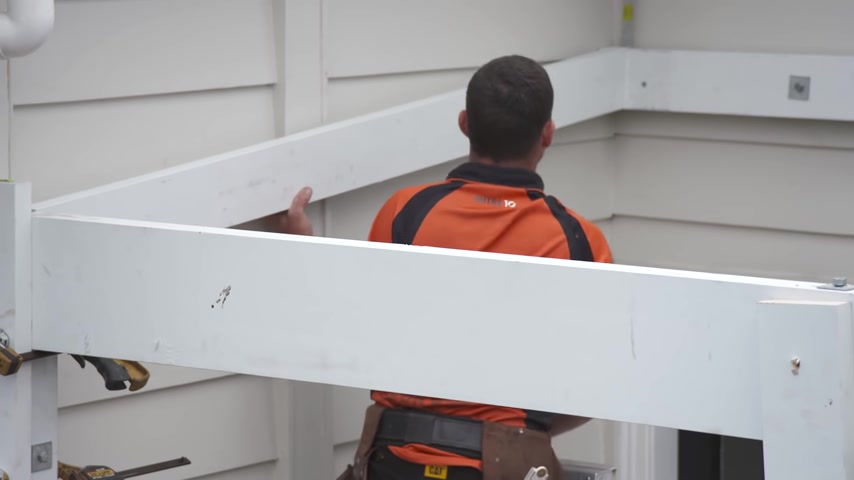
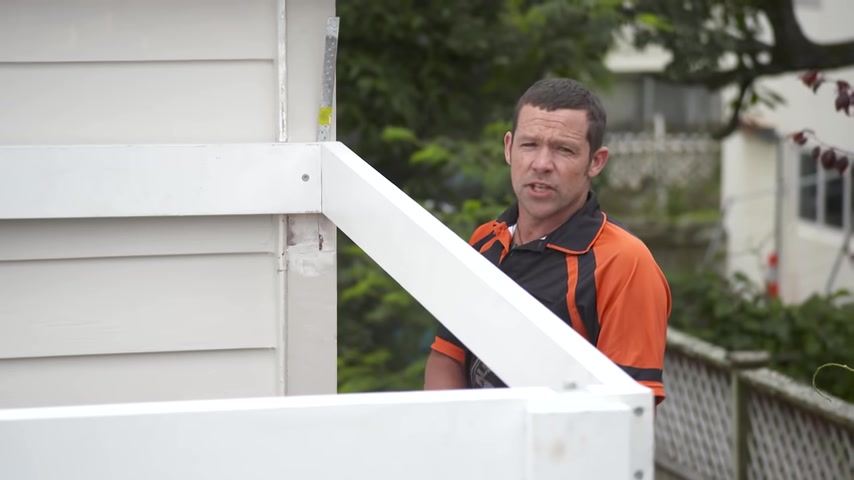
Now , as per hour plan , our first post is going to be face fixed to the outside of the house here and it's going to be in line with the corner .
Now , our second post will be on the outside of these steps and our third post is gonna be right on the outside in line with the corner of the house .
So the first thing I need to do is get a parallel line from the house to the corner and put that mark down here .
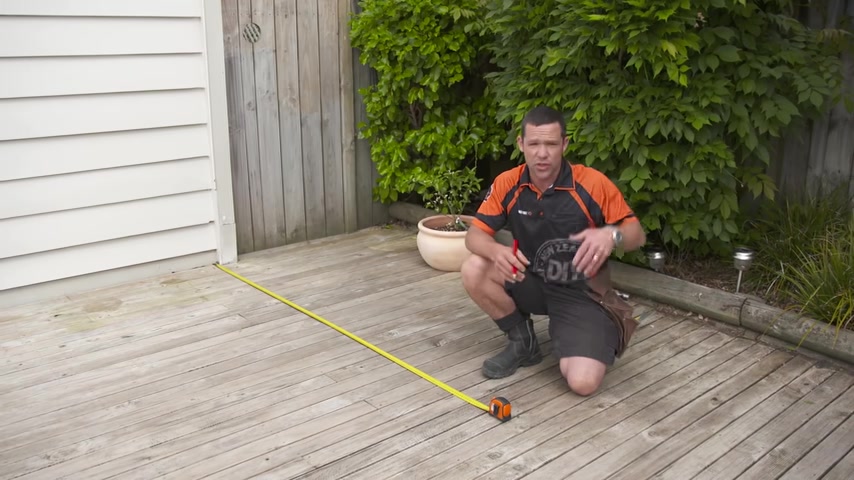
So I know exactly where this poster is going , right .
So we're just gonna butt the tape hard up against that weather , the border under the doorstep and we've got 21 40 to our corner box .
So I'm gonna take that 21 40 and measure that off their house for our in post .
Ok .
There's our 21 40 that's to the outside of the post .
Now , if you're in the situation where your paola came to the end of your deck , you can just put your post on the outside .
So you're just digging straight into the earth .
But in this situation , obviously , we've got to remove a few decking boards so we can dig a hole underneath the deck .
Now , this is just a rough guide at this stage where our post is gonna be situated .
I will run a string line down the side of the house so I can get that pinpointed .
Exactly correct .
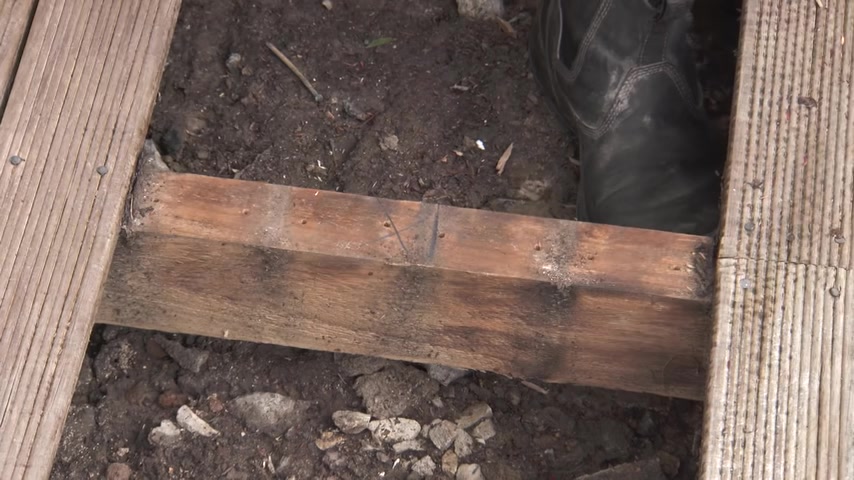
So the next thing we need to do is remove some of the sticking board .
So we can actually start digging a hole where our post is gonna go .
Now , a great little tool for pulling out the nails of these little dog bars .
Absolutely brilliant .
Take care when you're removing your decking boards because you could reuse them .
These ones are badly split , so I'll be replacing them .
Ok .
So I'm gonna mark my 21 40 back on our joist here .
Now , I still need to get exact position this way in line with the house , but I still know that my post hole is gonna be about here .
So what I can do is start digging that hole and when my post goes in , I'll get an exact position of it with a string line a little bit later on down the track .
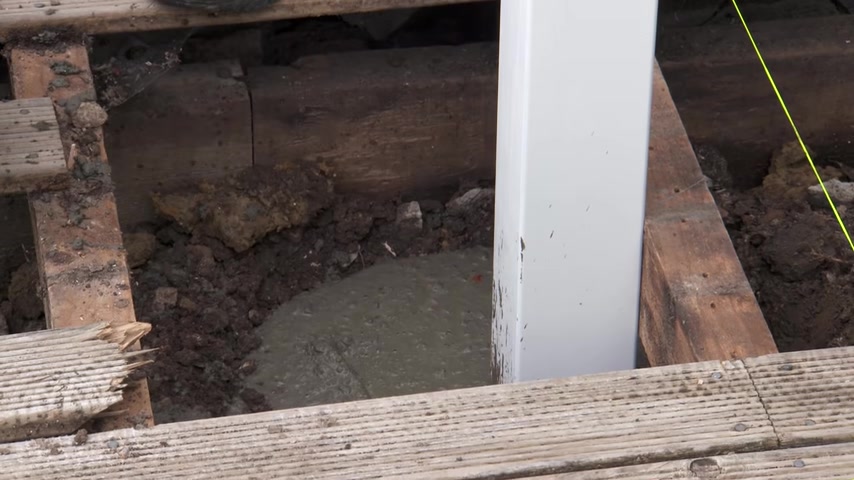
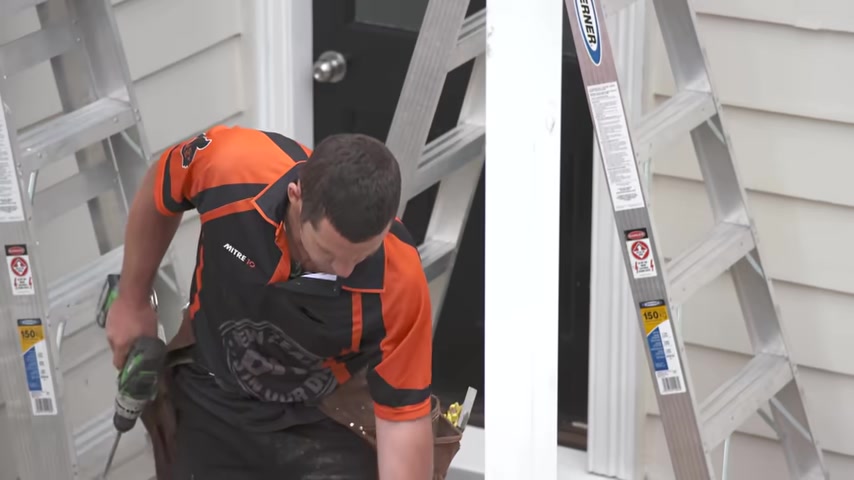
Now , I've dug our hole nice and deep as per the specifications on the plan .
And also I'll put a block of concrete on the bottom of here just so I've got nice and solid bearing for our post to sit on .
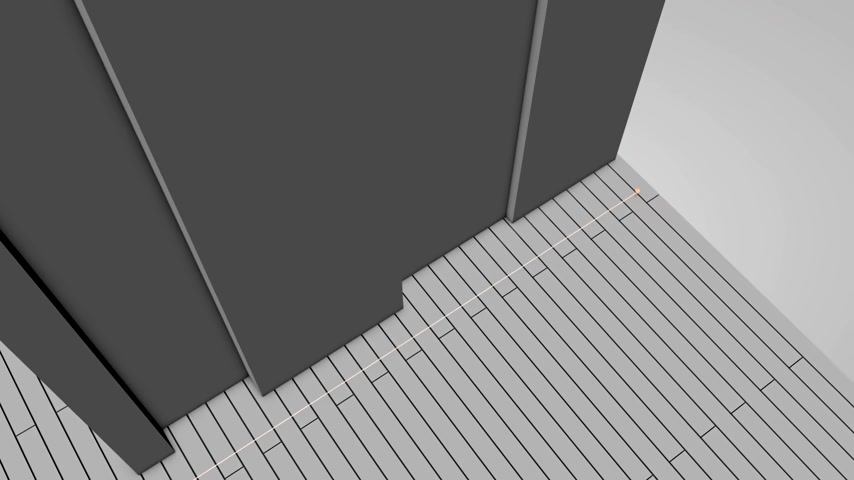
Now , I've also run a string line down the side of the house parallel with the house .
I've run a string line 100 millimeters from the side of the house .
This avoids any uneven surfaces on the side of the house .
That means that the distance from the string line to the corner is 63 millimeters .
Now , I want to be 63 millimeters away from the line that's up to the corner of our house .
So as you can see 63 millimeters , that's where our post is gonna sit .
So we've got a joist in the way .
There's nothing I can do about that .
I'm just gonna clamp my post to the side of that joist and later on down the track , I'll show you how we compensate for that .
So now's the time put in our post , brace it up and put some concrete in .
Now , I'm just gonna use this little clamp to hold that in position .
Now I've just lined up my post with our mark on our joist .
All I need to do now is plumb the post up and put a brace down .

Now , these posts that I am using are glue laminated and the H five treated that way .
It's not gonna twist or warp .
They're the best type of post you can possibly use when you're building a paola or a Veranda .
I just pull that plump .
Cool .
Now , that's looking pretty good .
All I gotta do now is fix the end of my brace and then put some concrete in the hole .
Ok .
Just before I throw my concrete in , I wanna get rid of my clamp to get that out of the way .
So I'm just gonna screw off the post to our joy and that's gonna be permanent from now on now , I've got a pretty long post .
So what I wanna do is just throw another support going back the other way and let's just make sure that's nice and plumb cramp it off and then we're good for our concrete .
You need to have at least 600 millimeters deep of concrete to secure your post righty .
That's looking pretty good .
Now , all I gotta do is exactly the same for the other post .
Let it sit for 24 hours and then we're good to go to determine the position of the middle post .
I've run a string line from the corner of the house to the corner post right here .
I've let my two posts set in concrete for 24 hours .
Now , I got one more post to attach , but I don't actually want to fix that to the house at this point because I want to chop the post off at exactly the right height .
Now to get that height .
I first have to establish exactly where our ribbon plate is going to be attached to the house as per the plan .
The bottom of the ribbon plate needs to be 26 80 millimeters from the deck .
OK ?
Now , this is just an example of what our ribbon plate is gonna look like .
It's gonna be attached to the face of the weather boards like this .
Now , I have a couple of packers that I'm gonna attach behind the ribbon plate that's to allow for any water to run down if it ever should get in there .
Now , this is also an example of what our rebate is gonna look like .
Now , the rebate is so we can have our raft to sit in there and quite nice and tidy like that .
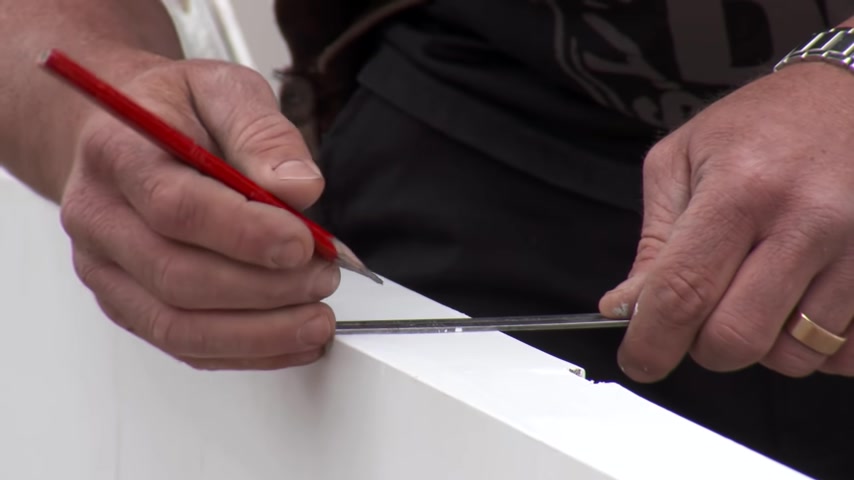
What I need to do next is get a length of our ribbon plate .
Now , as per the dimensions on the plan , it says it's 26 80 to the underside of my ribbon plate .
So what I'm gonna do is just put a nail in the weatherboards at that height .
Then I can use this nail to hook my tape on to get the length of our ribbon plate .
OK .
So that's 57 53 right ?
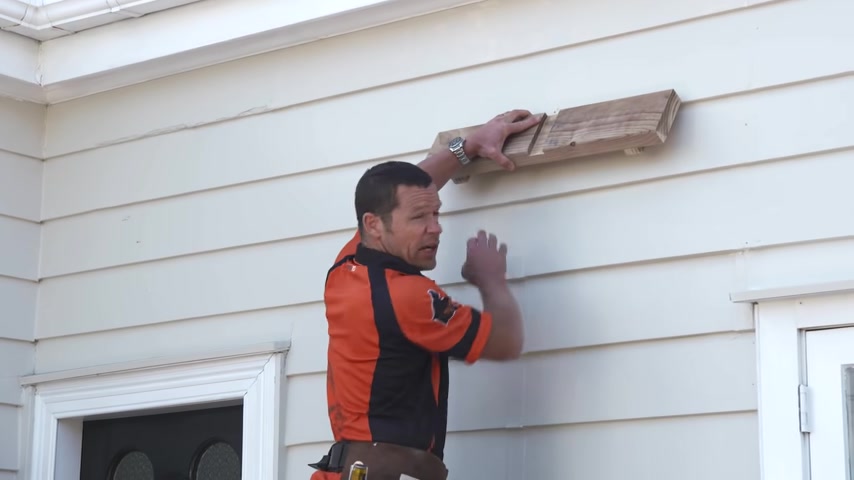
The next thing I need to do is just mark a level line on our weatherboards to indicate the exact location of the bottom of the ribbon plate .
OK ?
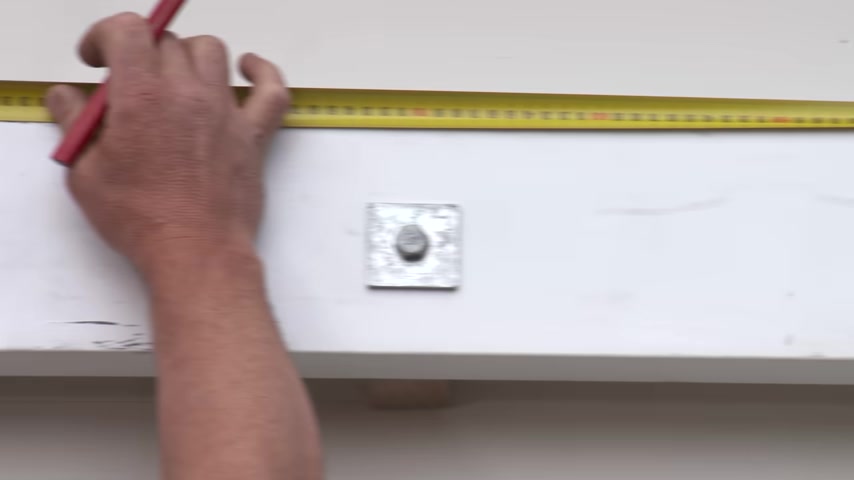
The next thing I need to do is establish exactly where our studs are .
Now to do that , there's a couple of things you want to look out for .
The main thing is exactly where our nailing is .
So you can sort of see a little bit of paint cracking on the weatherboard that there indicates exactly where our stud is .
So we want to be looking out for the old nail lines and then just above our mark , we want to put the center of our stud .
OK .
Now , it is important that we locate exactly where all the studs are because these are gonna be our solid fixing points for when we put our coat screws through the ribbon plate into the house , right ?
The next thing I need to do is just measure out exactly where all those marks are .
And I'm just gonna write it on the weatherboard .

All these marks will be hidden by a ribbon plate .
Um 49 10 .
I've marked the measurements of all the studs on the weatherboards .
Now it's time to transfer them to the ribbon plate .
339849 10 .
The plan shows seven rafters for this paola .
That's a total of six bases between them .
The overall length of the ribbon plate is 5753 millimeters .
I've divided that by six and that's given me a measurement of 959 millimeters center to center .
So 9 59 is from the center of one rafter to the center of the next , which is what we're gonna mark out now .
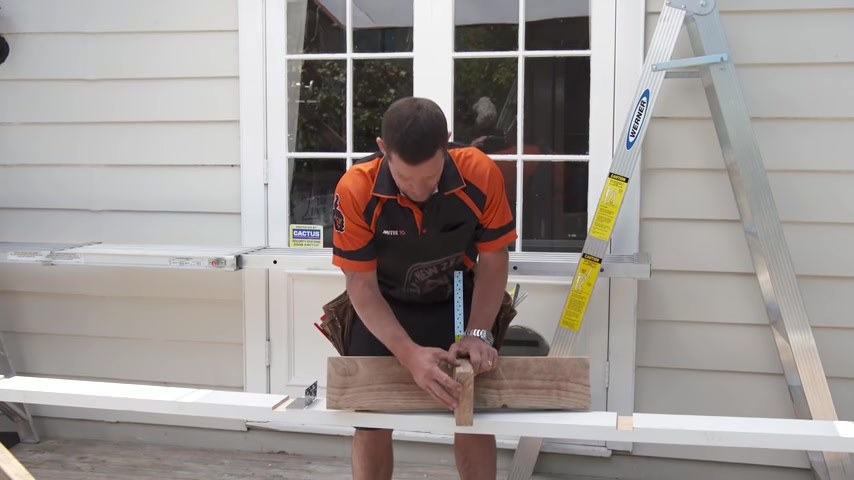
So now we're just gonna mark out the thickness of our rafter onto our ribbon plate .
So my rafter is 42 millimeters thick .
So I just want to divide that by two .
So I go half on either side of the line .
So that's 21 millimeters , either side of the center , we'll just square that off .
So that's one side , there's the center and then we'll just use it the actual thickness of our rafter and put that on there and we're just gonna rebate that out later .
So we're just gonna do the same for all of our marks right here .
Now , I'm just about ready to rebate out my ribbon plate .
So I've set my saw blade to about 10 millimeters .
So I'm gonna take a 10 mil rebate out of my ribbon .
Now , just before I rebate out , I'm just gonna use the side of my square with the side of my circular saw .
That'll help me give a nice straight line to make sure I'm up against my marks .
Nice and tidy .
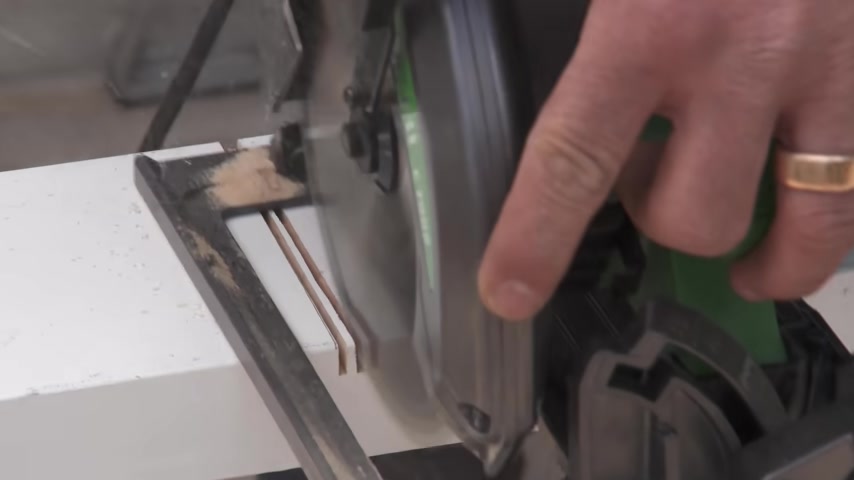
I'm cutting a series of fins into the timber which I then simply remove with a chisel right now .
That's looking lovely .
Now , we just want to do exactly the same for all the others .
Now , the most conventional way of attaching our rafters to our ribbon plate is just a face fix like this .
Now , the reason I've decided to rebate out our ribbon plate .
It's just going to give me a stronger join .
It's gonna stop all our rafters from twisting .
And also if you get any sort of movement whatsoever in the house or the pago that all that would do is open that up .
Now , our rebate is gonna hide any sort of movement whatsoever .
Now , regardless whether you face fix or your rebate out your ribbon plate , we're still gonna have to have a mechanical fixing .
Now , what I mean by mechanical fixing is something like a joist hanger or a multi grip bracket sitting on the side there .
Now , that's gonna hold that there absolutely fine .
No problem .
The only thing is it looks absolutely terrible .
So I'm going to eliminate that and I've decided to nail the 12 K in strap on the back where my rebate is and then once my rafters go in , all I'm gonna do is fold that over and nail that down and that gives me a really nice strong mechanical fixing .
Now , these are the marks where my studs are on the wall .
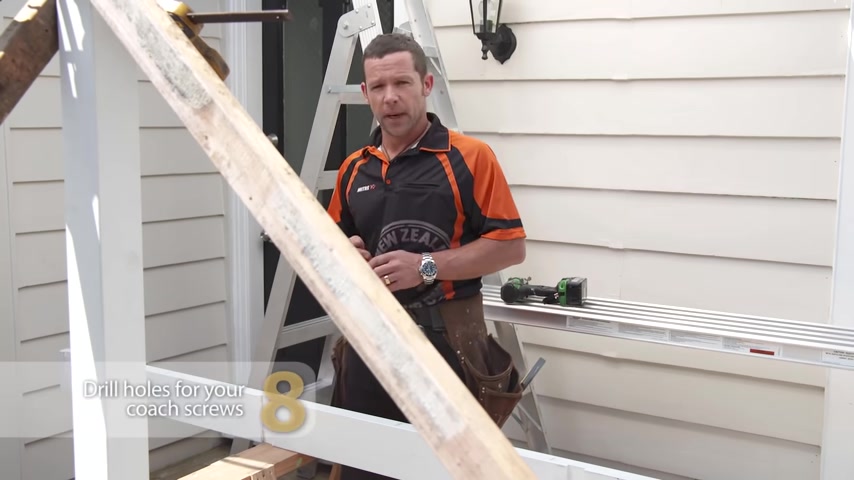
Now , as per my specs on the plan , it says my coat screws have to be no more than a meter apart , which works out pretty good here .
Obviously , I'm not gonna choose that one that's hard up against where my raft is gonna go .
So , what I'll do because I'll just square this down and do a hole in the center of that one and the same on this one here .
Now , we'll just do the same for all the others .
Ok .
Now I'm using a 12 mil coach screw .
So I'm gonna drill a 13 mil hole through our ribbon plate .
You'll need a mate to help you position the ribbon plate .
Next , I'm pre drilling the coach screw holes .
This is a timber weatherboard house .
If yours is different , just refer to your plan right out .
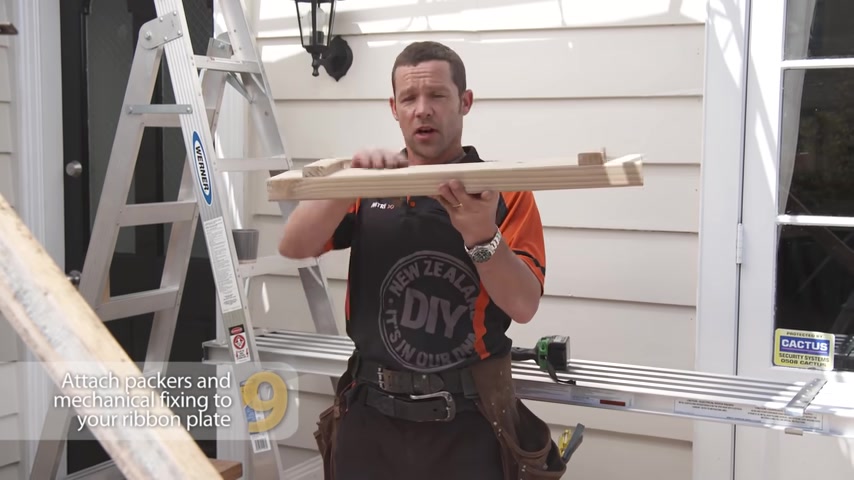
The next thing we need to do is attach our packers to the back of our ribbon plate .
So like in this example , I've got a 20 mil thick packer .
That's what council rigs state .
Now , I've made these 45 mil thick wide .
So what I'm gonna do is cut up a whole lot of packers about 20 mil thick by 45 wide .
And then I'm just gonna pin them to the back of our ribbon plate .
And then I'm gonna tip the ribbon plate back over and then I'm gonna drill all the way through with our 13 mil hole and take that ribbon up to the wall all in one piece with the packers attached .
No , right .
All the holes are drilled through our packers .
Now , it's the big thing .
I have to take this up and attach it to the house .
Now , as part of council regulations , I'm attaching Neoprene washer in behind our packer .
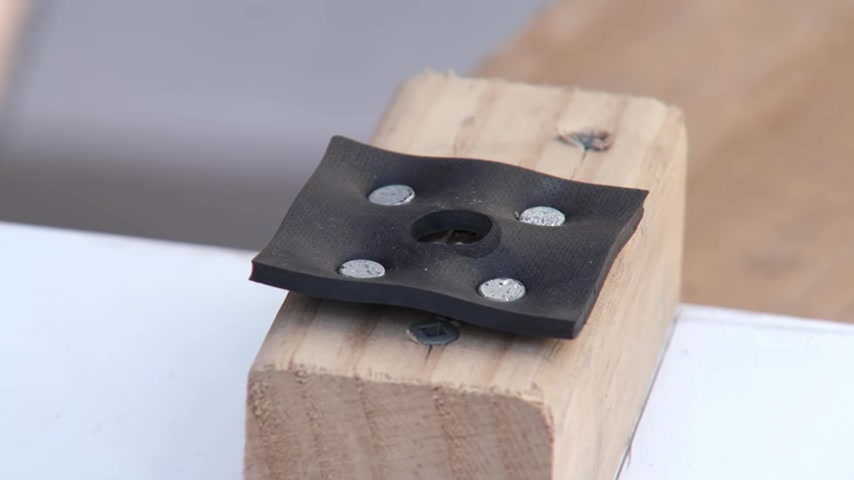
So it sandwiches up nice and tight to create a watertight seal between the house and our ribbon plate now nail each strap to the back of the ribbon plate centered on each rebate right here .
I've got my packet attached to the back of the ribbon plate .
The NEAP prem washes on there .
Ready to go .
I've pre drilled a hole .
My coach crews are sitting in there .
Nice , ready to go as well .
And I've also attached our strap .
So all I have to do is attach it to the wall .
Now , we're just gonna make sure that we're gonna follow our line the whole way .
We're just gonna start from one end and work our way to the end .
Obviously , you're gonna need a mate to give you a hand .
Now , a great little tip when you are putting things up is use an impact driver and I've got a socket set attachment on the end .
That's just gonna make the whole drive a lot easier .
Now , whilst I'm at the scaff , I thought I'd just take all our dimensions of exactly where our rebates are on our ribbon plate .
Then when I jump down , I can mark them all out on our beam 28 58 .
Now , I wanna put a five degree fall on this paola .
So as per my plan , if I put a liver line from the top of my ribbon plate across , I come down 100 and 93 that'll give me exactly five degree four .
Ok .
So that's 100 and 93 Now that is to the top of our beam .
Now , I've got a little cross section of our beam that there is gonna sit flush on the outside .
And so what we've gotta do is just physically mark the bottom of our beam .
Now that there is the top of our post so we can now measure that and cut our post to soup .
Yeah .
23 82 .
Ok .
My post was cut to length .
I've attached my 20 more packers on .
I've got the neoprene washer there .
I've drilled a hole all the way through .
The only thing I have to do now is attach this to the house .
Now , this is pretty much exactly the same as the way we attached our rim plate to the house .
Fantastic .
Right .
We're all set up now to chop off the top of our other two posts just to recap .
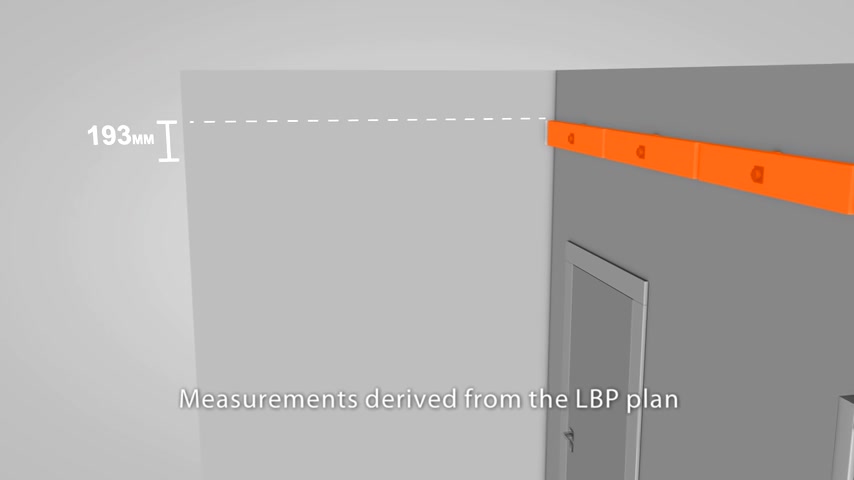
The 1 93 millimeter measurement is from the top of the ribbon plate .
This gives us our five degree fall , add the width of the beam to this and that's the top of the post .
OK .
Now , all I'm gonna do is exactly the same as on the other end , I'm gonna level across from the top of our rib plate .
Come down 100 and 93 1 93 .
Now , I think this on my beam .
Ok .
There's just one last thing I'm gonna do to this post .
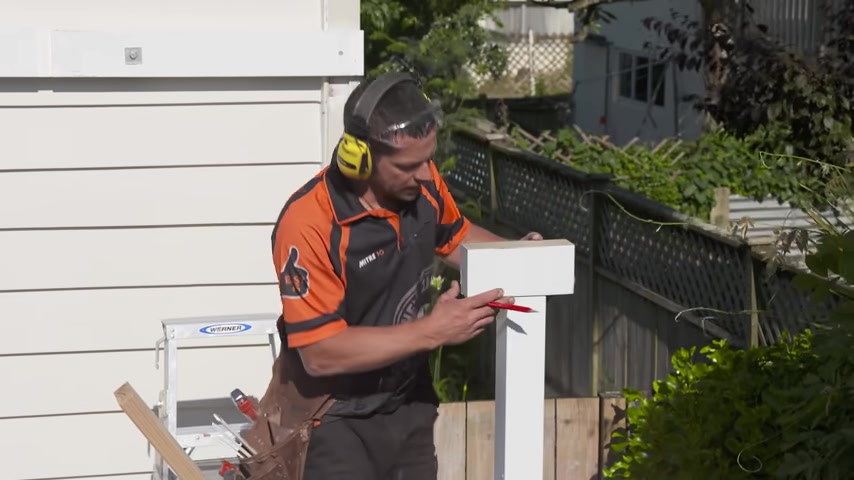
I'm gonna put our beam back on it because our beam has got to be flushed with the front of the post .
I'm just gonna mark the backside cos our beams 65 our post is 90 and I'm just gonna cut a 45 degree on there .
That'll create a nice little detail .
And then we run a string line from one end to the other and that'll indicate exactly where to chop off the middle post .
So I'm just gonna square across from our string line , chop that off again just as the same as we did as the other one .
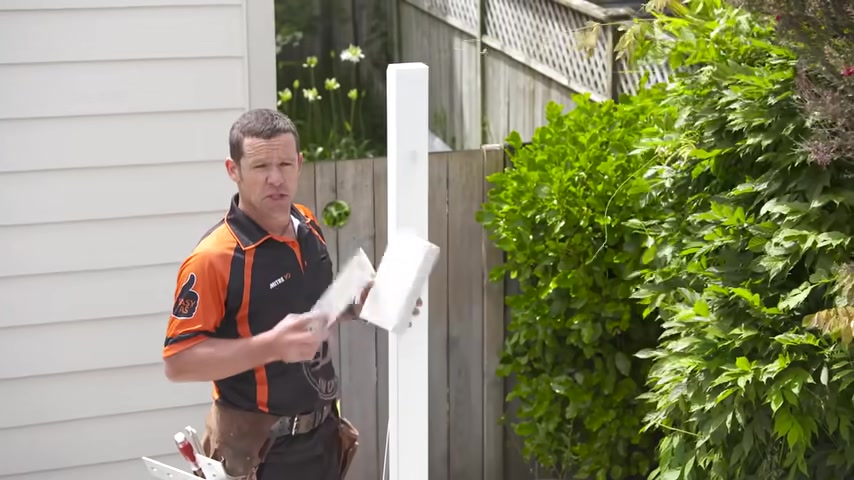
So let's just give the edge just a light little tickle up , take off those sharp points .
Then after we've done this , we'll just put a little bit of primer paint on there .
Keep it all looking good .
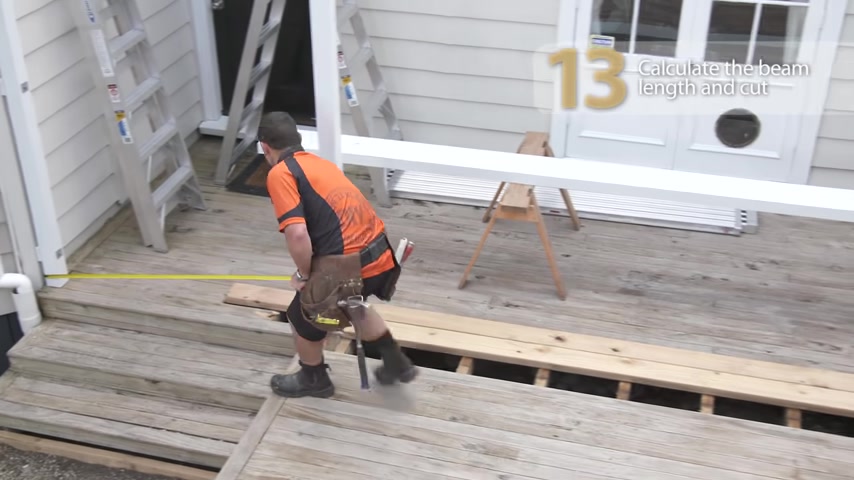
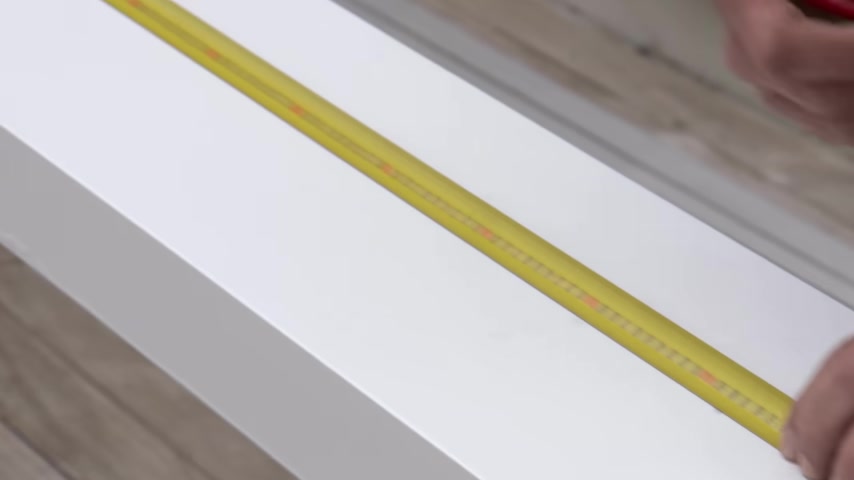
The next thing I need to do is to get the overall length of the beam to do that , I'm measuring from the outside of the post attached to the house to my string line .
I then come back 63 millimeters which gives me the length of the beam .
That'll give me a dimension of 57 oh eight .
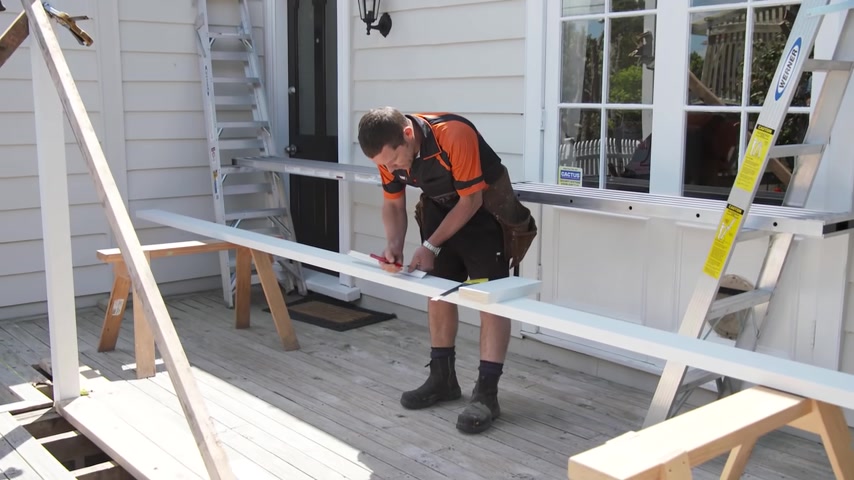
Now , that's exactly what I'm gonna cut my beam to , OK , the slope on my paola is five degrees .
So I'm gonna need to cut all my rafters at that five degrees .
So what I'm gonna do is cut a scrap piece of timber five degrees and transfer that measurement onto the beam .
Yeah .
Now I've already cut my beam to length using the old trusty circular saw .
OK .
So I'm just gonna start marking out from all our dimension that we got off the ribbon plate .
Now , just have to make sure that you put the rebate on the right side .
So I know all my marks are on my left , the rebate will be on the right .
Next one is 19 oh one .
Now , one of the reasons I cut five degrees on my little block of timber and do you guys just square that mark down first .
Now , that five degrees is actually going to give me the exact length that I revey out of my beam righty out .
I've set my circular sword of 10 millimeters .
So I'm just gonna rebate out our beam ready for the rafters .
Right .
That's looking absolutely lovely .
Now , the most conventional way of building a paola is by sitting our rafters on top of our beam .
Now , as you can see , this just looks a whole lot nicer and neater by rebating them in .
Now apply primer to all bear timber .
Now , the most conventional way that we attach our beam to our post is by using one of these Boma brackets and that'll bolt all the way through our beam and our post .
But you know what , I really don't like the look of this , but I still need a mechanical fixing to attach our beam to our post .
So what I am actually gonna use is the length of threaded rod .
So I'm gonna drill a hole all the way through our beam and then into our post and we're gonna glue that in .
Ok .
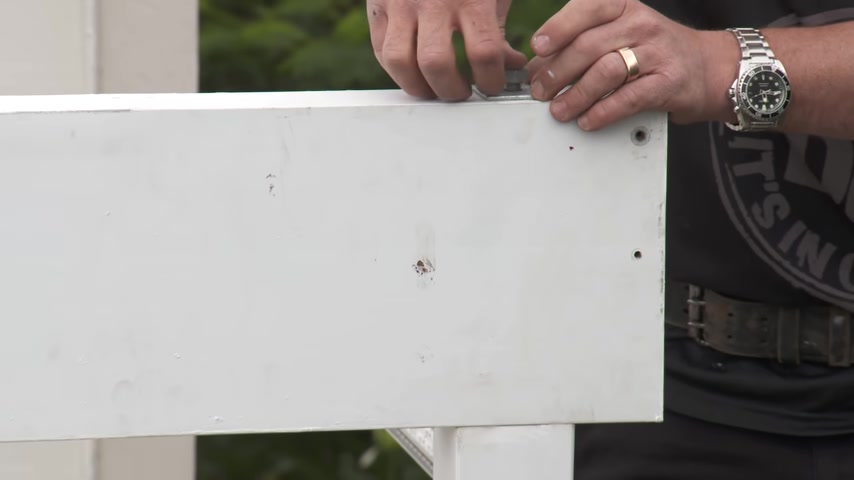
Now it's time to mark out exactly where our holds gotta go for our threaded ride .
So , all I've done is push the beam hard up against our post .
I've ensured that it's flushed with that end here .
I know it's overhanging here .
So , all I have to do is just mark the center of the post on our beam .
Now , turn the beam over and square it from your centers to the middle of the beam for the position of your holes .
Now , just before I rip into drilling this hole , what I have got here is a standard speed ball on the end of a drill extension .
Now , the great thing about these drill extensions , you know , pretty much most people have got speed ball sets at home .
So all I've done is purchased uh extensions that you can slot your standard drill bits into it .
Now , I'm using a 16 mil speed ball bit .
I've got a 12 mil threaded rod .
So that's gonna give me plenty of glue around the threaded rod when it goes into the timber .
So , ok , so I just want to mark the center of our post and just to do that , I'm just gonna mark the diagonals cool and we just want to drill down about the length of our drill bit which is 100 and 30 millimeters .
Now , what is pretty important before we put our glue in there ?
We just wanna make sure that we get all our dust out of there so you can either blow it out with a compressor or a little hand pump , right .
I've already precut my threaded , right .
Using my hecka now , the length of this was the length of our beam plus our 130 millimeters that went into our hole .
So now it's time to glue up our posts .

Now , the type of glue that I'm using to secure these bolts in place is this high performance epoxy anchoring system .
Now , this one is actually designed for concrete and timber .
So we'll just pump , this is a two part epoxy .
So as we squeeze it out , the two parts are mixing .
Now , we don't want stuff around too much from this because the glue can go off in hot weather pretty quickly .
Righty .
Obviously , you're gonna need a mate to give you your hand dropping this in place .
Just take your time .
Now , we're just gonna fill that hole full of our epoxy and then link the two together with our threaded rod .
Don't be too shy of giving it too much .
We want that hole filled up completely nice .
So all I'm gonna do drop our threaded rod in place and I'm gonna let that go off overnight .
So , in the meantime , I'm just gonna clamp the post to the beam .
So that doesn't move while that's setting .
Now , I just want to repeat the same for our other two posts righty out .
Now it's time to cut our rafters .
So there's a couple of different ways we can get our length of our rafter .
I could use a tape measure and actually physically measure in between our beam and a ribbon plate or I can actually just take a piece of raft that is slightly longer and all I'm gonna do , I've just got that sitting on my nail and I'm gonna place this on the outside and actually scribe it .
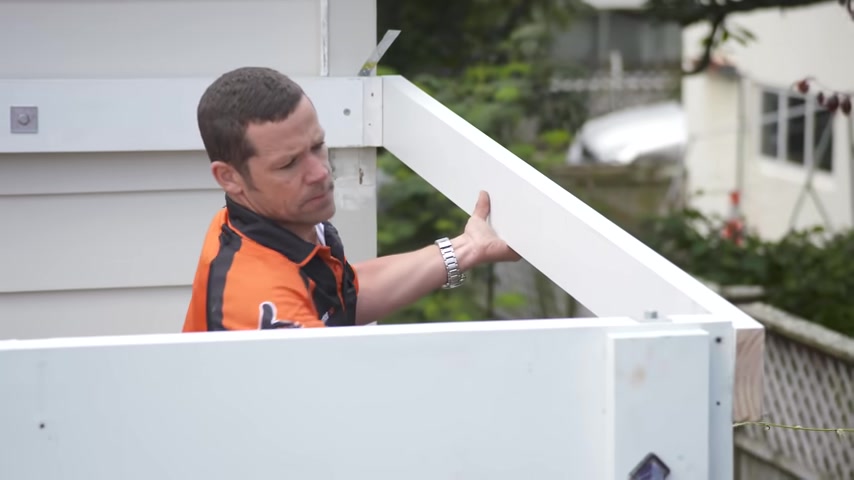
So I know I can't go wrong right .
Here's my first raft to cut .
Now , I'm just gonna slot that into position that's fitting nice and lovely .
Now , I'm gonna use this as a template , take this down the other end and just check to see if that fits in nice and tight .
That's looking good .
I'll just check it one more time in the middle of our beam and if that's going in nice and tight there , I'll precut all the rafters the same dimension .
Now , if you don't feel confident , cutting them all exactly the same , you might want to just be sure as measure each one individually , just double check that we're looking pretty good down here .
That's a nice tight fit .
We're just checking the middle now .
Right .
Yeah , that's looking absolutely marvelous .
Now , I can precut all our rafts exactly the same .
OK .
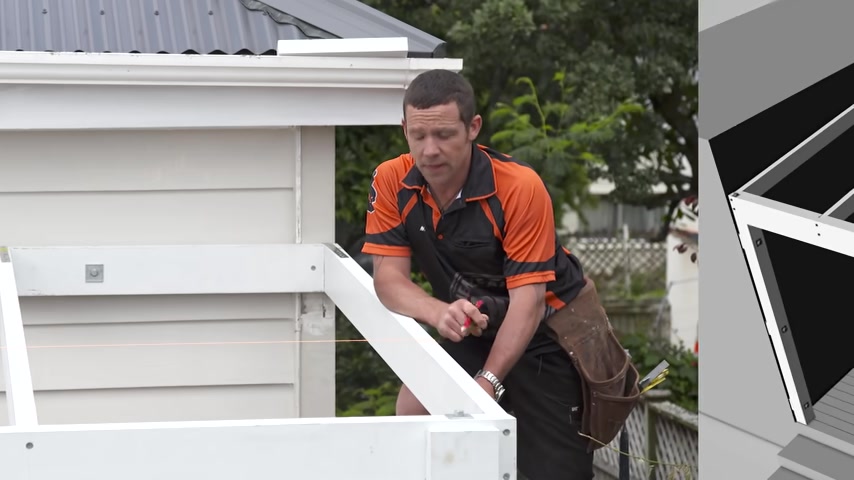
I've installed all the other rafters .
I've just saved this last one to show you what I have done is pre drilled a five millimeter hole through the front of our beam because I'm gonna face fix through the beam with this 150 mil Bugle screw .
Now , these are absolutely fantastic .
I'm gonna put them in with the impact driver .
I don't need to worry about pre drilling into my rafters because all these are self tapping .
Now down on the ribbon plate in what I'm attaching the raft is to the ribbon plate with , are these tink gauge ?
Three inch gal V screws ?
Ok .
One of the last things I have to do before my pearls go on is just nail down our straps onto our rafters .
Now , we don't need to fill up the strap every single hole as long as we've got a minimum of about six nails in there .
That'll be good to go .
Ok ?
I'm just about ready to put my pears on .
Now , as per my plan , it shows that I have four pearling sitting on top of the rafters .
So what I'm gonna have is one on either end and two in the middle .
So all I've done is taken that dimension divided it by three that gives me my spaces .
So I've got a nail hooked in down the end .
I've got my chalk line attached to it .
So all I'm gonna do is just give that a ping that'll mark all my rafters , the pear and sit on that side of the line .
Now , I'm ready for my pearling , use the same string line technique to mark the position of the other middle Pelin .
So it's one Pelin on the ribbon plate , one on the beam and the other two evenly spaced in the middle .
I'm just fixing off my last pearling .
Now , obviously , we've got our straps here .
We can't nail through that .
So all I'm gonna do is just preo a hole through the metal strap and then I'm just gonna nail it on by hand .
Ok .
Look at that .
A great result .
That's really transformed the exterior of this house .

We've created an extra outdoor area ready to be enjoyed .
And by following the plans , it was easy as
Partnership
Are you looking for a way to reach a wider audience and get more views on your videos?
Our innovative video to text transcribing service can help you do just that.
We provide accurate transcriptions of your videos along with visual content that will help you attract new viewers and keep them engaged. Plus, our data analytics and ad campaign tools can help you monetize your content and maximize your revenue.
Let's partner up and take your video content to the next level!
Contact us today to learn more.