https://www.youtube.com/watch?v=ExltDReEdno
2023-06-14 18:12:38
Bricklaying 101 - How To Build A Brick Wall - Bunnings Warehouse
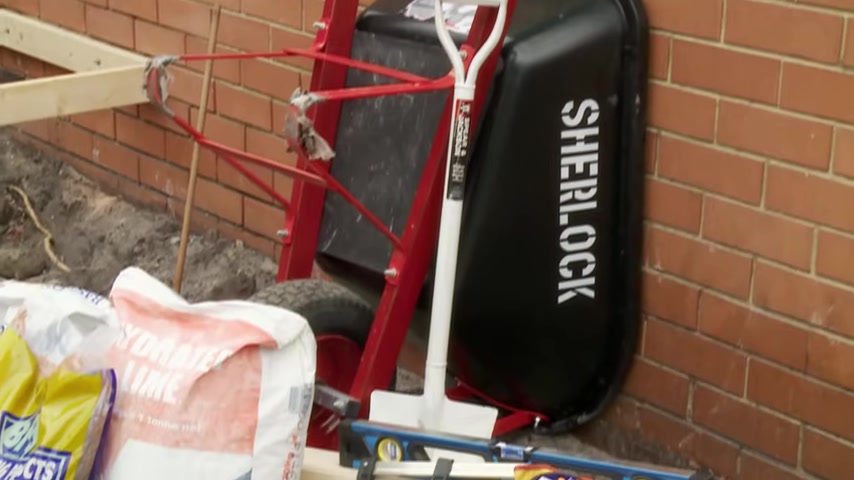
Here in front of me is all the tools that are required for brick laying .
You can see , I've got my trow my hammer , my levels , I've got a shovel .
I've got my trusty wheelbarrow , liel , cement and sand .
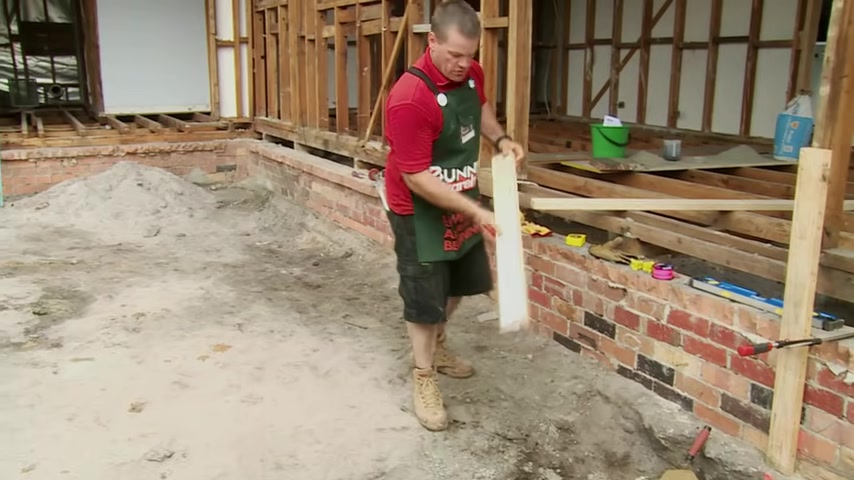
So what we have to do first is set up our profiles .
We've got our measurement on the wall .
A builder supplied me with that measurement .
There was 16 50 back off the wall .
Now I'm using today just a bit of 90 35 pine and generally for bricklaying , we use 45 by 45 steel , but these are fine , make sure they're straight and if they're straight then they're right to use because that's what our , our brickwork's gonna run off .
So what we need to do is we stand that up .
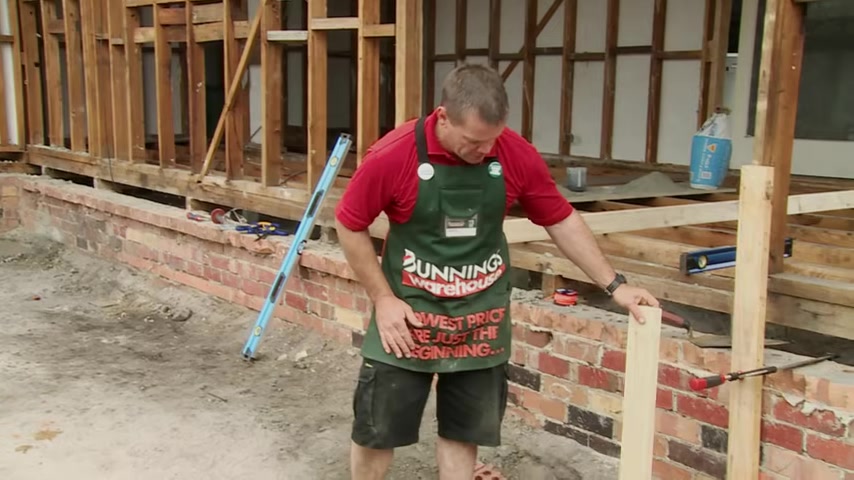
We need to have a packer sit behind the profile so that we can get our string line in behind .
Make sure that that our line is visible through the back here and then we're just gonna clamp this to the wall so I can see my line there .
So now all I have to do is plumb down .
Now , it is very important to make sure that the bubble is sitting dead center of the two lines .
So that's bang in the middle .
So I'm happy with that .
Ok .
Now , what we're gonna do is we're gonna mark the , the gauge on this profile , which is not really that important because we've got existing brickwork .
But for the sake of the exercise , I'll show you what to do .
So set the level to get the level of the brickwork just simply mark underneath the level .
Then we're gonna take our gauge rod which have already marked off the existing brickwork .
Now , what we're gonna do is we're just gonna hold that on that top level mark there and then we're gonna transfer the rest of these .
So it's the height of the brickwork .
So we've got our profile set up , we'll duck our line in behind the profile .
Now , what we have to do for starters is we have to set up a level line .
So , what I'm gonna do is I'm gonna set this with five courses above 12345 .
And then I'm gonna go over to our other wall here , which is also completed and I need to count down five from the top .
So 12345 .
So the line needs to be nice and tight and if there's a sag in the line , then your brick work not gonna be level , we've got my line set up .
So what I I need to do to check that this concrete's level or , or close enough to level is I'll put my gauge rod here and I can see on my gauge rod that I need to get up or probably 2025 mil , which is , is not a big deal .
I'll be able to do that easy enough .
So , what I'm gonna do is I'm gonna lay this first brick with AAA larger bed than I'd normally lay .
I'm just gonna pop him down there .
I'm just using my eye for now to sight .
But then I'll sit my gauge rod on top and that tells me that I've , I've probably got half of it there , which I'm pretty happy with .
So I'm just gonna get half to start with and then probably get the second half in the next course .
So , what I need to do now is just grab my level and I've just gotta plumb down to make sure that , that , that's in the right spot .
That's essentially where I wanna have it .
So , what I'm gonna do now is I'm just gonna block this one down , just put a bit of mud on the back of the brick just creates an angle so that the , the brick will sit forward and it will hold the line down for me .
Now , you've got to be very gentle when you do this because you can actually knock the brick and then , then you'll lose , lose where you're at .
Now , I'm right to lay this first course .
Now this beds I uh , is a lot bigger than it , it would normally be .
So I'm gonna need a little bit of extra mud on the bottom .
So you take up this much mud for buttering a brick and then just , just flick it back onto the trail till it settles and then it , it stays onto the trail nicely .
Just a good strike and push down like you're buttering a piece of bread essentially .
So push that down , you want about that much on there .
And what , what's that's going to do is enable us to get the front and the back and it'll have something to , to adhere to .
So there you go .
She's ready to go .
So this comes up , we'll take him away and then what we need to do is just fill that in , continue on with our bond .
So what we're gonna be left with here will be a three quarter .
So I've got a little notch there .
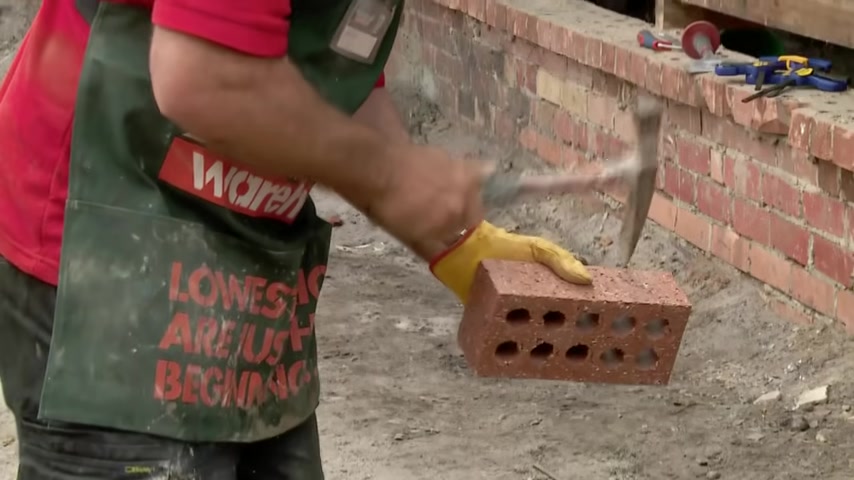
Now , what I wanna do is make sure I've got my glasses on because chips can fly up and uh cause some problems with a hitch in the eye .
So nice and general as you're hitting it , crack starts to appear .
And there you go now , because I've had to lift up the line on those last two bricks .
I'll just check from a level just on top , which it should be pretty good and it is just checking through the front as Well , that's no worries .
So now that we've laid our first course , we need to go back to where we were before so that we , we get our level line again .
So we're coming back up here .
So we've got 12345 again , we'll go back to our other end .
We do the same .
And so we're sitting here 12345 level nine .
So now now that I'm laying this next dummy brick , I can actually lay this so that it's gonna be in bond when I fit it in .
So what I wanna do is make sure that that perp underneath is sitting in the middle of this brick , which it just about is right now .
Now I'm just using my eye to eye down the face of that .
I will check that , but I'll do that first , I'll check .
So we're getting very close now .
So this , this isn't essential to do this in , in two courses or in three courses .
Cos we've got , you know , we've got another five above the line , we've got six above this .
So if we grab two mil each course , we'll have it by the top .
So you don't want to have a , you know , a big massive bed at the bottom and then , and then go from there .
Ok .
So that's safe to go down again .
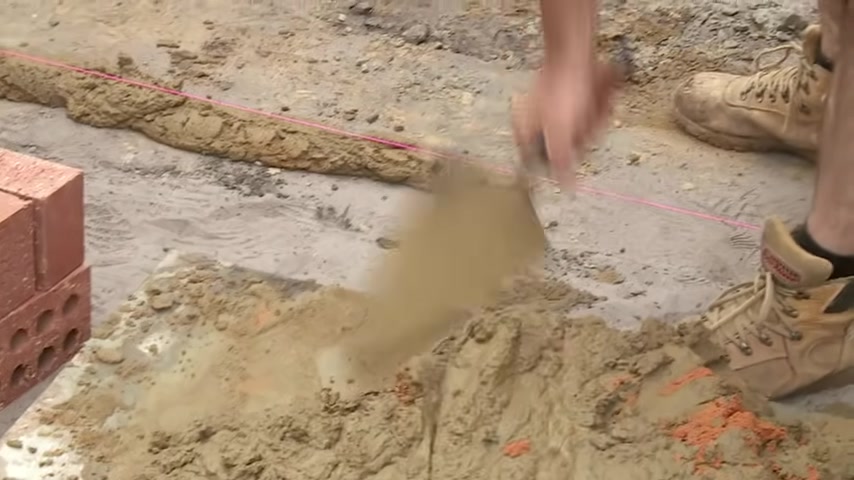
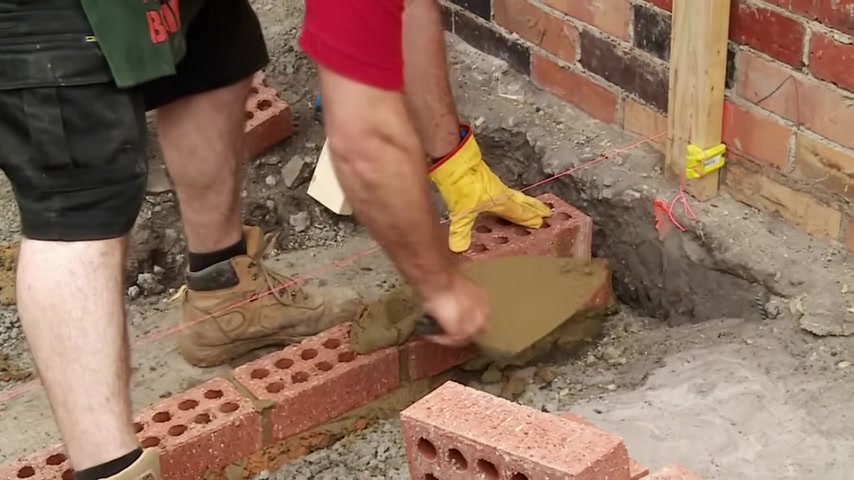
Now , as you can see with the spreading here of the mortar , I'm just laying it down .
I'm just picking up some excess stuff from the sides .
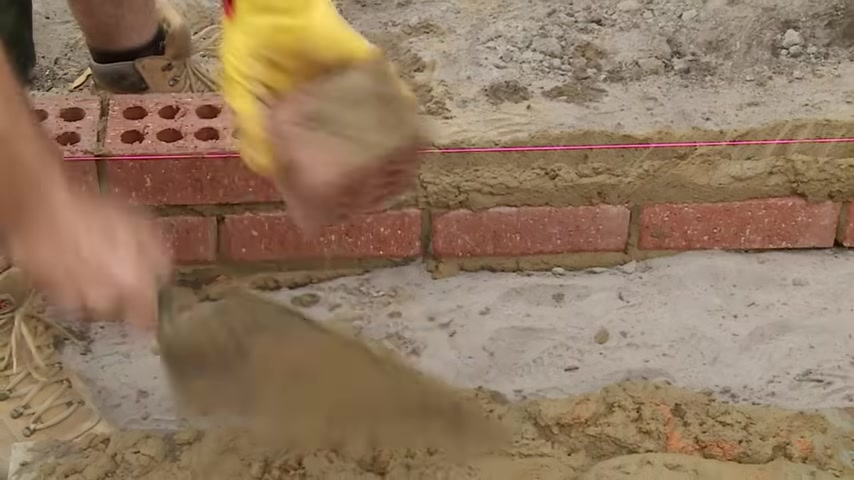
So you , you , you , you get like a nice little triangle shape and then you just go straight through the middle and just feather through it so that you get that nice pattern .
And what that does is it , it creates that pocket , that air pocket in there so that it's nice and easy to lay , lay a brick on it .
That's why it's called a bed because it's , that's the comfort that the brick gets when it sits down on top .
So there you go .
So that's got us out of the ground .
We're now able to , to use our gauge at that end .
Which is right , we're able to use our already established brickwork at this end .
So we're right to finish off our all five courses to go .
And we're done more often than not .
We lay half bond brick work .
So it's one brick sitting on two bricks .
So all the way through , it'll be , it'll be sitting half bond .
Ok .
Last brick going in now , just as important as the first one .
Here we go .
All done .
Partnership
Are you looking for a way to reach a wider audience and get more views on your videos?
Our innovative video to text transcribing service can help you do just that.
We provide accurate transcriptions of your videos along with visual content that will help you attract new viewers and keep them engaged. Plus, our data analytics and ad campaign tools can help you monetize your content and maximize your revenue.
Let's partner up and take your video content to the next level!
Contact us today to learn more.