https://www.youtube.com/watch?v=Tzi7rftE7Pw
How to Remove and Replace a Rotten Subfloor

I'm B Cody and I'm Ashley .
Whether you're remodeling your entire home or just sprucing up a room with a fresh coat of paint , we're gonna show you how to do it right .
This house is in pretty good shape , but there's one project that we have to tackle before we get to anything else .
Look at this floor , it's terrible and we need to replace it , but it's not as scary as it looks .
I promise .
There are two common ways to build a house .
The first is called slab on grade .
A mold is built out of wood .
All of the sewer and water lines are laid out within the mold reinforcement wire is added and then the mold is filled with concrete .
The second method is to build a house with a crawl space or basement .
This house has a crawl space and sits about two ft off the ground on concrete blocks .
The floor joist rests on top of the blocks .
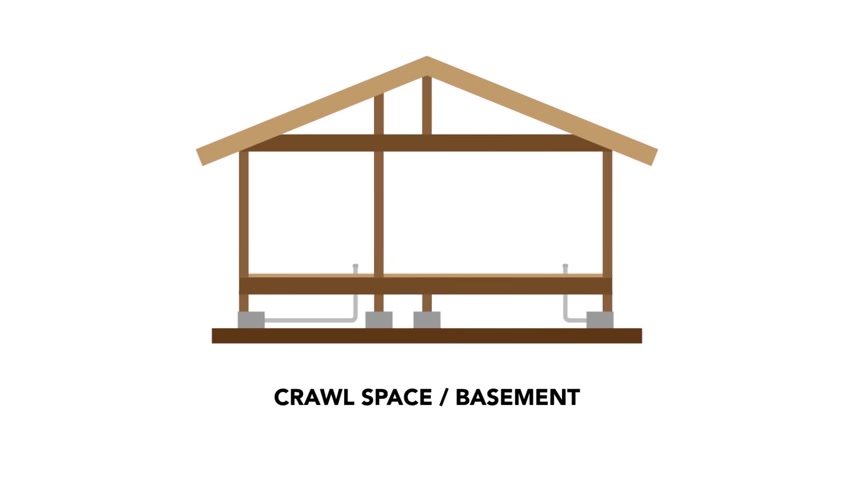
Plywood is then added to the top of the joy to create the sub floor .
Some flooring can come in several materials .
You have particle board , OS B board , untreated plywood or untreated tongue and groove plywood before we repair anything .
We need to figure out why this floor rotted in the first place .
The flooring rots due to moisture but where did the moisture come from ?
Maybe there's a leak or something that was fixed in the past that we don't know about if this damage was caused by a leaky water line .
We'd probably find more rot near the kitchen sink or dishwasher .
The floor isn't rotten under the window so we can rule out a leaky window and the attic spaces look dry .
There aren't any signs of rotten wood up there .
I'm pretty sure the moisture is coming from the ground .
The lot that this house is on is a little low .
So I'm thinking that underneath the house it holds a little moisture all the time .
Yeah .
The summers here in Florida get really hot .
So I bet that moisture is evaporating up into the subfloor .
I totally agree .
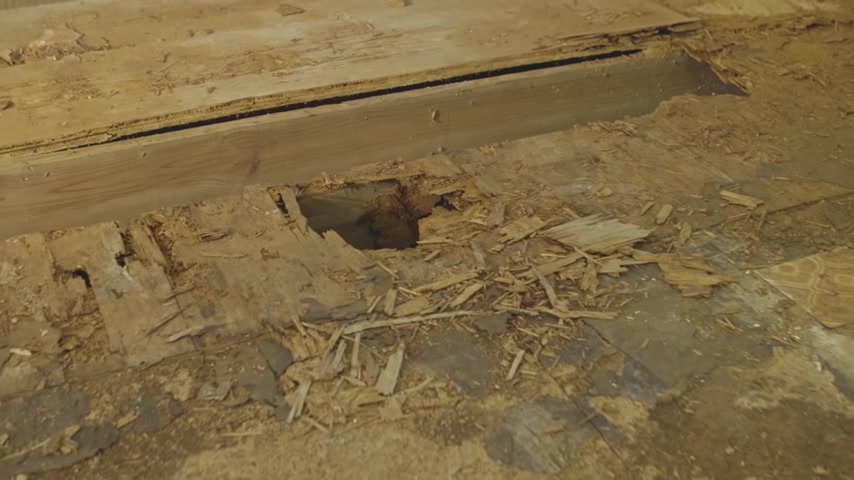
But some good news is the two by eight floor joists are in great shape .
I didn't see any signs of wood rot when I was crawling around down there ?
That's great .
But how are we going to minimize the amount of moisture in the crawl space ?
Well , for starters , we can install a crawl space fan to increase air flow and reduce the moisture down there .
Right now .
The water runs off of the roof to the ground directly next to the foundation by adding gutters and down spouts .
We'll be able to direct the water away from the house .
We can also install a vapor barrier underneath the house .
It's a plastic sheet which blocks moisture from collecting under the subfloor and the floor jots .
All of these little fixes are really going to help us with our moisture problem .
But now it's time to get to work on the actual rotten floor .
There's two ways that we can repair this floor .
We could patch the existing hole with plywood , but getting the new subfloor to match up perfectly with the old subfloor is not something we want to tackle .
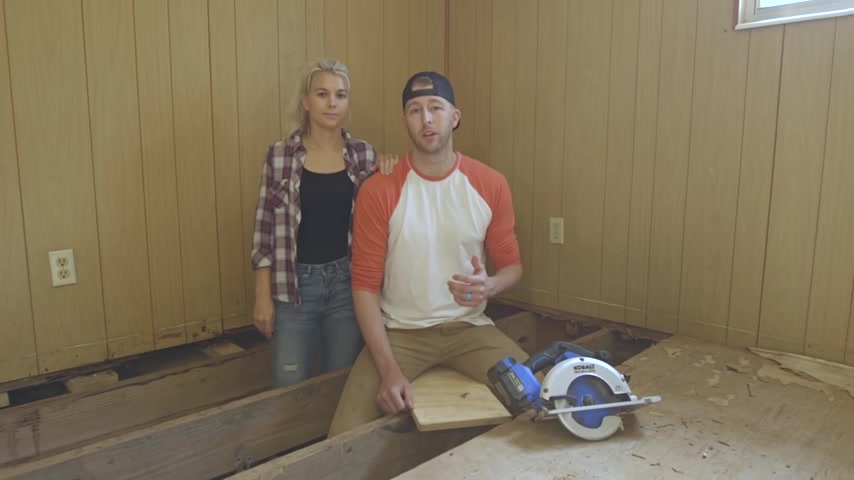
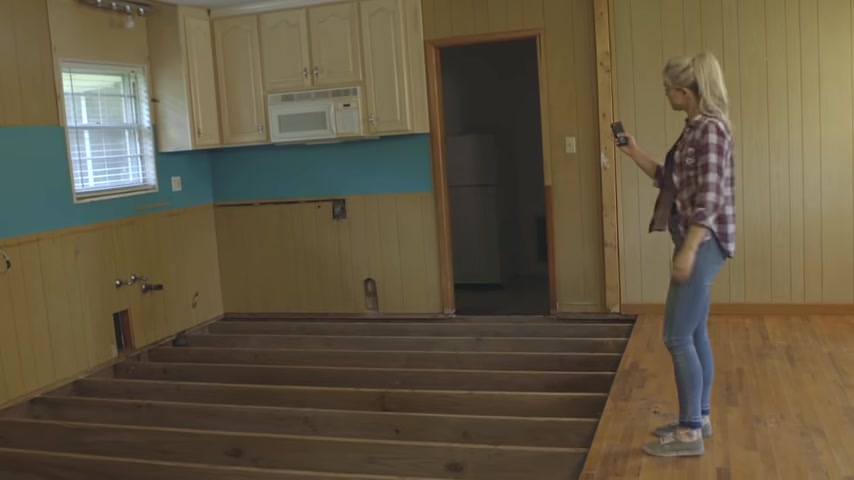
So what we're going to do is take out these cabinets and completely demo these kitchen floors , which means we're going to be starting from scratch , but that's a great thing .
It will ensure that our floors are completely leveled .
There's a lot of tools we could use to cut out the subfloor .
In this case , we're going to be using a circular saw before you start any demo .
Be sure you're wearing your safety gear .
We've identified where the plumbing and electrical lines will be , but to be on the safe side , we're going to take it slow .
We're going to cut back the subfloor in a section at a time , use the pry bar to remove the subfloor and pull out any nails we find and inspect the next section for plumbing and electrical .
I started the demo by removing the rotten plywood .
This stuff was so brittle .
All I had to do was let the weight of my sledge hammer do the work .
This part of the demo didn't even feel like work .
It was actually a lot of fun .
The tedious part was removing all of the nails from the floor .
Joy .
I don't know of a quick way to do this .
You just have to rip the nails out one by one .
The last thing we wanna do is cut into the floor joist .
So what we're gonna do is measure the thickness of the sub flooring and adjust our blade depth to match .
Be sure to keep your hands out of the way of the blade .
While you're adjusting the depth , cutting up the floor into small squares , makes ripping them up and carrying them into the trash a lot easier .
But this process still took a long time .
Some parts of the floor actually had two layers of plywood to cut through and pry up and I took it slow because cutting my leg on a rusty nail or having an accident with the circular saw wouldn't make Ashley very happy .
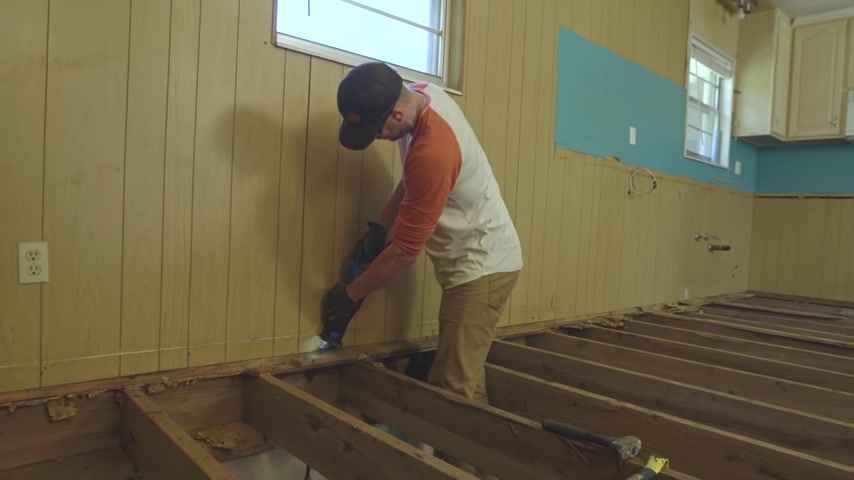
After I cut out all of the subfloor , I used a reciprocating saw to clean up the edges of the flooring near the walls and to get rid of the rotten subfloor beneath the hardwood .
I removed several pieces of it to expose the rotten wood .
Then I set the blade depth of the circular salt to match the depth of the hardwoods and subfloor .
So I wouldn't cut into the floor joys .
Then I used the existing edge of the hardwood as a guide to clean up the edge .
After a little bit more demo of the rotten wood , we are ready for the next step .
Now , we have a huge hole in the floor .
We need to cover .
We'll start by measuring the area to figure out how much plywood we're going to need .
You can measure with a standard tape measure or use a laser tool like this looks like we have approximately 250 square feet to cover .
Plywood comes in four ft by eight ft sheets .
So I'm thinking eight pieces should work , but we can't just lay down plywood .
We want to attach each side of the plywood to the substructure of the house .
We need to add boards in between the floor joints to screw the new subfloor into .
We're going to use two by six pressure treated lumber like this .
We also want to make sure all the floor and joys are level .
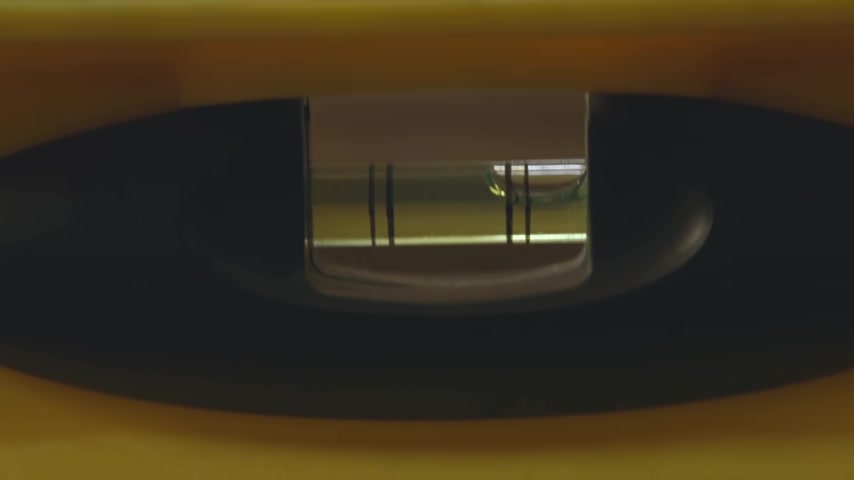
If they're not level , we'll either shim in pieces of lumber or add boards to level the floors looks like the floor is a level .
So it's finally time to lay down the sub flooring to prevent the floor from squeaking when you walk on it .
We're going to add a beat of glue to each joy .
So the plywood subfloor doesn't separate later .
I like to use two inch exterior deck screws on projects like this with a cordless impact driver .
It's important to leave a 18 inch gap between each sheet to allow the wood to naturally expand during the seasons .
We started out by laying down as many full size sheets of plywood as we could .
It felt really good to cover up almost half of the floor without cutting a single piece of plywood .
Well , we can't fit any more full sheets of plywood into this space .
So we're going to have to start cutting pieces to fit into the spaces .
It's kind of like one giant puzzle piece by piece .
We applied the measurements from the floor to the uncut .

Plywood struck lines with a chalk box and use this circular salt to make the cuts after adding more glue to the floor joy , we dropped in the plywood and screwed it all down .
See , that wasn't so scary , but it was a huge project .
It was and that's something to consider when doing home renovations like this .
And there's no shame in hiring a professional to do the work .
But if Diy is how you roll now , you know how to do it , right ?
Hey , guys , thanks so much for watching this video .
Be sure to hit the like button and let us know in the comments .
Any questions that you have , if you want to try out any of the tools we use in this video , we left the links in the description below , as well as some links to additional articles to help you out with other foreign projects .
And if you want to see more of our how to videos hit that subscribe button and stay tuned to the lowe's youtube channel .
Are you looking for a way to reach a wider audience and get more views on your videos?
Our innovative video to text transcribing service can help you do just that.
We provide accurate transcriptions of your videos along with visual content that will help you attract new viewers and keep them engaged. Plus, our data analytics and ad campaign tools can help you monetize your content and maximize your revenue.
Let's partner up and take your video content to the next level!
Contact us today to learn more.