https://www.youtube.com/watch?v=r00MvcnDR9w
2023-06-14 18:12:24
How To Lay Pavers - DIY At Bunnings
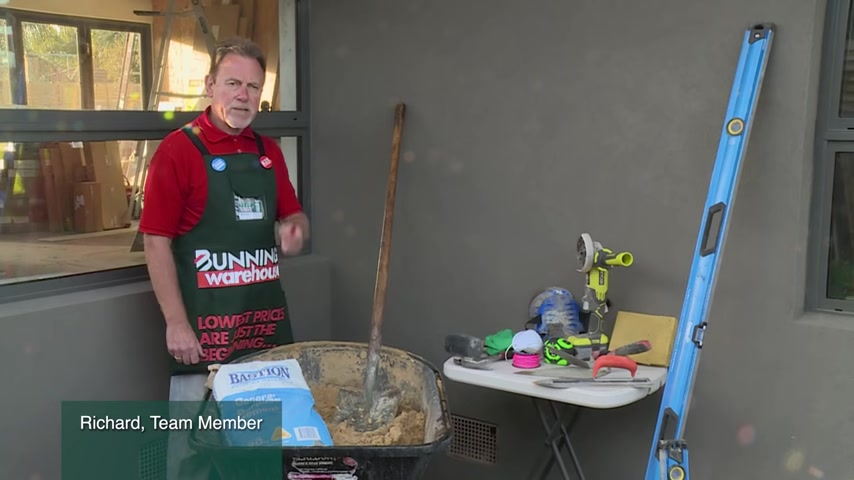
We're going to show you how to lay pavers using bluestone pavers on a wet blade , which means we're gonna lay them on mortar in uh areas where you've got foot traffic .
You want to make sure that your pavers are nice and sound .
So the bed of mortar is going to keep them in place .
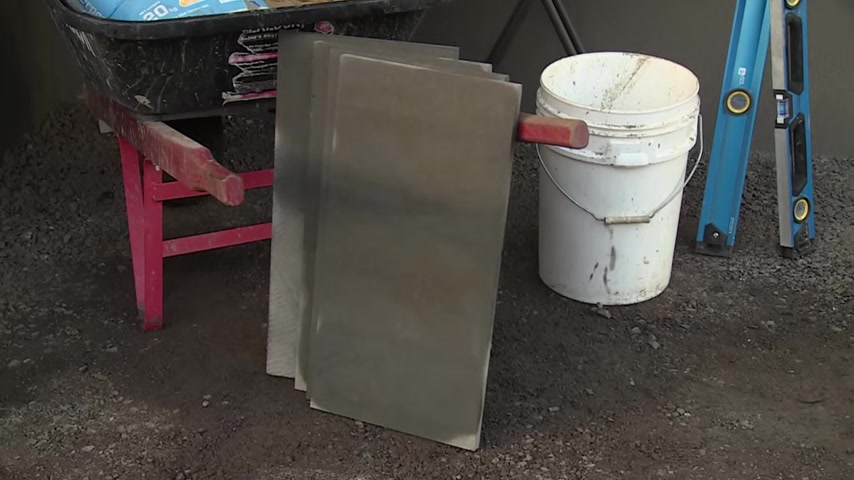
Tools required for this job .
Are we need a string line ?
We need a tape measure a straight edge .
We need a level .
We need a rubber mullet to hammer down our uh pavers , a bucket and a sponge to wash down our papers .
We also require our safety equipment and we need some knee pads because we're down on our knees bending , putting down those pavers .
In addition , we need materials .
The materials we require are a sand and our cement mix .
And also we require a trail and a float .
And later on when we do some cuts , we need an angle grinder because these paves are pretty big .
No good using a bolster and hammer .
We need to angle grid and use a diamond blade .
We need to consider what sort of pattern are we going to have because of the nature of my pavers which are rectangle .
I'm gonna use that stretch of bond pattern , which means we're gonna lay the pavers adjacent to each other like a brick work pattern .
We've set our string line , a paver away from the wall just in case there's some undulations and we want a straight line right through to the end of our run .
I'm now gonna take a measurement from that wall to the edge of this wall and same down this end and pick up that point down there and then run my string line straight through and I'll have a straight line .
I've got my string line in place .
So I know I've got a straight line and I'm going to run my first row of pavers right against that string line and leaving a five mil gap against the wall because later on we'll be grouting and it's gonna look great on a finished product just looking at these pavers .
They've got a rough edge on the bottom side there .
So I'm gonna lay that down flat .
So I've got a nice smooth edge on the top .
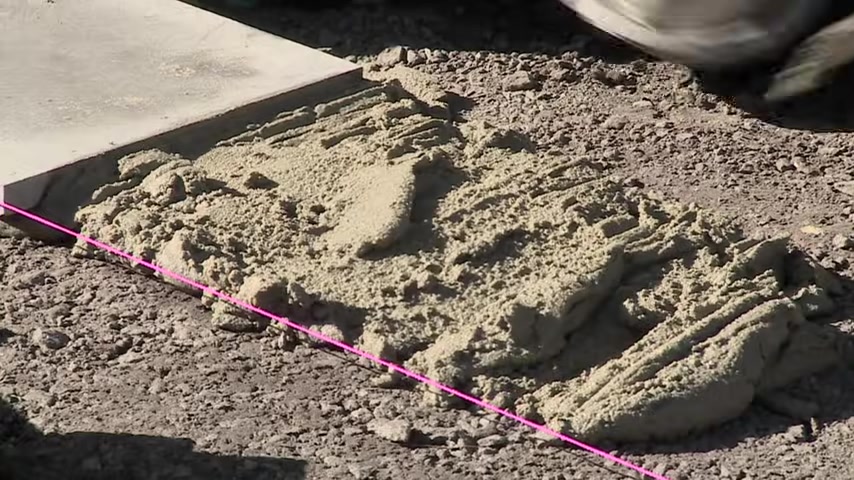
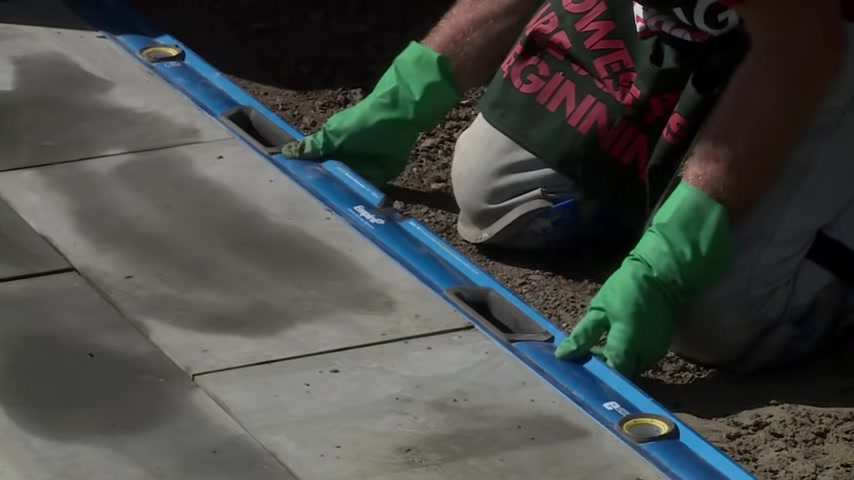
I'm putting down around 30 mil of uh water mix and then I'll be putting my paver on top of that and bedding it down with the rubber mallet to get it nice .
And even I'm putting the spirit level on now to make sure that my paper is level .
I'm just making sure that the paver is right against my string line because as I was tapping it down , of course , it does move a little bit .
My first pavers down .
I know that it's level this way , but it's worthwhile just checking on the diagonals as well before I lay my next paver , I've got a bucket and sponge handy .
There's gonna be a bit of water on the top of the paper .
I wanna clean that up as I'm going because it's gonna be a harder job later on .
I'm just gonna spread this water out a little bit because it's a little bit thick before I put some more down .
And then I'll lay my next paver with my five mil gap .
It's worthwhile doing a bit of a clean up as you go , keep your pavers nice and clean and make sure that the gap is clear for your grout later on .
I've continued to run my pavers along this header line , making sure that I've got my five mil gaps and their level .
I'm gonna continue running my pavers along the second row now and keeping in mind that it's going to be stretcher bond , which is alternating the pattern of the pavers as I'm doing a stretcher bond pattern .
I want to make sure that the center of my paver lines up with the paver gap in between the two pavers .
So I'll just measure that it's a 600 millimeter paver .
So I'm going to measure off 300 mil and now I'm ready to lay this paper right in line with the center of this gap there .
And keep in mind , keep my five mil gap between these papers from now on and that'll continue right through to here later on .
I'm going to have to make further cuts to fill these gaps here and that'll be staggered alternating between each row .
I'm just gonna continue this row of papers right through to the end .
Now , you might find as you're laying these pavers that the mortar mix uh might be a little bit thin on one side .
So you might need to pack it a little bit underneath the paper just to bring the level up after you've laid a few papers , it's worthwhile getting a straight edge like this one here and then just slide it backwards and forwards to make sure that it's not grabbing anywhere .
And if you need to make any adjustments , you can just pull them out or push them back in line to make sure that they're at level .
I've just about completed my two rows of papers .
However , I need to make two cuts , one at this end and one at the other end , I'm gonna take measurements and then take off the gap .
I'm gonna transfer the measurements onto this paper to keep things safe and steady .
I've decided to grab a couple of saw horses and a clamp to keep my paper steady as I'm cutting it just gonna clamp this on right here .
Now , that should hold it in place .
I need to gear up with my safety equipment .
Now , before I make my cut , this is the paver I've just cut , I'm gonna lay it down in this space just here .
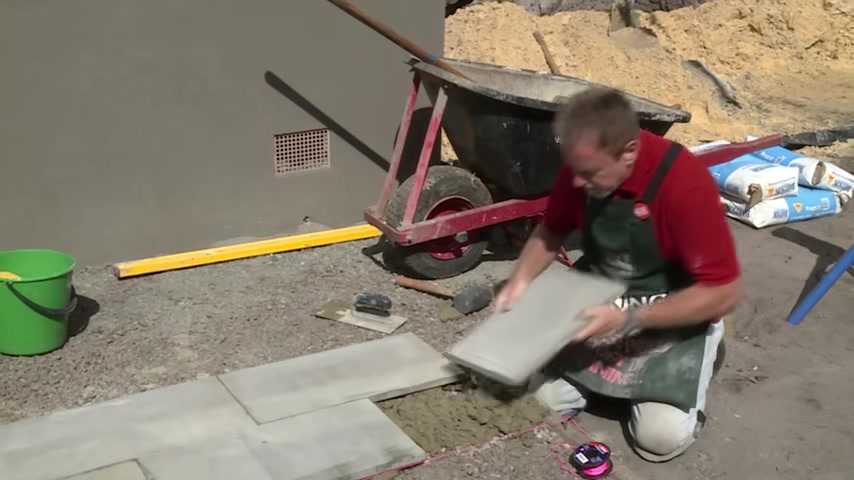
But a handy tip , put your cut edge against the other paver so it's hidden so that you've got the nice smooth edge for a finish product .
This is the edge of our paver line .
And I've lined this paver that I've just cut right with the edge of the timber .
So we've got a nice straight line and now I'm going to continue measuring , cutting and laying my pavers to complete the job .
It's worthwhile noting that you shouldn't stand on these papers for at least a good 24 hours and let the mortar set properly .
Otherwise you're gonna be out of whack with your papers and that's how we lay papers .
Partnership
Are you looking for a way to reach a wider audience and get more views on your videos?
Our innovative video to text transcribing service can help you do just that.
We provide accurate transcriptions of your videos along with visual content that will help you attract new viewers and keep them engaged. Plus, our data analytics and ad campaign tools can help you monetize your content and maximize your revenue.
Let's partner up and take your video content to the next level!
Contact us today to learn more.