https://www.youtube.com/watch?v=b3JgPX5fVUo
2023-06-14 18:12:02
Best Shed Roofing System Ever! _ How to Build a Shed _ Part 4
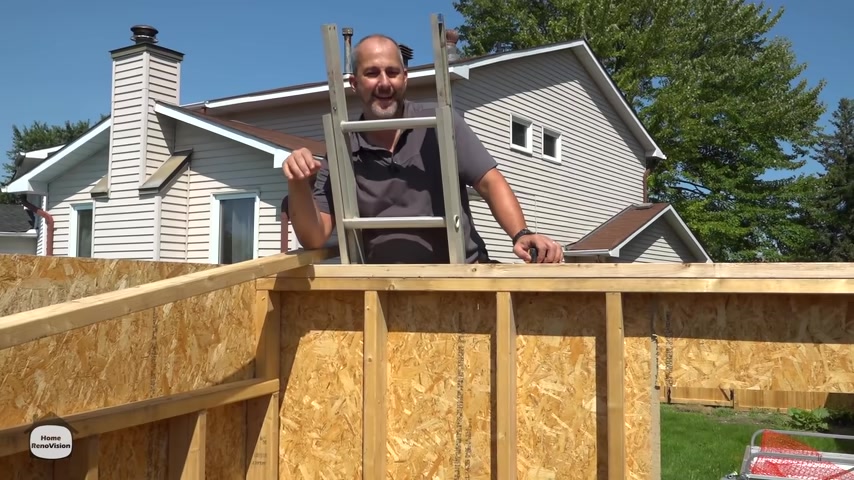
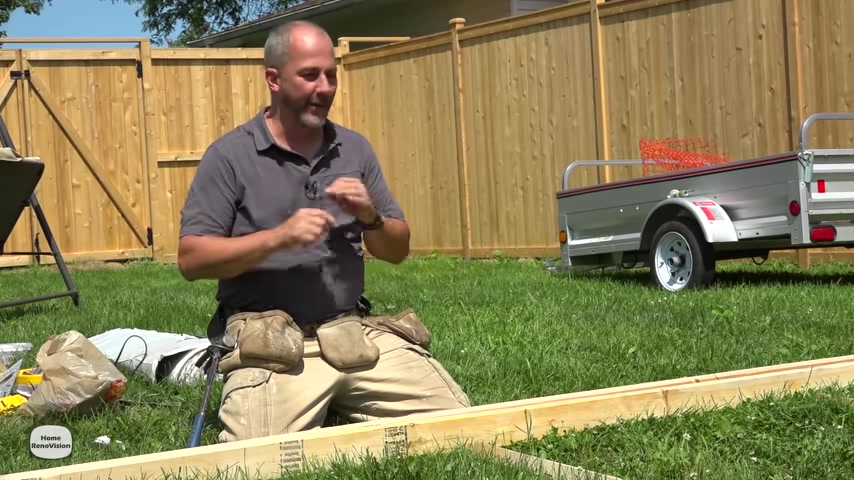
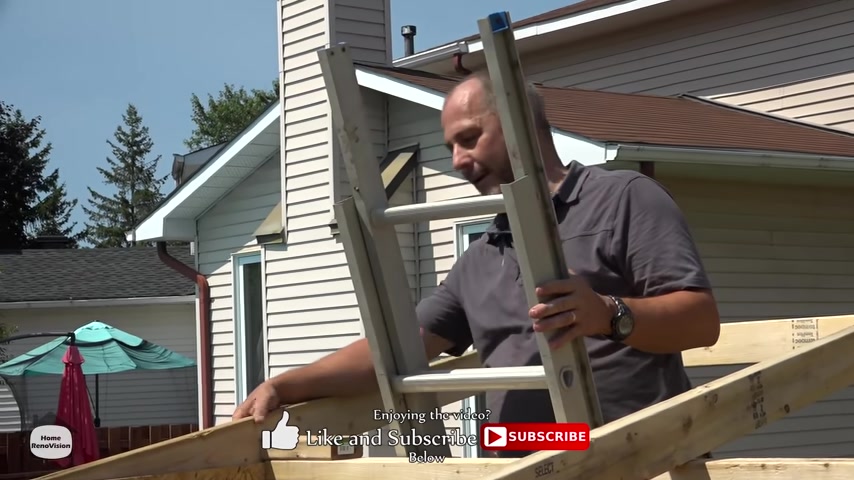
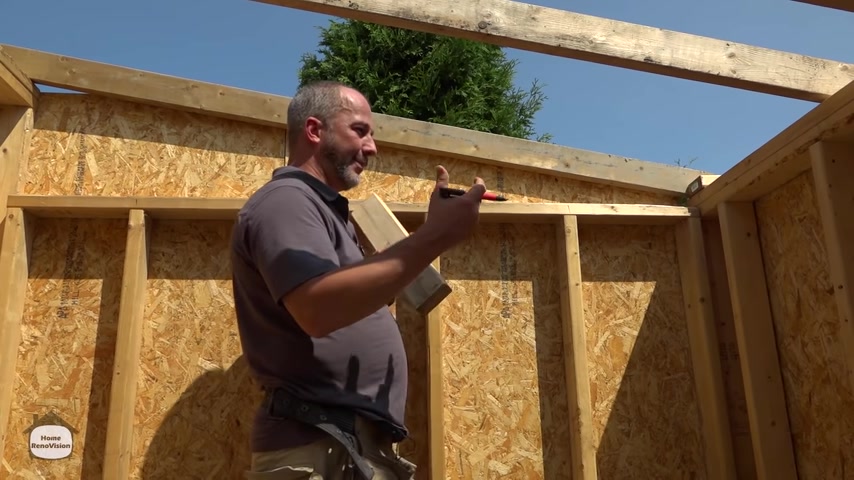
So in our video today , we're going to show you how to install your sloped roof .
Now , this is not pitched on two sides .
It's just a single slope .
It's easy to install , easy to trim and you can do it by yourself .
So if you've been following along in our video series for how to build a shed , this would be a lot easier to understand .
And if you're just joining this , because you're looking for information on a slope roof , I'll just go recap real quick .
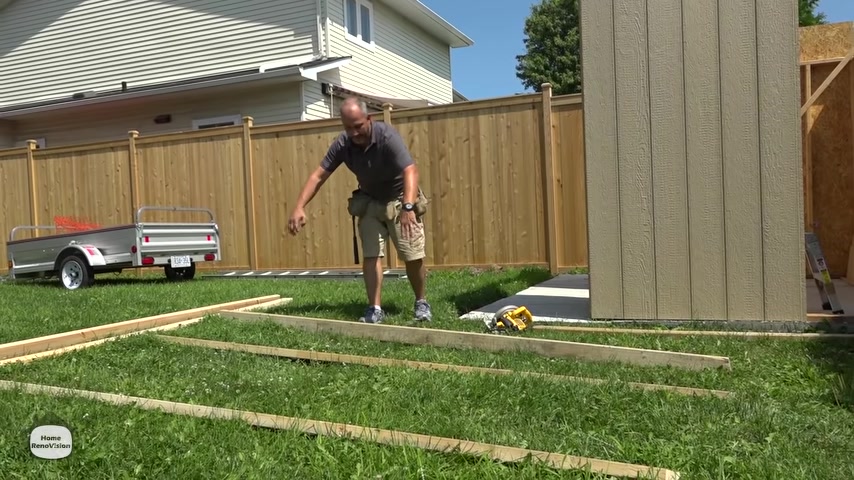
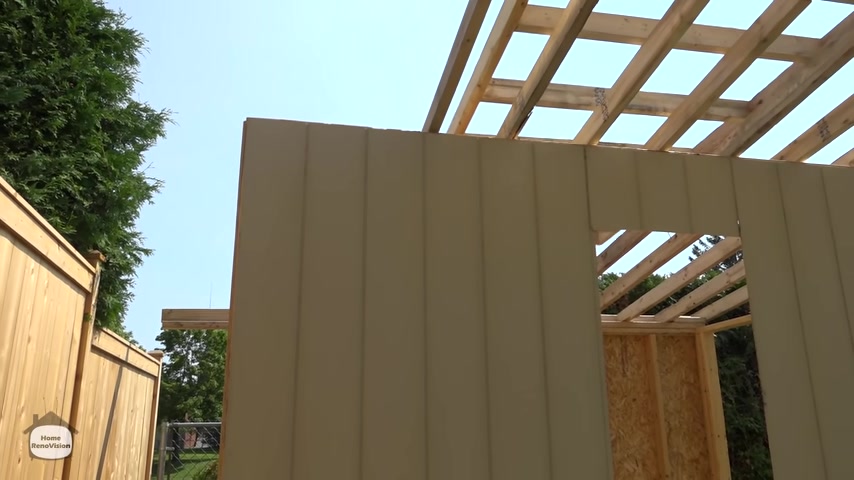
What we've got is a simple box .
The back wall is shorter than the front wall .
So what we have is about a foot raise on the front , higher than the back .
So we're going to build our roof completely out of two by four .
It's about an eight ft structure .
It's closer to 7.5 , but we're going to build a 10 ft roof .
So we have an overhang on the front just to help keep all the door area free from wind and rain and snow and that sort of thing to help extend his life because we are going to put on a barn door .
It's not going to seal up as well as you would usually have it .
So with this extension , you have the ability to make it bigger than the shed .
You can do an overhang on one side , you can have it hang out the back more .
You can balance the middle .
It doesn't really matter because the basic design of this roof is one slope with a finished deck board trim on it .
You can go with a pressure treated or cedar .
And the idea is to keep it simple , keep it cost effective .
But most importantly , to keep everything in the shed dry .
So I've developed this system .
It's really , really , really idiot proof .
I use it all the time when I'm building my sheds because it's nice and quick and you don't have to climb on the actual roof hardly at all in order to get it done .
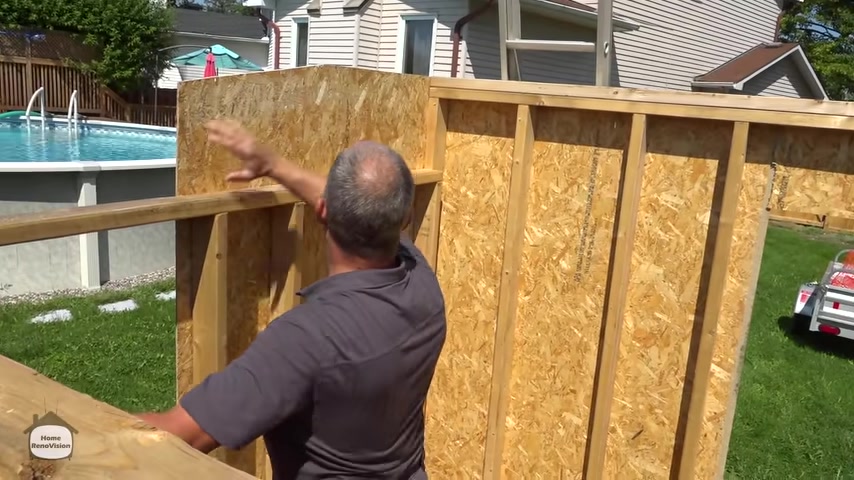
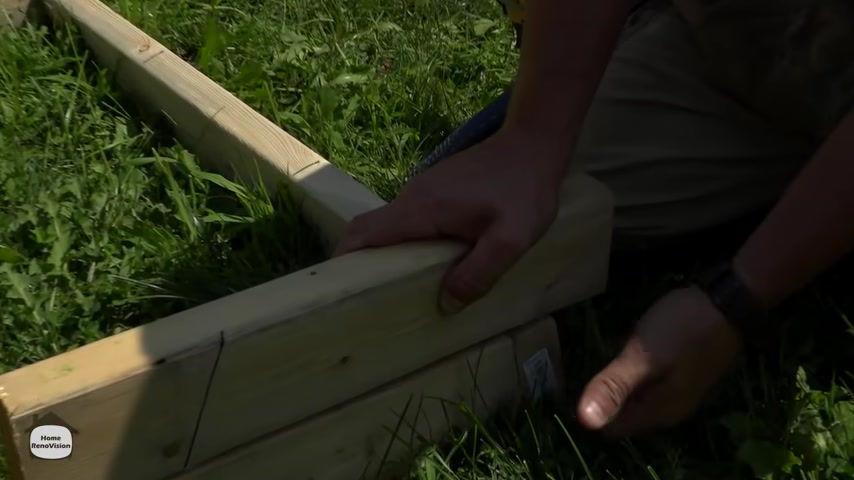
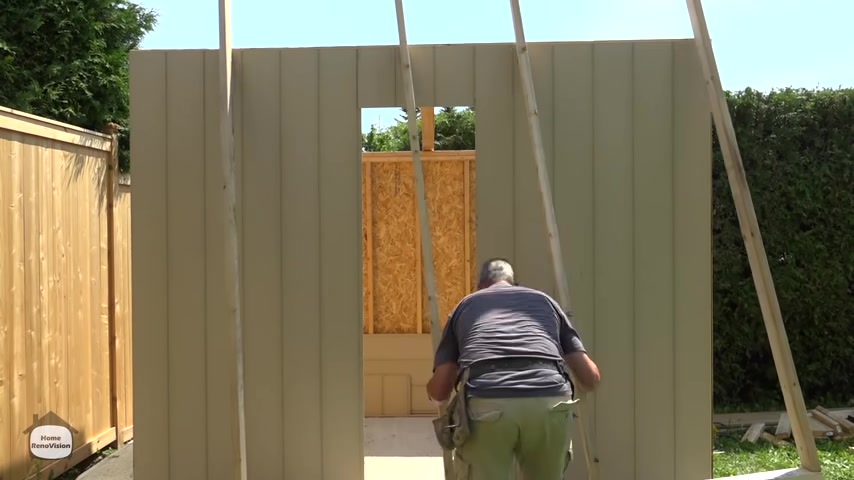
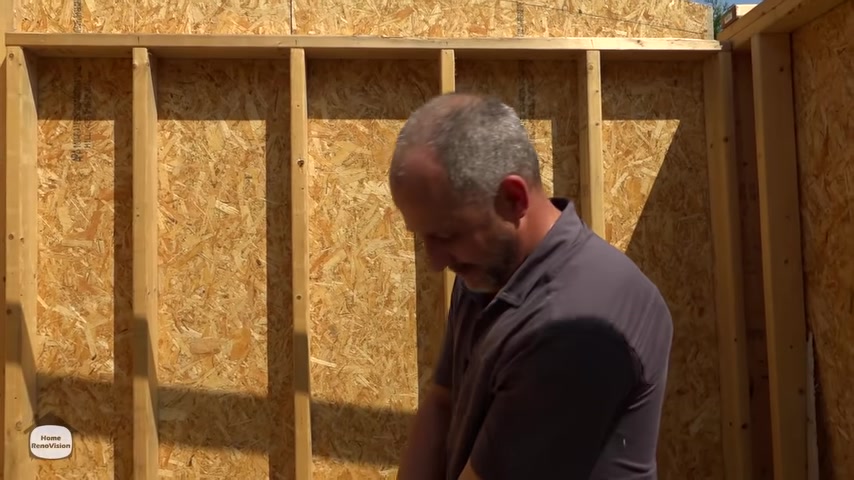
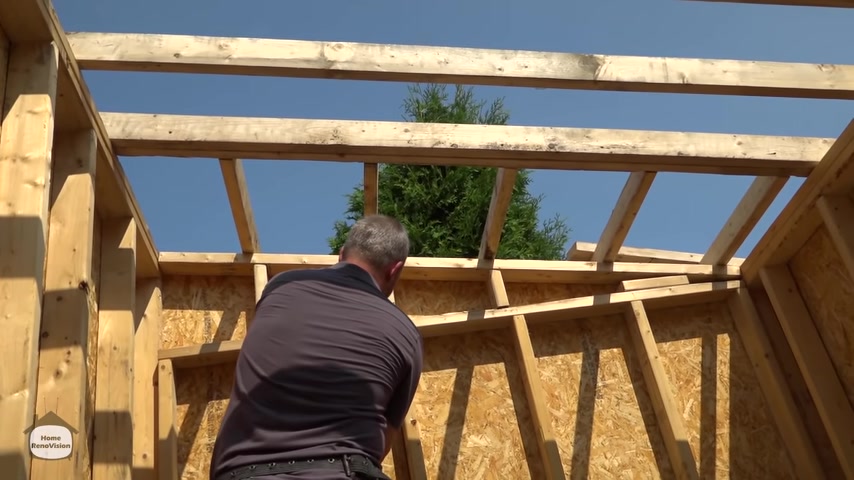
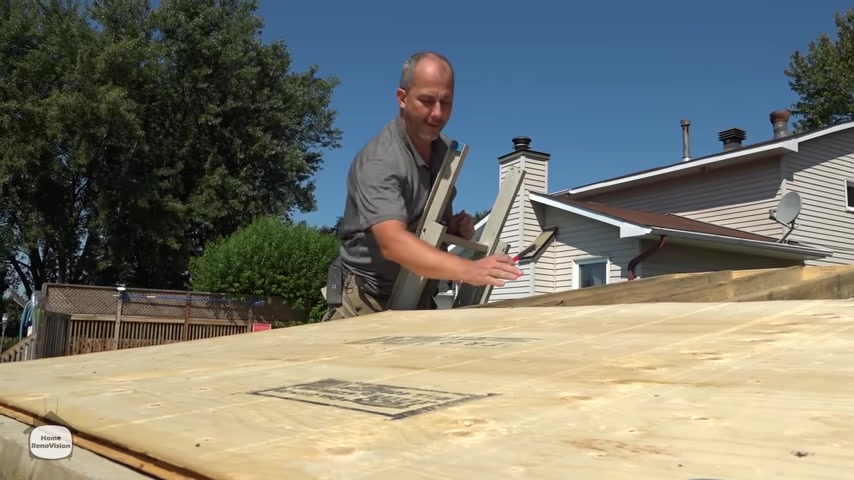
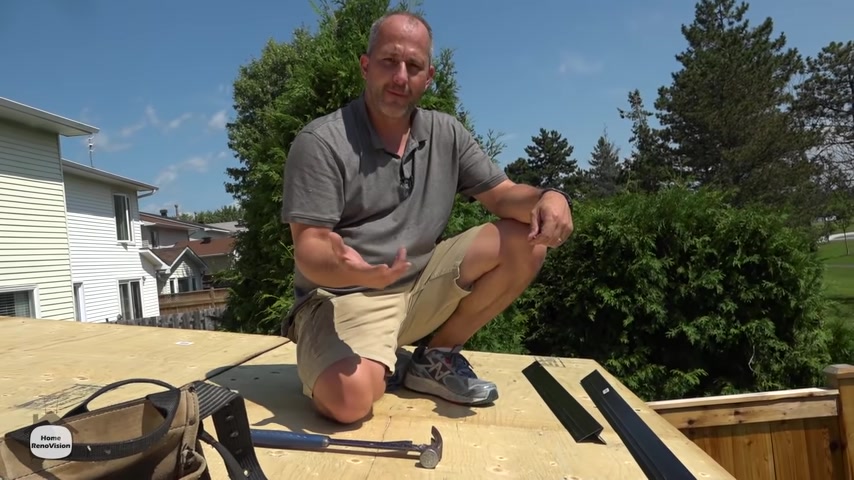
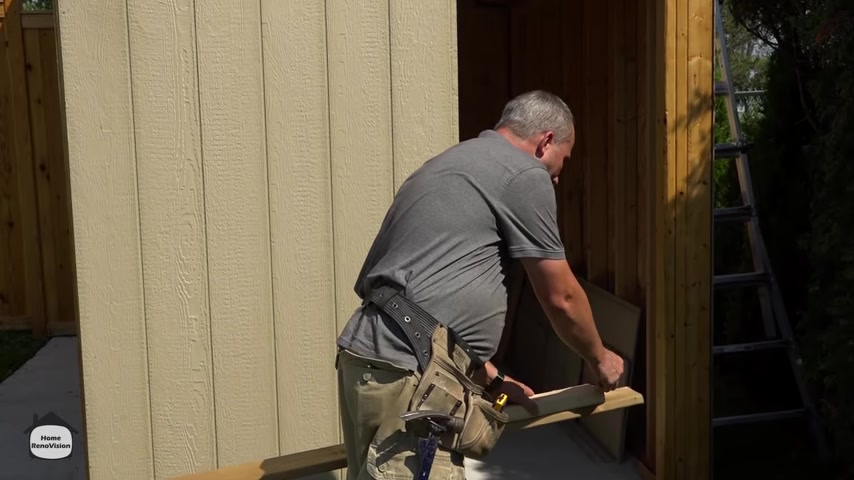
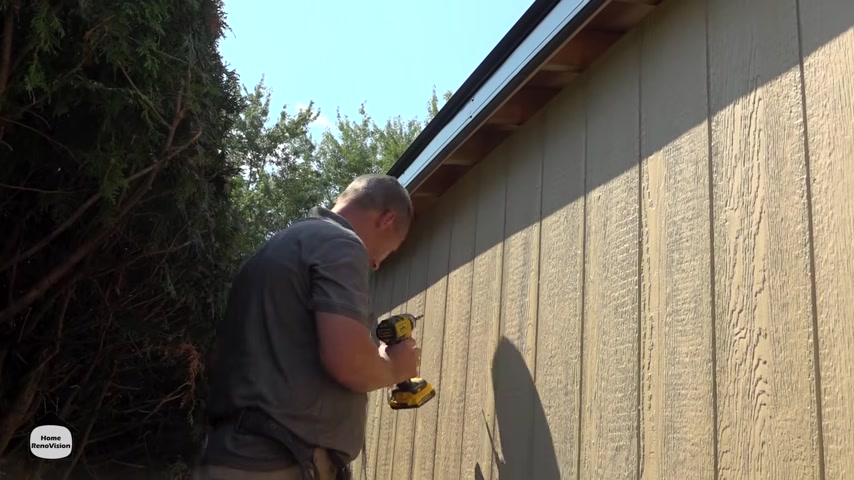
So in order to get started , we have to finish the process of the sides , ok ?
Because we have a slope .
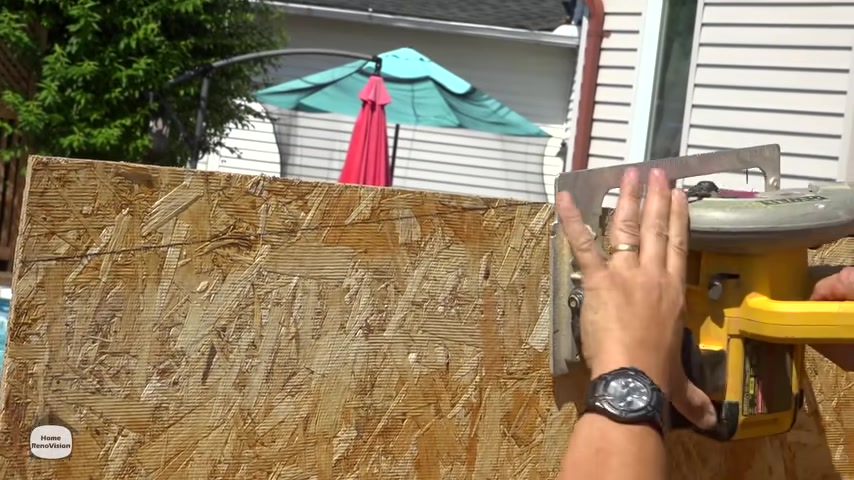
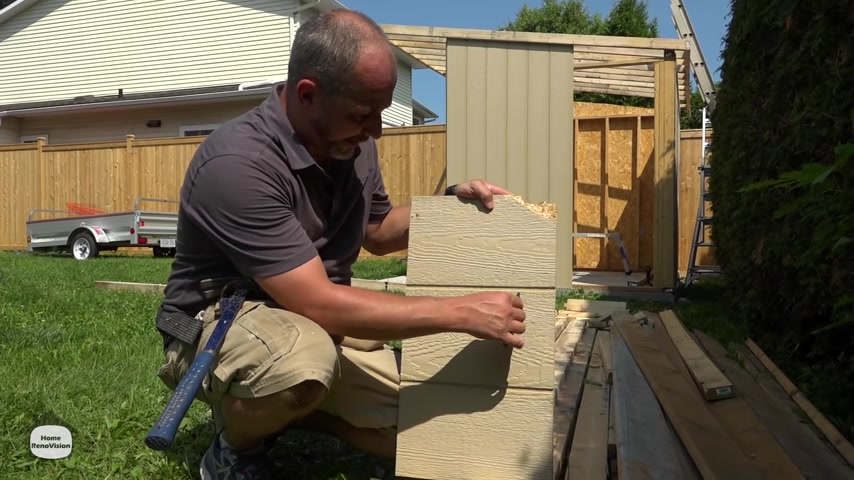
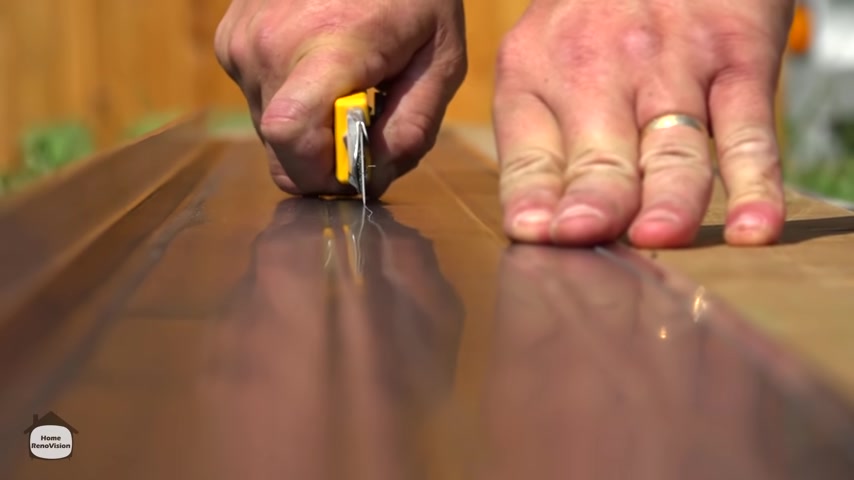
So we're going to use our two by four just as a marker up against our exterior wall board .
And I'm going to trace and cut it and then we're going to be able to install our roof .
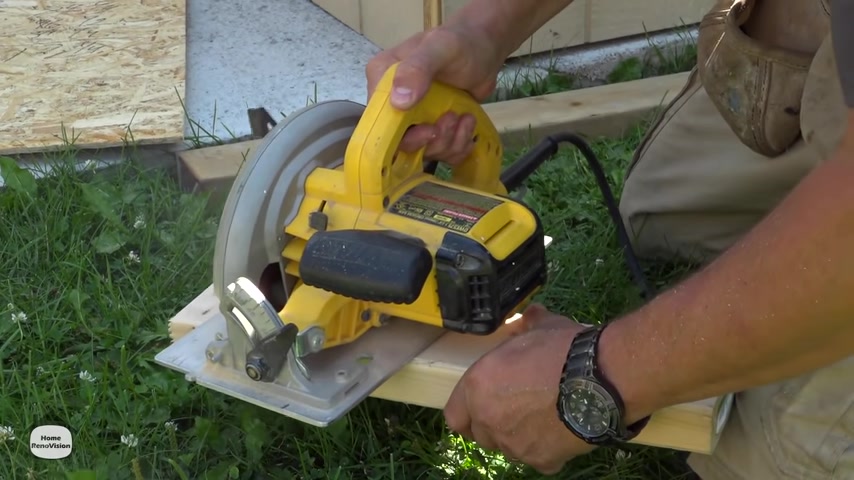
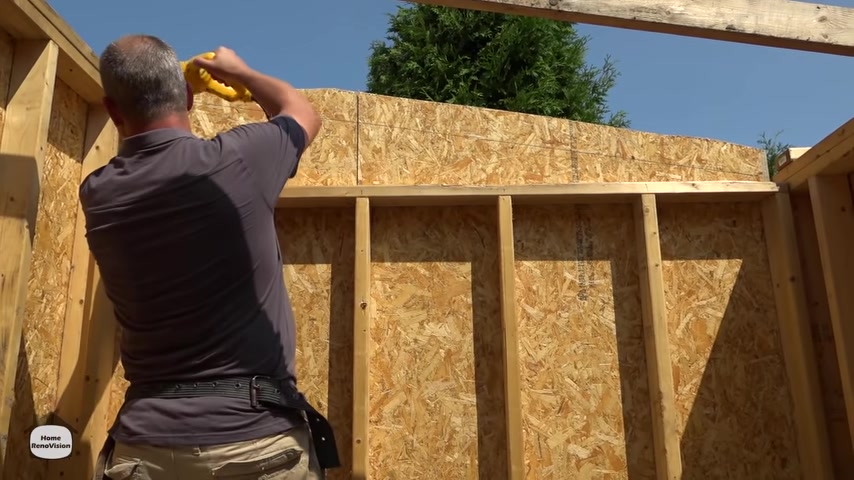
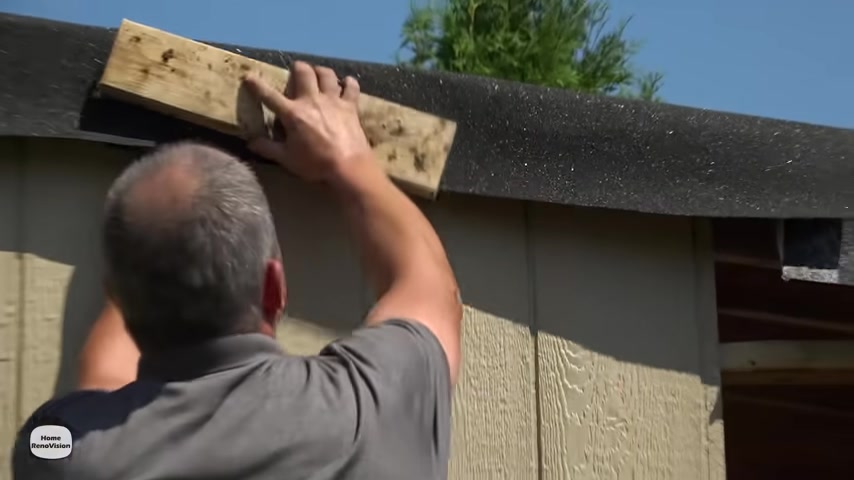
All right , here we go now because we're going to finish off all of our shed with trim boards .
We're not concerned if the uh the board isn't quite as high as the two by four .
And so I'm just gonna trace the top of that board .
Get this out of my way .
I gonna keep in mind that because I'm working above my head with a saw .
My cut line is on zero .
I'm gonna cut about a quarter inch below that black mark just so that when I'm putting the roof up , I'm not pulling the sides off the wall by accident .
I don't want it too close .
I want lots of room here .
We're going to set the depth of our blades .
So we're not cutting too deep and then we're gonna line this up , pull the guard forward , activate our safety squints and off .
We go .
So now we have a slope of our roof .
All figured out not going to be a concern just to take note when you're building your structure and you're going with a roof like this , it's going to carry a little bit of load if you have winter time .
So we're actually putting our choice here every 10 to 12 inches on center .
Ok .
I think here we'll go with 12 .
It should be plenty over eight ft .
It should pick up enough load .
It won't be an issue if you find it a little bit soft .
All you have to do when you're done is add one more board underneath and screw it to all the joy so that no matter where you step , you transfer in the load to the entire structure .
That's a simple engineering trick we use when we're adding too much weight to a living room or something .
Anyone who's getting a grand piano installed , we always add a couple of floor joy supports underneath .
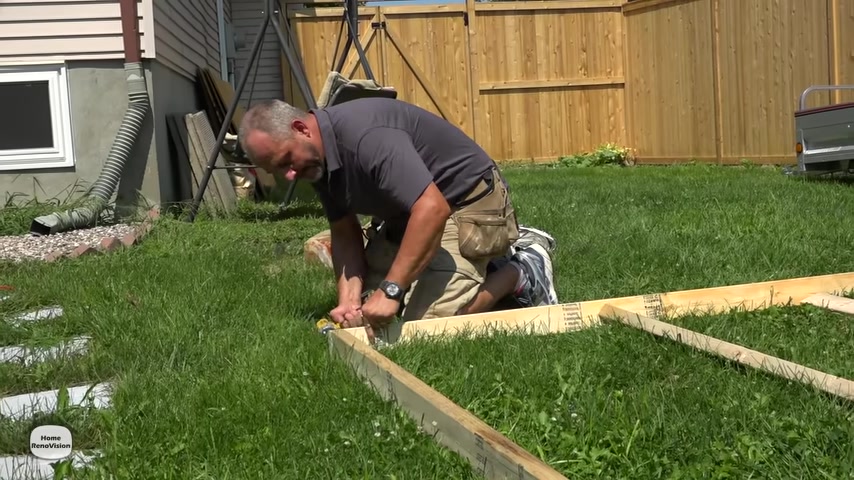
Next , we add double up the plates on both sides .
So then any weight is going to come from these joints no matter where they land and it can be transferred through double thick into these studs .
Of course , we're on a concrete base here .
So everything is going to be good .
It's way overkill , right ?
But when you can do something overkill , simple and cheap , you do it .
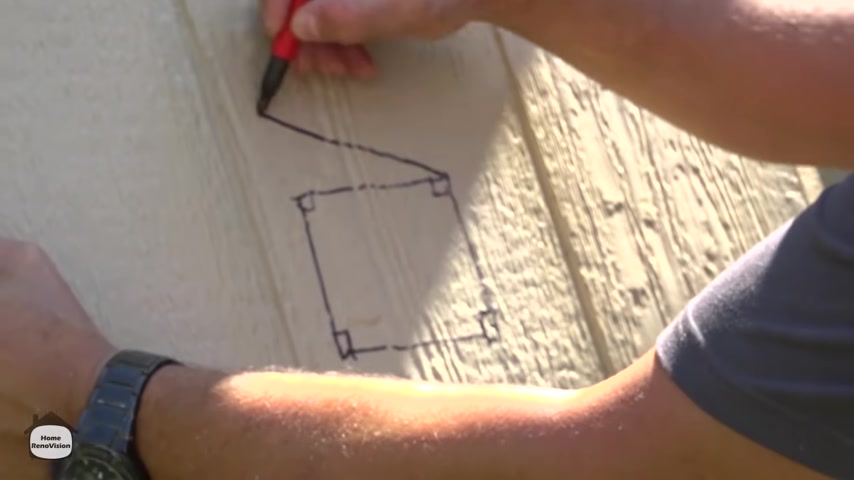
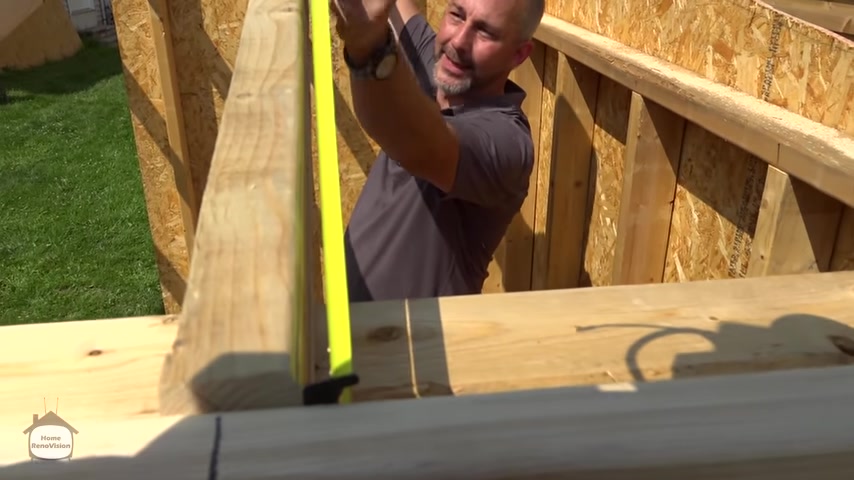
So the best way to design a roof is that all of the ends of the roof are perpendicular to the ground aesthetically , it is pleasing , it looks really nice .
But now you're dealing with tricky angles .
So if you don't have the kind of chop saw and the special equipment to measure and transfer all those angles , that's ok .
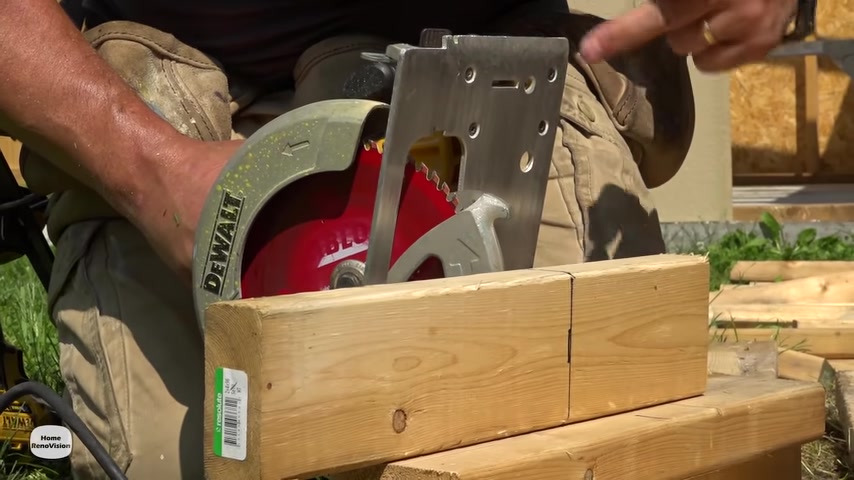
I'm going to show you a simple little trick that you can get your angles perfect and all you need is a skill saw .
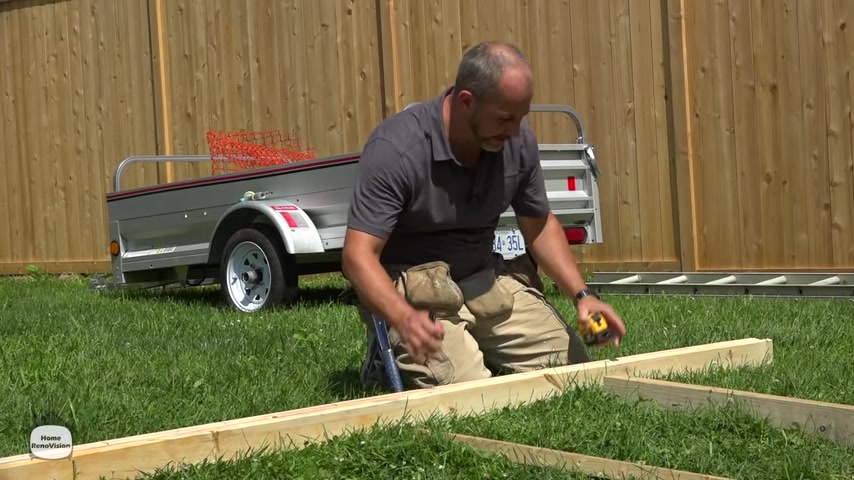
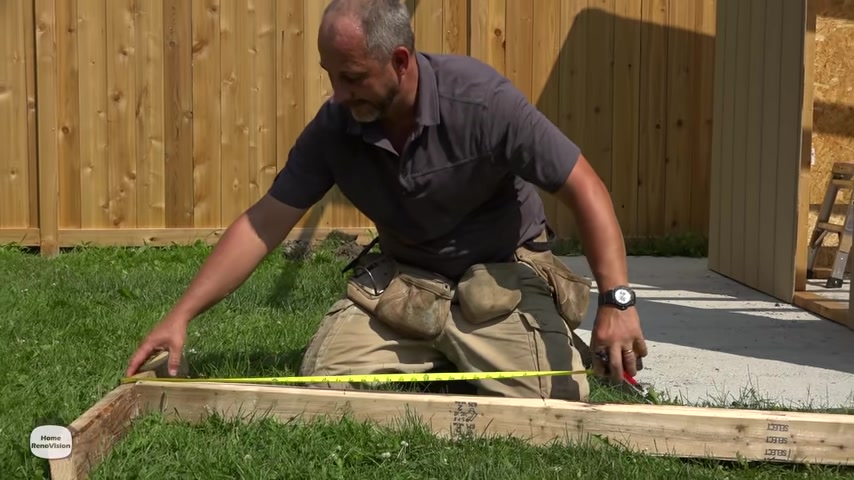
And what we want to do here is we just want to measure from the ground to the top of our plate on both sides .
It's 84 a quarter .
This one is 96 a half .
We're gonna just write that down on a scrap piece real quick before we forget a corner 96 a half .
Now we're gonna take that , we're gonna do the math on it .
OK .
84 a quarter off of that .
So that leaves me with a quarter and 80 .
I have 12 and a quarter difference in height .
I'm gonna take that information and I'm gonna show you my track .
So I'm gonna just show you real quick some basics of grade eight math .
If you can remember all of this , you're gonna be awesome if this is square , remember put the little square in the corners .
All right .
I mean is this angle is the same as this one ?
Now , if I go like this and I draw this line which is going to be my roof .
OK ?
And I count that as zero since this is a square , that's zero .
The distance from here to here if I translate it here .
OK , I draw that line .
Now this angle is exactly the same as this angle .
Simple , right ?
Because it's like a parallelogram .
So what we're gonna do is we're gonna take that difference that we have .
We measured it out a 12 and a quarter and I am going to put this mark here , 12 and a quarter .
Sorry , that's my spot .
I'm gonna drive a nail in there .
All right .
No .
OK .
So now I've got my nail there and I'm gonna put and the only reason this works is because we started level .
Remember we installed our pad level so I can actually put this two by four on the corner back there .
Oh if it's curved the right way and there's my angle .
Now that that's established my angle , I'm going to just trace this onto my wood , holding the markers flat against the board .
OK .
Now , there's my angle .
We're done with all this .
Now , now , what I have to do is I have to cut this so that I can invert it .
Put that angle on my two by fours , we're going to cut this off just by using the guide following this straight line on the saw .
I remember if you're out an eighth of a degree on this , no one's going to see that from my house .
Here we go .
So now I have my angle .
I'm going to take this and flip it over and put it to the top corner of all my two by fours , measure mark it and cut it .
And then I'm going to have my entire rafter package cut to exactly the same degree before I put it up .
That enables me to put my end plate on , build the base of the structure with three or four sticks .
That's something I can carry , I can lift it up onto the roof and then I can go back and put all the rest of the rafters in later .
Right ?
Let's just get a quick recap .
So we're all on the same page here .
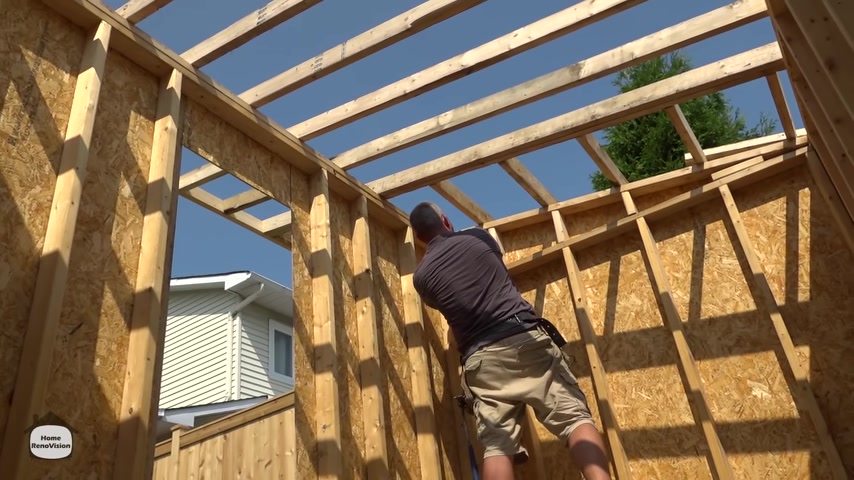
We've got an eight ft deep structure by 10 ft long and we're gonna make our roof 10 ft deep and 12 ft long .
One of the ways we're going to do that is we're going to set the structure up the roof .
We're going to just do like an outside frame , something small and simple that we can lift up into place and then we'll finish off all of the raptor framing once we have the box up there , remember because we're going 12 ft , we're going to have an overhang .
Let's say this represents the outside of the structure .
The last couple of feet , we want to support it with boards going this way so that the weight can be transferred into the outside wall of the building and it will be can levered because this side will be down with the plywood and it'll kind of do the job .
And if you find that it's not enough , you can always add a support post .
But for what we're going to do today , we're just going to do a quick little can lever system .
Hopefully , that's enough .
Maybe in the winter time , you might have to get the old snow break out and pull that clean but not a big deal .
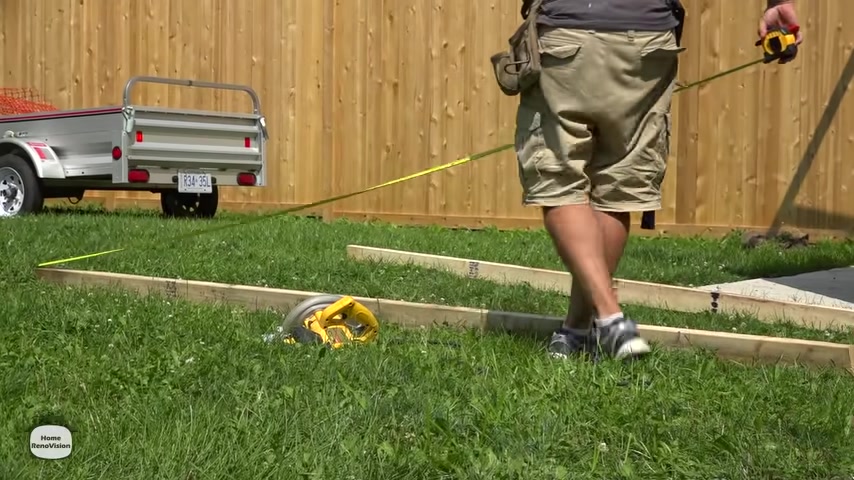
So , what we're going to do is we're going to just start marking this off .
We got our front and our rear .
So when we're building a roof , it's very similar to the wall .
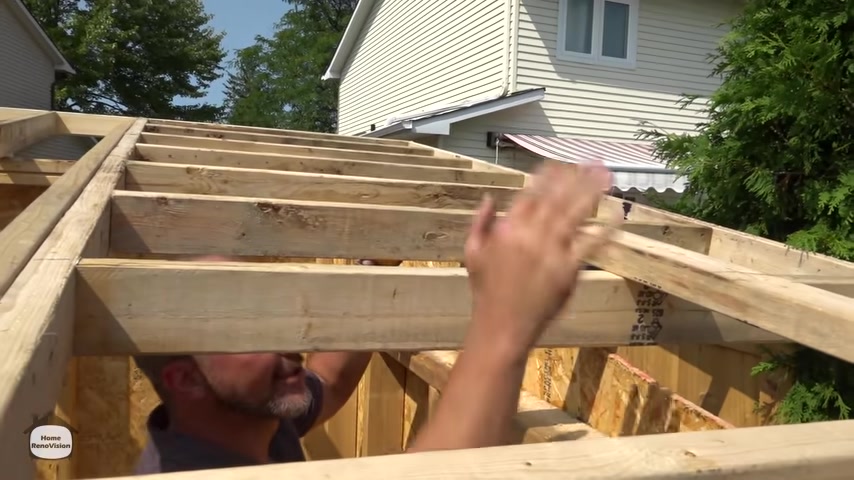
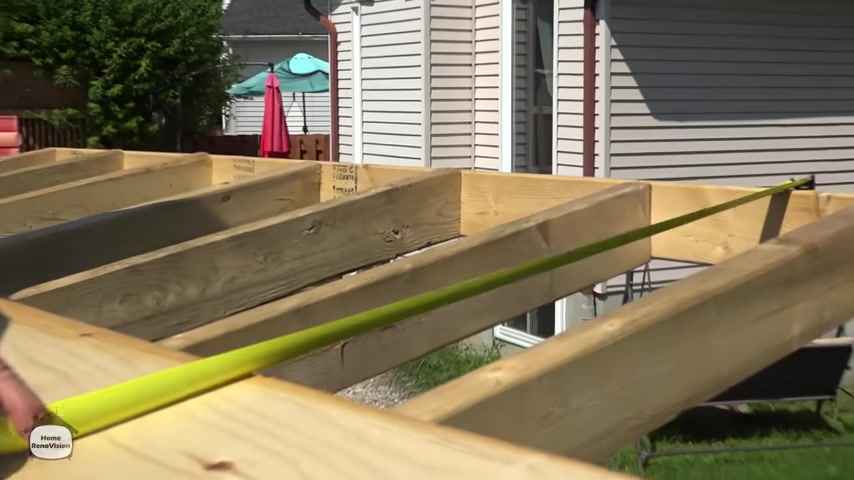
All right , what we have is we have both plates , but since there's a roof , we'll call them rim joy and we're going to just take out our tape and we're going to measure , like I said , every 12 inches .
Now , if you want to go every 16 and you're strong enough that you can lift a two by six frame up into the roof for those nine ft in the air .
You go ahead and knock yourself out .
But I'm getting old and I like to play a little on the safe side .
I would rather install a few more rafters later and have a much lighter box putting up into place .
So we're just going to mark all the 12 s and on my tape , I have little black boxes instead of red boxes for the 12 makes my life really simple .
Nine .
And there's 10 .
Now 10 is interesting .
This represents the last rafter that we're going to put in this direction .
And then after that , we're gonna do our overhang .
Ok .
So this is my box nine .
Hey , so that's the outside of the building .
This is the last rafter .
I'm going to put on , I'm going to build this ladder section and lift it into place later .
So what I need is I want to establish the outside on that one .
We'll do this one on the outside and then I'll put this one , skip a couple here .
So what I'm doing is I'm building a box of six pieces of wood with the intention of lifting this box off , transporting it over here and then putting it up on the roof , comfortable with 62 by fours .
That's not going to be too much weight for me if I do the whole thing first , that might be a little bit too much and too awkward and I really just don't want to risk an injury .
So what I'm gonna do , ok , so we'll take this one , put this plate down here .
Now , we're just gonna tack this together real quick .
Just two screws just like you're framing a wall .
Remember , these are angled .
So just make sure you pay enough attention that all your angles are going in the same direction .
That will be really important when it comes time to put the sheathing on , sheathing comes in eight ft lengths .
And so one thing we want to make sure of is that if you change from 16 inch centers to something smaller to get more strength go to 12 .
So at least the math works when you're putting your roofing system on and you weren't gonna run into any difficulty there .
This way I can stagger my joints knowing that wherever I start , I'm gonna end up in a good situation .
So just a little something when you're working like this , keep in mind , we're going to be putting a sheet of plywood on here .
So consider the plywood when you're screwing this down , use a little block like this and force it flat from the top , the rest of this overhang will be out in the middle of nowhere .
And that is what you're looking for .
So , my system for this is simple , I'll line this all up , start my screws and then I'll bring the block over and I'll either force it down or lift this one up into position .
So that when I go to install my plywood , everything's nice and flush .
So we're going to show you a little secret .
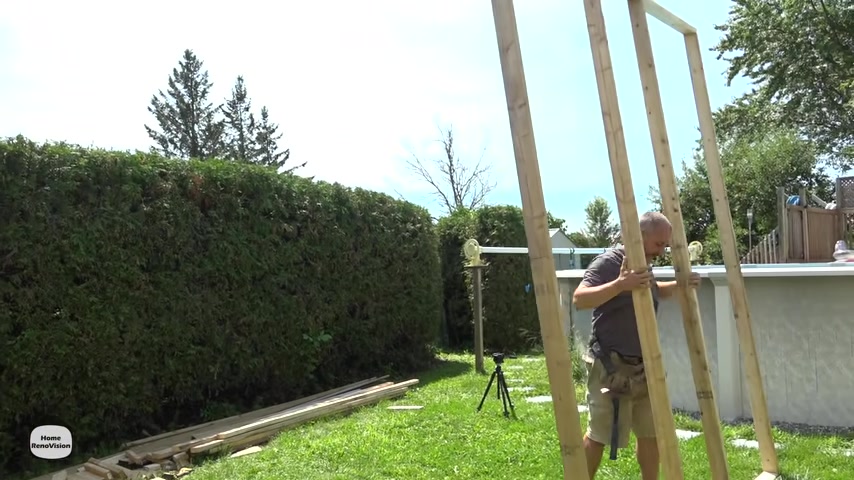
Now , if you're stuck doing this on your own , yes , you can do this on your own .
Installing a roof has never been as easy as this .
What we're going to do is now , if you can imagine we're having this box frame like a wall and it's taller than the front wall , right ?
It's a full 10 ft and this is only an eight ft and changed wall .
So when we bring this over , it's gonna stand here like this .
Now , if you can see at the very top , which will be difficult in the sun , but our finish board is about a half inch below our top plate .
So I can actually run stuff up .
I can push that wall all the way up and then it should be able to lever into position .
All right , this is the system , I'm gonna lift this up and then let go and it'll fall inside the box , ra ra All right .
Now , the way I'm gonna do this so that it doesn't just collapse and fall apart because I wanna have something that will carry the weight as it collapses .
So I can then slide it to the back because I'm gonna use this two by four and I'm gonna set it on my plate .
Take my drill , I'm going to screw it to the bottom side of this plate temporarily to help carry the load .
And this is going to be my second pair of hands .
So because I'm short , I put my screws in first .
Now , each screw will carry £80 .
That's £160 .
That's more than enough for 62 by fours .
If we do this under control and remember if it's not under control , I can't really reach this all that well , but now just as a little note , I M 5 10 and a bit , a healthy bit .
I like to call myself 5 11 .
But if you're a little short and using this actual dimensions , you can't quite reach that or you don't have this long bit .
Buy one of these .
This is awesome .
This is an extender .
It's designed for the quick lock system on these bits and on the drills .
Ok .
Pop done .
Now , I got myself a two ft drill button .
I could have the mini me version screw this in .
Brilliant .
Now , I intentionally set these two rafters close together so I could kind of somewhat hold the weight in a convenient location .
That's pretty much where my roof is gonna go .
We'll try to get it somewhat in position here .
All right .
Now , I'm looking for a bota but a two inch overhang on that wall .
I'm gonna have my face board as well .
I'm just trying to create a situation where I'm going to have aesthetically .
I want to have the roof just a little bit wider than the pad itself over here .
I just think it's gonna look good .
I wanna add trim boards and I want to have a little bit of depth there , so , not quite that much .
That works nice .
I like to buy out there and here I've got a nice distance away from the fence .
That's good .
Now , let's see if this makes any sense .
It's gonna want to run away on me a little bit .
We got in the middle , which is what this board is .
This represents my middle .
We're just gonna slide this up and then , ah , she just , yeah , I feel like I'm from letting go .
It's going to fall .
So I'm going to be a little bit taller here .
Control that drop .
Ok .
Hm .
There we go .
Yeah , we don't need to have a whole lot of distance in the back .
Just a couple of inches .
Now that I've got that in place .
Give or take .
Yeah .
Now it's time to get rid of this temporary support .
They get real hot , the metal expands .
It doesn't want to come off the drill .
All right .
Now we wanna do here .
Just slide this back out of the way now .
All right .
Really ?
What we want to do is we want to square this off .
Now , get it in the position that we really want to have it in .
Uh There's a couple of different ways to do this .
But what we're going to do is we're going to start in the back corner and I'm just gonna put a little block on top of the plate , slide it over a little bit , get it where I want and then screw it all together from two directions .
So that one corner is fixed and then we can get moving forward .
We do this properly .
We want a block that's really tiny eight inches less than 10 .
Anyway , now remember our overhang that we're trying to build out here .
We have the two by four inch and a half .
We have wallboard material .
So we want another half an inch that gives actual inch and a half .
My trim boards are three quarter and as long as my trim board is gonna be inside so that my one by six covers over top of it .
I'm fine with that .
I wanted to have it a little tight but not too tight .
So I'm gonna go two inches from the outside wall to the outside of this .
You can set your depth there , which we will remove this plate later .
This is a temporary black hole and we're going to screw one screw from the outside and the other thing is we want to set a depth from this corner .
Ok .
So let's go with seven inch .
That way we know we can keep things consistent .
I'll just write that down .
Ok .
So that is currently seven inches away .
All right , let's just confirm that we did that somewhat properly .
Perfect .
Seven inch .
Now , our corners fixed who let's go do the front , same to the front .
Ok .
So here we are , once again , we're gonna just set this up .
So we're gonna set this little block here .
And the reason I'm using two , this is to help keep it square .
Now , this one was here .
Now , what are the benefits of building everything square from the very beginning is if it's square on the bottom and the corners are tight and it's all screwed together , it's square at the top .
So when you're doing your squaring of the roof , you don't have to pull it out the square and do the 3456 rule , just line up everything to be the same depth off the top of the wall and you know , it's going to be square now now to get the whole rest of this .
Wow , square , what we're gonna do ?
Tighten that down first .
My goodness , not sure how that happened .
Remember I wrote down seven inches on the other side that's from here to here and this is gonna go out there .
That's seven wiggle things around until it sits .
Perfect .
I like it .
Here we go .
So , first thing we're gonna do , screw down this block .
Cool .
Double check that because there was some movement .
Yep .
Come out and I'm about a quarter inch .
Ok .
Now I'm a big boy and I know what a quarter inch looks like .
So when I do this , I'm just gonna open the block quarter inch and then tie it down again .
Remember it ?
One of the reasons why this system works great is because the roof overhangs on all four sides .
So even if you're a little bit out of square , it's not the end of the world , it will not affect anything .
Especially visually , you got to be at least an inch out of the square before you're gonna see that from six ft away , let alone from down the street .
Here we go .
All we're gonna do just tighten this up something temporary .
Ok ?
Now , my roof isn't going anywhere .
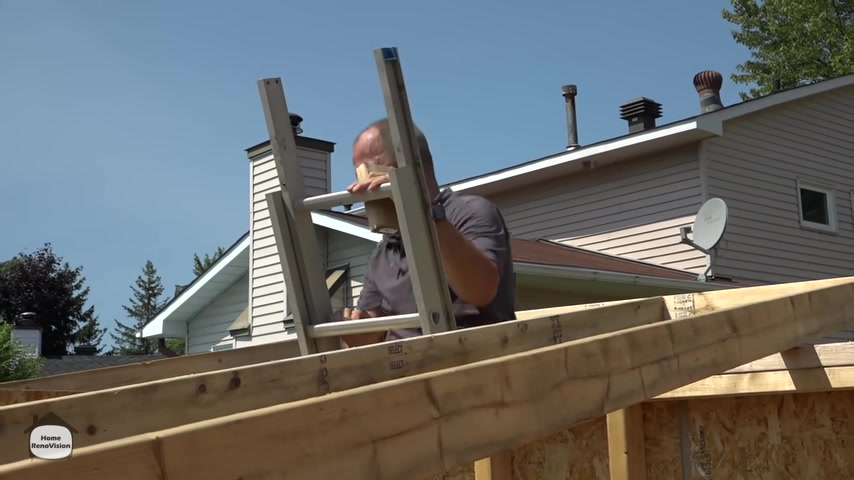
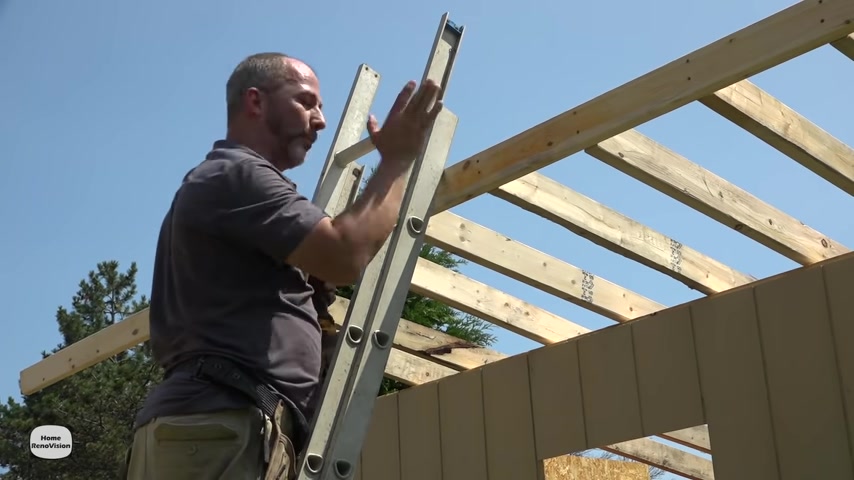
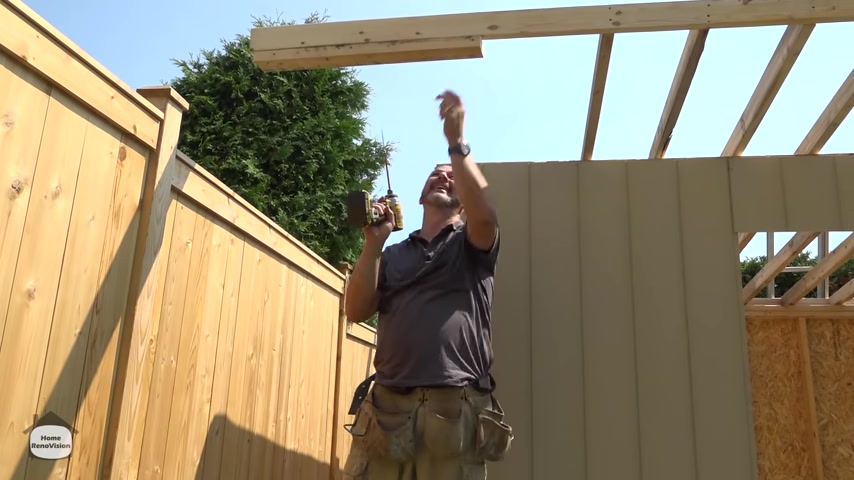
I love it time to add the rest of the rafters .
And so I cut a bunch , I'm just gonna guessimate .
Get them all in a position for now .
Ok .
So right out of the gate , this only took us a couple of minutes and you can see the difference between the roof that we're building here .
The whole structure that we're building here versus something you buy prefab from the building store .
Remember they're charging you 1500 bucks or more for the same size space that's not as tall and you can't actually put anything on the walls .
You have to install shelving everywhere because there's no integrity in those structures .
Lord knows there's a large part of the , the states that it's too much wind .
There's no way you can even be allowed to install one of those and don't forget that $1500 cost .
You still have to put some sort of base down .
You might as well just do it all yourself .
Get it done .
Do it strong .

You can even hang a heavy bag in here .
My God , this is going to be strong .
All right .
Now , remember this roof is just resting on top .
I have two screws holding it in position .
Three .
Sorry .
So it's not sliding around .
That's plenty .
There's not a whole lot of force on a roof in this situation .
I remember my goal here .
It's just to make sure I'm all tacked together every 12 inches so that my sheet goods are going to have no problem solving .
I've already got all my marks made while I was on the ground .
This goes really quick .
It is a lot easier .
If you install all your screws first , then you can hold your wood nice and level the top of this angle beam on the top of the front , drive them screws in .
Remember at the end of the day , it doesn't really matter how perfect this is .
We're going to be putting a plywood sheet good and then an asphalt roof .
We're going to use a one by six plate to cover all this so that your finished look is going to be just the one by six all you're going to see , which is why this design is so awesome for homeowners .
Anyone can do a diy and have a little bit of here and there and give or take .
It doesn't have to be perfect as long as you've got good fashioners and then a really nice cover cover all your mistakes .
Of course , being a little O CD doesn't hurt , the front is all done .
Now , we got to do the back , man .
It is hot .
So if you haven't watched me for any length of time , you have a good idea that I'm a visual person .
So I like to explain things to people who are also learning from visually , right ?
So what we're gonna have is a ladder which is exactly like it sounds , it's a bunch of boards this way .
OK ?
And it's gonna be framed at both ends and it's gonna come into here .
All right , and come across this way and extend out the other side .
So I've set this in position real temporarily .
OK ?
To mimic the same angle as the rest of the rafters .
I'm gonna put my finger on my marker , right ?
And this gives me a mark of the slope .
How about , I don't know , three quarters to one inch below that board ?
And here's the reason why we're going to be having a trim board on the other side about the same size as this .
So if this is a board is a little bit shorter than the ceiling , it doesn't matter .
Ok , better to have a little extra room than not enough .
So now that we got that marked , we'll get this temporary board out of the way and we'll cut that down so that we aren't going to have anything in the way when we go to lift our lottery .
So one of these days I'm gonna do a video on the list of tools a homeowner has to own on that list is gonna be one of these bad boys and it doesn't necessarily have to be this brand .
I just happen to own it .
Folks , they're about 100 bucks and this reciprocated blood goes in and out .
Really easy , really easy to use in a lot of situations , especially something like this .
No , I could go to the other side .
I could trace it from the other side and I could use a skill saw .
But the reality is when you're on a ladder , having a seven inch blades spinning around real fast can be a little dangerous , especially if it kicks back .
So this tool here , it doesn't kick back .
If the blade gets stuck , the handle just goes in and out and the blade doesn't move , it doesn't throw you off a ladder .
So if you're on a ladder , this is the kind of situation , it's a little slower , it's a lot safer .
And because it's so versatile something everybody needs in their toolbox , the secret to using is just press up against the material you're cutting and let the saw blade move instead of the saw bouncing around .
Wow , thank God for my safety squint .
All right .
So the simplest way to build this extension is to build it inside of the 12 ft rim rafters that we have .
OK .
We'll call that for the lack of a better phrase .
So all we have to do is just measure from the top of here , which is the short side .
All right .
All the way over to the fire side on the other end , which is the short side .
Now , the easiest way to do this is to just trace it out on another board because we have our template for our angle and measure it on the ground .
All right , we're going to take that length and we're gonna take the width that we have here , which should be pretty easy because this was installed at 10 ft .
Yeah .
47 a half .
Let me try that one more time .
Yeah .
You know , working alone isn't always the easiest way to do something .
47 a quarter .
We're gonna write this down .
One of the greatest things about building a shed is everywhere you go , it's like a notebook .
So just to go over this real quick .
So you can see this in your brains .
We have a , a roof .
It's 12 ft long on each end .
All right , we've got our rafters that are all cut , using the jig that we made and they're all exactly the same angle and cut up until the eight ft mark of the , the shed is 10 ft long .
So , what we're doing is we're putting one more rafter right here , laminated up to this one plus one at the end flush from the outside of the 12 ft .
And we're going to add a bunch of boards cut this way and then we're going to back frame the slope of the edge of that to help carry the load .
All right , makes sense .
So , what we needed to do is just make two more raptors the same as the rest .
That's easy .
We actually cut them a hair shy just to make it easy to stick in .
And then we're going to take the total outside dimension , which I believe is 47 a quarter minus this and this rafter which is three inch .
So we have 47 a quarter minus 3 , 44 a quarter .
We're going to cut a bunch of 44 a quarter sticks straight and we'll do those 16 inch on center and off .
We go to the races 123456789 .
I need nine pieces .
We've got our two rafters cut exactly .
The same minus the hair make the installation easy .
We're going to center the 16 S .
The reason for that is when we install our plywood for the roof , we're going to start flush at the top .
So , yeah .
Good point .
Our top has a plate .
So let's do it this way .
Let's measure from the top of the plate and center our 16th .
All right .
That way we'll actually have wood on the joint when we install our sheet goods .
Here we go .
And of course , if you want to get one of these tape measures with little red squares that highlights the 16 S , it makes it so much easier .
It's really quite amazing when you think about it .
Up until this point , we built this entire structure with a skill saw , a drill and a reciprocated .
Very cool , right ?
So one of the things you need when you're doing , this is a second pair of hands .
So if you're installing a loan , I'm basically building a track for this to slide into one of the beautiful things about screws is you can always remove them .
Yeah .
So what I've done is I've created a cell because my latter is exactly the inner dimensions of this existing framework .
So if I put it up on the regular part of the roof , because it's framed in the opposite direction , then I can slide it over , drop it on to these brackets , slide it along these brackets right into place and I can do it from up top without the risk of it falling on my head .
This would be fun .
Ok .
Here we go .
Yeah .
Past the midpoint ta da , I'm pretty sure I can just slide this into position from inside here .
Pull it down first .
Oh , that's awesome .
Ok .
So here's my ladder .
We're both just slide it into position .
The only thing that's in our way is our temporary block holding everything square .
So before I move that over here , we're gonna drive a screw into the top plate from the raft just to hold everything in position while we temporarily put all this together and be careful .
They get hot when you pull them up in a quick hurry with a fresh charge drill .
I'll tell you , save every screw you've ever done the math .
They're about 30 cents a piece that's not worth throwing in the garbage and watch your fingers .
Max .
All right .
Perfect .
I don't know if I'm a genius max , but you know what red green used to say .
If they don't find you handsome , they better find you handy .
That's the Canadian way .
It's just a matter of eliminating the plates together .
Whenever you tighten everything together , it just squares everything up .
It's just brilliant .
We get rid of these temporary blocks .
The next thing we want to do is create a permanent brace here to help transfer the load .
Now that everything is in position and we can assume it's hanging just a little bit lower than it wants to be .
All right , we're gonna go with the two by four and the flat to the underside and then we can measure and cut perfectly because we have the template for the angle , which is gonna be awesomely easy .
And here's what I mean , let's just get this first .
We'll cut that 78 inches and I'll be right back .
Take care of .
There we go .
I have this cut for the length of my , my space on the angle and it's gonna be perfect fit there .
Ok ?
And I don't worry if it's a tight fit here because what I'm gonna do is I'm gonna cut measure from here to here , cut with that angle .
And then I'm gonna put the block in place and I'm gonna hammer that block in place a little bit until I know it's taking up some load until it's lifting up the roof a little bit .
And then I'll know it's perfect , but for now , we'll just throw a few screws in place and then get some measurements .

Obviously , you want to have these verticals supports underneath these sticks here to transfer the load .
So we're gonna call that 1 , 10 and a quarter and we're just going to write this down , call it 10 and a quarter .
All right .
And you can see how close they are to these .
We're gonna go seven and three quarters , five and a quarter and this one isn't gonna count .
We're just gonna take any block and wedge it in .
We can , we can use all these scraps for this 10 and a quarter .
OK .
Always measure from a factory edge in case your measurement was lousy two and three quarters , five and a quarter .
Yes , here we go .
I wrote the word template on it so I don't lose it in the wood pile .
And so what I want is I want to put that angle on that block .
I get those nice and flush .
So what I'm doing is I'm visually lining up the blade with my mark and the plate with the wood .
I want to get it relatively close , lock it in place .
OK ?
And then I can spin this around and cut it .
Here we go .
Perfect .
Now we are dealing with load transfer here but not rocket science close is fine in this situation .
Oh , so here's our first two by four .
When it hit , I'm just gonna tap this in until it's contact here and they're nice and tight .
There we go .
Support .
Done .
There's that one .
That's pretty darn close .
All right .
So just make sure we're nice and flush here .
Now , the best thing about load transfer is all you need this fastener to do is hold it in place , make sure that you jammed it in there .
So it's picking up some load .
As long as it's lifting , you're good .
Put a screw on an angle , it'll drive it towards it and actually help pick up the weight .
It's funny because in the engineering world , any , any , any subfloor system that's within 12 inches of a structural point , actually , um , they'll allow another point load wall within 12 inches of another point load wall .
So , if you're off a little bit , it doesn't matter .
I know I'm gonna get comments .
Hey , that's not perfectly lined up .
I'm like , yeah .
Well , it doesn't matter as long as you're within a couple of inches of where the load transfers , you're gonna be just fine .
Let's not get our knickers in a nod over details because the simplicity of this system is an knowing that you can transfer a load even without it being perfect mess .
And that is why I love the system because anybody can build this .
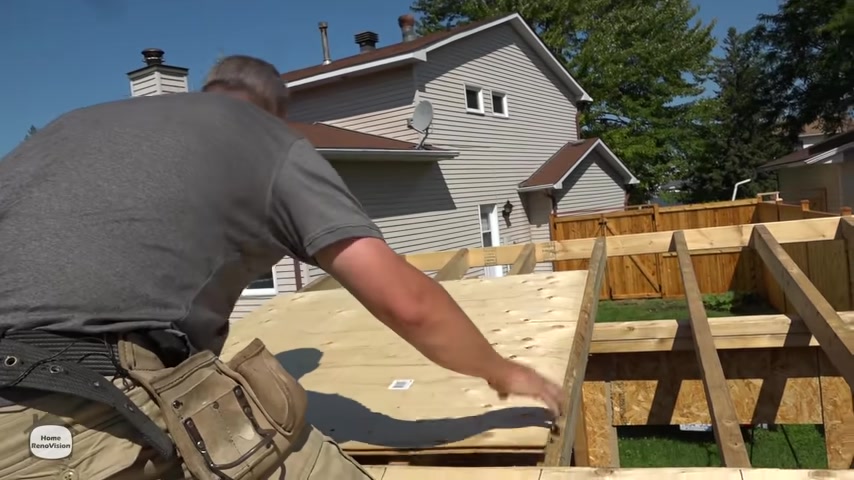
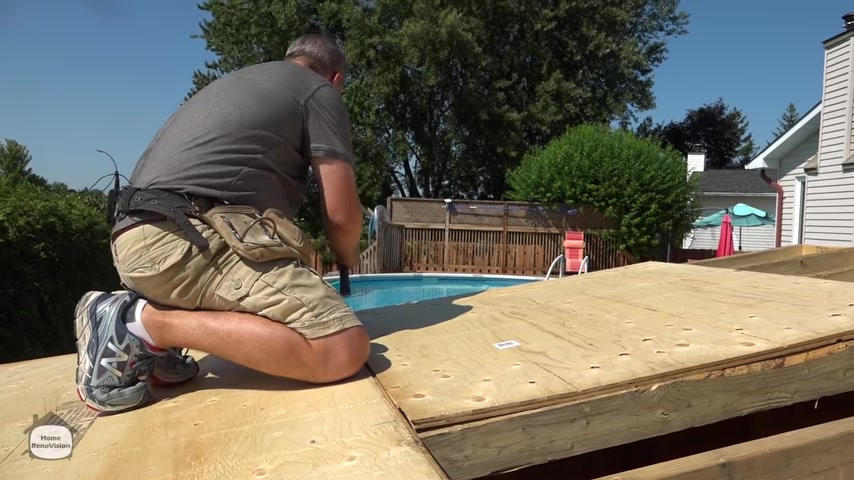
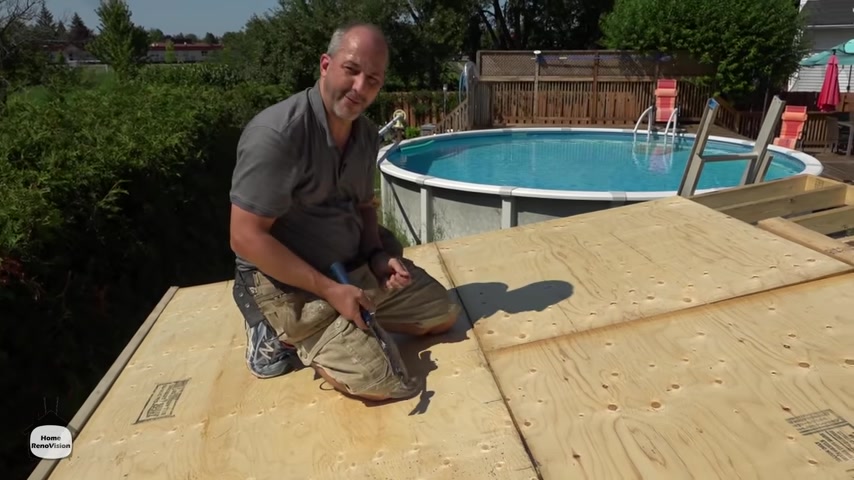
So before we put our sheathing on , realize that this is the edge of my roof and I'm adding this board flush to the outside of this rim and extend it up .
So when I slide my sheathing down , it's nice and tight and you'll see it'll just come right here and that'll be where it stops .
And then all I have to do is square it off on the outside corner and I can nail it in place , problem solve one man job .
Now , there's an easy way and a hard way to do this , the hard way is to walk up while you're carrying it easy way standing in the middle , put your plywood on the ladder , put a nice wide grip and just lay on the ladder .
Keep your center of gravity nice and low .
Right now , we're just standing on our ladder and slide it in .
Here we go .
Ok .
Here we go .
Now , my roofing system is going to have a perimeter board .
Here , it's a 5.5 inch board on a two by four in plywood .
So it'll stick up a little bit above the top and a little bit below the bottom .
And that will help to ensure everything is nice and weather proof and all I got to do now because my building is square .
It's go nice and flush with the outside edge here .
Minus maybe 1/16 .
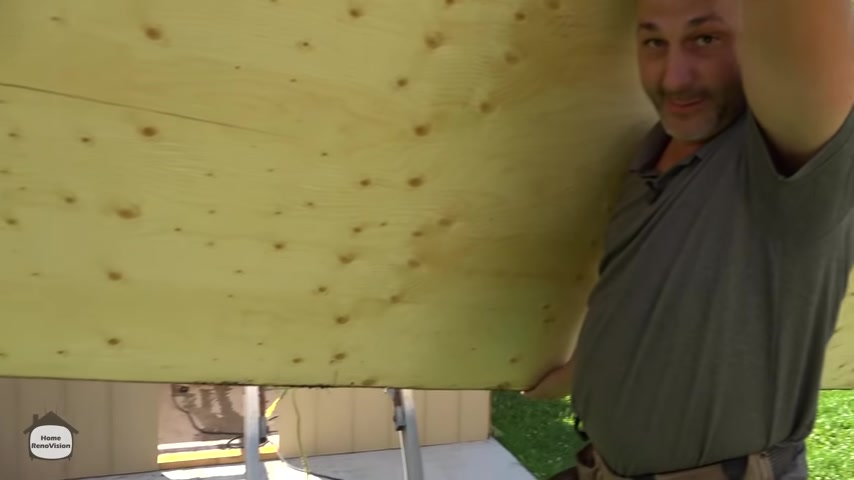
Now , I'm going to be using these 2.5 inch spiral nails , 58 plywood , you're probably fine with a two inch , but it's such a small nail .
It just doesn't seem to me to have enough girth to it to hold things together in a strong wind .
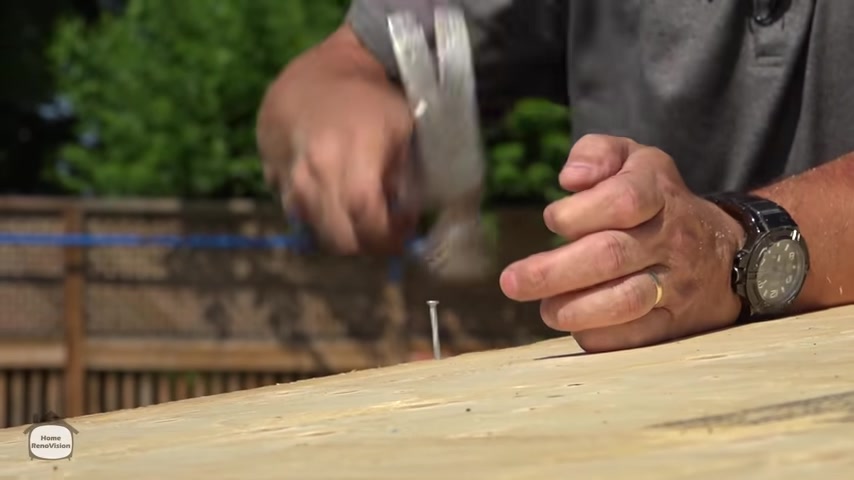
So now it's ok to just put a few nails in to get started .
Don't nail right near the tongue because the next piece of plywood will fit over top of this joint and it doesn't always fit perfectly .
So if you nail too close to the edge , you make it very difficult to snug that together .
So start about a foot and a half away , just get a few nails in and then we're gonna be in good shape .
I think it's always a great idea .
Take a moment , mark the middle of your stud .
Why not ?
Now , we know we did 12 inch on center , but having a couple of marks here will make it easier once I get up on top .
Ok .
So you can see that because we made everything a 12 inch on center .
This actually finishes in the middle of one of my stringers , which is awesome .
So now all we have to do his measure to cut from the other side to the plywood in a perfect world .
That would be exactly 48 if we've measured this correctly .
48 .
Perfect .
Ok .
So a great system for cutting plywood is just measure out your mark .
Use your black marker drywall square if you haven't got one of these 20 bucks , if you're going to renovate or be a diy or this is good for any kind of sheet good to make your life easy .
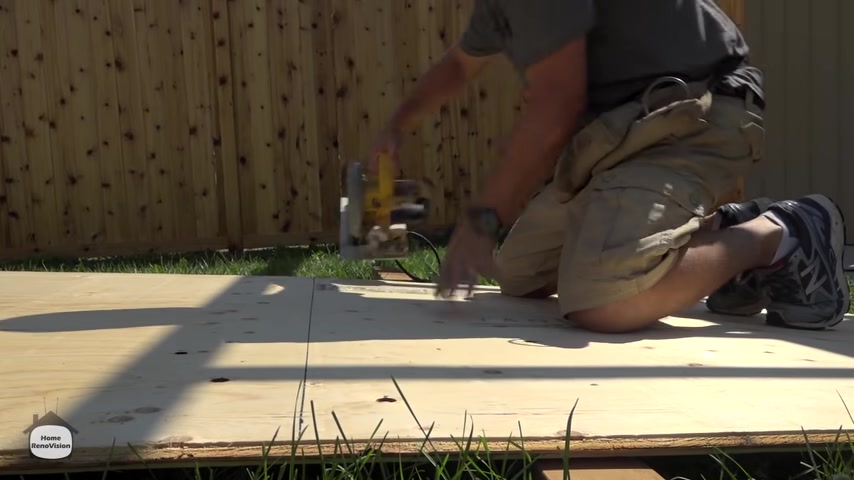
So the best way to do this just set it up on a , on a big plywood on a two by four here .
And then you sit on this side and put your cut line on the opposite side , sticking up in the air , set the depth of your blade .
So it's not too deep .
How you're not cutting through the dirt ?
Oh Money in the bank .
Ok .
So it's cut , I cut this side .
This is my factory edge .
You always want to make sure you measure and cut factory edge .
We'll be touching factory edge .
It just helps with the installation .
And the way you get this up there is like the caper toss .
There you go .
Now , this one is also four ft which means it can start my next row .
No , I can go up there and get working before you get started .
Make sure you nail down the other side of the sheet .
So you keep it all nice and square and that's it .
Of course , you want to nail every 12 to 16 inches .
Yeah .
Hm .
Just going to use my marker real quick and measure off where all these 12 inches are .
I know because of that .
There's wood here .
Yep .
We're going to start the next row with the cut off from that part of the sheet .
Of course , it's four ft .
So it should end up pretty much in the middle of this .
Let's get that in the position here on this side .
See how we're doing .
Looks like we're running a little bit long .
This is a perfect example .
We're dealing with wood .
So this wood is going to be moving around , right ?
Um You see that flexibility , it may not line up where you want it to right out of the gate , but here's a way to make that fit .
I set this up .
I'm gonna push this board over there .
We go now and it's where I want it to be .
Yeah .
One of the advantages or disadvantages that we're working with here is that , uh , this product has been out in the rain for , I don't know , almost two weeks .
Max .
I mean , I had my betting you got your head , your dog attack .
We had rain , rain , rain .
Ok .
Just want to lift that nail a little bit so we can slide this in a little easier .
Ok .
I've got this corner in there .
Nice .
That's where I want it .
It went in , nail that in position and then I can fight with this side .
Yeah .
Sorry not to be perfect .
I think it's probably close .
It's going to get the reason this is a great diy project is because this design doesn't require perfection .
It requires you to get close .
The goal of the roof is to keep the water off of everything inside the shed .
So as long as you use that as your guiding principle , you'll be fine if your angles are off a little bit here and there , the other way you can do this , which costs you a lot more material is you can overhang your plywood and then snap a chalk line and then cut it off after you've installed it .
That's one way to do it as well .
But in this design , it's already going to take us five sheets of plywood to complete .
So I didn't wanna have to go and buy a seven that just seems like a whole lot of wasted money .
But if you wanted to have that flexibility to make sure everything is exactly perfect , then that's fine .
You know what it's going to cost you ?
Swollen tongue and groove marks .
They're just not always going to work out for you .
And that is not a big concern , is it ?
This roof is just as strong whether these joints are fit really tight or not because they're 12 inch on center .
So don't let it get too much of a concern for you .
The biggest concern here is getting enough fasteners to hold it all in place .
If you find that you don't have enough meat in the two by four on the joint or it's just a little off center , feel free to take another piece come in from underneath , nail them all together and then nail the top down .
That's another great way to make sure that everything's got lots of contact and structurally sound .
So , like I said , there are two ways to do your sheathing .
I mean , we can always measure here and we can add a few inches , install the piece and then chalk line and cut it off .
Something about me sitting on that overhang cutting plywood is not that exciting to me .
My building ends here , right .
So when I'm working up here , I'm going to be kneeling on my building and just leaning forward and not putting too much on this .
I don't be crawling out there with the skill saw and I don't want to do it off a ladder .
So I'm going to measure instead from the beginning .
So I've got 27 inches to the middle of the tongue and that's 27 inches .
Uh , it's a little bit too much so we're going to cut it 26 78 .
I'm gonna write that down before I forget .
Alright , I know and uh I'm going to check the other side and get that measurement as well .
We'll start with a full sheet .
So we don't have a seam here , meeting another seam .
I like the square more than a chak line when I'm working alone .
It's just a hell of a lot easier to operate .
So I know that this is not a traditional installation of a roofing system .
I know a lot of guys they just use a 16 inch span , they're using little roofing clips on the sides .
I like to install this this way because it's a lot like a sub floor system .
And I think the average homeowner will be able to be capable of doing that without any difficulty and without risking life and limb up on a roof .
So this works really well .
And as long as you're on plywood , you know , you're not going to fall through the roof .
So if you have any comments about the roofing system , we use , they set the deck up by all means , throw them in they're happy to have a discussion .
And if you've got an easier system that people can use , then let us know we are all about getting smarter on this channel .
So I'm still learning and I'd be happy to share your tips and tricks and help everybody grow .
OK .
So now we're on the roof ready to put our roofing system in which is incredibly simple because we only have one slope .
And when you're dealing with a shed , the goal is to keep the water out of the structure .
So when we have an overhang on all four sides , we don't have to worry about if the edge of the roof is sealed up really incredibly water tight .
Now , it's nice to have it tight so that you don't have water in there and it freezes and pulls things apart .
But the reality of it is if it's not a waterproof roof on the edges , you're fine .
As long as the main body of this roof deflects all the water off the back side .
So remember your , your roof system is not a waterproofing system .
It's a water deflection system .
It diverts water from one place to another .
That's all it does .
So in freezing environments , water always finds a way to move around and a little bit of moisture in a shed is never going to cause you any major issues in my building store .
These flags come pre bent and available in 10 ft length , which means that they're a little bit short for the roof .
So I got two pieces .
I cut one down to about three ft and it started at the other edge .
And now I'm gonna go plus here keep everything snug up against the edge .

OK ?
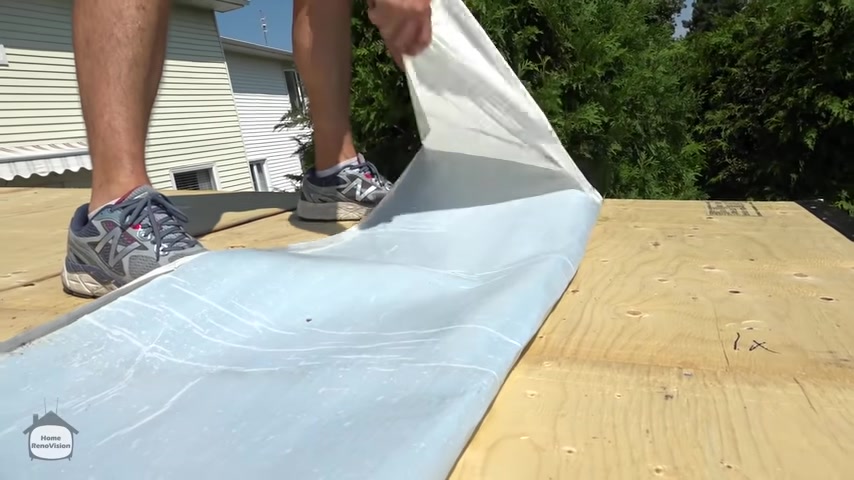
Now that , that's done , it's time to put down her membrane .
So the system here is relatively simple , we're gonna just slide it over to the edge .
And visually , we're looking for about uh enough that can go over the edge and then just pass the two by four at the center .
So feel free to be a little liberal .
The stuff comes in the roll , the roll that you buy is going to do probably two sheds this size .
So don't be too concerned about it if you're going to have enough material .
Ok ?
And then we're just gonna unroll it , just roll it back on yourself .
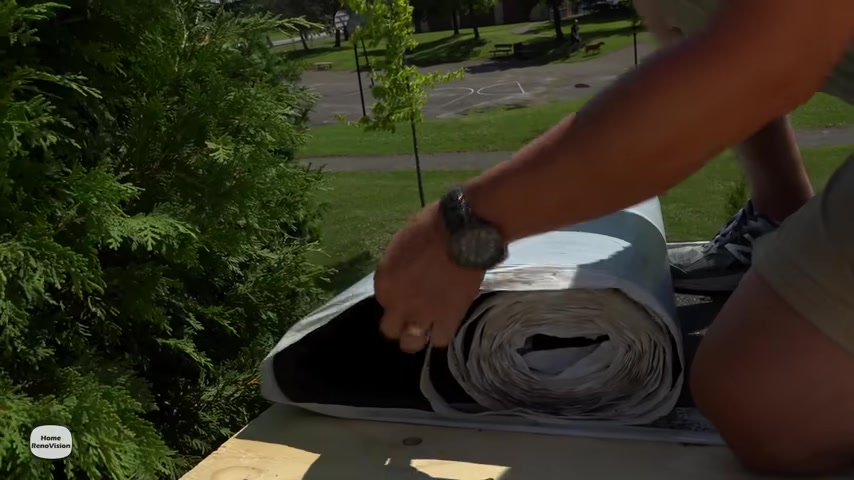
So you have this overhang , that's the edge , add six inches and then cut and this is just an asphalt membrane .
There you go .
That's one and we're going to cut and measure these a few times , get them all cut in advance and then it will make your roof a lot safer to work on .
Once you have your membrane cut , just uh roll it up , the less walking around on this that you do while it has the plastic , the better there's always a chance it could slip .
You don't want to end up at the bottom of the ground .
So the water diversion system is going to work simple .
These are like massive , rolled up shingles , ok .
They don't have the longest life span .
So if you want it to last a really long time , you could always cover this up with shingles or go with two layers of this membrane or just come back every 5 to 10 years and see how it's doing .
Remember since this is a shed and there's no heat source inside this building , you're not causing a lot of trauma to this material , especially if you're not up here walking out on a regular basis .
So just keep an eye on , you know , occasionally check to see how things are working out .
And if you have to go and do any touch up , sometimes the best thing to do is just put another layer of this membrane down right over top of the old one and just cut it to fit .
But you'll see this plastic here , it's set up , it's like a tar back .
It's very sticky .
So you want the membrane to finish over the second ridge .
OK .
This is kind of like a guide for you .
So what we're gonna do is we're gonna slide our membrane into place so that we see about an inch of our metal exposed .
OK ?
And then we're gonna go like this , we're gonna fold it back in place so that we can expose this whole plastic .
Be sure to be standing on the membrane while you're doing this .
OK ?
So that nothing is sliding away and then slowly pull that back into place all the way along .
OK ?
It's a self adhesive .
So you just step it into place and that will bond with the metal on a warm summer day like this in about five seconds to finish .
Now , we're gonna forward this side back .
OK ?
And do the same thing .
No , just kind of poke it like this .
Get the , get the , get the , the membrane stretched out .
All right .
And then you can just use your foot to slide up into place .
Here we go .
Simple shed roofing one oh one .
So one of the reasons this membrane works so well is it's soft and pliable in the heat .
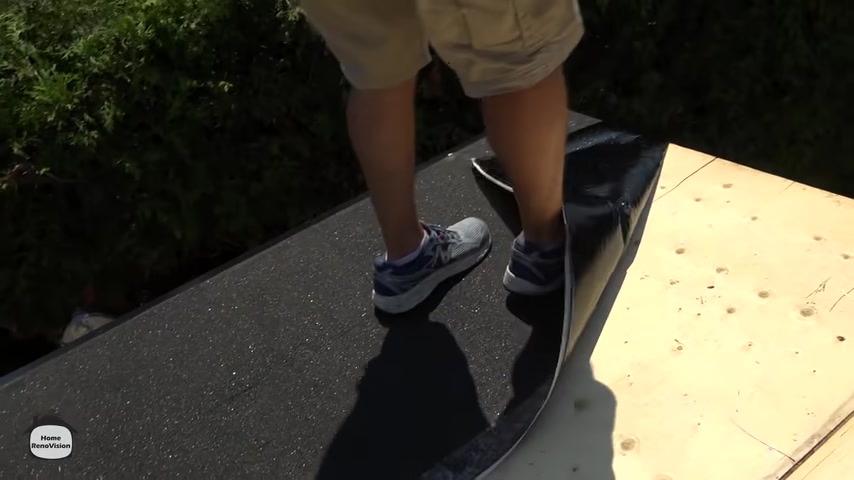
So we obviously can't continue until we move our ladder .
So what we're gonna do is since we're going to finish this roof with the pressure treated one by six , anyway , we're going to just fold this over for ladder protection and demonstrate that's what the finish roof would look like when we're all done .
Put it in place .
Now , we can get up and down without damaging our roof .
All right .
Next roll , same thing .
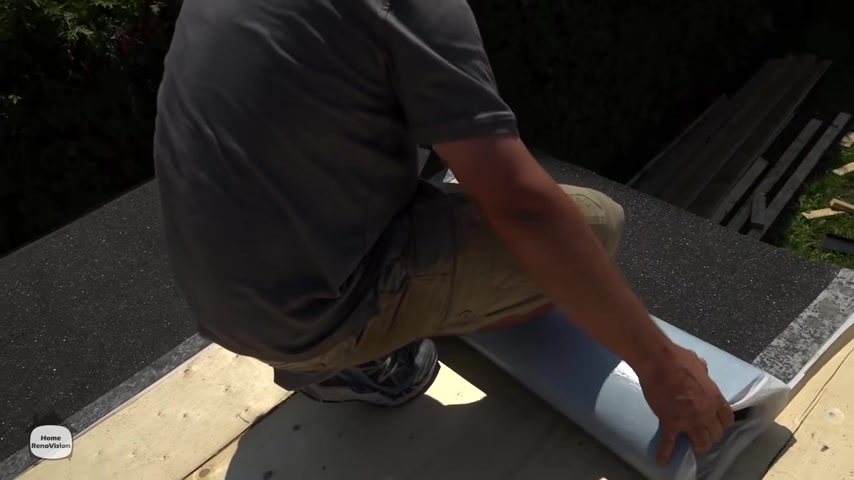
We're going to overlap like a shingle .
We're gonna use that two inches as our guide .
OK .
Four inches on the edge again and we'll just roll it out .
Do the same thing again .
Let's get it in position and then we'll fold it back and take off the plastic just like the last time .
So sticky , nice and gentle when you're pulling this off , try to stay close to the ground .
It look like that .
You'll pull the whole thing with you .
It might cause it to get caught and stick together .
Just keep nice and low .
We can go a lot faster this way .
Hm .
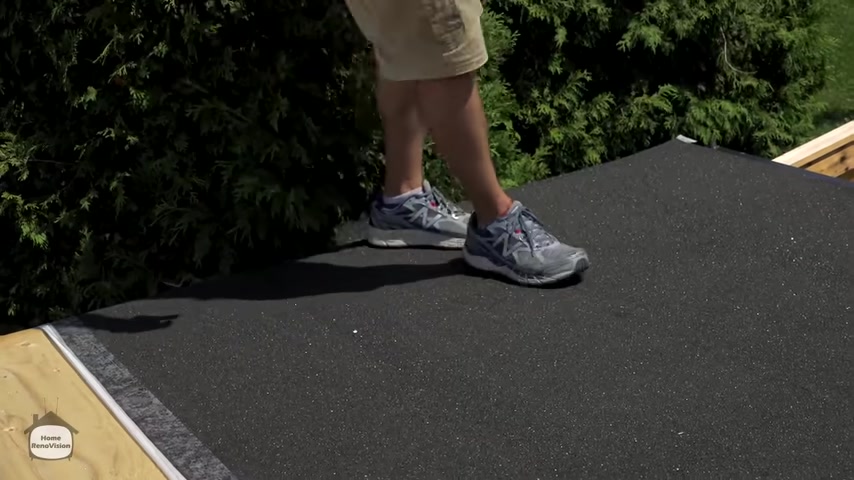
Again , lift the edge , stand on your membrane and roll it into place and then just seal the toe to make a good seal .
That's it .
It's like river dancing .
So when we're done , really , what you want to do is just fold down your sides and use a piece of two by four , just tap it on .
Ok .
And then curl over your edges .
This is kind of like ironing your roof on .
It's kind of funny once you've got this installed , take your block and install it past the corner nice and snug one screw is fine .
And that's just so that when you're working alone , you've got something to butt up against when you put your trim board on , regardless of whether you're going to have your roof where it's just a clean drop at the end or a gutter system .
Do you want to make this board longer than what you need ?
Because going too short will be ugly to look at question .
So we're gonna just measure the full length , we're gonna call it 1 26 .
That's a nice healthy extension past the corner .
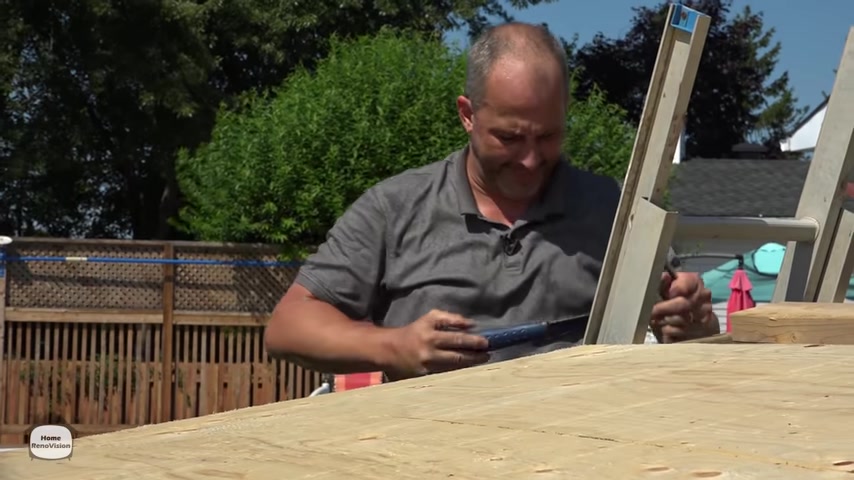
And if you remember from earlier in the series , we have the template , this is the same angle that we're going to use at both ends of this board .
So we're going to take our template and we're going to mark our angle and then I'm going to just finish that , tracing that line and then cutting it , trace that line .
Now , when you put the front face on , it's a little off center , right .
So if you want to , you can always sand down the corner a little bit .
But seeing how it's way up there in the sky , I don't think anybody's going to notice .
I don't think it's an issue .
So , what we're going to do now is take a couple of scrap pieces of wood , attach it to the top of our board .
So it'll sit flush on the roof and then when we go to screw this in place , well , let's just lift it up by about a quarter inch or so .
And that'll give us a nice overhang underneath the bottom of the roof and make it real easy to finish it all off .
Here we go .
Oh , that's not acceptable .
I got a little bit of wood showing over here .
So we're gonna be trimming this roofing off anyway .
So I'm gonna take a good piece of this leftover and iron that piece right there .
Yeah .
Ok .
Back to putting our finished piece on .
There we go .
That represents the height of my roof .
It's nice and flush on the top and then drive it nice and that's good .
That's better .
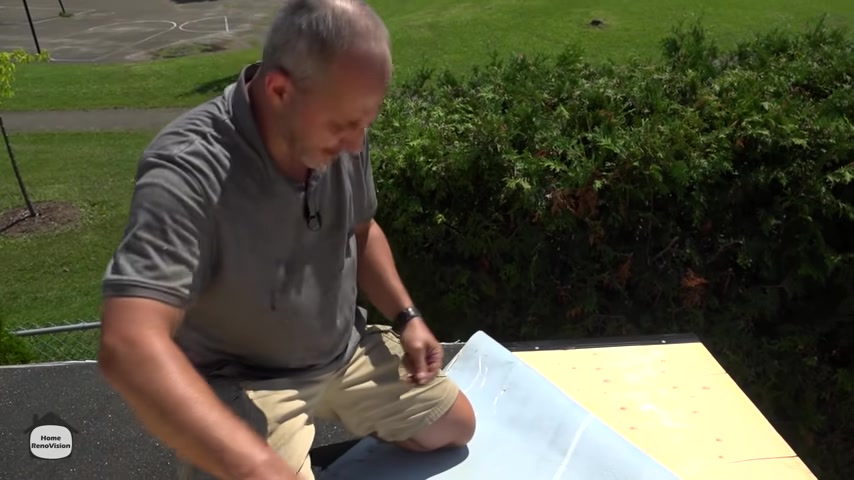
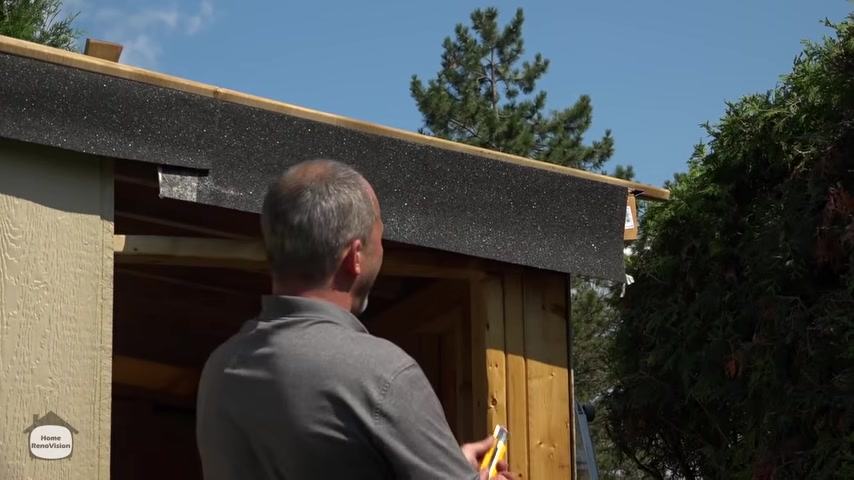
So , here's our facial metal and we're gonna use this to close up underneath our drip edge .
And of course , the exposed part of the wood is 2.5 inches .
So we're gonna measure from here , you can see the profile that'll be in contact with the bottom of our two by four ridge plate and 2.5 inches runs to the inside of this groove .
And that's where the metal overhang is .
And I know the metal overhang has got lots of room for us to slide up underneath it .
So we're going to actually cut about an extra half an inch longer , right ?
And aluminum metal work when your knife opens is actually pretty easy .
I got a roofing gun all over my blade .
Here , there we go .
So I'm eyeballing this because it's a rough cut that's getting installed underneath its finished trim .
No , you might think this is crazy free handing this .
But with a sharp blade , you can actually take this with a decent amount of pressure and I'm on a pretty straight line .
Now , of course , this part is sharp .
So if you slip , you will slice your hand open .
So you might want to wear gloves .
Ah Here we go .
That's pretty easy .
E you can actually see on the camera where the cut line is .
You see the , the line .
Yeah .
Put the two by four .
There .
It's like creating your own little mini bender .
OK ?
For the neighborhood of your cut .
All right , this is diy metal bending .
Right .
Once he got that bad boy started , we'll finish off without much difficulty .
And all that is just off the score of a knife .
Right .
It's already starting to look a little ridiculous , isn't it ?

Here we go .
Here we go .
Once it starts to go , it goes real quick .
Generally , when you fold it over , it'll just snap the metal right there .
Hear all that crunching around .
Now , all you gotta do is open it up the other way and that's metal working one on one for installing this .
She could use roofing nails .
Ah .
Mhm .
Screw a day .
Keep the doctor away .
They do sell soft screws .
However , these are tiny , little set screws with the same kind of black head .
I'm a big fan of the screw .
Just feel like it finishes things off a little bit cleaner from a distance .
You know , the galvanized nail , it can show a little ugly and these screws every couple of feet is fine .
Now , you've got a completed water diversion system .
Right .
We can go through this again , but water lands on the high side of the roof and follows gravity which is the path of least resistance comes with this drip edge .
And if there's a lot of water , it might run past the drip edge and there's a second edge here and then you've got the wood protected here .
My God , what else do you want in life ?
Now , we're going to be finishing off the shed with a trim board here .
Ok .
You may want to do something different in your shed and bring the roof back a little bit .
I like the overhang .
I just personally like the idea of making sure water stays away from my framing .
If you make it too close , you might want to make your whole shed out of pressure treated lumber because you're going to get a little water getting in there on the driving rain when it's windy .
This works really well .
We can also install a little bit of soften medicine material here after the fact if you really want to .
But I mean for a shed , this is better than a lot of homes .
Well , thanks for joining us on our video today teaching how to do my simple roof system .
Make sure you check out all the other videos related to the shed build .
They are very valuable .
You can build it yourself from scratch and save a ton of money compared to the cheap flimsy plastic crap to sell them at the box stores .
This is the way to go .
Also , I want to make sure that you check us out on Instagram having a lot of with that .
Hopefully you're an Instagram and if you are then check us out home Revision Diy on Instagram and be sure to ask us your questions if you have comments or questions or concerns related to sheds or not .
I answer those questions every day .
We're here to help .
So feel free to jump into the conversation .
We look forward to seeing you in the comments section below .
See you later .
Partnership
Are you looking for a way to reach a wider audience and get more views on your videos?
Our innovative video to text transcribing service can help you do just that.
We provide accurate transcriptions of your videos along with visual content that will help you attract new viewers and keep them engaged. Plus, our data analytics and ad campaign tools can help you monetize your content and maximize your revenue.
Let's partner up and take your video content to the next level!
Contact us today to learn more.