https://www.youtube.com/watch?v=4GLkPPsekFE
2023-06-14 18:11:41
EP. 2 - THE BEDROOM _ DIY SCHOOL BUS TINY HOUSE CONVERSION _ MODERN BUILDS
Hey everybody .
My name is Mike Montgomery .
And today I'm gonna be showing you how I'm turning this school bus into a tiny house .
And in today's episode , we're gonna be building out the bedroom on modern builds .
Today's video is sponsored by squarespace go to squarespace dot com slash modern builds for 10% off your first website or domain .
In the first episode of this bus series linked down in the description I cleared out and I cleaned up this entire bus .
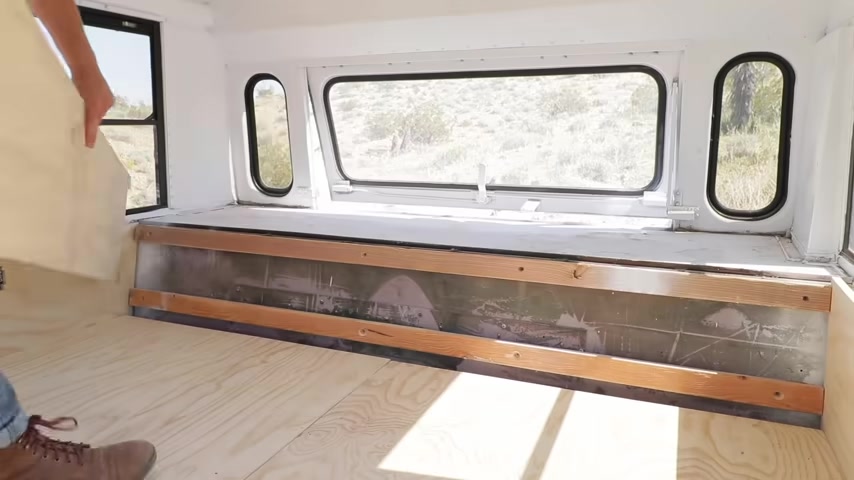
Let's take a look back at what this bedroom space looked like before episode one .
It was a wreck .
But in today's video , we're gonna be building out the bedroom here in the back of the bus .
Obviously , we've got to cover up this engine compartment .
I'm gonna be building a huge bed platform .
It's gonna be a ton of fun .
So stay tuned .
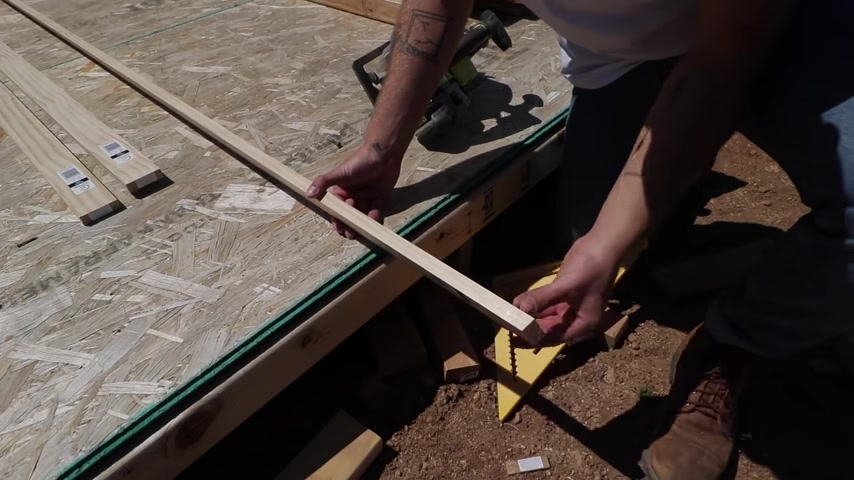
I use two by fours to build out the structure for this platform that the bed will be setting on on these two by fours .
I'm calling the rails .
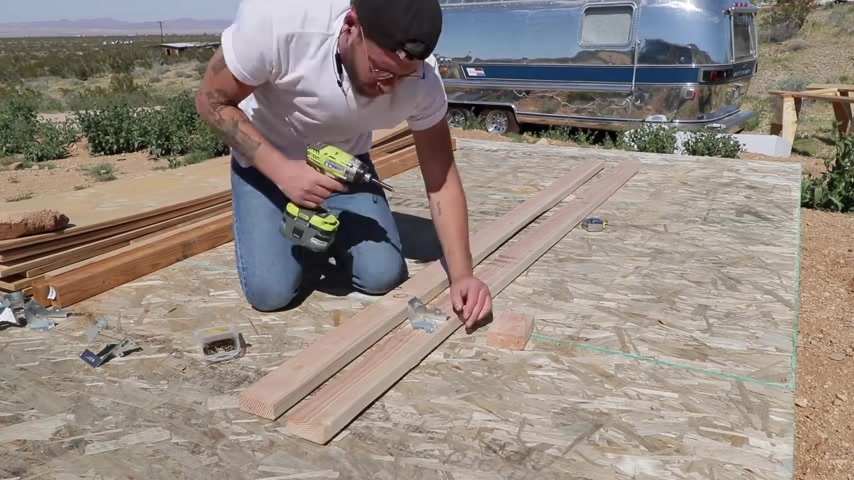
I made a mark at every 18 inches where I want to cross support and I'm using the Simpson strong tie brackets to connect the two by four cross supports to the rails which will be attached to the three quarter inch plywood on the walls .
You can find these connectors at Home Depot and I'll leave links down in the description , they're typically used for building sheds or decks or just general home repairs around the house .
The height of this bed platform was determined by two things .
The wheel wells and the height of the engine compartment which I wanted to cover .
I made marks at the other end of the two by four so that I made sure to screw it on straight and then I locked it into that three quarter inch piece of plywood on each side of the two by four brackets .
After the rails were attached , I cut more two by fours to length with the circular saw and speed square so that they could be cross supports for the bed platform .
The brackets I used are neat because you don't need a perfect fit .
Although I still ended up getting pretty tight margins .
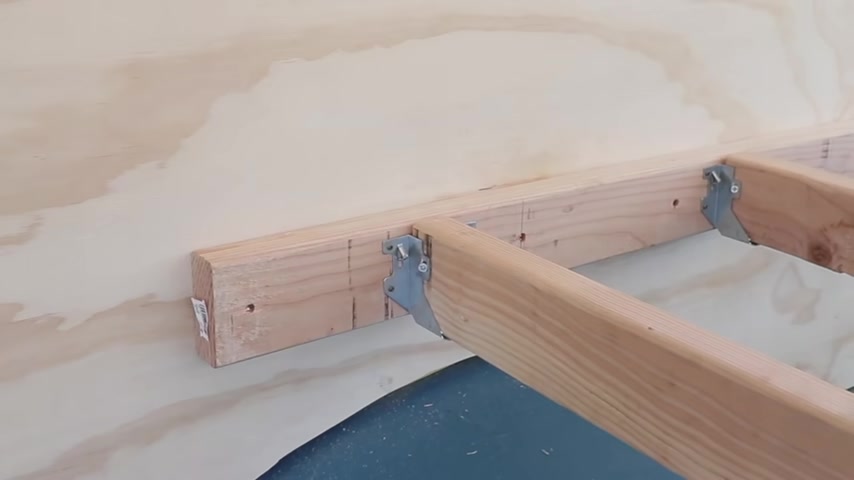
The brackets I used allow me to tow screw the two by fours together for a really strong fit .
After I had all of these pieces connected , the platform was really starting to gain strength .
I didn't want a visible bracket on the end of these two by fours .
So I just tow screwed straight into the two by four rail to cap off the platform .
Of course , this isn't quite as strong , but there's gonna be a lot of layers to this whole build out and it's no problem down the line .
And here we have an eight ft platform that is the beginning of this whole build out .
But I'm not stopping there .
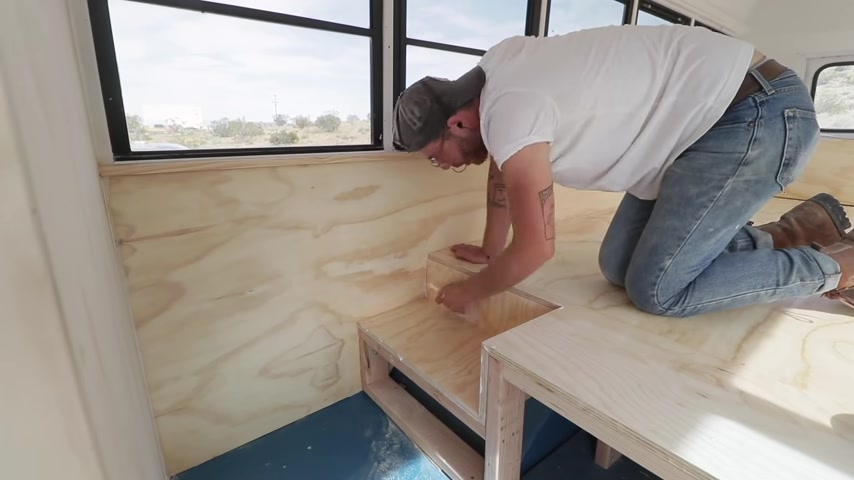
I need the platform to extend past the wheel wells , which is gonna make a platform that's about nine ft long .
So what you see me screwing together here is the end of the platform where I've got built in stairs that are gonna go into the wheel wells .
I screwed this whole piece together using 2.5 inch long construction screws .
And once it was all put together , I could move it inside of the bus and test the fit .
I was happy to find out that it worked out great on the first try .
So then I could screw it into place .
I used eighth inch strips to raise this assembly off the ground a little bit so that the treads running down the center of the bus floor have room to go underneath this assembly .
And I secured this piece to the plywood walls as well as the plywood subfloor underneath the vinyl .
Here we go .
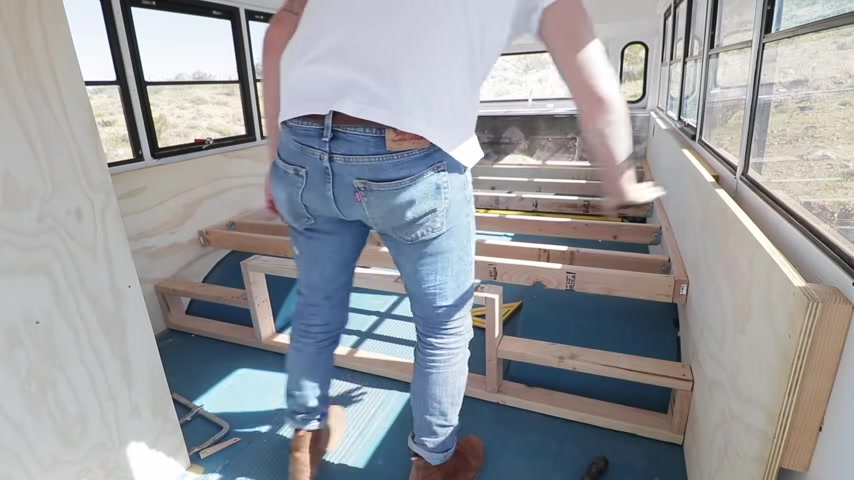
Board .
Number two , securing these boards wasn't fun , but it made the skeleton of this platform way stronger .
Holy cow .
That was tough .
So if you're already a fan of modern builds , you know , I have a tendency of over building a little bit , especially on construction projects .
I would rather something be stronger than it needs to be than break down the line .
So here you see me using the circular saw to cut legs that I'll attach to those cross supports that we just added , I screwed them straight down from the top of the rail and tow , screwed them into the plywood subfloor of the bus .
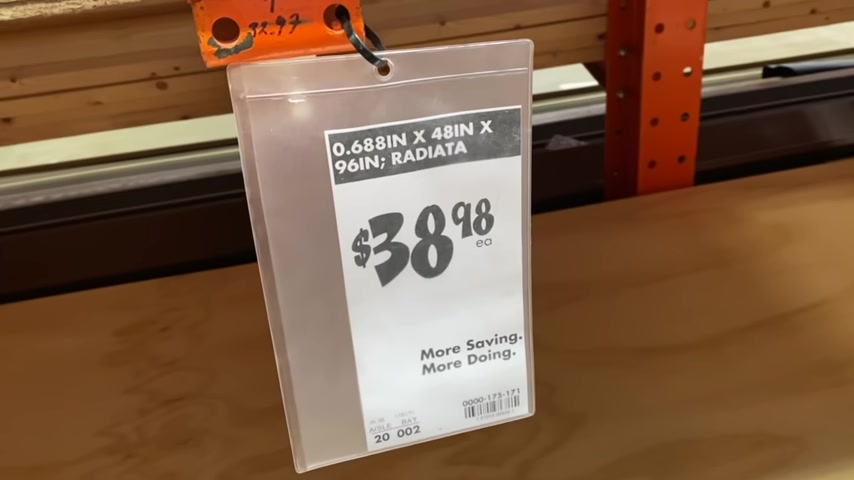
And after this was done , I could run to Home Depot and grab all the plywood for this platform .
I used three quarter inch Rata Pine because it's got a thick face veneer .
And I picked up quite a few sheets because I'm gonna need a lot for this project .
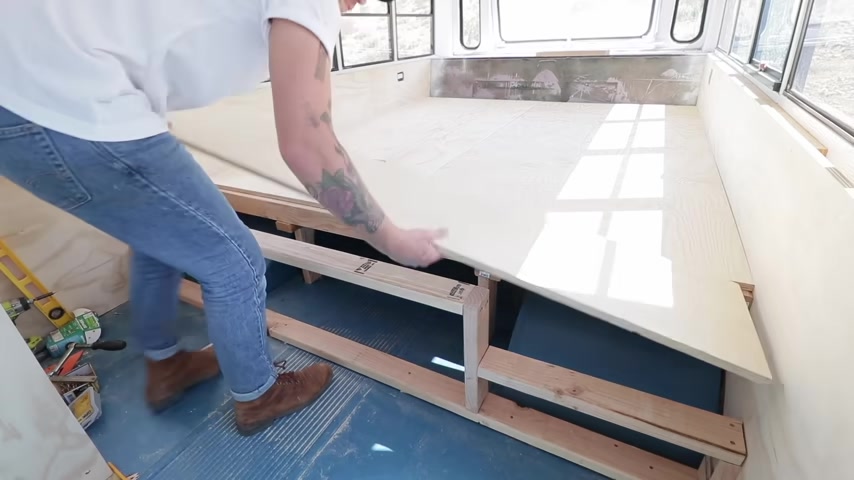
The first thing I did was freehand cut these panels to whip the platform is gonna be two sheets wide .
Then I marked and cut the access panels that are gonna be on either side of the mattress .
I used the circular saw and the jigsaw so that I could clean up all the corners with the first panel installed .
I knew everything was fitting correctly .
So I cut the panel for the left side of the platform .
The exact same way as the first Super Pro I'm learning that scribing and cutting to fit the majority of the pieces is the best way to get good results on this bus project .
So that's what I did for the majority of the pieces here on out .
I was reading the comments on the first school bus episode and a lot of people were impressed that I was cutting so many things free hand .
And my big piece of advice for that is actually working on the floor .
If you're able to stand over your blade and see the line that you're cutting , it's much easier than working and cutting on a work table .
These one and a quarter inch trim screws that I've been using all over the place on the bus are awesome because the head on them are so small .
They basically disappear when you add a little bit of wood filler .

I also used quite a bit of wood glue anywhere that I had plywood to plywood connections , especially on these stairs because I couldn't get a lot of screws where I wanted them .
By the time I was this far into the project , almost every surface was a little bit out of square .
So I marked and cut everything to fit with my circular saw .
One thing I did make sure to keep with me though was a six inch speed square even though I wasn't tying in directly to the two by four studs everywhere .
I wanted to make sure that the outward facing edges of this platform were still 90 degrees to each other .
And right now , I'd like to give a big thanks to this video sponsor .
You know them , you love them .
They've been making modern builds videos possible for a long time and that's squarespace .
Squarespace is the number one shop for you to build your own website .
And the best part is you need zero website building experience .
If you can drag and drop files and edit text blocks , you are well on your way to making a custom designer website .
Squarespace is library of built in designer templates .
Look incredible right out of the gate , whether you're looking to start an online store , a portfolio to show your work or a landing page to connect with potential customers .
I built the first version of the Modern Builds website using Squarespace long before they were a sponsor and now that they are , I couldn't be more happy or proud to recommend them to you guys .
So make sure and go to squarespace dot com forward slash modern builds where you can build your own website without entering any of your credit card info .
Then when it's time to go live , make sure and use the code modern builds for 10% off your first site .
Thanks squarespace .
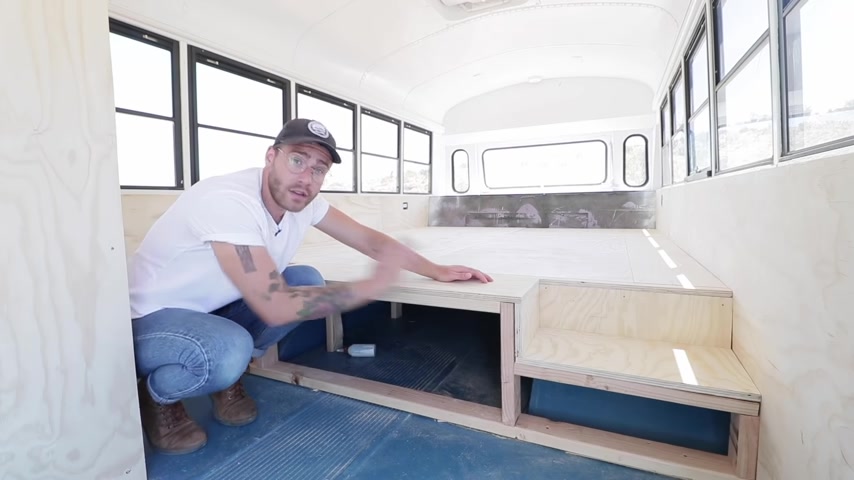
Right now , I'm really happy with how this bed platform is coming out .
It's super sturdy and having these access panels to storage underneath on the sides of the platform couldn't be more convenient .
Of course , the mattress is going to take up the majority of this platform , but this is going to make everything a little bit more useful .
And one thing that I want to be sure to take advantage of all of this space underneath the platform in the front .
Now , I wish I could just have one long drawer that would go out so I could access all of this space .
But I've got this bathroom wall on the way .
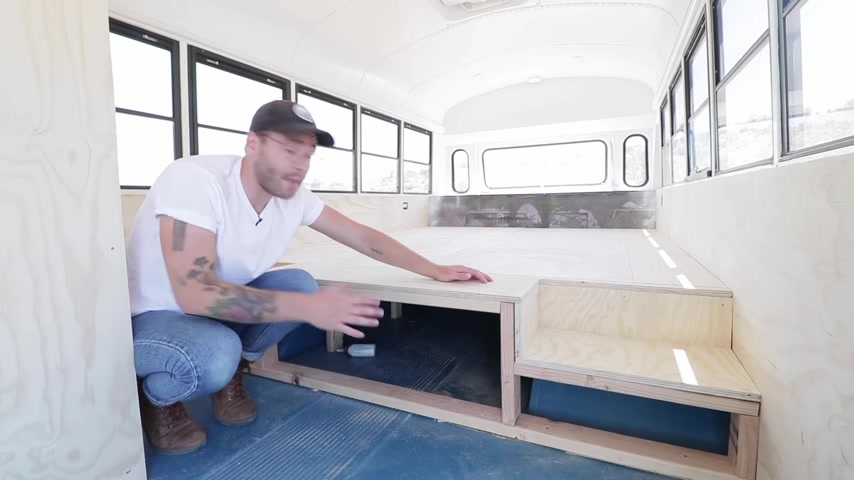
So instead I'm just going to create a false panel that's removable using magnets to create a really discrete hidden profile .
Let's go for it .
So just like before this is rinse and repeat , I made a plywood blink that was a little bit oversized and I used a pin to mark and cut everything to fit perfectly .
Once again , I used the circular saw for all of my long straight cuts and the jigsaw to clean up all of the corners .
I added this ledge onto that two by four so that I could attach some screws that the magnets are gonna stick to .
I needed a little bit of an offset because they take up about a quarter of an inch of space .
I grabbed these magnets a little while back off of Amazon and I'll leave a link down in the description .
Let's go with the platform done .
It was time to start working on the headboard .
If you watched episode one of this school bus series , you saw me attach two by fours onto the sheet metal Wallace of the bus all over the place .
And I'm using the exact same screws and technique to do that .
Again , these rails are gonna give me an inch and a half offset off of the engine compartment so that I have really clean lines with my side walls .
It also just gives me something to secure the plywood too .
I used the same basic technique for the window seat , but instead of a two by four spacer , I used a piece of three quarter inch plywood .
I've given myself about an eighth inch of acceptable tolerance everywhere that I'm cutting custom pieces for this bus and it's making it relatively easy to fit them in .
But I do need to come back with a little bit of silicone cult to clean up all of my corners .
Yeah .
Rata pine plywood is nice because it's more affordable than other hardwoods .
It's also really cool because you can get matching select pine one by material and it's way cheaper than getting oak or maple at Home Depot .
I grabbed really nice one by three pieces to cap off the plywood half walls .
So that way you can't see the two by four rails underneath .
I know I say this almost every construction project , but adding trim might be my favorite step .
It's finally the moment where you get to cover up the last of the unfinished layers and everything just looks finished even though it was a little bit tedious .
Doing all of that .
Scribing my go to wood filler right now is dap , natural wood filler , not the color changing stuff .
Just natural wood finish , it tends to dry the best color .

I'll tell you what the only downside to all this woodwork is there's going to be a lot of sanding with radio out of pine plywood .
I typically sand with 100 and 20 and then 100 and 80 or 220 grit , sandpaper .
But instead of doing that , I'm just gonna sand once to save time with 100 and 50 grit and see how that comes out to smooth out everything in this bedroom .
I think I sanded for three hours straight and I just sanded with 1 50 like I said , and it came out perfectly smooth .
Definitely recommended throughout today's video .
You've been seeing me wear these , not only are they my hearing protection but they're also high quality Bluetooth earbuds called plug phones with a 12 hour battery life .
I can wear my plug phones all day while I'm working on the bus or in the shop and it blocks out all of the tool .
Noise , plug phones sound great and they're super loud .
I think my volume is normally on three out of 10 .
If you're interested in learning more or picking some up , I couldn't recommend it more .
Make sure and go to plug phones dot com and use the discount code .
Modern builds at check out for 15% off .
Thanks , plug phones .
Now , back to the build everywhere that I've got wood surfaces in this bus .
I'm probably gonna be using water based polyurethane .
And the reason for that is it dries a little bit more clear than an oil based finish , which tends to add a amber hue to the wood .
Now , with hardwoods like walnut and maple , this can be a really good thing .
It makes the color really rich , but with pine , it just makes it look yellow , almost like golden oak .
From the seventies .
Yesterday I bought bedding and it's gonna be this cool two tone and I want these colors to be on the headboard in other places in the bedroom .
So I'm gonna go get paint that matches these perfectly at Home Depot .
Oh , this is gonna be sick .
This teal in pink color that I've chosen for the bedding and the paint are a little bit more art deco than what I typically do .
The majority of modern builds projects tend to play off of mid century and modern color schemes where there's a lot of warm wood tones , crisp white and primary colors .
But I'm really liking where the whole design trend around art deco .
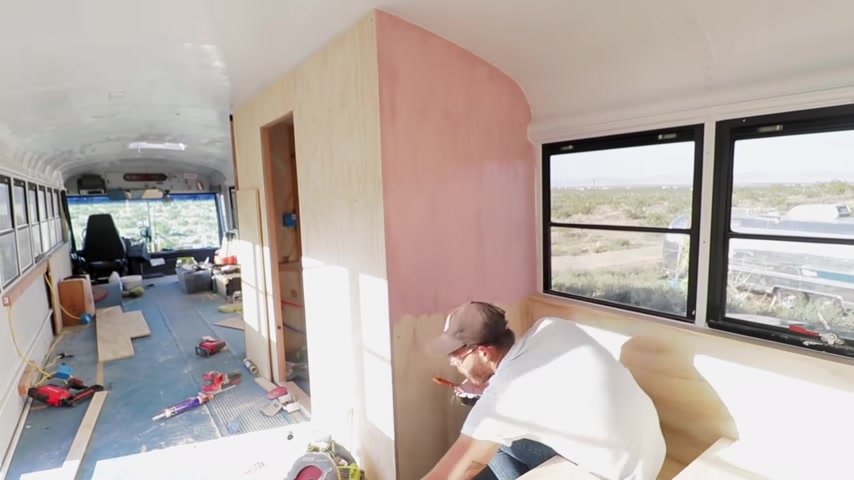
So shapes and colors is going , it's a lot more pinks , teals , velvets and soft colors and textures .
So I figured what better place to introduce these elements in modern builds than on this bus .
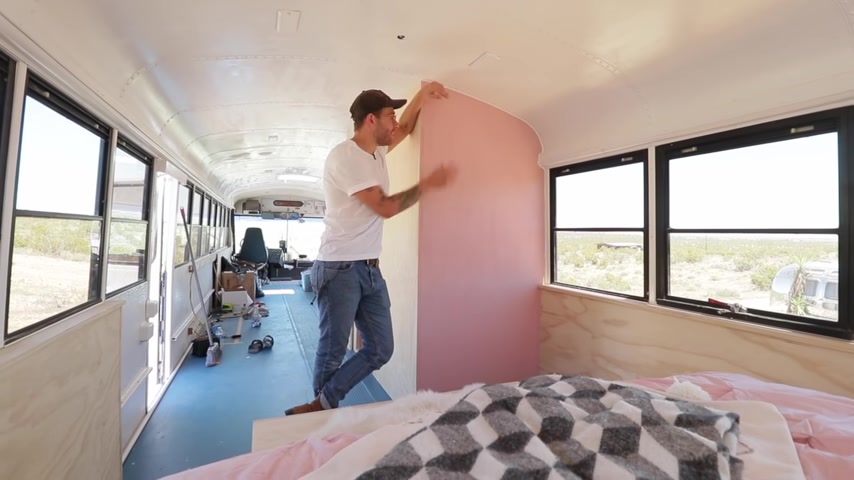
In the bedroom episode .
I also used the same pink to paint the outside of the bathroom while facing into the bedroom .
By the time I was finished painting that bathroom wall , I could peel off the masking tape on the headboard and window seat and holy cow .
Super Pro .
Oh , wow .
That is so cool .
I mean , come on these colors with the visible edge of the Plywood fire .
Now , before I can call this project done , I've got to fix one mistake I made .
And that was with the electrical .
Whenever I installed these outlet boxes , I didn't realize that I needed to set them off of the two by fours a little bit .
That way they would stick out far enough that they would extend past this plywood .
And right now with shipping being a little weird .
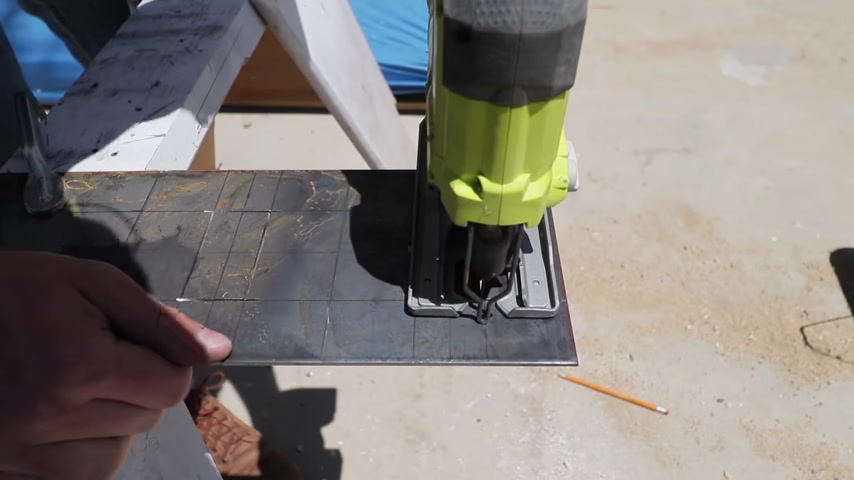
Instead of ordering specialty parts , I'm gonna fabricate some , I'm gonna get some eight inch plate steel back to the make a ranch and I'm gonna use the angle Griner and the jigsaw to cut out some openings for these outlets .
The openings are centered on the plate with about an eighth of an inch margin around the plug .
Then I'll use the welder to create a collar that will go around the outlet to clean everything up .
Now , I want to be really clear .
This recess is gonna be in the way of some outlet bricks , but that's what I've got to do .
And sometimes with Diy , you just have to make things work before you comment it .
Let me go ahead and say it .
Yes , I am bad at welding right now .
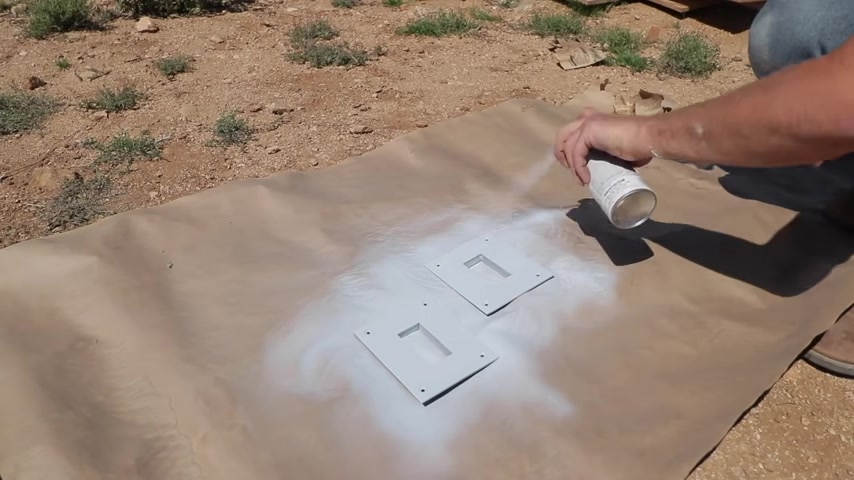
I'm definitely out of practice , but it got the job done and I added a couple of coats of spray paint onto these outlet covers , then I could install them onto the plywood half walls .
The last thing I needed to do before I could call this project's finish was add some finger holes into the access panels on the sides of the platform , making sure to use masking tape to prevent chip out .
And with that , this bedroom is done .
Now , let's head back to before we were working on this project whatsoever .
The redneck R V days , it definitely was ugly .
It wasn't functional and we got it to a good starting point last episode .
But now let's check the after .
So let me just jump in and say what I always do .
I couldn't be more excited with how this came out .
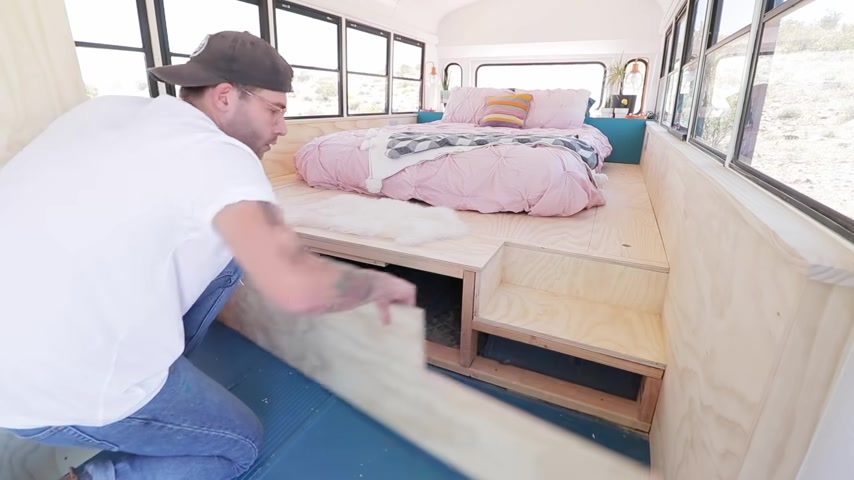
All of the storage is going to be so useful , especially considering how much space is underneath that platform .
And I love the fact that I extended the platform out even further over those wheel wells .
It created a bench which is really convenient for putting on shoes or boots .
I'm not exactly sure what's going in the front of this storage area , maybe shoes and boots with long term storage behind it .
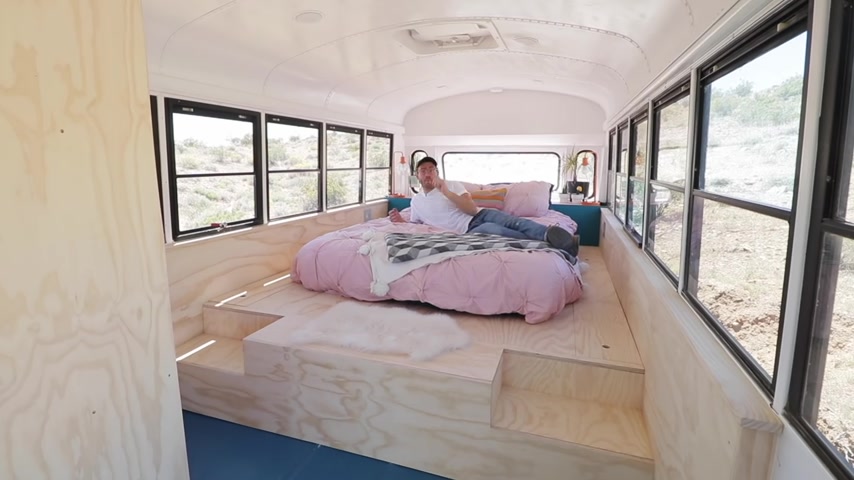
Moving up to the front of the bus is where we get to experience all of the color and textures that we're able to create in this space .
When you lay down , the bed sits at almost the exact same height as all of the windows around the platform , which means you've got 3 60 degree views all around the bedroom , which is so cool for most of the year here in Joshua Tree , you can rely on keeping the windows open and having a little bit of a breeze to keep your space comfortable .
So having this window seat is really fun .
Plus I was happy to see that the plug idea worked .
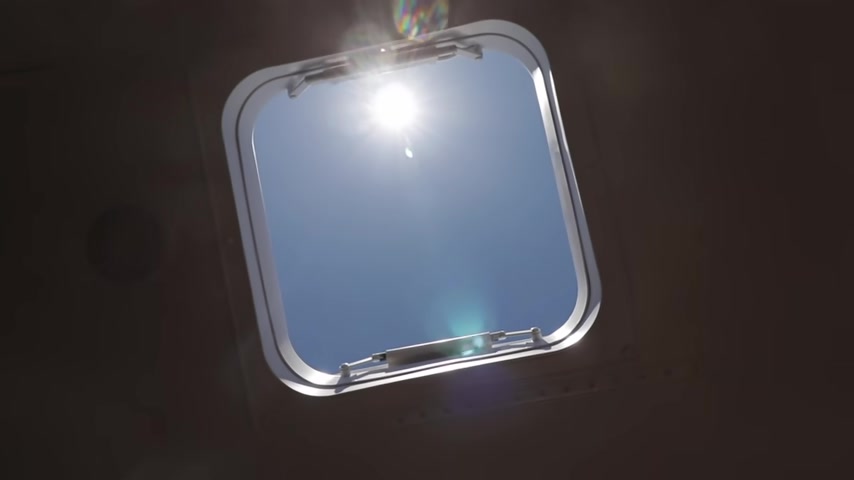
Another aspect of living in a bus that I'm really excited about is the fact that it's basically got a sun roof if I pop open this emergency hatch , not only can I let the heat rise out , but during nice weather , especially at night , I can go stargazing or checking out the clouds .
And speaking of night , this bedroom looks incredible at night .
I added lamps and some string lights for some nice ambient lighting that's not too aggressive .
Obviously , a bedroom is where you want things to be calm and tranquil and that's what I was shooting for and I think I hit a bull's eye .
So that's it .
Thanks a ton for watching guys .
And I really hope you enjoyed this video .
If you're new to my channel , make sure and click that subscribe button and the notification bell .
That way you stay updated every time I post new videos .
If you want to keep up with me throughout the week , Instagram is the best place to do that and you can find me at Modern Builds .
I post there almost every day .
I want to give one more .
Huge thanks to everybody who watched episode one and for all the support on this school bus , the tiny house series episode three is going to be the bathroom and I cannot wait to get started .
One thing that I'm still unsure about though is this pink wall on the outside of the bathroom ?
Now , I know I want some sort of mirror wall or organization system here , but I think the best move is to actually finish up the bus , get moved in and realize what storage needs .
I actually have that way .
I don't build something generic and not well suited .
So let me know if you have any ideas .
A lot of what I'm doing is designing on the fly and making things work .
But let's turn the comments into a positive section where we can throw out cool ideas and things I might be able to try otherwise , one more huge thing for all the support .
So far .
The first episode of the school , the first episode of The Tiny House Build has already crossed a half a million views .
So let's make episode two big as well .
So thanks again .
And we'll see you next time on modern builds .
Can't believe I just fell down right there , but I'm ok .
See you guys .
Partnership
Are you looking for a way to reach a wider audience and get more views on your videos?
Our innovative video to text transcribing service can help you do just that.
We provide accurate transcriptions of your videos along with visual content that will help you attract new viewers and keep them engaged. Plus, our data analytics and ad campaign tools can help you monetize your content and maximize your revenue.
Let's partner up and take your video content to the next level!
Contact us today to learn more.