https://www.youtube.com/watch?v=tL4lQBn-BFI
How to Build a Hidden Guest Room w_ a Murphy Bed
Today , I'm working on a really fun project .
I'm calling a hidden guest room .
What's a hidden guest room ?
Well , you're about to find out .
All right .
So I'm in about a 10 by 12 bedroom and this is a pretty typical bedroom size .
Now , this space needs to be used as a guest room for when company comes over .
But company only comes like maybe five or 10% of the time , the rest of the time the room could have another function .
So my idea here is to hide the guest room portion .
I eat the bed , the nightstands behind a hidden wall .
So when guests come , we open up the wall , open up the nightstands , instant guest room while only sacrificing about two ft to hide my guest room .
I'm now going to have a completely multi purpose space .
My contractor friend Ben is going to be helping me out throughout the entire process .
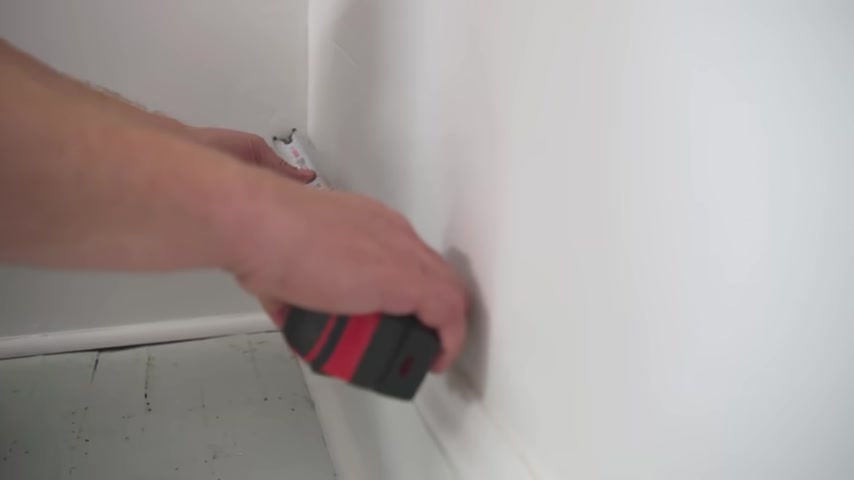
It's kind of a custom build , but you can take everything that we're doing here and translate it into your space .
First step in this project is to take measurements and we have a lot of different measurements that we need to take to determine how big we build our wall and also to make sure that it can be done .
So the first thing that you need to know is the size mattress you're going to use , we're going with the queen mattress from blows .
That means it's 60 by 80 .
So the first thing I need to do is make sure that I have enough space along this back wall that our width will accommodate for that .
So then what do we have ?
One 13.5 ?
So the mattress is 60 inches .
You want to make sure that you not only have enough room for the mattress , but also for people to walk and get to the bed on either side .
So we'll have enough .
Now , the bed is 80 inches long .
So we just want to make sure that when it's folded out , we're gonna come to be plenty of room in this space .
All right , and the final measurement that we need to come up with is how far our full wall is going to come off .
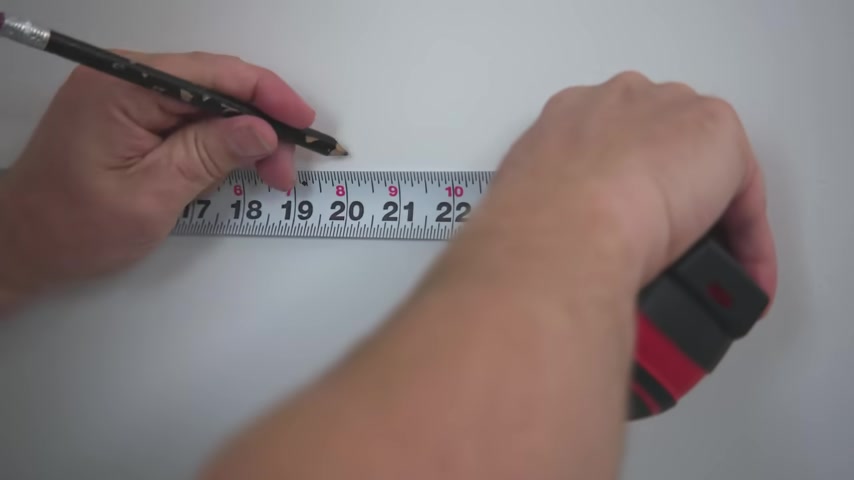
I only need to come about 20 inches .
I have plenty of clearance .
I'm not blocking the window and that wall over there is solid .
So I have no issues there as well .
Those are the measurements and the things you need to consider to make sure this project will work for you .
Now , we're just going to start marking our measurements on the left and right walls and using a level to make sure that our lines are straight .
We're finished up with our measurements and now we're going to move on to the build .
So I have a rough sketch here of what the wall is going to look like .
The bed is in the center right here .
And then I have some built ins on either side that are going to be seen all the time , whether it's in guest room mode or not , we need to start this build out by building the bed frame .
And this is really important because within the faux wall , the bed has to be able to open and close into the wall .
So we need to make sure that when we stud it out , we know exactly where to put our studs want this wall to look as seamless and hidden as possible .
So what we're doing is building a frame that will case around our mattress for our standard queen .
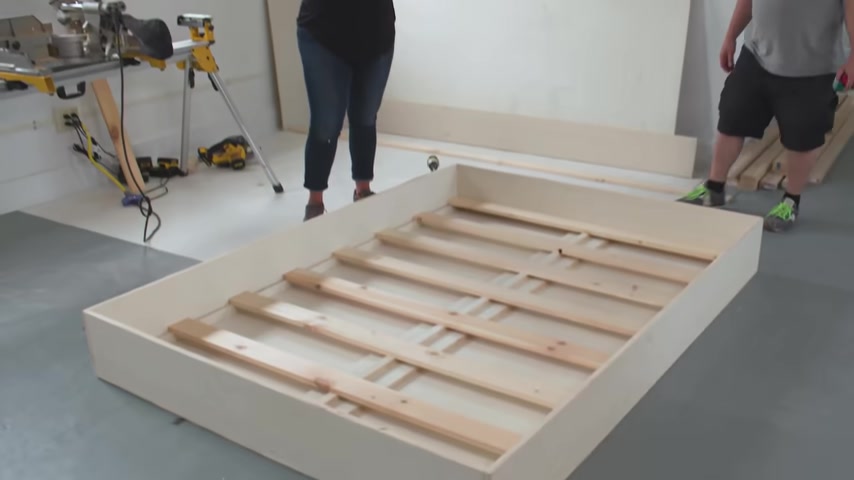
We're going to be building this 60 by 80 so that the mattress will drop right into it .
My mattress is 10 inches deep .
So I'm going to make my sides about nine inches just so that the mattress sits just above the lip .
So we're going to use just plywood for the edges and the back and then one by material for the slats .
Now , it's important that you use finish plywood for this .
If you think about it , when the bed is up in the wall , the plywood is actually going to be our wall .
So you want to use something that has a really nice finish to it .
All right .
So we finished up the plywood for the frame of the mattress .
Now , we use two pieces of plywood as we needed to and this seam here , we'll get to that later when it's in the room .
Now , what we need to do is lay this down and add slots that will support the mattress .
So we finished up the frame in the box that will hold the mattress .
And you kind of need to think of this almost like a platform bed because there's no box spring .
So these slats here or what's going to support the mattress , right ?
And then this brace in the middle helps support the slats and acts as a nailer for the two sheets of plywood on the back , so they don't slide past each other .
Yeah .
And now that this is fully built , we know the exact dimensions of it .
We can go in and frame out the wall , leaving a space for this to be added in later to frame out this wall properly .
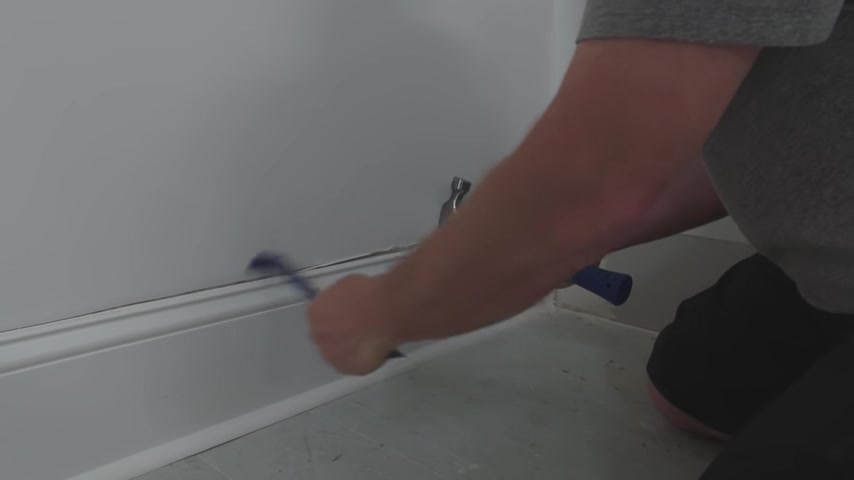
What we need to do is to remove the baseboard and the crown molding , the studs need to sit flush against the wall .
So , Ben is using an oscillating tool to cut through the baseboard and then to remove it .
We're using kind of a combination of a utility knife , a mini little pry bar and a hammer and that way we can just pop it right off the wall .
We'll do the exact same thing with the crown molding up at the top .
Definitely want to make sure that you take the time to cut along with the utility knife first that you don't damage the ceiling .
Now , you can tell that a little bit of dry wall peel happened here .
That's ok .
This is all gonna get hidden behind our faux wall .
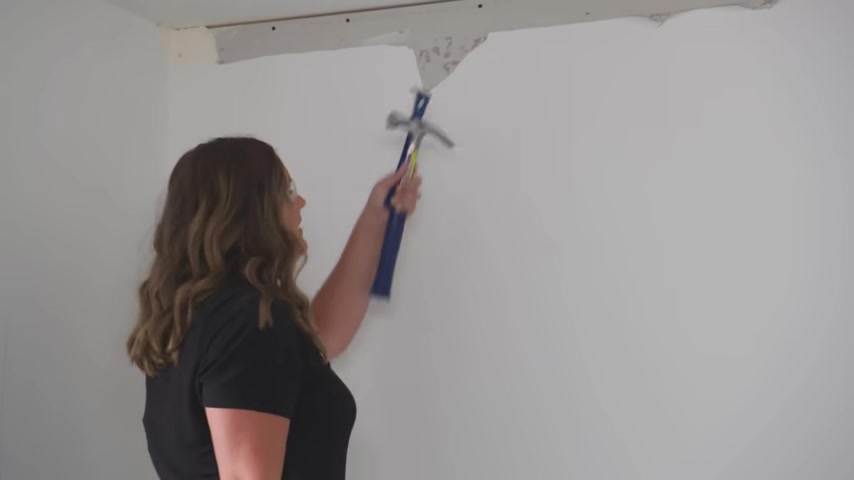
So while we wanted to be careful of the ceiling , and we were , the wall down here , doesn't matter quite as much .
So we are going to start framing out our wall and we are gonna start from the bottom and work our way up .
This is gonna act as our base plate .
We're gonna add a bottom plate and the top plate up on the ceiling so that we can frame out our studs .
Now , Ben , why are we starting at the bottom and working our way up ?
We're going to start with the bottom plate so that we can mark out where our studs go find the center , center , our mattress and lay out the studs from there .
We're using 2.5 inch screws doing two screws about every 16 inches straight down into the floor .
Now to install our top plate , then use the level to create plum lines on the left and right to make sure that our bottom plate and our top plate are aligned .
All right , we have our top plate and our bottom plates installed .
And now what we need to do is find our center point .
When framing out this wall , we need to remember that we need to leave an opening for our mattress and frame .
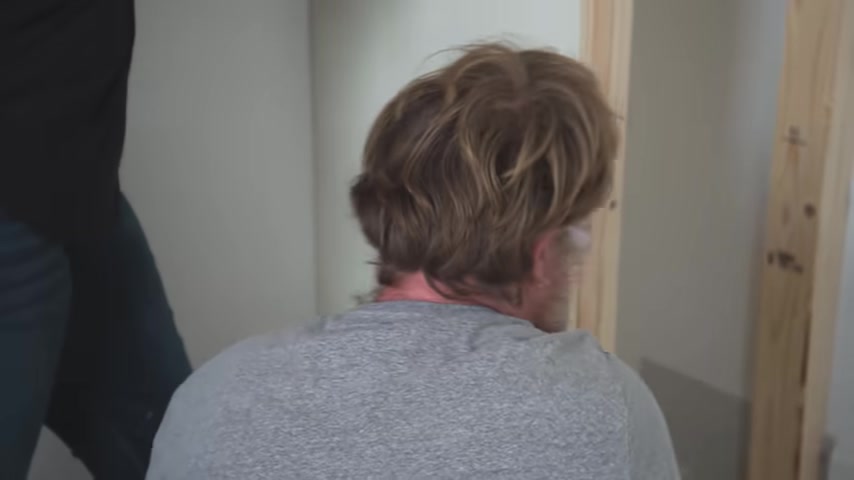
So to do this , we're marking our center point and then adding our studs that will go on the left side in the right side of the mattress frame and then filling in from there .
So , Ben , what's our center ?
Right around 57 a half , 57 a half inches and the frame that we built for our queen size mattress is 61 a half inches .
We're going to add an extra inch to the left and right of that to allow for clearance as we're framing out this wall .
One really important thing to remember is that not all studs are created equal the ceiling in the floor , very likely are not level .
So , what we need to do is actually measure each individual stud and then cut it to that exact size .
And then we'll put the studs in exactly where each one goes .
All right .
The next step with framing and our build is to add these plywood pieces to the left and right side .
And this is gonna do a couple of things .
It's gonna basically close off our opening when the bed is down .
Also , it's gonna add structural stability for our pivots that we're about to install .
So we're just going to attach these with a couple of nails and then scare them with some screws too .
You also notice that we notched around this two by four in our plywood .
So we tacked it into place , but now we're gonna add just a few extra screws to give it added stability .
Now we're ready to install the bed frame and the pivots that are going to be the mechanism that help open and close the bed .
And then down here , Ben has installed a temporary bracket that will hold the bed when we bring it in and work on the pivots .
This is at the height that I want the bed to be at when it's open and out .
All right , we're just sticking a couple of pieces of leftover plywood up here and we're gonna put just a temporary brace so that while we're working on this , we're safe and it doesn't fall down onto us now that our bed is in place and temporarily held up there for us while we're working on it .
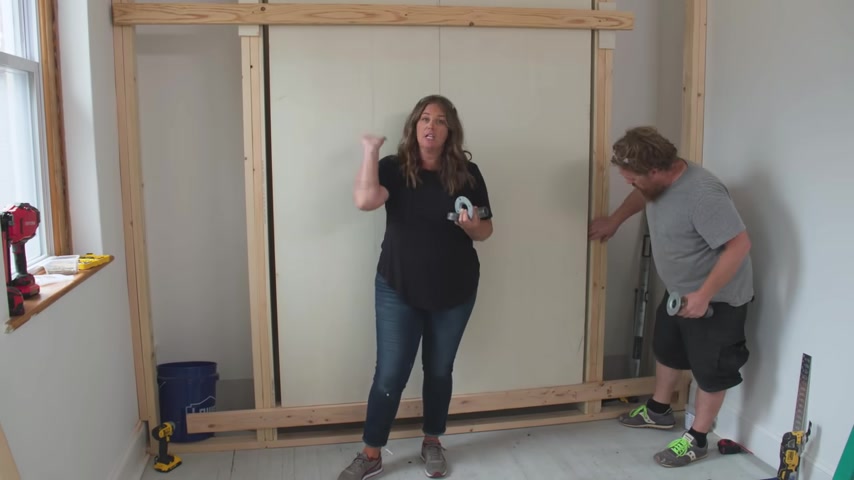
What we need to do is to add the rotating mechanism , basically the pivots or what will act as a hinge for when the bed opens and closes .
So to do this , I have a flange inch and a quarter pipe and a cap .
We're gonna be putting these together and then running it through the side .
So , Ben , how is this gonna work out the flange here will attach to the bed frame and then we're just gonna drill a hole through the plywood that we installed and the whole bed will just pivot on this pipe .
Yep .
And we're actually gonna install them about six inches from the bottom .
And now that the holes are drilled for our , it , we were able to take off our safety brace up here because we're going to open the bed up and we need to attach the flanges onto each side .
All right .
Now , we know exactly where to put the center of our flange because when Ben went through with the whole saw , he let it score this wood just enough that I can tell where my dead center mark is .
I am marking my plan so that I can go ahead and pre drill each of these .
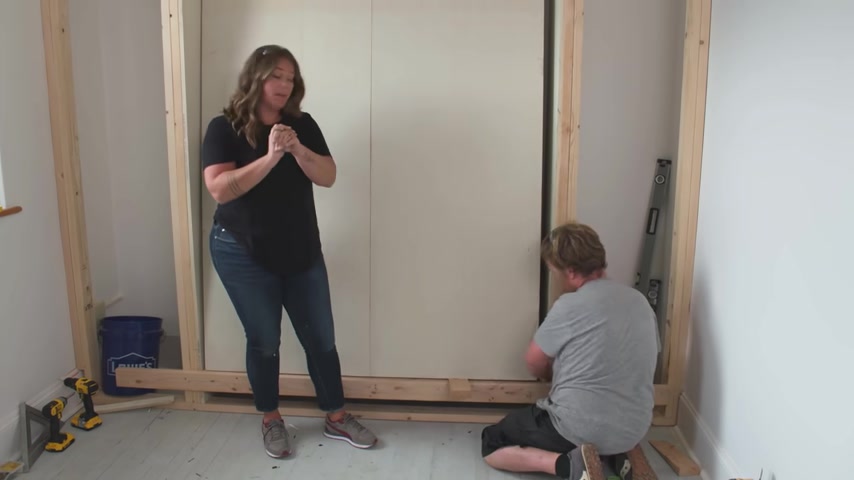
So our flanges are attached so now we can close your back up and thread the pipe through .
All right , the tricky part now is that we need to re line up our flange and our hole so that we can put our pipe through .
So you may need to shim it a little bit .
We're just putting a little shim under here .
So the Ben can kind of get two lined up now that the flanges are on , they stick out beyond the actual frame .
That's why we added the extra one inch to both sides when we were creating this opening .
So now that the pivots are actually holding this bed in place .
This brace , we won't need anymore , check it out , check it out .
Awesome .
It's great .
So our pivots are working great .
They are actually holding the weight , holding this end in place and you'll notice that it's not quite level , that's ok .
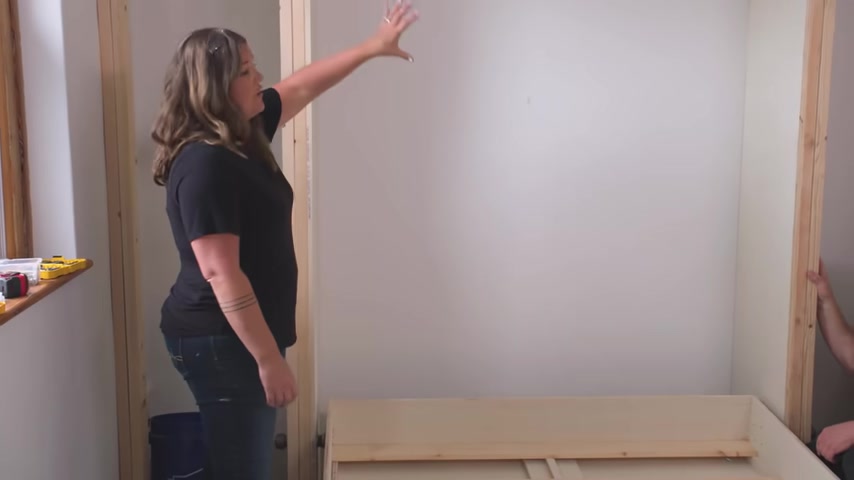
We have some legs coming later that will level out the bed , that'll be kind of towards the end of the build .
But what we can do now is finish our framing .
So when this bed is closed up , we need to finish framing out the wall there .
And we also need to do a little bit more work in the framing to get ready for our shelves that are gonna go in on either side .
All right .
So we're reattaching our safety brace just so that we can continue working .
And now we're gonna frame the header above the top of the bed before we finish framing out the wall .
We're actually going to pause for a minute and build some custom shelving .
I wanted to have open , built in shelving on the left and the right side of this bed that you'll see when it's in guest room mode and not guest room mode .
Now , we are using a one inch pre primed to build this .
We're just gonna do kind of a basic rectangle with some shelves in it .
If you wanted to buy a piece of furniture and just set it into the wall , you could do that as well .
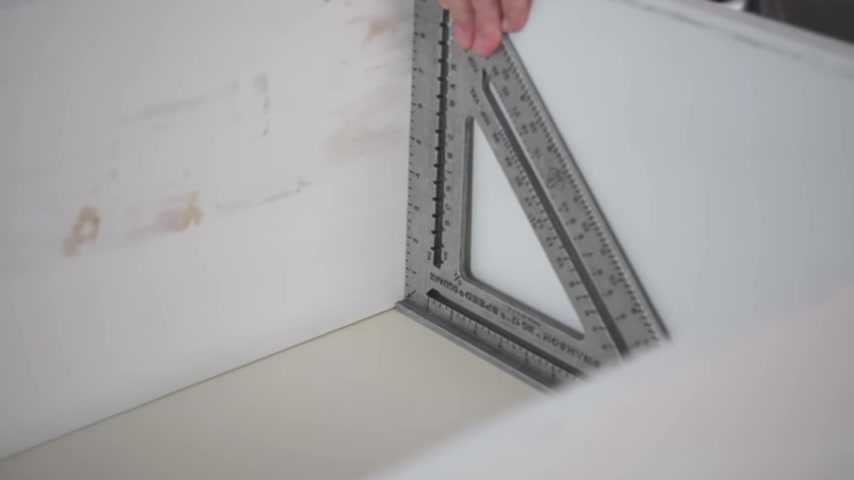
So we're tacking our shelves in place and then using a square to make sure that our shelves are going to be straight and level .
We have our shelves and our basic structure .
We need to add a plywood back .
We're gonna tack that on again , using the nailer .
Ok .
So the back is on and now when we stand it up , I want to add one more thing to this and this is kind of part of the hidden guest room functionality .
I have one extra shelf here and Ben's notched out a little hole here for me , reason being is that we're gonna attach this here with the piano hinge so that when we're in guest room mode , we can open this up and it will act like a nightstand .
Alright .
This is ready to go so we can install it and finish framing around it , pop this guy in , ok .
So we've got a stud on the top and bottom here so that it can rest at the height that I want it to .
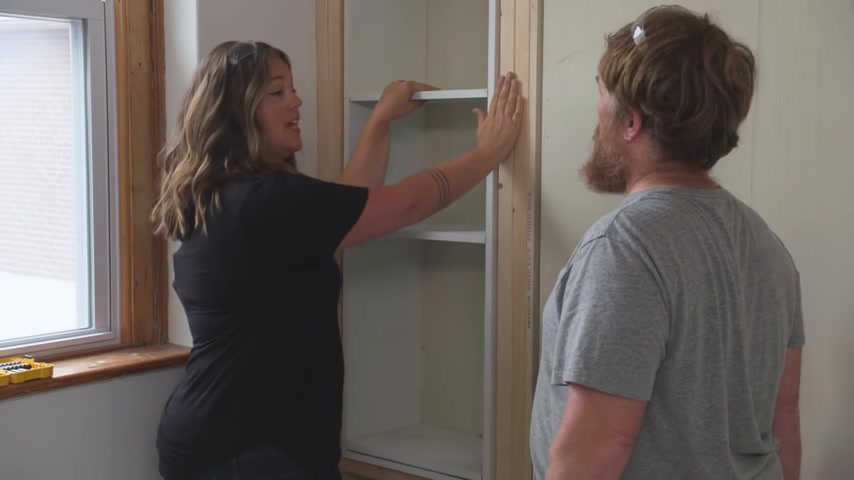
One thing to keep in mind before attaching is that we don't want to keep our shell flush with the studs .
There's gonna be a piece of finished plywood over these studs .
So it's helpful to use a cheater piece so that , you know , exactly , let's see how to keep it flush .
Now , we're pretty much done with our framing .
So we're going to come through with our finished plywood case everything out to hide everything , basically mimic what we have going on here with the back side of the bed .
Odds are that somewhere in your hidden guest room wall , you had an outlet and that's actually awesome if you do because I want to be able to have my guests able to charge their phones at night and plug in a lamp , things like that .
So what we've done is drill the hole through the back of our shelving unit and we were in an extension cord with multiple outlets on it .
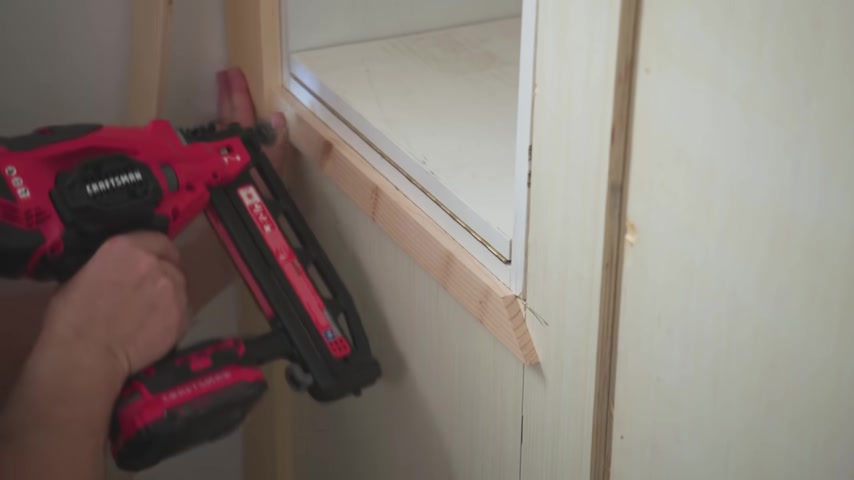
But the thing to mention is we can't stop there .
That wouldn't be up to code .
You can't just bury an outlet , so you need to have an access panel for it .
So I chose a very low profile location on the inside of the bed and then we cut out a square that we can cover up with an access panel that's spring loaded .
This part of the project is all about making our guest room actually hidden right now , there's definitely some visible seams in areas where you can tell that we've built a wall and hidden a bed .
So right now we're working on trimming the outside of the wall and around our built in shelves .
I have a second method that we're gonna use to actually trim out where the bed is .
So we'll get to that in a minute .
But for all of our trim , we're just using one by pine material .
We're almost done with this build , but we still need legs for the bed to level it out when the bed is open for these legs .
We're using five quarter pine .
We're drilling through the five quarter pine , then the bed frame and attaching the two together with the carriage bolt .
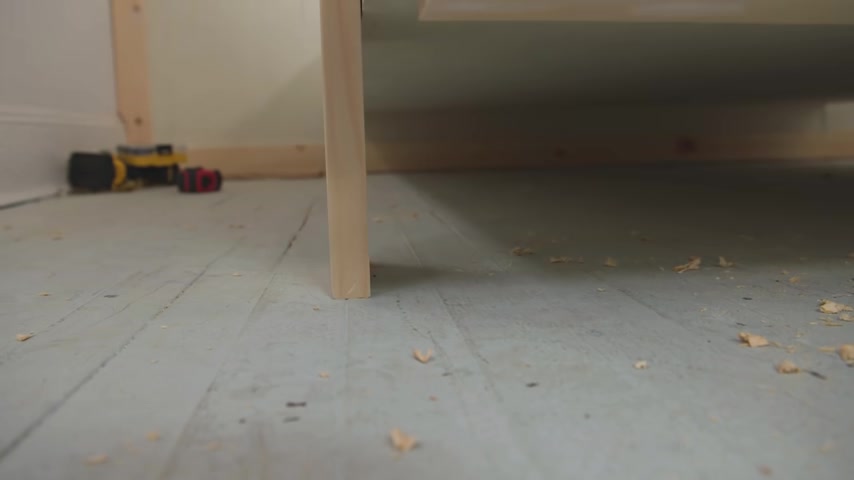
We're tightening the carriage bolt tight enough that it's very secure but loose enough that the pine can also pivot when it's not in use .
There's a few seams where the plywood are meeting that we don't plan to cover with molding for those areas .
We're just giving it a quick coat of spackle .
So the wood looks seamless when we paint it .
Let me show you how it actually functions .
So when you're lifting it up the legs pivot back in and then we left enough clearance .
So that left and right side , we're good .
So to secure this , we're actually going to use these really large eye bolts .
We're gonna thread it through the shelving through our framing and into the side of the bed frame and it'll hold it securely in there .
When our are in this bed is secure , we don't need to hold it .
It's not going anywhere .
It is very secure .
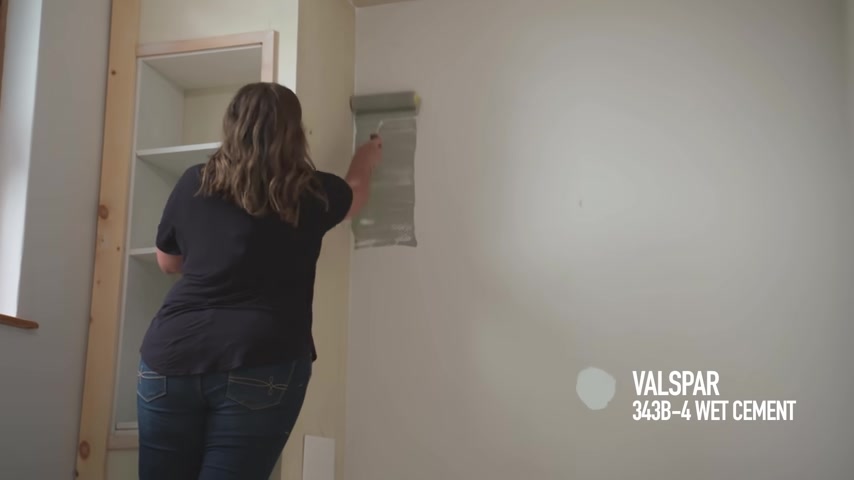
But if you want to open it up and turn it into a guest room , it's helpful to have two people view it on either side , thread out your eye bolt , bring her down , give it the legs , let's set her down .
We need to finish this up and get it ready to style .
So we're gonna fill in any holes and cracks with spackle and cock .
Then we're gonna paint the entire thing that will really make it all look very seamless .
And we'll have a guest room , a hidden guest room .
We've given everything some time to dry and now we're gonna start working on the non permanent part of this bill and that is hiding our openings here .
There's still some seams that have to be there to make this bed functional , but we want to hide them up because the whole idea is to make this as hidden as possible .
So , what we're going to be doing is continuing to frame out the bed with molding .
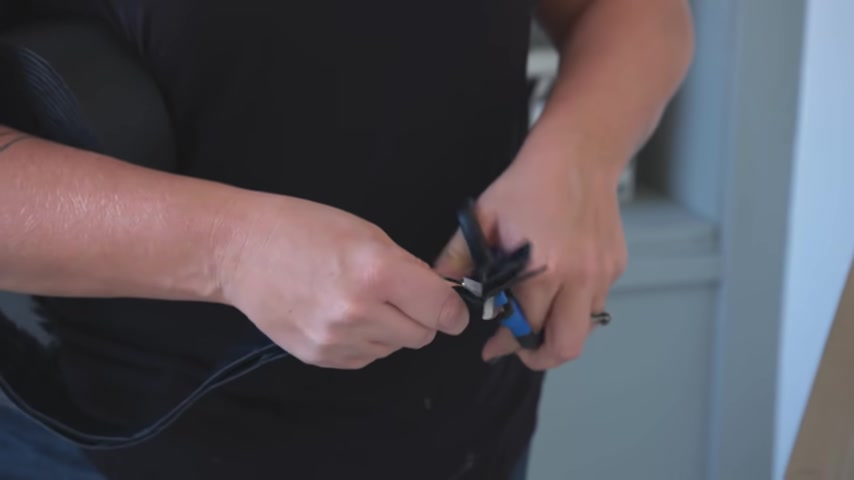
But we're going to actually hatch it onto the wall using industrial strength velcro .
We're going to apply it to the backs of the wood and to the surface .
So we're gonna use scissors and just cut short pieces and put a few pieces on the back of each of our molding .
Give it 15 minutes to adhere and then you can pull it right on and off when this is going to be used as a guest room , you'll come up , take it off , slip it underneath the bed and there you go .
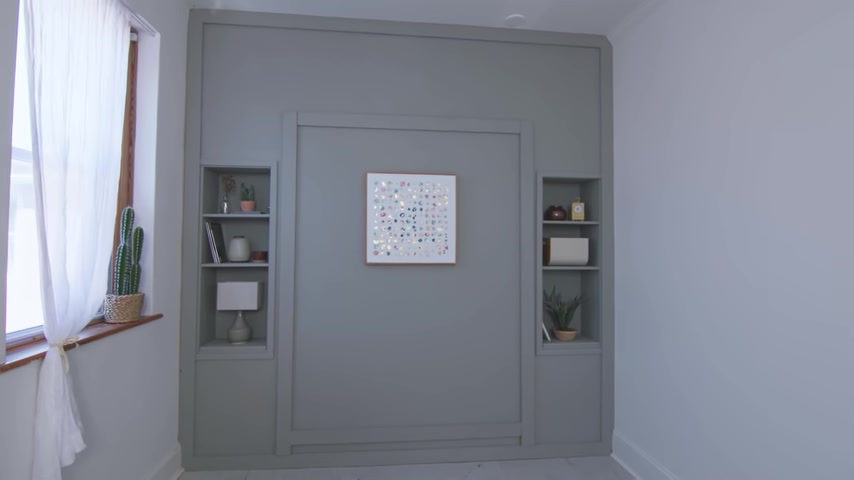
And just like that , we've got ourselves a guest room and a pretty awesome looking one too .
It's crazy to think that all of this functionality and style basically hidden behind the wall .
I know this project is a little different and kind of outside of the box or outside of the wall depending on how you want to say it .
But I would love to know what you guys think of it .
If you are going to create a hidden guest room , what would the second purpose be for your space ?
Would it be an office ?
Would it be a workout space ?
Leave a comment below and let me know and remember as always , all the products and tools used throughout this entire project are linked below .
Thanks guys .
Are you looking for a way to reach a wider audience and get more views on your videos?
Our innovative video to text transcribing service can help you do just that.
We provide accurate transcriptions of your videos along with visual content that will help you attract new viewers and keep them engaged. Plus, our data analytics and ad campaign tools can help you monetize your content and maximize your revenue.
Let's partner up and take your video content to the next level!
Contact us today to learn more.