https://www.youtube.com/watch?v=7jLZtLDnCJ8
DIY Lamp Revamp
I love Diy projects because you can save a ton of money .
This lamp it might look a little outdated .
But after Amy Howard gets her hands on it , it's gonna look like a million bucks .
Amy , I was able to find this lamp in the basement .
It's very dated and you're gonna help me fix that .
Yes .
One of the products that I love using is our lack on things just like this .
Lamps really have great shapes a lot of times .
But it's the decorative and ornamentation like on this particular lamp that are not really as desirable , but we're gonna transform it with the colors .
OK .
You said transforming it .
What exactly is the game plan for transforming this lamp ?
So , on this particular lamp , we're going to do the base of it in Belize Lacquer , which is going to give us a great pop of color and the top , we're gonna actually paint in the one step paint because remember we can paint fabric with it .
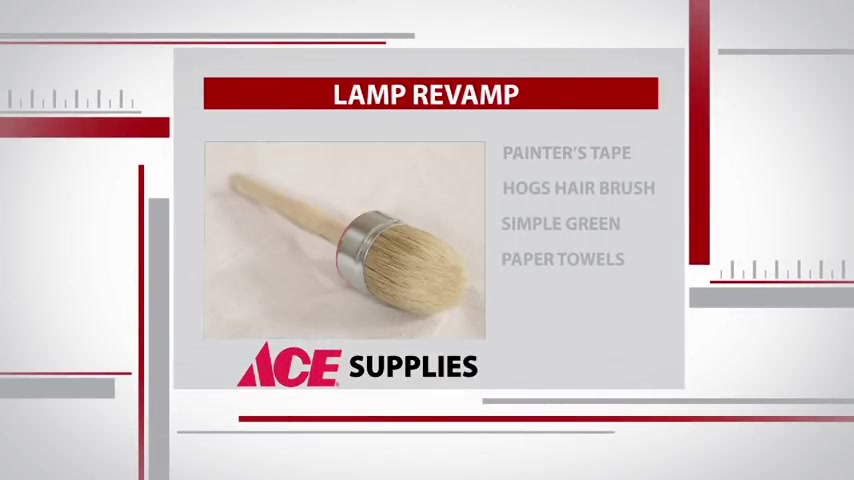
We will also need painter's tape and a round hog's hairbrush to apply the paint and simple green and paper towels to give us a clean surface before we start Ok .
Amy .
First things first , this lamp was in the basement .
It's kind of grimy .
We should probably clean it up .
The first thing we need to do is take some simple grain and I diluted it with water to one part , simple grain .
So that way we're just gonna spray over it like this .
We wanna make sure that we get all the grease , all the dirt off because that could act as a barrier to really having a great paint job on this piece .
After you get it all dried off , we want to be able to come back and just spray some regular tap water on it and then wipe this all down and make sure it's really good and dry .
We also clean the lampshade by just wetting a paper towel and rubbing it down to collect all the dust .
Now , you sure you don't want to keep this pink color on this .
I think we're gonna have a lot more fun with it being white .
I agree .
Now , I've never heard of painting a lampshade , but it's time to put Amy's one step paint to the test .
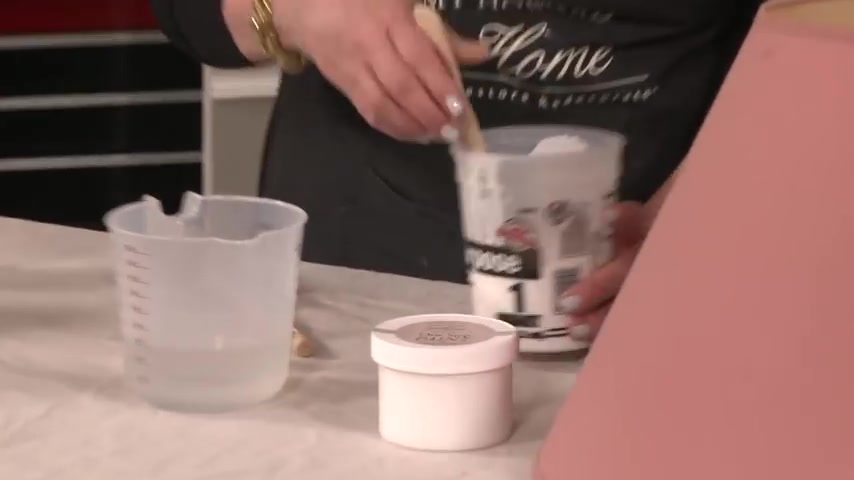
So I poured some of my ballet right into this container .
I've got some regular tap water and I'll let you thin that .
So you're gonna dip your brush into the paint , make sure you offload it because this is a large brush .
It's gonna hold a lot of paint .
And so I want you to always offload it .
So that way you can make sure that it's evenly distributed in your brush and then you're gonna come back and stipple it .
I'm not brushing down or going across .
I just wanna make sure that I'm stippling it and I will tell you because it , the paint is thinner .
I'm gonna probably wanna put two coats on here .
You ready to try it ?
Well , I think I've mastered stippling while the shade dries we work on the base .
We wanna have ventilation because we're gonna be spraying with an aerosol , uh , Nitros Lacer .
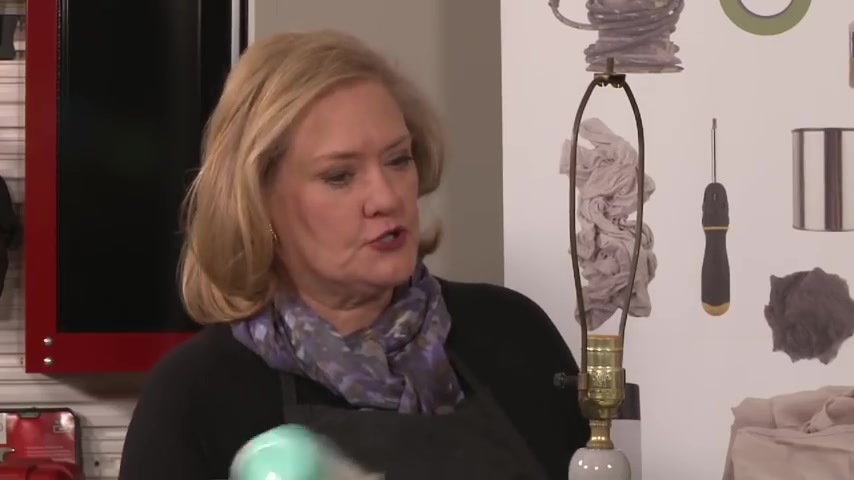
Um , on this particular lamp base , we've chosen Belize , which is a really great pop of color .
So you wanna make sure that you just shake this up really , really well , for about 2 to 3 minutes , you're gonna notice that it has a special kind of nozzle on it .
It's gonna spray in a V , right ?
And a lot of spray paints will spray in a conical shade .
This is going to give you a more professional , really beautiful , um , application of the , the nitro cellular slacker .
It's gonna be glossy and beautiful , just like if maybe we had bought it yesterday and how are we going to spray this without causing drips and lines and things like that ?
It's really important to stay about 5 to 6 inches away from the piece .
And remember this is like a paint brush .
We want to go off in the area .
We'll start spraying here and kind of span across it .
It's really important that we don't spray it .
Like we're spraying hair spray .
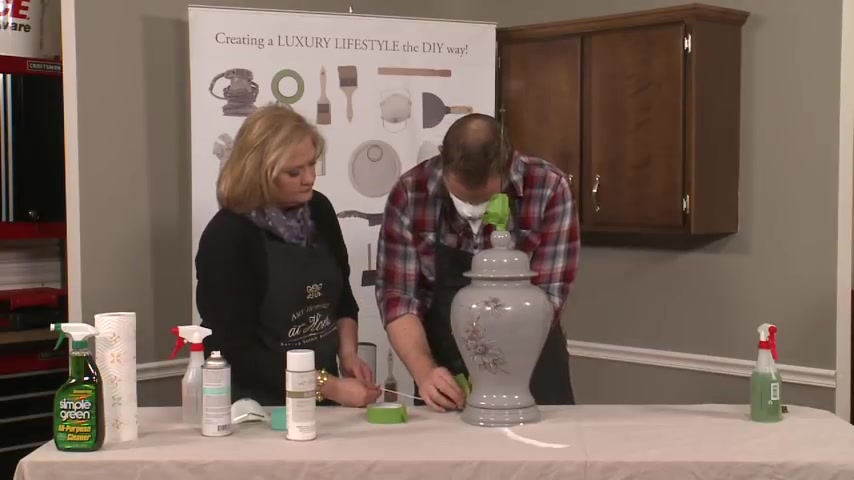
We protect the cord in the neck of the lamp with Tate before we start spraying , press down on the trigger off of it like this watch .
We want to make sure it's long clean strokes .
Very nice .
All right .
Amy .
While the paint is still fresh , why don't we finish spraying ?
Get it done .
Get this lamp project finished .
It's gonna look awesome .
I'm so excited and now Amy for the big reveal .
Honestly , it doesn't even look like the same old tacky lamp that we started with .
It .
Doesn't , it looks amazing .
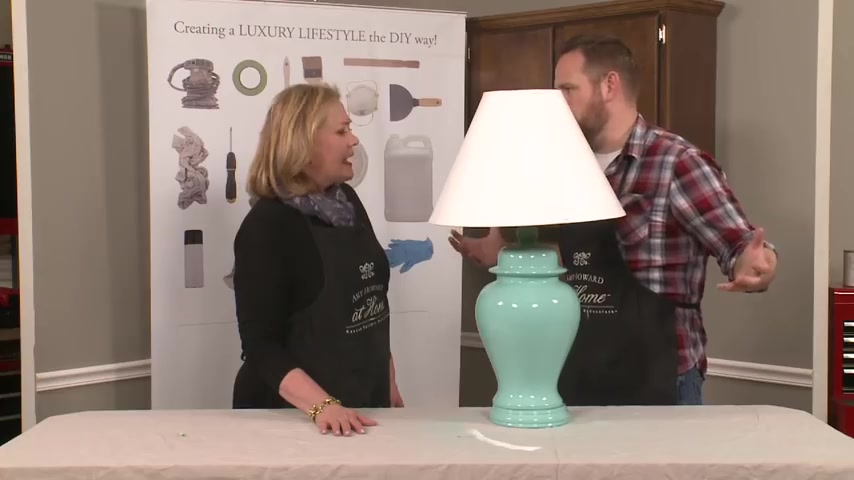
We probably spent under $35 to do this and it took us less than two hours to do it and you can't even go to a store and buy a lamp for that anymore .
Absolutely not .
But now with this , you get to enjoy the braking rides .
Amy out did herself on this one who knew a lighting project could be so creative with a little bit of time and effort .
We saved this land from a landfill .
Are you looking for a way to reach a wider audience and get more views on your videos?
Our innovative video to text transcribing service can help you do just that.
We provide accurate transcriptions of your videos along with visual content that will help you attract new viewers and keep them engaged. Plus, our data analytics and ad campaign tools can help you monetize your content and maximize your revenue.
Let's partner up and take your video content to the next level!
Contact us today to learn more.