https://www.youtube.com/watch?v=SiefJJv-Qho
2023-06-14 18:11:03
Latte Art For Beginners - How To Pour Heart (Latte Art Tutorial) 🖤
In this video , we will show you how to pour a basic latter art design the heart , and I believe it's the most fundamental latter art pattern to learn .
So let's start with that one .
The base of a nicely poured heart is a perfectly steamed milk .
If you're just starting with latte art and you didn't steam milk before , you can watch our previous video , where we went through milk steaming step by step .
Today we'll go through all the tiny hand movements , axis , tilting speed and more .
I'll share with you some tips that help me to survive all my barista weekends when I poured hundreds of cappuccinos , flat whites and lattes as a bonus .
In the end , we'll share with you how you can train latter out without wasting milk and coffee .
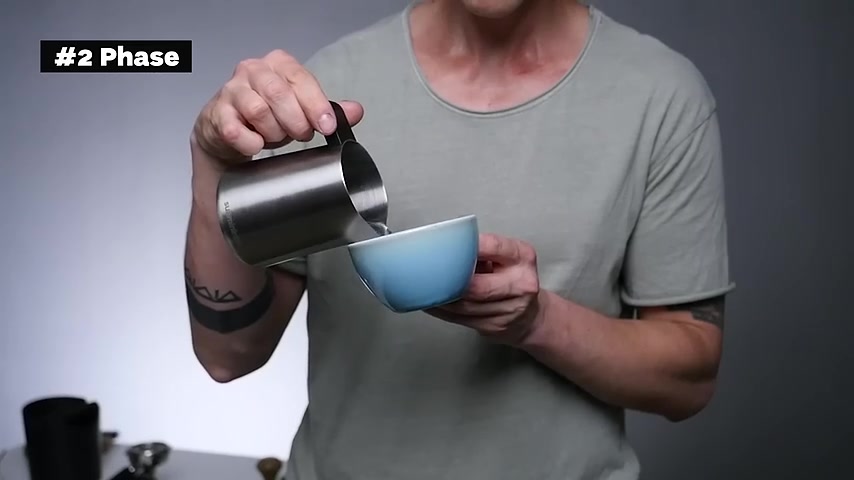
Now that you have pulled an espresso chart and the milk is perfectly steamed without any large bubbles , pouring has basically two faces .
Face number one , mixing the milk with the espresso face number two pouring the designer .
It all looks very cool and easy , but it reminds me a lot of learning how to play a guitar .
All hand positions and small movements are easier to do when you train them separately and in slow motion .
That would be a key advice if you're just starting with a lot of art .
The slower the training , the stronger it is getting the so called muscle memory .
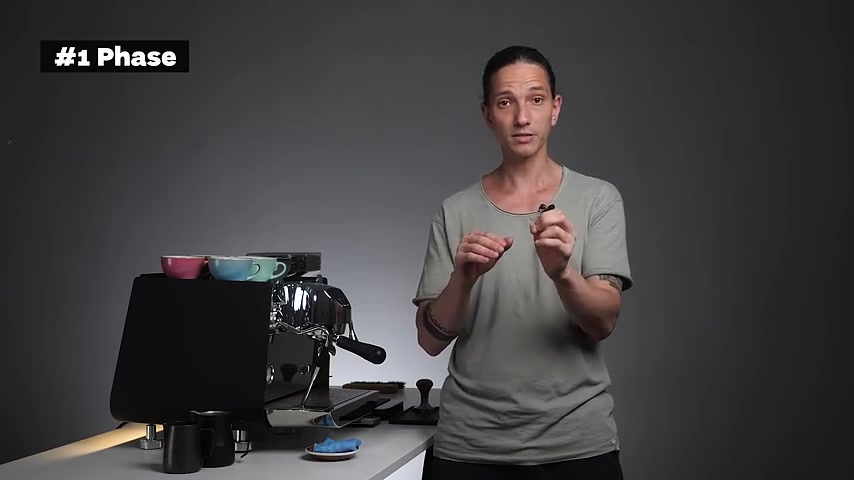
Try to be very conscious of what you do , how you hold things and how you pour Phase one .
Mixing the milk with the espresso .
As Lance Hendrick from Oni Coffee said , Think of the espresso base .
As of cannabis , you want to stretch the cannabis all over the cup so the paint can hold on it .
By mixing the espresso with a drop of milk , we create a much more stable surface for the latter design .
We're filling up approximately one third to half of the cup with milk and mixing it all together .
We're doing so because the espresso behaves like an oil liquid .
If we just pour straight on top of the espresso , the milk pattern won't hold its shape , and the design would lack contrast .
Very important .
When we pour , we need to hit the espresso hard so the milk touches the bottom of the cup and goes back to the surface and mixes with the all around .
This is how to do it .
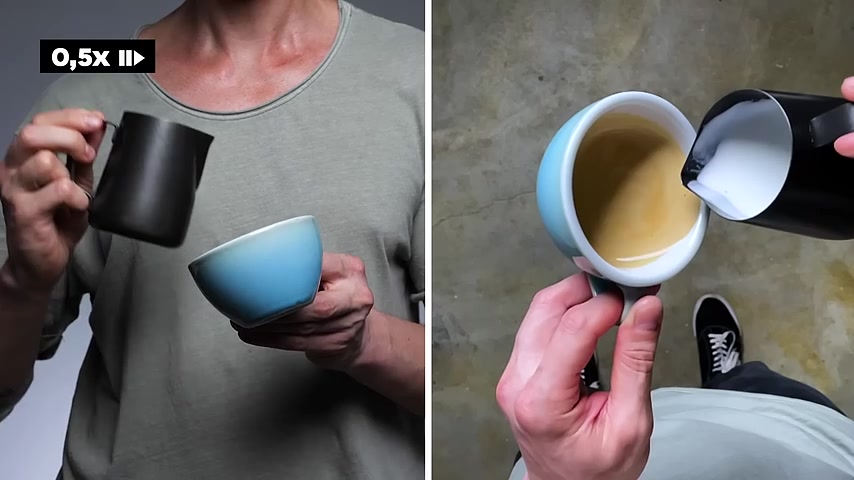
Hold the cup in your less dominant hand .
You can hold it in your palm like this or you can preferably Hold it by the handle .
The handler should be right in front of your chest pointing to you this way .
You make sure that the final design is perfectly symmetric and when you put it on the table , it faces the customer .
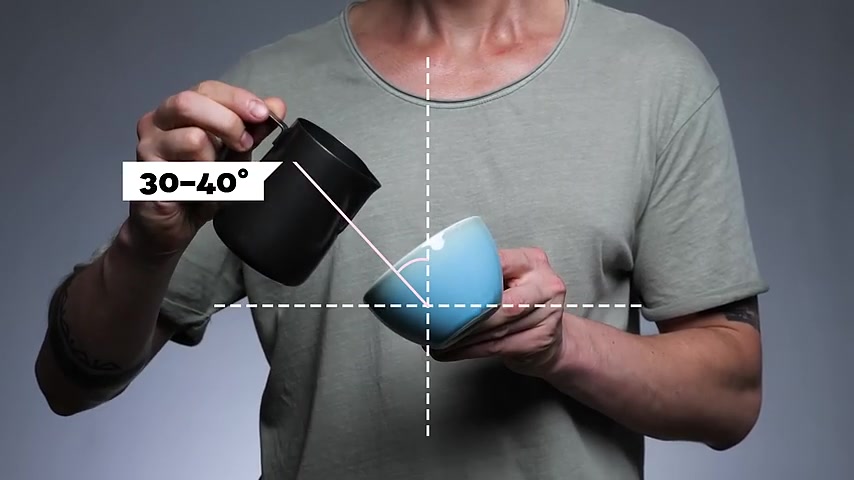
Now you're gonna tilt the cup with the espresso by 30 to 40 degrees towards the spout .
You want to see the liquid almost touching the edge of the cup .
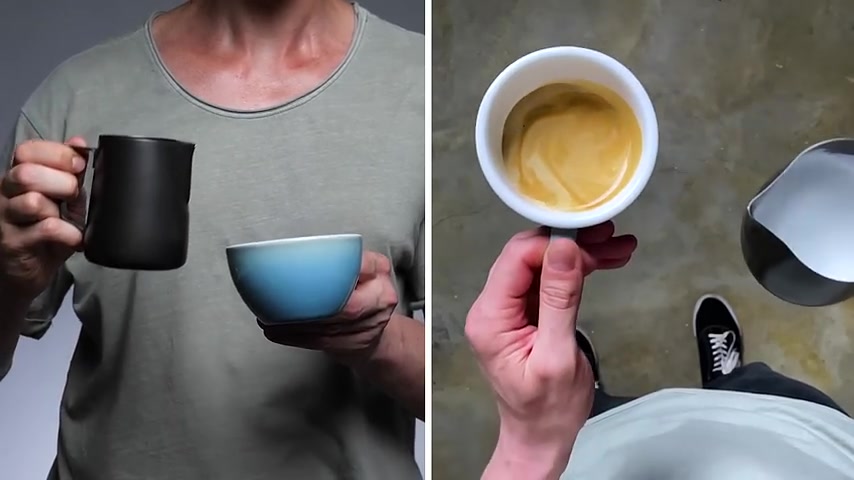
As you can see , the espresso now sits both between the wall and on the bottom of the cup .
We create more depth in the liquid , which is very important for the first pour .
Now we're gonna take the picture with the milk .
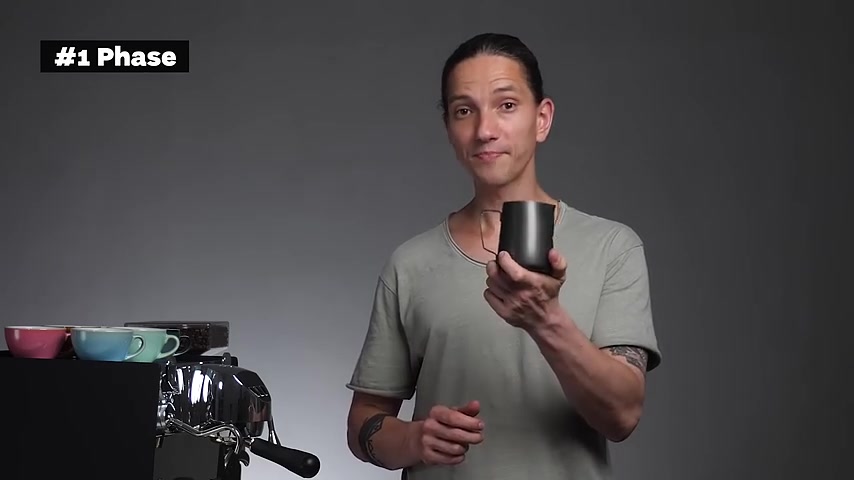
Grab the picture by your dominant hand , you can grab a picture like this .
You can grab it at the bottom or you can grab it by the handle .
It doesn't matter to find your way in a position where you feel in control .
You want to be able to steadily control the flow of the milk .
Hold the pitcher .
Tilt the cup towards the spout , twist the wrist with the pitcher and pour rather aggressively along the vertical axis straight to the point where the cup is tilted .
Move from side to side or around the cup .
That helps you to mix the milk with the espresso properly .
Fill approximately half of the cup by pouring along the vertical axis .
Turn the cup back into the horizontal position and swell with the milk and espresso .
We're doing that to get rid of the colour of the crema , which disrupts the contrast of the design .
You can also use a spoon to mix the coffee with the milk .
If you struggle with the hand movement , I still like to use the spoon as it is very effective .
When you get good at swilling motion , you can start doing it simultaneously while pouring , but that is more advanced .
Now we've stretched the canvas and we're ready to paint .
In phase two .
We are literally almost touching the surface of the coffee with the spout .
Bottom of the picture goes up and all around .
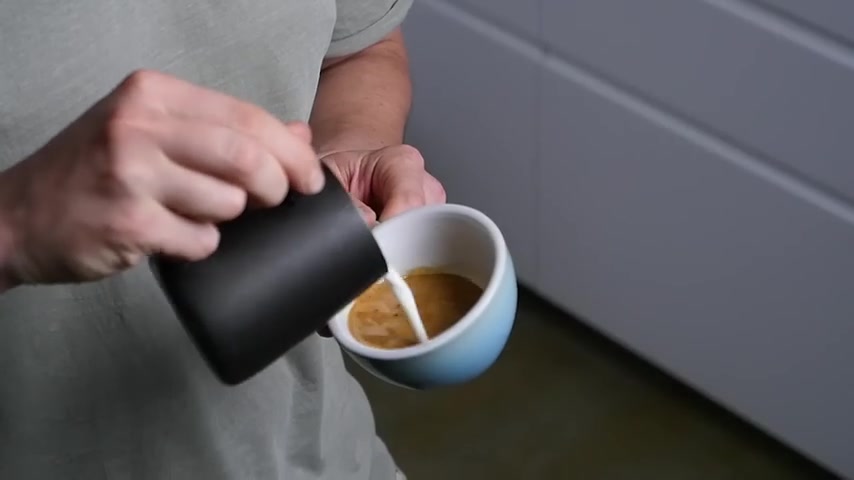
Phase two .
The pitcher is touching the rim of the cup .
Very important the tip of the spout is in the middle of the cup , the whole time following the vertical axis as it falls glued to it .
Now we need to paint the design on our canvas .
To do that , we're adding a new motion , and that is wiggling .
You can do it with your elbow like this , or you can do it with your wrist being loose like this .
A small chip for wiggling when you train the motion with just the water and the cup , soon you'll get the feeling into your hands .
Ice on the tip of the spout .
The spout is inside the cup , nearly touching the coffee .
Now start wiggling with the jug from left to right .
Stay at the vertical axis .
Stay in the middle of the cup .
Make sure you don't travel with the pitcher As you're filling up the cup .
Start tilting the cup back to its horizontal position .
Take your time .
Make your life easier .
There is no need to rush this part .
The cup is full .
Raise the pitch up and cut through .
Make sure you rise up at least 10 centimetres .
A common mistake is cutting through the design too low where the stream is too thick and it destroys the pattern .
You need a thin stream of milk , and for that you need height again .
Let's show it again with milk and in slow motion .
Swallow with the jug .
Destroy all visible bubbles .
Tilt the cup towards the spout 30 to 40 degrees .
Phase one .
Pour quickly under the espresso along the vertical axis .
Start and finish in the centre .
Fill the cup to the half .
Mix the base .
Cannabis is ready .
Phase two .
Go down with the spout .
Lower edge , touching the cup tip of the spout , almost touching the coffee .
Stay at the axis .
Wiggle from left to right .
Maintain the same speed .
Do not rush the level of the cup to horizontal position as it's getting full .
Stay in the middle .
The cup is full .
Raise the picture about 15 centimetres up .
Cut the design in half .
The heart is done .
Result .
Unified texture .
No visible bubbles .
Symmetric design .
Shiny surface .
A high contrast .
No blurry parts .
Taste wise .
Delicious bonus round .
I didn't want to scare you in the beginning of the video , but it takes a while before being able to pour a design like that the purpose of this video was sharing a shortcut with you to a great result .
Now , just two more tips for the training itself .
Instead of using milk , fill the picture with the cold water and add a drop of detergent .
Steam it as you would steam the milk instead of a shot of espresso , you can use diluted cacao powder , which is much cheaper .
The result might be more bubbly or not .
Perfect .
Don't worry about that .
These tips are here to help you with your movements and muscle memory and to eliminate waste .
What do you think ?
Did you find this video helpful ?
Did you find something that doesn't work for you ?
Perhaps you have some tips on how to pour out , too .
Let us know in the comments .
In the next video , we will look at pouring specific LA designs like Rosetta or a tulip .
Have a great day and I'll see you in the next video
Partnership
Are you looking for a way to reach a wider audience and get more views on your videos?
Our innovative video to text transcribing service can help you do just that.
We provide accurate transcriptions of your videos along with visual content that will help you attract new viewers and keep them engaged. Plus, our data analytics and ad campaign tools can help you monetize your content and maximize your revenue.
Let's partner up and take your video content to the next level!
Contact us today to learn more.