https://www.youtube.com/watch?v=wBBlE80TUO4
2023-06-14 18:11:00
How I took my patio to the next level ( Concrete patio with LED )
I'm gonna show you how I took my patio papers to the next level and if you ain't seen it already , be sure to check out my paper video .
If you want to make your own .
Let's do this in the last video , I finish off this space with Mulch .
I know that , that it was a temporary solution because it is at some point I need to dig up this area and I'd hate to waste the money on the artificial grass .
I plan to use in this location for now .
I feel the moat should do enough to hold me over until I'm ready while I was finishing that project .
I was bouncing a few ideas in my head on how to finish the gaps in between the pavers .
Originally , I was thinking grass , but I was really aiming for a low maintenance area .
So it boiled down to artificial grass or led s the mulch was playing a placeholder at least until I was able to sort this out .
First .

I have to undo what I did and get rid of the mulch before I get too far on this .
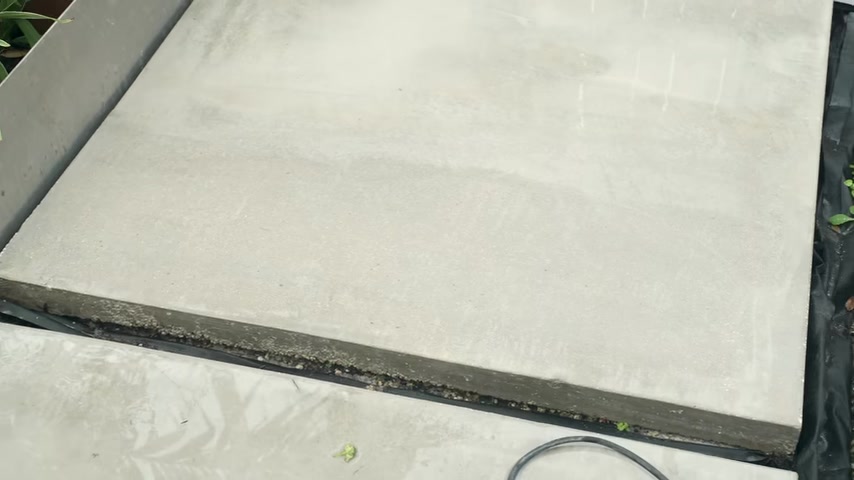
I wanna spend some time to clean up the papers and get them to a state that I like .
It would have been easier and faster to put a round edge on this during the finish stage of the concrete .
But I wanted these to have more of a modern look to it .
What I want to do here is slightly knock off the edge on the concrete .
One can look at it as add it work .
I'm gonna look at it as achieving the look I want in order to keep the dust down , I'm gonna switch over to wit grinding first , I'm gonna take a grinding cup wheel and then I'm gonna just glide over the top of this to knock any raised surface down the fatter .
I can get this the better it is for the polishing pads .
I'm not looking to polish this as smooth as the countertop .
I'm just looking to make it smooth once I'm done with the cup wheel , I'll switch over to the polishing dis .
I'm gonna go in as far as shift the grit and that's good enough for my liking here .
You can see how the cup will scuff up the surface of the concrete .
And here you can see where I'm trying to go with the diamond polishing pads .
I did see a few comments questioning why didn't I use a broom to put a texture on here ?
The simple response to this is it's not the effect that I was going for .
I've come to the conclusion that I wanted a smooth texture .
On top of this , I felt like the smoother .
It was the softer , it was on your feet .
You have to take my word for it .
But this is not a slippery surface by any mean .
I've walked on here while it was wet and dried with shoes and without I went over each pad until I got the best look , I felt I could achieve .
Overall , I'm quite happy with the end result .
Before I grind each lab , I noticed one thing .
It was extremely hard to remove dirt from the pores of the concrete since I've polished them .
I notice they don't get as dirty and they're much easier to clean .

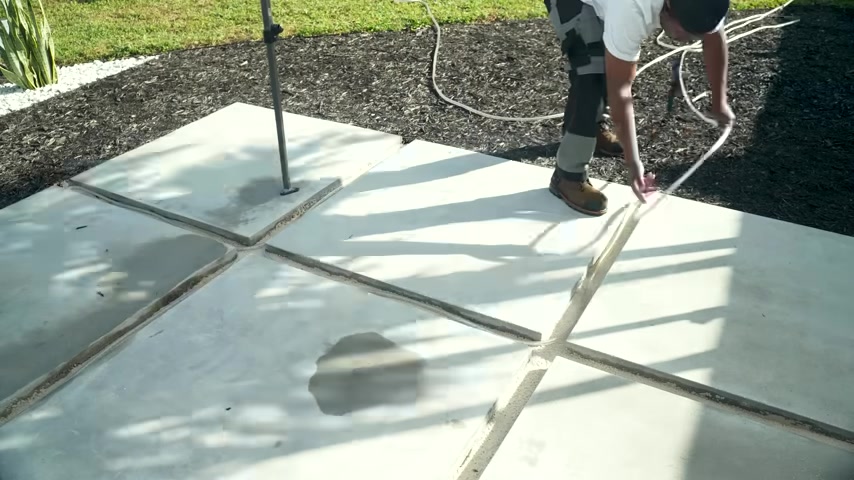
Now , the next thing I would like to do is to apply a concrete sealer one with a dry look before I go any further .
I need to build up the space in between each paver to do that .
I'll be using sand .
Lastly , I need to compress the sand within the space .
I was able to find the right led strip for this application .
It's waterproof and dimmable , rated for indoor and outdoor projects and it's R GB .
So you'll be able to cycle through your favorite colors using the remote .
I'll place the link down in the video description if you want to check this out .
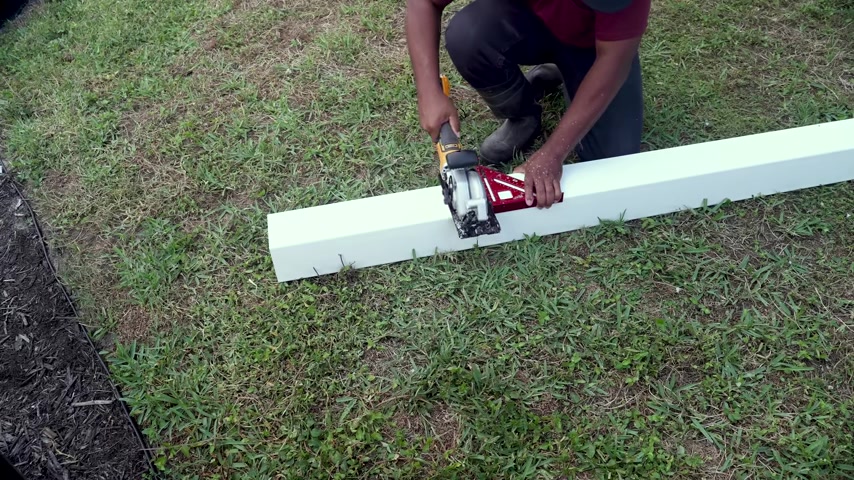
These come in a few different length , but I got the one that was 50 m .
I was able to cut off what I didn't need , which is perfect .
The biggest challenge here is you have to run this with 100 and 20 volts , but I'll show you what I did to make this work for me .
Let's get this thing on spoiled .
The first thing I need to do here is identify the location where I want my junction box to be set up .
Now , I'll take the lights and lace it in between the slabs .
I need to take this all the way around in between the slabs and bring it back to where it started on these lights .
You have a specific location that you can cut these so you have to pay attention to those .
Now , this means I may have a bit extra at my junction , but it's something I have to deal with at this point .
I'm gonna test it and make sure it's all working .
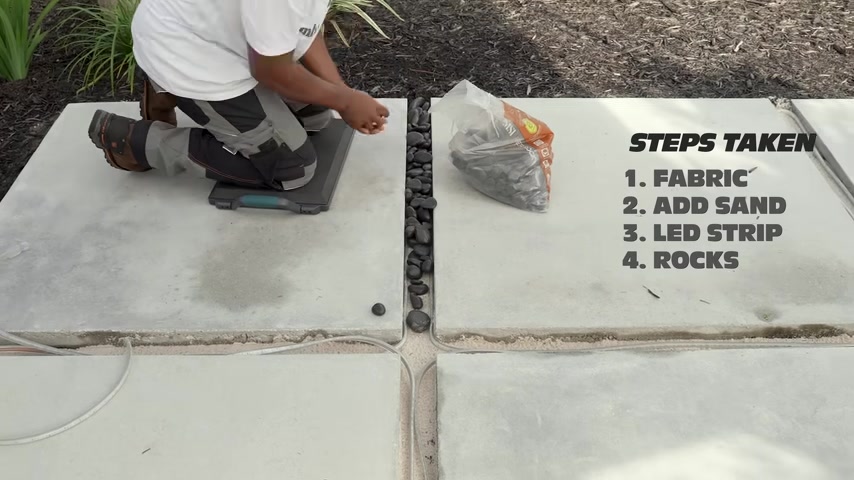
Adding the sand is gonna do a number of things here .
One , it's gonna help the light bounce off of the sand and basically bounce up with the sand built up in the spaces .
This allowed me to use the least amount of rocks so I can keep the cost down .
Placing the river rocks will be a bit tedious , but they'll help keep the strips pinned to the back of the slabs .
It's just a matter of starting in one location and work your way around .
Yeah .
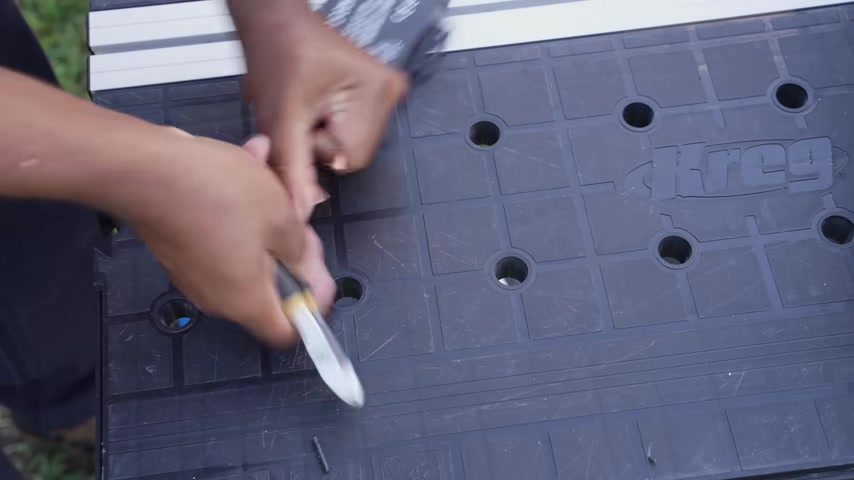
Here I'm gonna use the PV C fence post to use as my junction per se .
I'll just cut off what I need as a disclaimer .
I'm gonna suggest you deal with a local electrician .
If you want to do something like this , this setup isn't meant to be tied into your house electric permanently .
It's mir so you can bring an extension cord to it or in my case , a power source on one side of the post , I need to drill two holes , one for each end of the led strip , one strip is just a cut off end and the other strip has a connector on it , which is the reason for the two different size holes on the front side .
I'm gonna drill two more holes , one at the top and one at the bottom .
This hole at the bottom is gonna be for a temporary power cord for now , this is how I'll be able to power the light strip soon .
I'll relocate all my backyard electric to one location and finally for the hole at the top , I'm out an outdoor electric box .
Now I'll route the wire into the electric box and tighten it .
Now I'll take the led controller cut the power end off , strip the wires and tie it into the electric box that I have here .
One thing I know is moisture will find its way inside this post , but that's something I have to deal with .
I've been experimenting with the controller wrap with a piece of cloth , some moisture absorber and covered with a piece of plastic .
So far , it's been keeping all the moisture out and it's looking pretty good .
Once I have all my connection inside the box , it's time to wire this up just like a regular outlet .
I'm gonna use the power cord at the bottom as a power source .
When I bring an extension cord to it , then I'll make up the splices in this box and also add an outlet here for taking up the port on the extension cord .
The biggest challenge with making this rope light work outside is finding a place to put the controller .
It's a good thing that the controller that I'm using is radio frequency .
This mean I don't have to have line of sight using infrared to operate the lights at this point .

I know exactly where I want to plant the post .
All I need to do is cut the landscape fabric , remove the dirt , plant the post and put it all back .
Now I need to direct both ends of the light strip inside the post .
I put some sand on the inside of the post .
This way I can look clean when I'm peeping in there for the cut in of the light strip , I'll slip the included cap on .
Now , I'll be able to plug this power cord in to an extension cord or a power source and that would give me some additional power here .
Now I'll seal up the junction box , using silicone going around the entire box .
This is gonna prevent rainwater from getting inside , but it's not gonna stop if I have a flood here .
And with all my years here , I haven't had any issues with flooding .
That's part of the risk I'm willing to take .
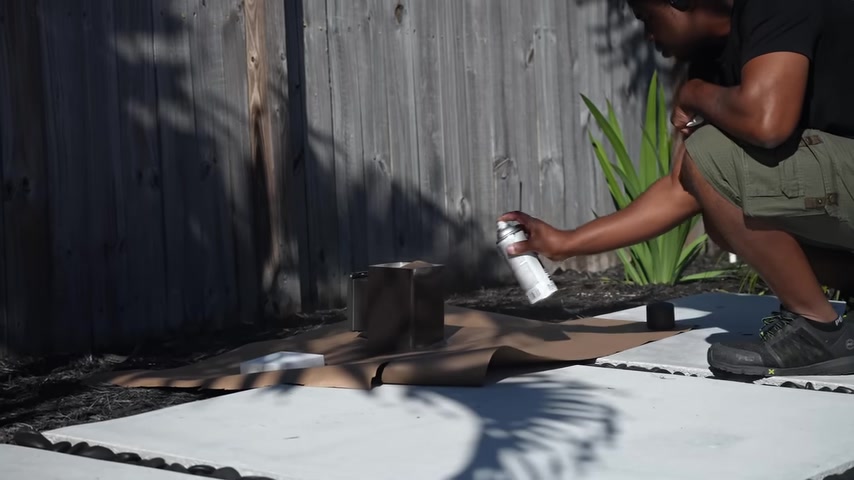
And finally I'll hit this with some spray paint to make it blend in into the landscape .
And one thing to notice that I'm testing the lights out and you can see how bright they are even during the day off to the right , you can see this big bright power source and that's before I install the junction box .
Yep , I was been impatient and wanted to see this thing in action before I made all those connections .
The lights are quite bright and it does exactly what I was imagining before I did this .
It doesn't always work out that way .
But in this case , I dig it right now , I'm pretty much doing a patchwork to make all my lights work in the backyard .
But I wanna make this extremely convenient so I can go to one location and flip a switch when I complete that project .
I'll be sure to share it with you so you can see my solution .
Partnership
Are you looking for a way to reach a wider audience and get more views on your videos?
Our innovative video to text transcribing service can help you do just that.
We provide accurate transcriptions of your videos along with visual content that will help you attract new viewers and keep them engaged. Plus, our data analytics and ad campaign tools can help you monetize your content and maximize your revenue.
Let's partner up and take your video content to the next level!
Contact us today to learn more.