https://www.youtube.com/watch?v=ouSbJaleRLU
2023-06-14 18:10:41
EASY DIY Kids Desk With Storage And Chair - Beginner-friendly 1-Day Project!
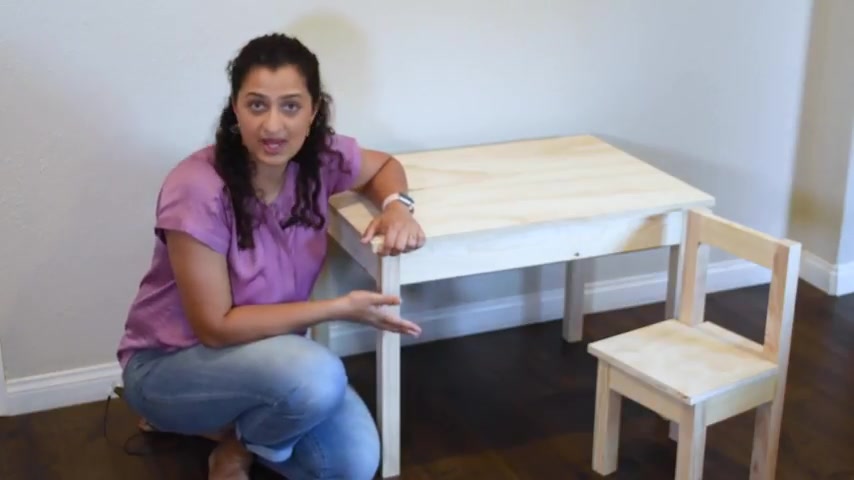
Hey , everyone today , I'm going to show you how to make this little kids' table and chair .
This is a great size for elementary students .
And the best part is hidden storage so the kids can store their workbooks .
There's pencils , there are supplies in here , use what they need , put it away or it's great for you if you want to just shove all the mess inside at the end of the day and have a nice clean desk .
This one's not stained or painted yet , but I built , uh , the original one about five years ago , go and I will show you that and a few other versions of it I have built since .
So stick around till the end where you will find lots of inspiration and a lot of other cool ways you could use this table and chair .
This is a great begin project and I built it in one day and you can too .
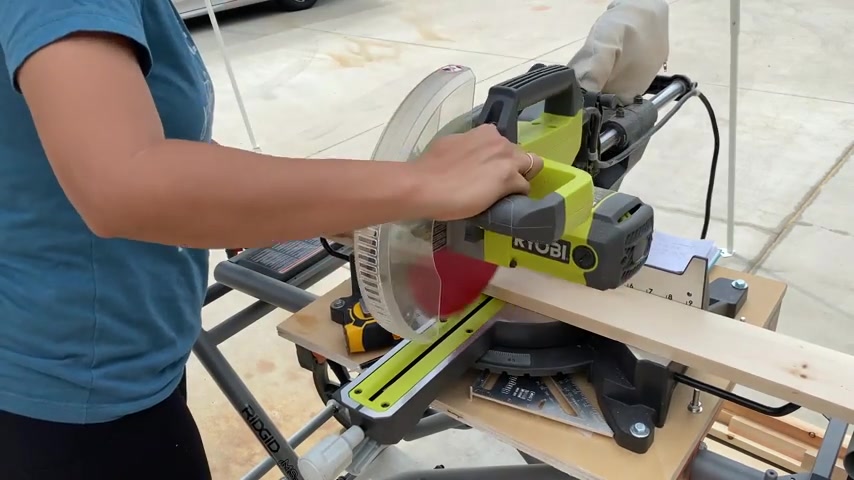
The table is built using one by four and two by two boards and the chair is built using one by three and two by two boards .
You can find the cut list and the step by step plans for both the table and the chairs in the description below .
A lot of these are repeated cuts .
So it's a lot easier to just set up a stop block and make all the cuts at the same time .
Now is also a good time to send all the pieces because it is a lot easier to send them before you assemble .
Now , I'm gonna start with the chair .
I made pocket holes on both ends of all the aprons .
Yeah .
On four of the A prints that attach to the seat , we also need a pocket hole in the middle .
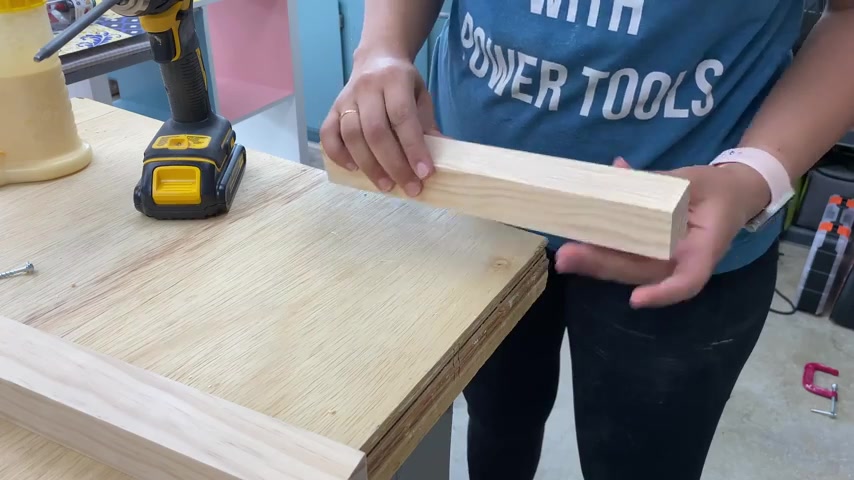
So I aligned that on my pocket hole jig and made the pocket hole .
You wanna make the center pocket hole on all but one of these aprons which will end up being the back of the chair .
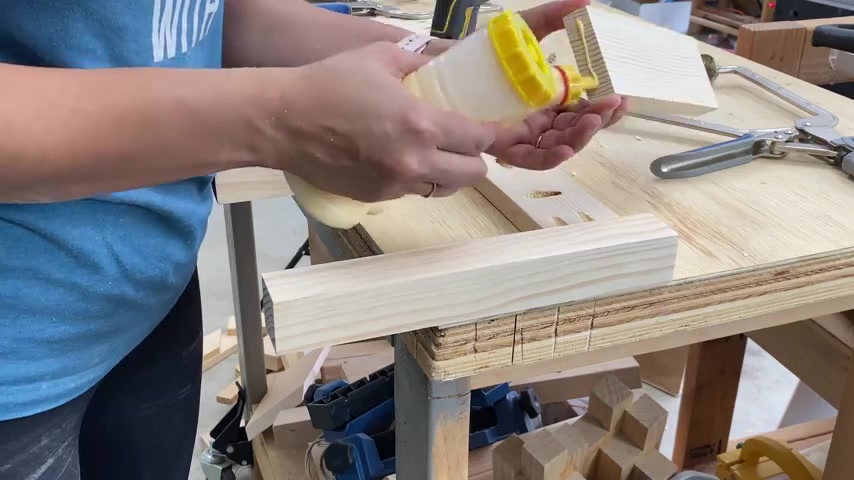
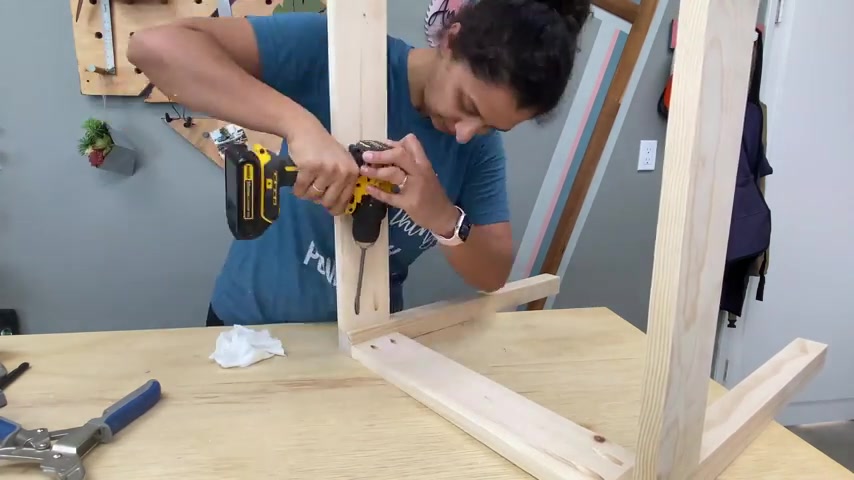
Now to assemble , I started with the front legs .
I made sure that the middle pocket hole is pointed upwards so that I could attach the seat .
I just added some wood glue and went ahead and clamped and attached them with pocket hole screws .
Then I attach the other leg the same way you want to make sure that the middle pocket hole is pointing upwards at every single step because it is very easy to mess that up .
Now that the front of the chair is ready , we are going to attach our side aprons to it .
Once again , I paid close attention to the direction of the middle pocket hole and then glued and attach the side aprons now for the back legs to make sure that the aprons and the front legs are aligned .
I use the front legs to mark exactly where the aprons attached to the back leg .
And then again , while attaching the aprons , I paid close attention to where the metal pocket hole was .
I feel like I'm repeating myself , but really , it is so easy to mix it up .
The chair back attaches to the top of the back legs and is aligned to the other edge of the back leg .
Then I attached all of that to the other back leg .

Now to finally put it all together , I just attach the side aprons to the back legs , using wood glue and pocket holes , screws .
It can be a little hard to get into those tight corners with your drill .
So a right angle drill attachment makes a huge difference .
Now that the chair is ready .
Let's go on to the table .
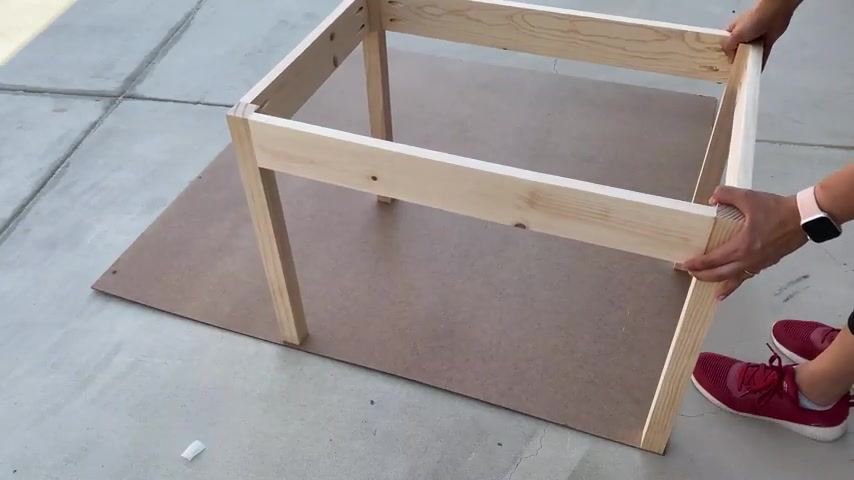
The table is a simple be and uses one by fours for the aprons and two by twos for the legs .
So I went ahead and made pocket holes in the apron assembly is very similar to how we assembled the chair .
I just attached the aprons to each of the legs and then attached the side aprons .
And that is the skeleton of our table .
Now for the top in the plant , I called out for a project panel you could use a project panel .
You could use uh one by eight boards joined together , glued together to create the top .
I'm just gonna use plywood because I have the plywood available and then I'm just gonna edge band the edges to give it a nice clean look .
And uh for the seat , you have two options , you could either use just plywood and create a nice hard uh seat or you could upholster that piece of plywood and add some fabric and give it some pattern too for the chairs .
I use the seat legs to define where to make the cutouts .
And then I cut them out using a jigsaw it fits perfectly .
So I went ahead and used pocket holes , crews and attached the seat to the chair .
Now , for the table , we need to add the bottom panel for the storage area .
I used table legs to create a template of where I needed to cut them .
And then I just went ahead and cut it up with a jigsaw .
I am using hardboard because I already had it available and it works just fine .
I have used these in previous builds .
I removed any splinters with a sanding sponge and used wood glue and finished nails to attach the bottom of the storage table .
Then I aligned the top plywood panel and made sure there was a one inch offset on all sides and I attached the hinges .
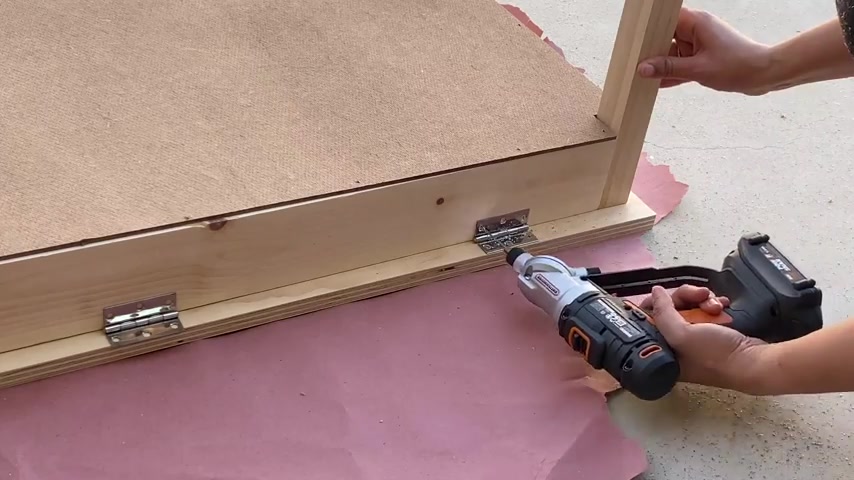
These are just regular hinges that I am using here , but I will be using better support hinges at a later time and that is our table .
Ok .
So this is all done .
I'm actually sitting on the chair right now and the table , the lid works .
There's the storage but it stays that way .
But to make it safer for little fingers , I am going to be installing a lid support hinge .
The hinges come with an installation diagram .
So I just measured according to that and attach them to the back and the top .
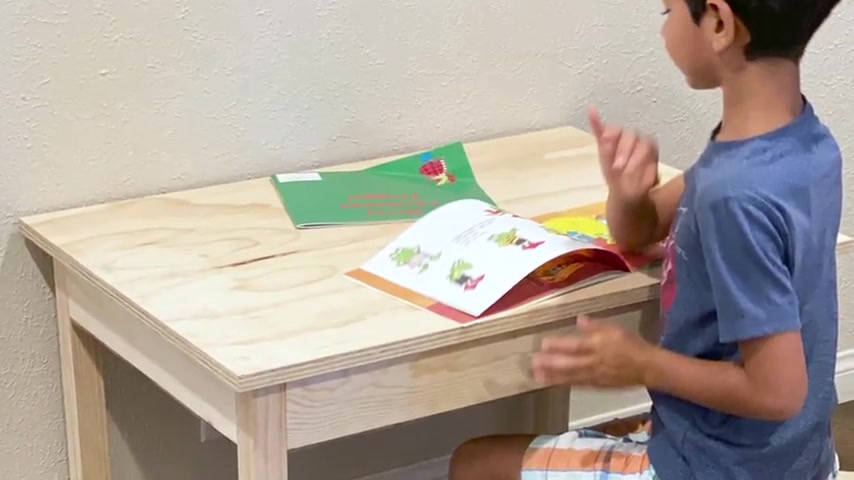
I did need two lit support hinges because the plywood is kind of heavy and that is it .
The lid works perfectly and is safe for little fingers .
And now here is a little inspiration to show you all the possibilities .
Of course , you can paint it , but you can also upholster the chair seat in any pattern you like and you can add iron on vinyl to make it waterproof .
And one of my favorites use the insights for Lego Play .
The possibilities are endless .
You can get the plans from the link in the description below .
You might also like this easy E frame desk that is perfect for older kids or you might like this project and don't forget to hit that subscribe button .
Partnership
Are you looking for a way to reach a wider audience and get more views on your videos?
Our innovative video to text transcribing service can help you do just that.
We provide accurate transcriptions of your videos along with visual content that will help you attract new viewers and keep them engaged. Plus, our data analytics and ad campaign tools can help you monetize your content and maximize your revenue.
Let's partner up and take your video content to the next level!
Contact us today to learn more.