https://www.youtube.com/watch?v=xpE1A6ogUNI
How to Install a Shower Pan Liner
First install the drain base flange leave the test plug in place to prevent debris from entering the drain .
During concrete application , remove the clamping ring , pour the mortar bed allowing for one quarter inch slope outward from the drain to the vertical walls , allow the motor bed to properly set before standing on it .
Measure the inside and outside height of the curve and the top width add these measurements together for the overall curve width .
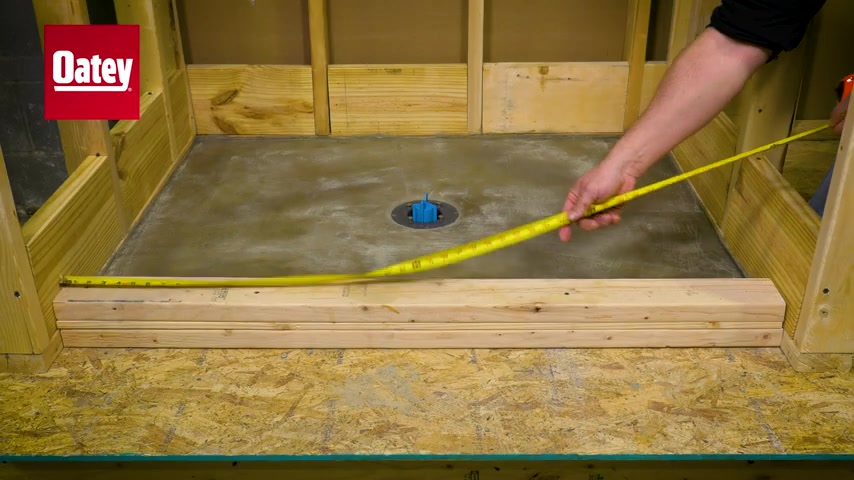
Then measure the length of the curve cut , a scrap piece of liner to the curve width and length adhere the liner by stapling it to all three sides of the curb .
Make sure the mortar bed is clean of debris , mark five inches above the curb and measure from the mortar bed up to the five inch mark .
This is the application height , measure the length and width of the mortar bed on a flat surface cut the liner .
So the length equals two times the application height plus the length of the mortar bed .
The width equals the application height plus the width of the mortar bed plus the width of the curb .
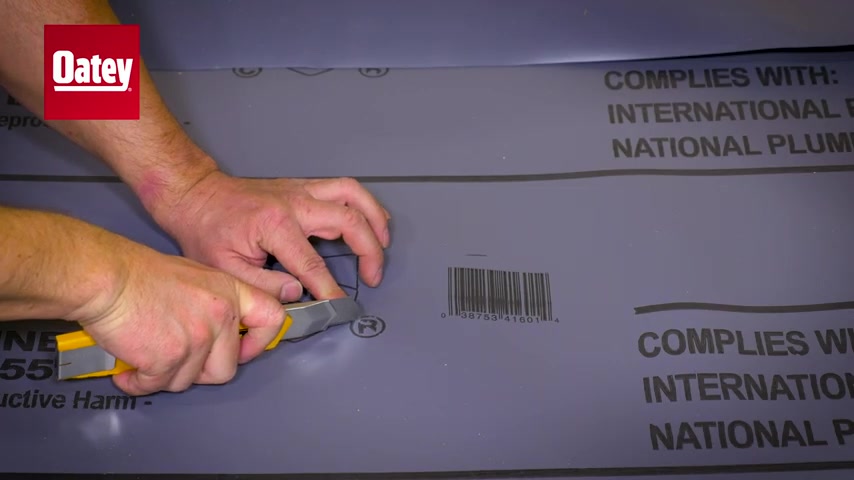
Remove the test plug and place the pan liner on top of the motor bed , making sure it is centered , locate the drain and cut an X over the four brass grammes that the color bolts screw into , locate the drain hole and carefully cut it out with a razor pull back the pan liner and apply a 38 inch bead of 100% silicone cock around the surface of the drain base flange one inch from the edge fold the pan liner back over the bolts and drain hole slide the clapping ring collar down over the four bolts and twist counter clockwise until it stops against the bolts located in each guide .
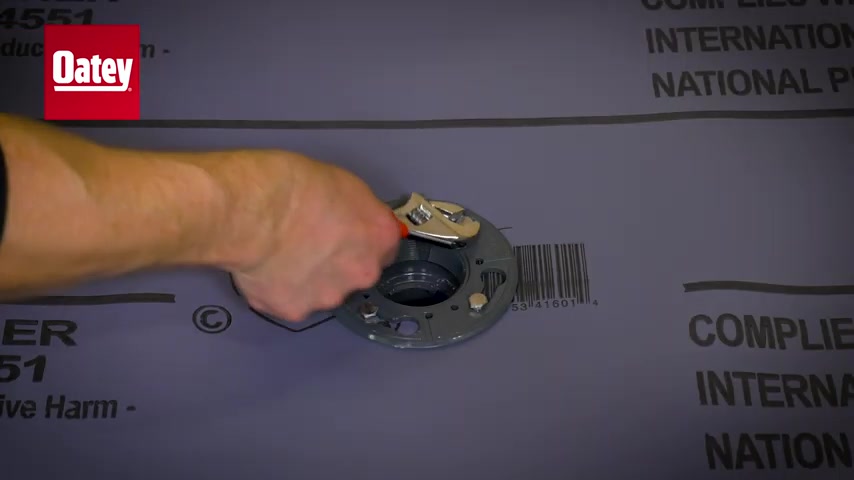
Tighten each bolt until the clamp ring is snuck against the pan liner , reinstall .
The test plug insert staples to hold the liner in place against the rough framing fold , all inside corners as tight as possible to eliminate excess thickness in the corners .
Apply O D X 15 to adhere the folded surfaces together , staple them into their final location .
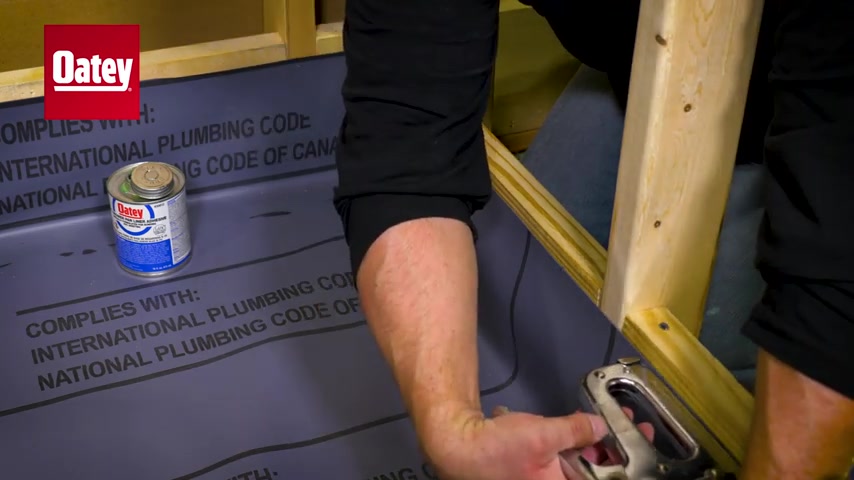
Remember to only apply staples into the top half inch of the liner for maximum waterproof protection , cut two rectangles out of the scrap liner to match the curb with and apply O D X 15 adhere the scraps to the rough framing at the top of the curb at the inside vertical corners of the curb , cut the liner above the curb matching the curb footprint .
Apply X 15 to the finish liner and small scrap pieces and staple them together all seams should have a minimum of two inches overlap .
Cut access liner from the top elevation of the curb , apply X 15 to the inside of the curb and corners then adhere the liner to the curb .
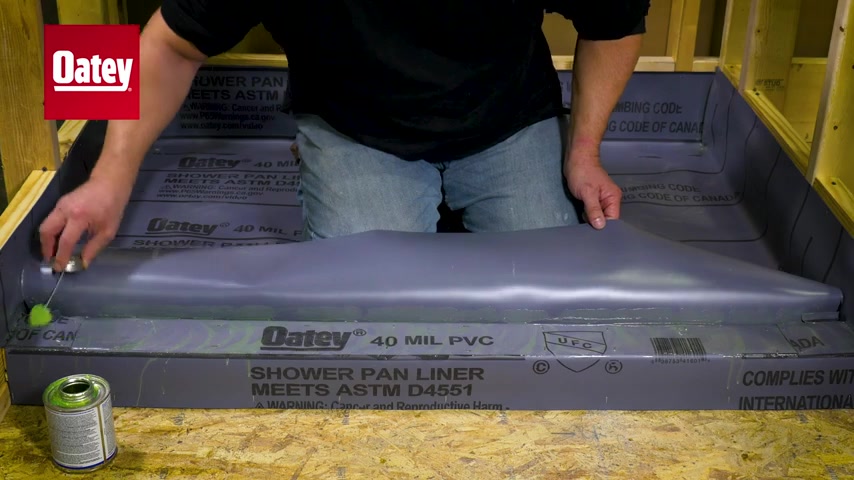
Next , apply expert team from the top of the curve to the end of the piece of liner , wrap the liner around the curb to adhere , apply staples to the liner on the outside of the curve .
The final step is to install the dam corners at the top of the curb inside the shower footprint .
Using X 15 on both the liner and the dam corner , remove the U PC sticker prior to applying X 15 staples are not needed for this step .
After all adhesives have cured , confirm the test plug is secured or use a Cherney test ball to test for leaks .
The flood test of the pan liner should be at the height equal to the top of the curve for a recommended minimum time of two hours .
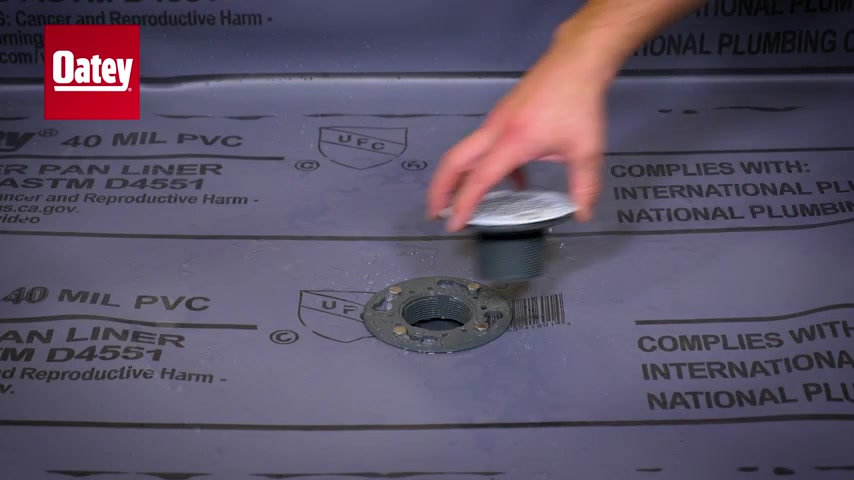
Finally remove the test plug and thread the strainer barrel into the clamping ring to the desired height .
Are you looking for a way to reach a wider audience and get more views on your videos?
Our innovative video to text transcribing service can help you do just that.
We provide accurate transcriptions of your videos along with visual content that will help you attract new viewers and keep them engaged. Plus, our data analytics and ad campaign tools can help you monetize your content and maximize your revenue.
Let's partner up and take your video content to the next level!
Contact us today to learn more.