https://www.youtube.com/watch?v=FFoCtxxSYT8
How to Replace Water Damaged Window Sill and Trim

That ain't good .
I'm gonna show you how to fix that and we're gonna do it right now .
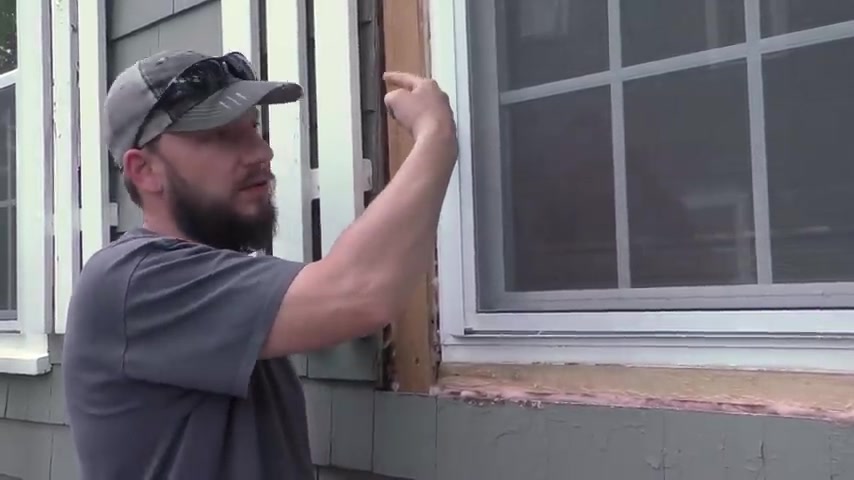
As you can see , I have a window sill that is really , really rotted and I just squeeze that .
Well , you know what ?
There it is .
So what's happening is water is getting in here .
So I'm not just going to fix this .
I'm also going to fix the water issue .
You can see here there is also right here that has been going on for a while because I painted over this .
I cocked over it did some wood filler and it just keeps getting worse .
And what I think is happening is it's getting behind here and the way it's getting behind here is if you look up , I think there is an issue up top where it's getting behind that top piece of trim .
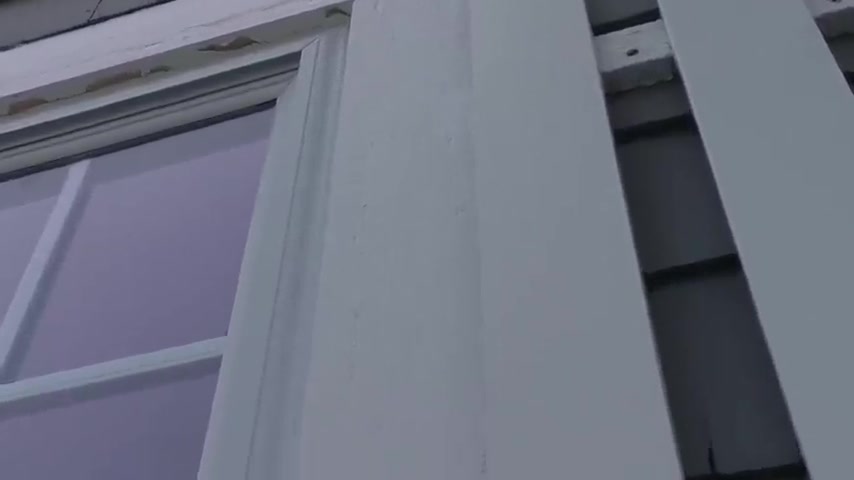
So what I'm going to do while I'm repairing this sill is I'm going to take off all this trim , figure out what's going on and seal it up , right ?
You can see it's happening on the other side as well .
There is rot on the outside right here .
Oh , and there's an ant if I have ants here .
I'm going to be upset , but that's what we're gonna find out .
That's not good .
So , first step , let's take this trim off and figure out what's going on and then we'll worry about repairing the sill now because I'm really curious .
I'm going to start on this side and see if we have some aunt friends .
I really hope I don't , but I'm going to get behind here and start pulling this trim off .
I don't want to break this siding .
So I'm going to go get a utility knife and cut the cocking along .
All right here .
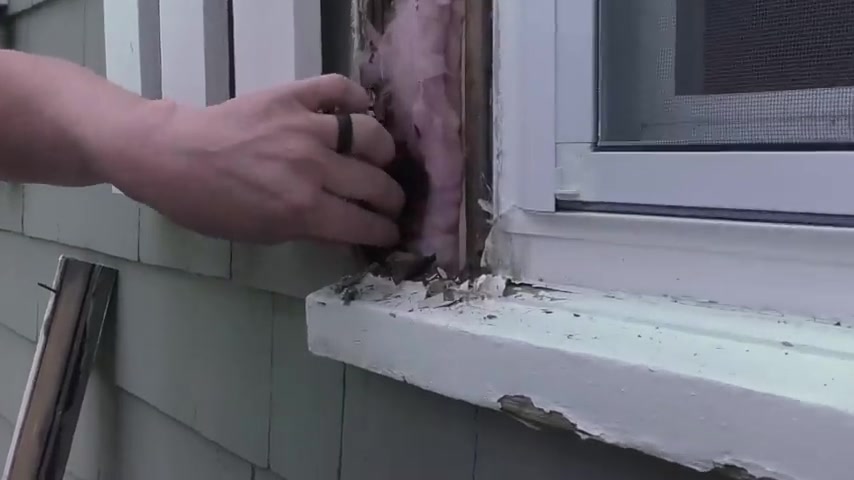
Let's take a look right here .
So this is fairly new .
This right here .
This framing probably two years old when I remodeled the living room .
Um So that is in good shape .
So that's good and it looks like , ok , so we're lucky there's no rot right here .
It's a little spongy , but it's OK .
We're gonna cut this right out and all this looks to be in good shape .
So , yeah , I don't see any ants .
So I think we're in good shape there .
Cool .
Let's do the other side .
So on the back side here , you can see all this , this black , this isn't mold or anything .
This is just water discoloration .
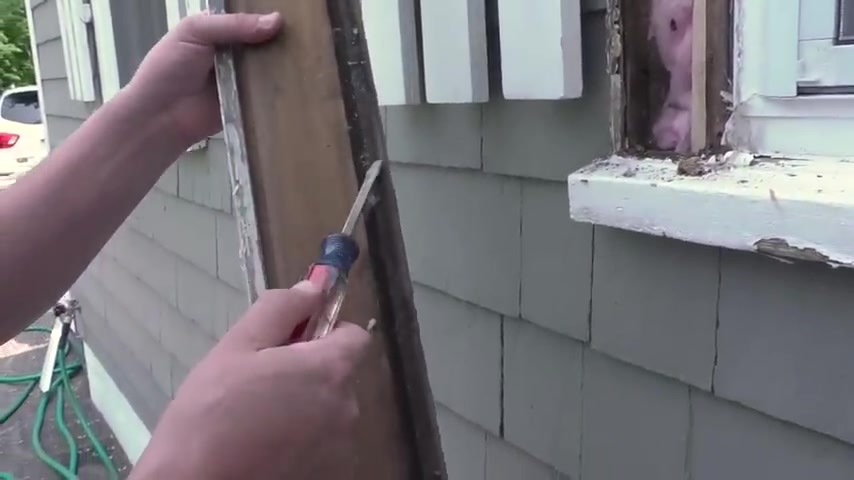
And I think my assessment may be correct or my assumption that the water is following the path behind the trim you can see right here .
This is all water discoloration .
So the water is getting behind this .
So I am still assuming that the problem is with the top piece of trim that is really soggy .
Take this piece off if I can get a grip somewhere messing up the window .
OK .
Same situation on this side .
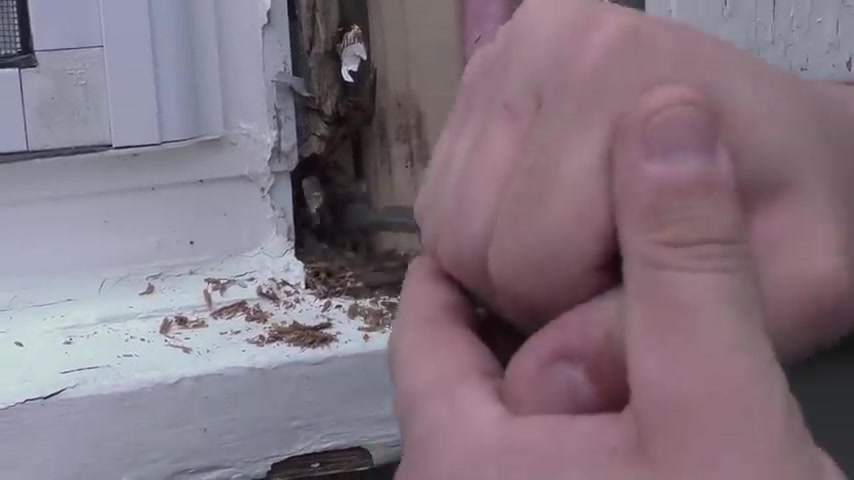
This is in good shape down here is in good shape .
This right here is a little soggy but that's OK .
I don't have to get rid of all of the rot in this .
There's a common misconception with rot .
People think that it spreads like mold and it can if it stays wet .
But if you eliminate the problem and get the water out of here , it will dry out and it won't rot anymore .
So I'll get the majority of it out wherever I need to and then the rest of it can just stay there and dry out .
All right , top piece , what I think is going on is there's no rain cap up here , which there should be .
So when I put it all back together , I'm going to put a rain cap here and seal it up with cocking and hope that this doesn't happen again before , before I take this off .
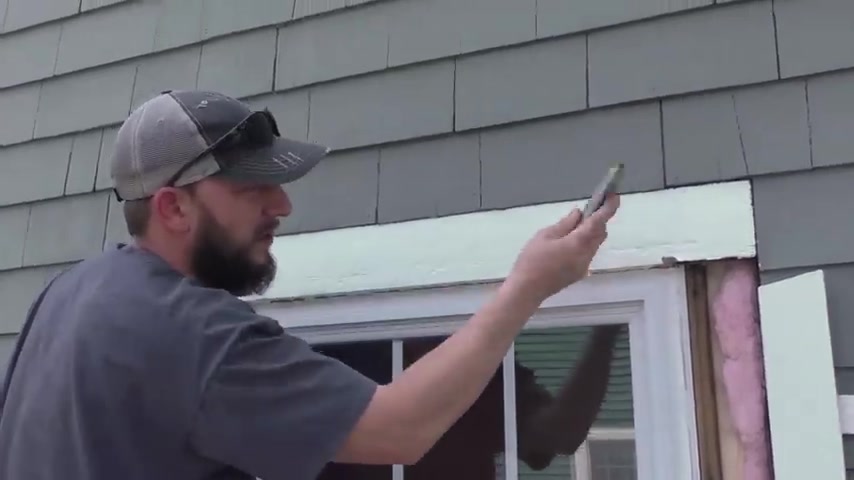
You can see right here , there's a big gap where this is a gable end .
So I don't have an overhang where it will protect it from .
Water .
Water gets on here when it rains , it will roll down and it probably gets back behind this gap here and rolls right down that trim .
So as you're taking stuff apart , try and figure stuff out like that .
So , you know what the problem is so that you can fix it when you put it back together .
There we go .
Bye .
Oh , broken .
Luckily I'm replacing all this trim .
Yep .
No rain CAPP .
Keep track of those .
Now , two nails on the driveway .
I want to run them over .
Ok .
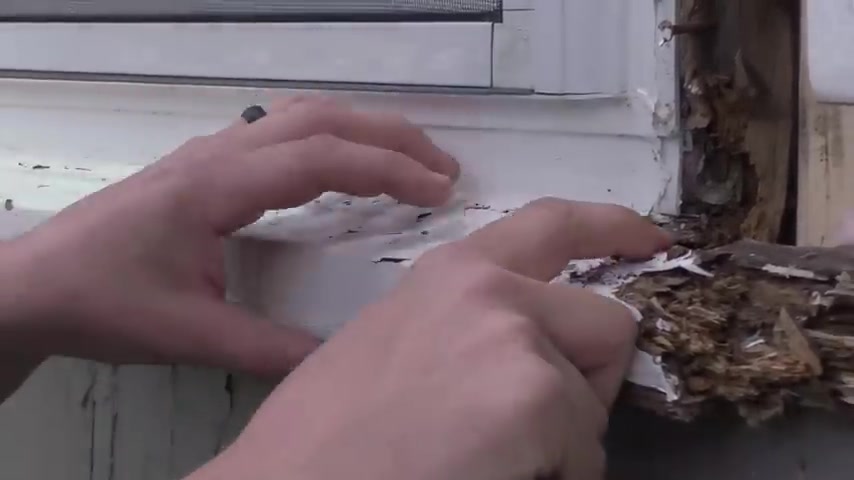
So again , now that this is off , if you look over here , what a rain CAPP will do is make sure the water can't get back behind here , which is exactly what's happening .
It has to be and all this looks like it's in good shape .
So now I'm just gonna assess how bad this is .
So I know where to cut it .
Um How far back it goes .
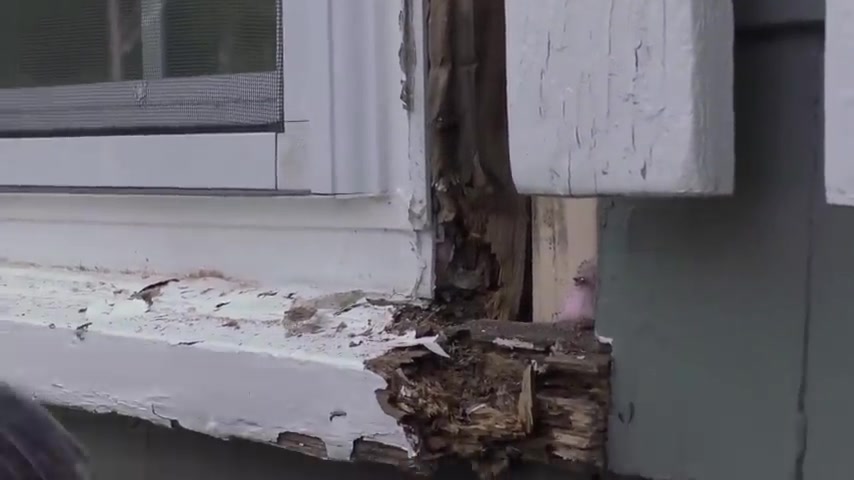
So all this is rotted probably to about here , all this is gone .
I'd like to have one solid piece all the way .
What I could do is I could notch this like that and then have the piece of wood go back further and then Bondo this right here .
I like to use Bondo for stuff like this .
But what I'm gonna do instead because I want to have a nice solid piece all the way across .
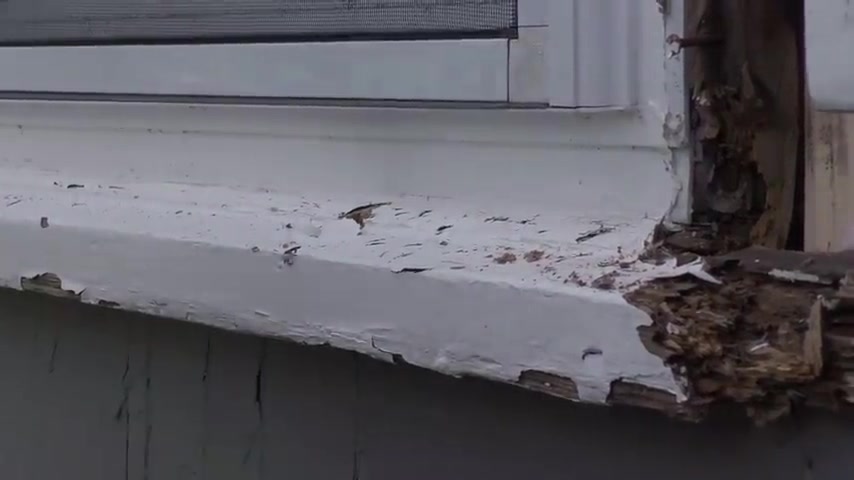
I'm gonna take my favorite tool in the world and I'm going to cut this all at an angle right tight to the window like this .
If this was rotted , maybe just out here or on the side here , I'd use this little profile right here .
That's hard to see .
But I would use that as a guide so I could go straight down like this .
Since I'm going against the window , my angle is gonna be like this .
So what I'm gonna have to do is match the angle on the piece that I cut to put in here , which is , should be no big deal .
So I'm gonna take my tool and cut this all the way along that window .
Ok .
I'm about halfway through with that cut .
I just wanted to get the angle all the way .
Now I can continue it all the way through .
Gonna see if I can split this .
I'm pretty much through .
Cool .
I'm just going to clean this out , make sure I don't have any cocking or anything and these pieces of siding on the back , I'm going to cut out just clean this up .
So when I put my new piece in , I have nothing in my way .
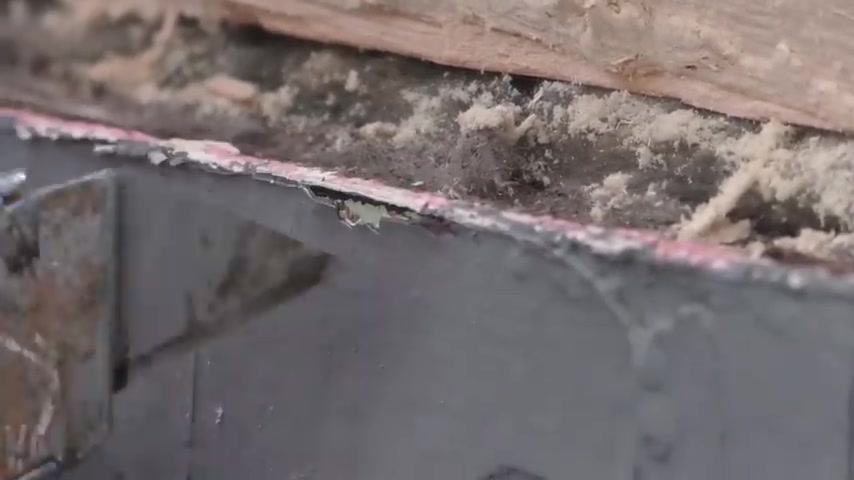
What a mess you can see all the different colored paints right here .
Green pink and you can just barely see the brown right here , which was the color of the house when we moved into it .
History of the house .
I'm just scraping this cocking off here with a chisel just so I can get as close to the window as I can .
And this cut that I made right here is not perfect .
It goes in further here .
It's gonna be hard to make it perfect with the angle that it's at no matter what .
Um But as long as I can get this tight up here and seal it up nice , I'm ok with that .
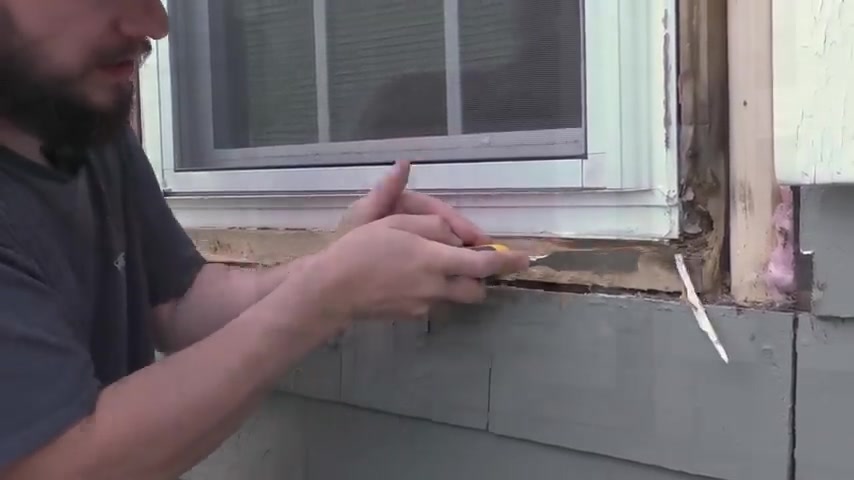
Just getting any of the excess wood off like this before I put the seal in , I'm going to fill in these sides .
You can see they've been left open , That trim was part of this window right here .
It was a whole unit that just kind of went in .
That's why there's a tongue and groove right here .
So I'm going to fill this in with three quarter , but I have to bump this two by four out because it's uneven from top to bottom .
So I'll bump that out , put my piece of three quarter in .
It's not going to be perfect here .
There might be some gaps , but I want to have something to nail to and then I'll seal up over that 57 .
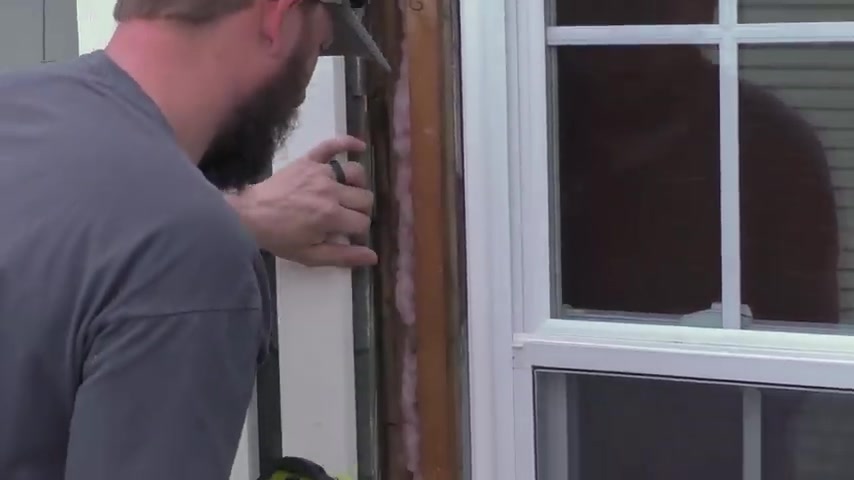
This is just to hold it in there .
I'm gonna really attach it when I put my three quarter in here .
2.5 , 2.5 , 3 , 2.5 , 2.5 .
So 2.5 and two and 78 , but that will attach my shim and my plywood .
Awesome , plenty of stuff to nail to .
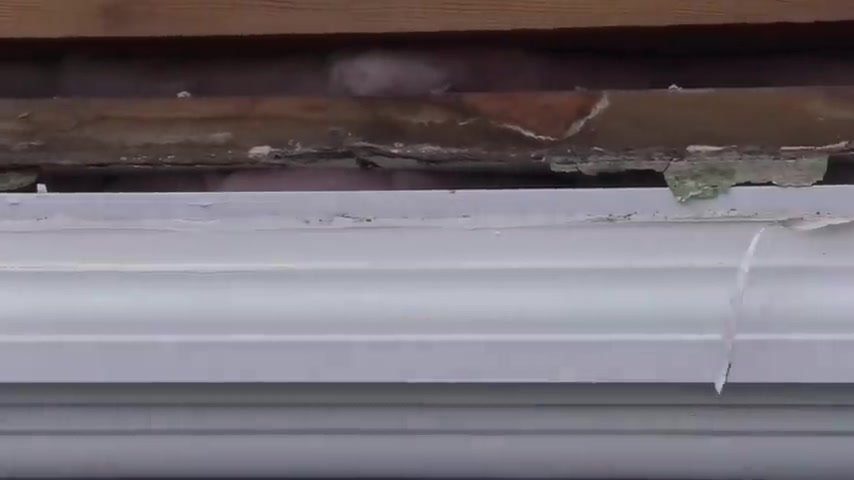
Now , if you're wondering why I'm piecing these , it's because I'm just using whatever I had around the house , I'm gonna scrape some of this cocking and pain off of here .
My chisel carefully , try not to dig into the vinyl and you actually might have a different situation here if you have a , a new construction window where it has the flange .
So this might be different for you , but this is a replacement window , but hopefully it will help you no matter what .
And now that I'm looking at this , I actually can get more insulation in here and up here .
So I'll grab some insulation .
I have some left over and I'll put it wherever I can .
Wherever there's a gap like this , I'll just do fiberglass .
I don't want to do spray foam because I don't want to accidentally make a mess and have it pour out all over the window .
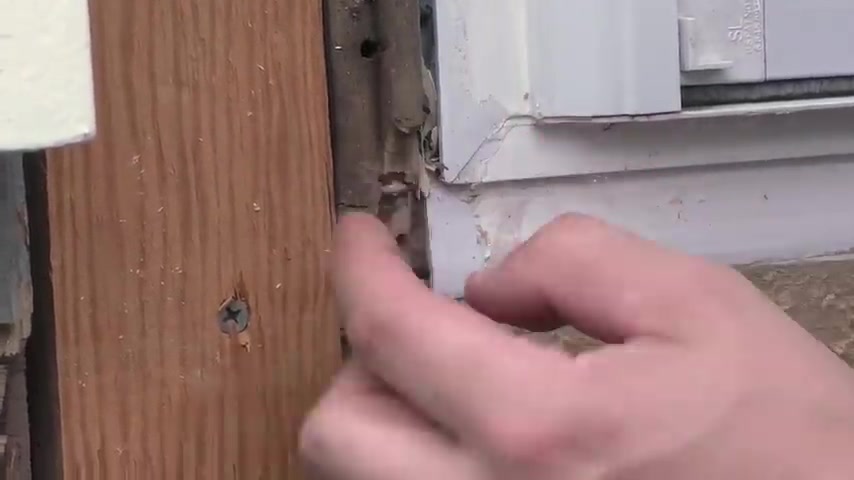
This piece right here is sticking past the window that sat in the groove of the trim that was here , but I don't need it anymore .
So I want it to be further back than this window .
So I'll have no problems and obviously right here , it's very easy to remove .
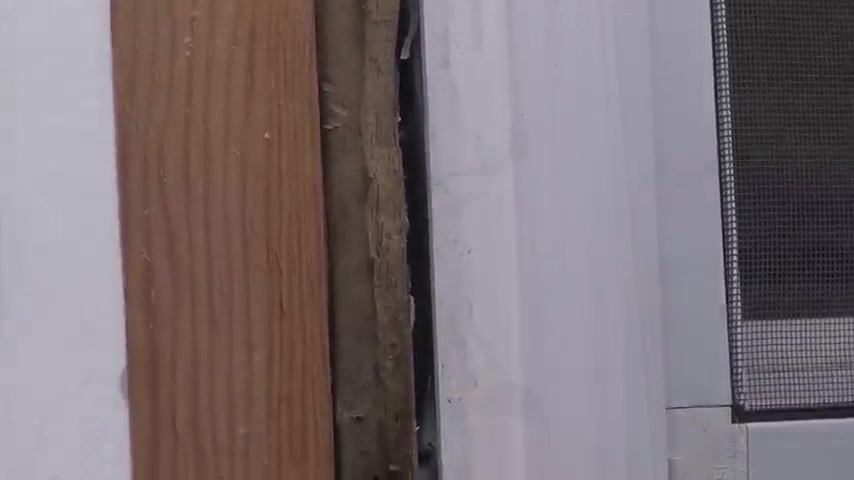
But as I go up , I'll just have to chisel it out as long as it's back , farther than the window , it's about to rain .
I think we're going to get this sealed up just in time .
What I want to do is I'm going to use a waterproof membrane .
I like flex tape .
You guys know that if you watch me , I'm going to seal this up all the way around here .
Starting with the bottom .
You want to work from the bottom and work your way up .
So that way if water does get behind here , it goes from the top piece and then over to the side piece and then over the bottom piece .
But on the bottom here , I want to take these pieces of siding off for two reasons .
One , so that I can get some flex tape from here to here and then I can put the siding back in that way where there was a gap under here before because this sill is actually thicker than a regular two by four .
It's an old piece of lumber .
So it's a true two by four .
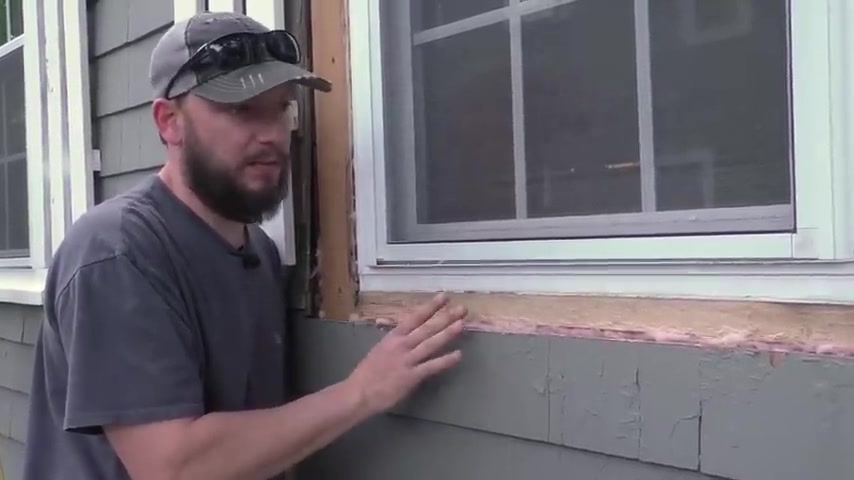
Um So I'll be able to reinstall this tight up to that and I won't have as much of a gap and you can see over here that it's gonna work out perfect because it's actually lower than this piece of siding the whole way .
So let's take these pieces off to start and I'm going to do it very carefully so I can reuse them and if not , I can get pieces of signing , but I would rather just reuse these .
So as I take them off , I'm going to label them , go from left to right .
This is going to be one carefully and quickly before the rain work up to the nail , please don't split .
That's ok .
That happens .
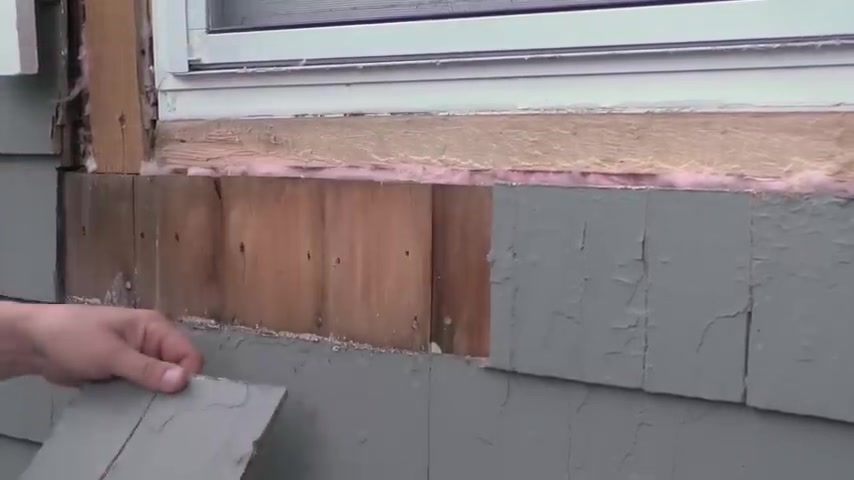
This is the thing , this is why I'm not going to mess with the siding too much anywhere else because this old cedar shake crumbles when you try and do stuff first piece on the bottom , it's gonna go something like this .
I , I haven't taken the back off yet but it has a little bit of sticky so I can do this just so I can cut it And this is going to be just a little extra step to seal everything up .
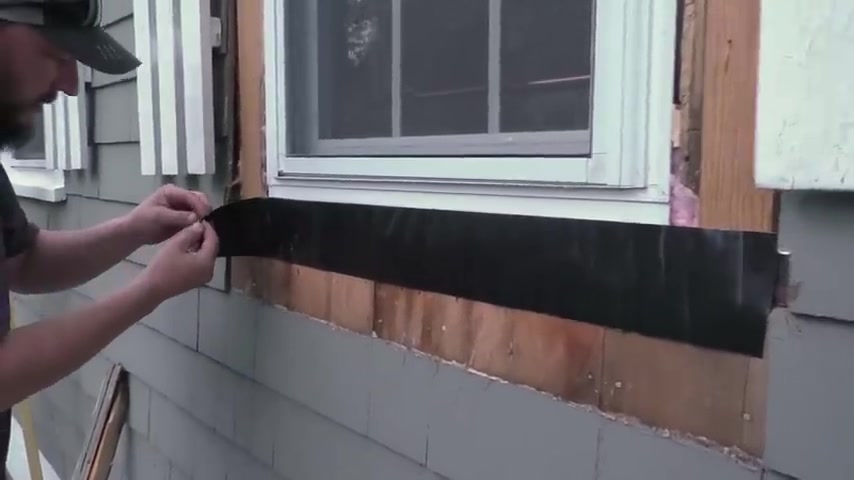
Now , I can take the plastic off , try and do it this way because once you stick this to something , it is stuck .
Stuff works awesome .
I'm just gonna go up just a little bit like that and I can peel the plastic as I go .
Yeah , seal it up .
Ok , same thing on this side .
Just gonna go over the window just a little bit .
Oh , sailed .
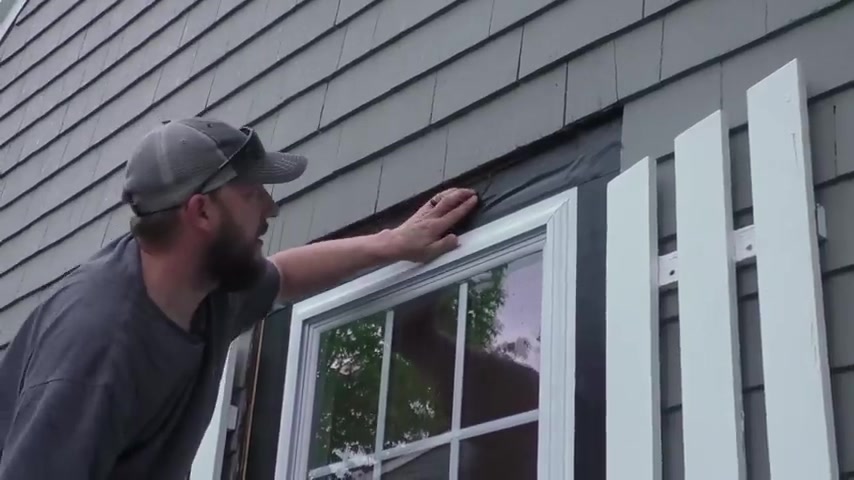
Just barely over that .
Oh , little bit of a wrinkle right here .
But that is perfect .
All sealed up .
Yes , we're done for the day .
So I got this sealed up just in time for it to rain .
And right here you can see I was a little short with the flex tape , so I just added a piece and ideally what I would do is I would take the siding out a little bit and try and get this as far this way as I possibly could to seal that up .
But you saw how , when I took the siding off down here , how it cracked and everything and broke .
This is really brittle stuff .
So this is the best I can do for this situation or the best I want to do for this situation .
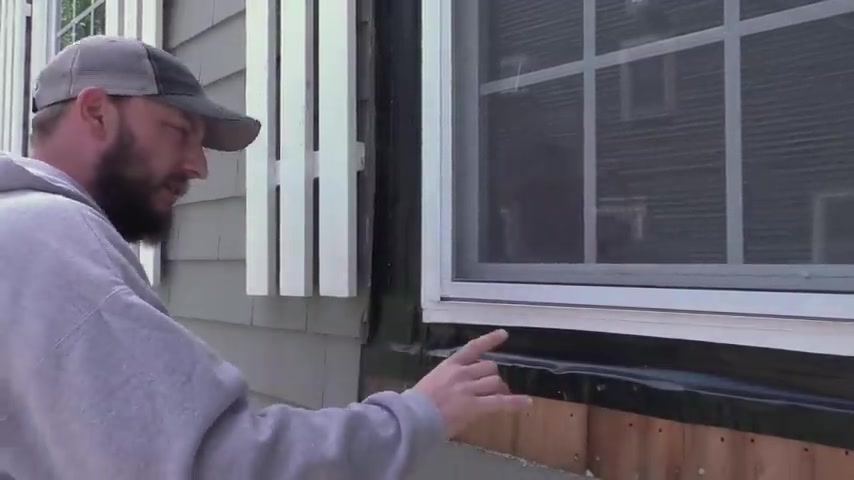
So that's good .
This is all sealed up .
Now it's time to make a new sill and install that .
So as a reference , I'm going to go to the window next to it and see what we have here .
And I want to make it similar as you can see this one is in a little bit of disrepair , which I'll take care of at some point .
But I just want to get an idea of how this is made .
So I'm going to measure the distance from the window to the edge of the sill and this has an angle which is basically plumb with the house and then it has this little profile piece here that I'm going to recreate .
So on this one , you have options of , you can make this out of one piece which would be bigger than a two by four .
But what I'm going to do is I'm going to piece it together because that's going to be easier .
So what I like to do is make a mock piece .
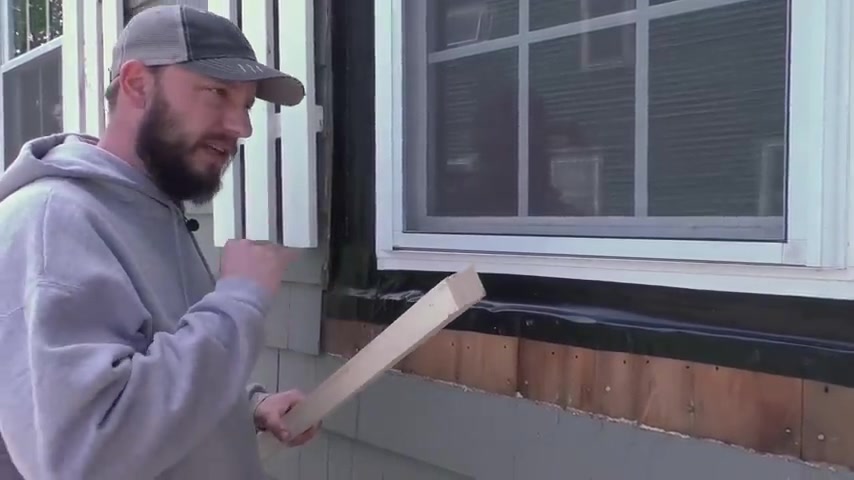
This is not the actual piece I'm going to use .
I just want to get an idea of how I'm going to do this before I actually cut everything and install it .
So I did this out of K D , I'm going to be using pressure treated , but I did some 15 degree rips on the front and the back where it attaches to the window and I cut it to length and I'm just going to slide it in place where the other one was and right off the bat .
Probably what you're going to notice is this right here is obviously ugly and I don't want that to happen .
I have an idea of how to cover that up .
I have the option of cutting that back and leaving it there , but I want that there to stop the water from being able to come in here .
So my trim on the side of the window will come down like this .
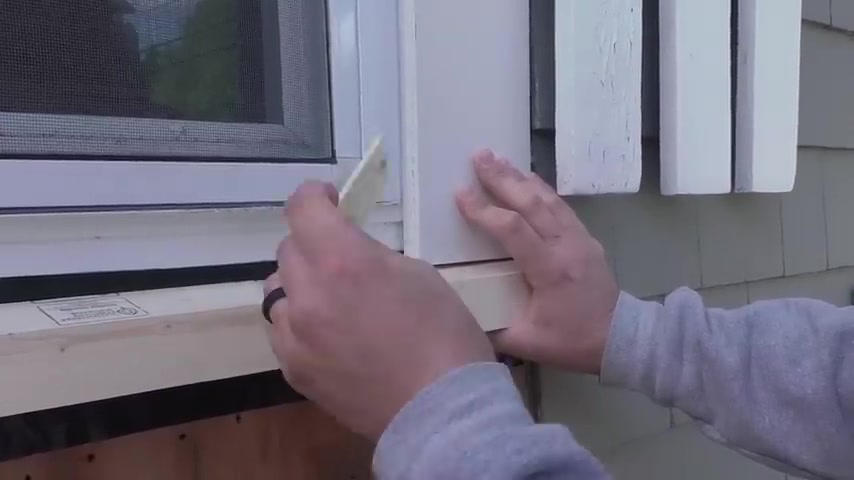
Keep in mind this is all just a mock up so I can figure out what I'm going to do and right here to cover this up , I'm going to rip down a piece of pressure treated and put it in here , which will work out nicely because as you can see this is set in further than this .
So instead of cocking this in , I'll be able to kind of fill in that gap just like that .
And then to create that profile right here , I'll rip another piece kind of like that and then I'll cock and paint all this and it will all look like one piece when I'm done with it .
If you look from the side , I'm just eyeballing this , but you basically want this to be the same as the house pretty much plumb here and plumb here and that looks pretty good .
So I think I'm going to go with a 15 degree angle .

If it was say like this or like this , I would adjust it accordingly , but 15 degrees looks like it's going to work .
I'll let you in on a little secret .
I don't like ripping angles like this on a table saw when it's a piece this size .
If it was a little bigger , that's fine .
But I'm working by myself and I like to work safe .
So what I like to do is I like to cut them all with a circular saw and I just get a piece that is much bigger than I need .
This .
One of course is overkill .
This is a two by eight by eight , I believe .
But I had this laying around so you can do it however you want if you want to use a table saw , but I'll show you how to do it just using a circular saw also , you might not have a table saw .
So this is how you do it with a circular saw .
First step is I'm going to cut one square end .
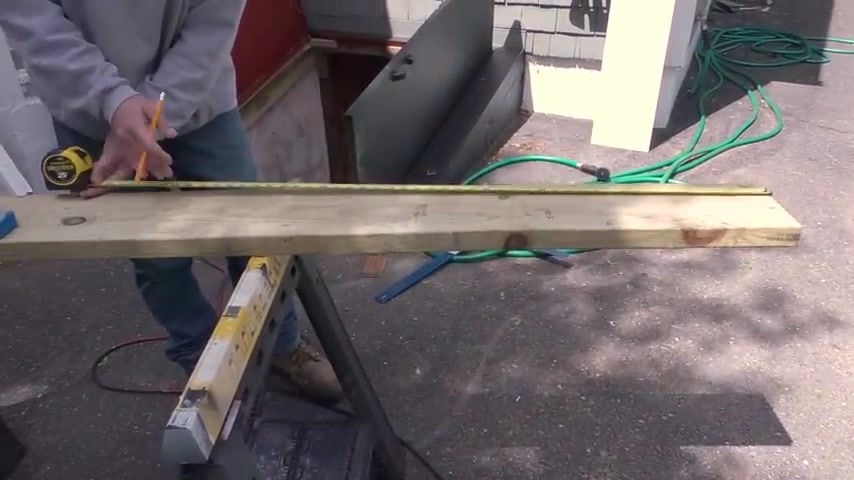
I'm just going to make a mark a couple inches past where I actually need the sill to be , I'm gonna mark about half inch in and a half inch down here .
I'm gonna mark that with my four ft level .
Now , I'm gonna set my circular saw to 15 degrees right there .
That line lines up with the 15 degree mark and then I can tighten it down .
Now , I have my angle and I can rip my line that I just made .
That's one .
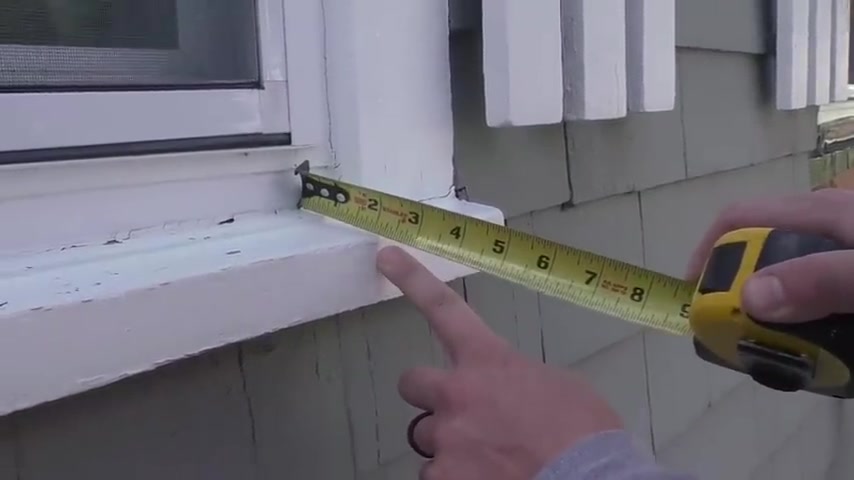
Now , I can measure from the window to the edge of the sill here and that looks like two and 3/16 .
So this is the top right here .
I want to go two and 3/16 like so , and that's gonna be the second angle that I rip .
It's gonna be like this .
So if you picture this going against the window , if it's turned this way , this is the angle that goes with the house .
So I want to make that same mark on the other end .
So I'm going to measure from here where it's not cut four and 3/8 .
So I'll mark that down on the other end , make a line and cut that .
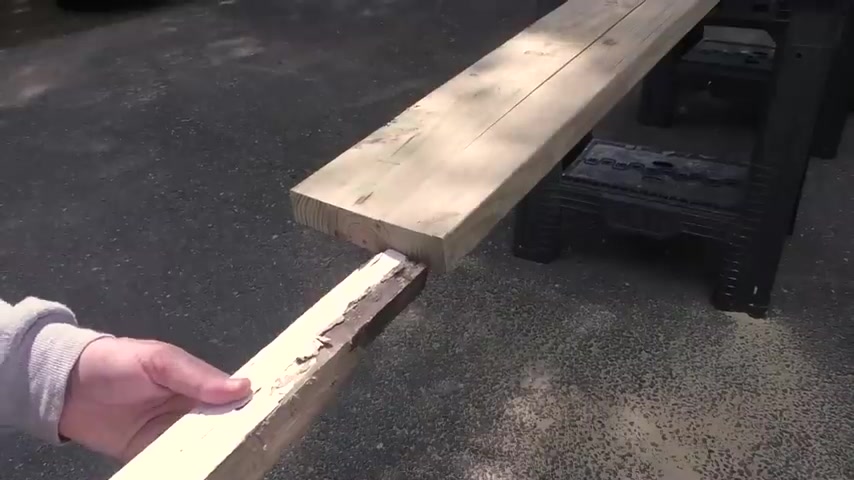
So if you match up the old piece that looks good and this , since it has the same angle on both sides will work as far as this being the top of the sill or the bottom of the sill .
So if I flipped the old piece around , now this is the bottom and you'll notice right here , this is called a drip groove .
And I want to recreate that in here and there's a reason for this , the purpose for this groove is that rainwater goes on to the top of the sill and comes down here .
And what it can do is actually creep up this way and get to the house .
So if you put a groove in there , it will get to this groove and it won't be able to follow that little groove up .
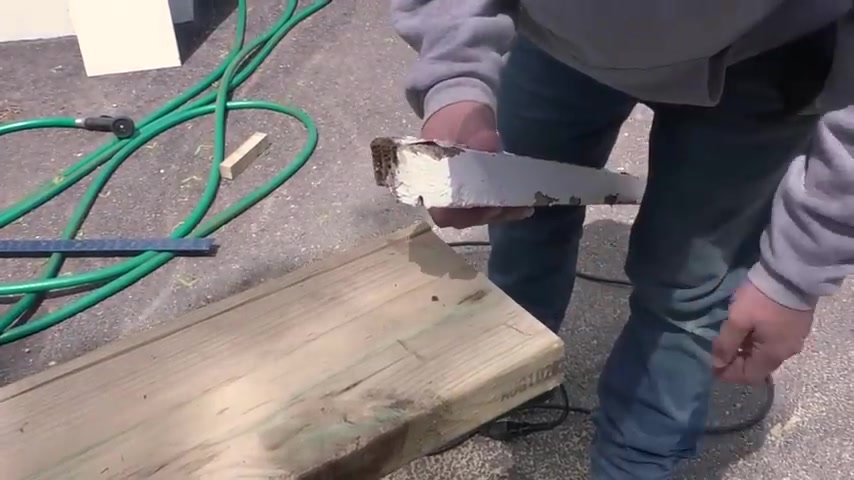
So instead it will break the path that that water is following and it will drip to the ground instead of going to your wall .
So I'm going to recreate that on this piece here .
So again , this is acting as the bottom of the cell .
I'm going to make a mark right at three quarters on both ends .
And then I'm just going to take my saw set it and just do a saw blade and that will create the drip groove .
Now , I can change the angle back to zero on my saw and then I'm going to set it .
I'm gonna unplug it first , I'm going to set the depth and then it's something like that's taking this back up .
Ok ?
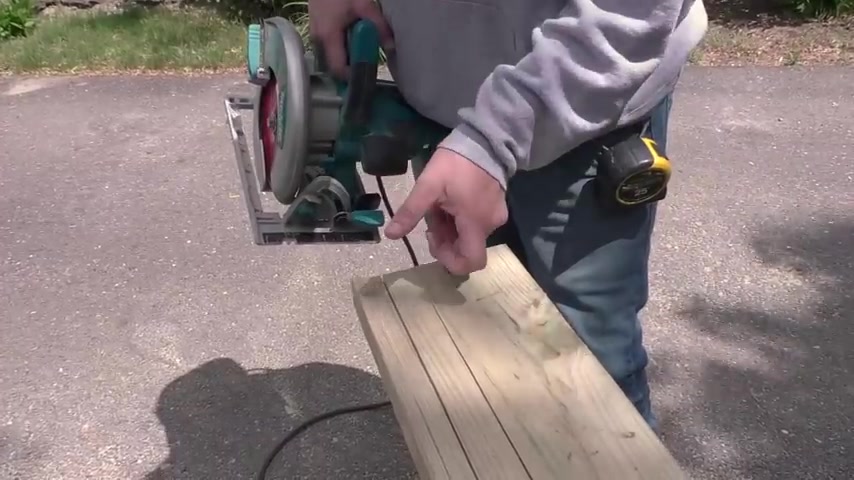
I want this groove to be just a little wider .
So I'm going to do another pass and try and make it too saw blades thick .
Yeah , sweet drip groove , man , I'm going to measure the width of the sill .
39 3 quarters .
Little shy , 39 3 quarters , little shy .
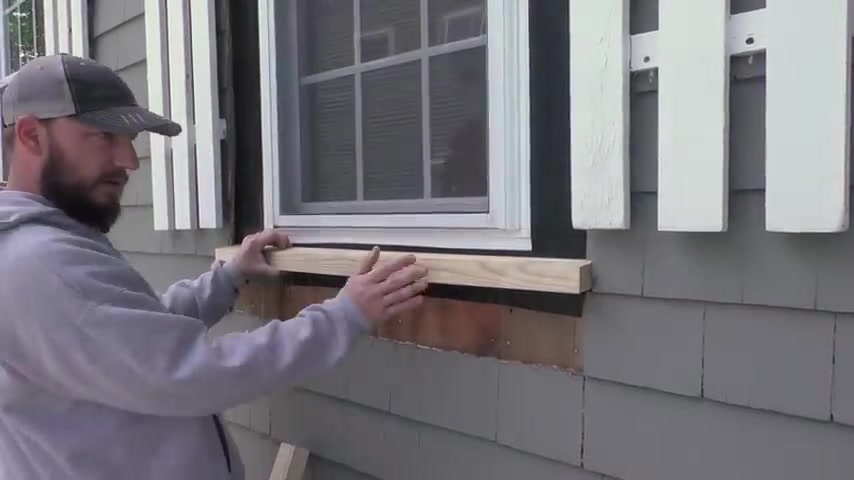
There are still see if it fits , that is looking good since this side right here is going to be facing the window .
I'm not going to be able to paint it .
So I want to treat it so that it is protected from water .
And I'm going to use this cut and treat pressure treated wood .
This will just seal it just like paint wood .
I'm gonna do just a coat of this .
Now , I'm going to install the sill , I'm going to use exterior screws .
These ones are three inch .
They might be a little short .
I might have to go get longer screws , but I'll try and sink them right in so I can pull this seal in .
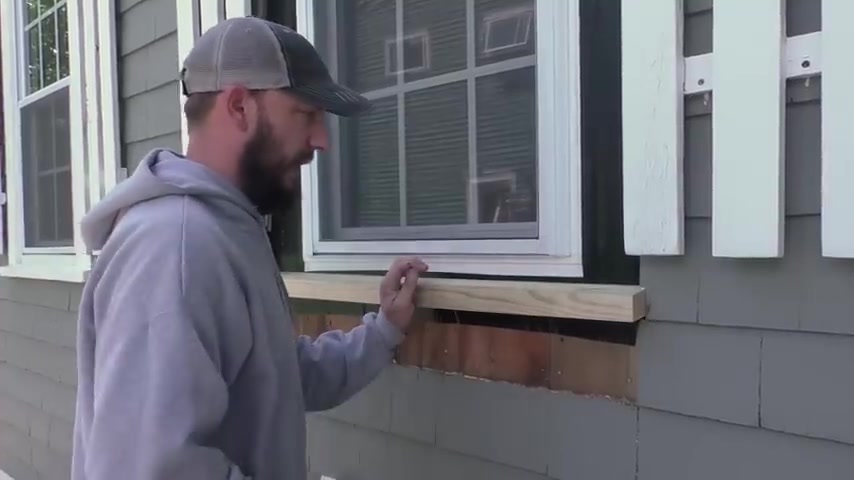
So I'm just gonna set it up where I want it and I know that I want this side tight because I've already measured .
But basically , what I want to do is make it even from the window inch and a quarter and then that is about an inch and an eighth .
So I'm gonna do this one tight up to here and just get into something solid .
Remember there was a bunch of rot here .
So I'll try and get into that plywood , at least to start .
You could counter sync these .
We'll see how it goes .
Nice .
I sunk that in quite a bit .
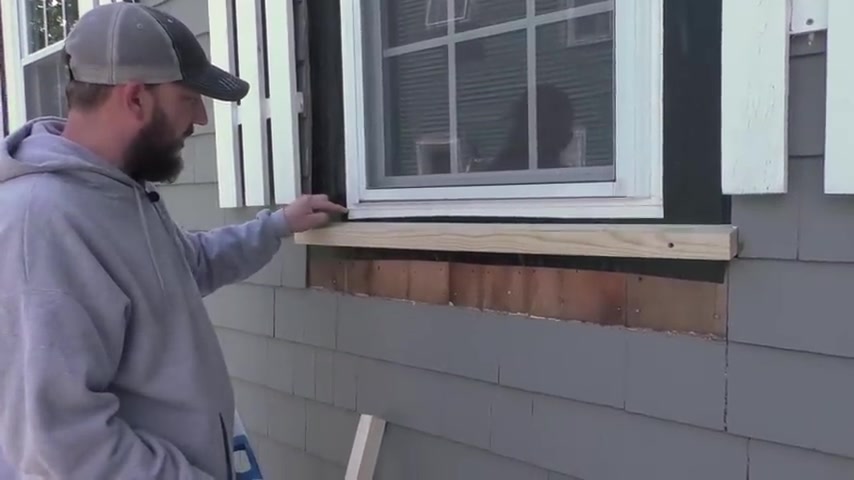
So I'm into something solid and over here and just hold this where it needs to be .
So the sill is even from here to here and on this side here to here .
But it's also showing me that it's a little out of level .
So I'm going to split the difference .
That's kind of what you do with old houses going to go up just a little bit so that this is a little off and it's a little out of level and it's just in between .
Nice , nice .
That is solid .
I'm going to fill these holes right away .
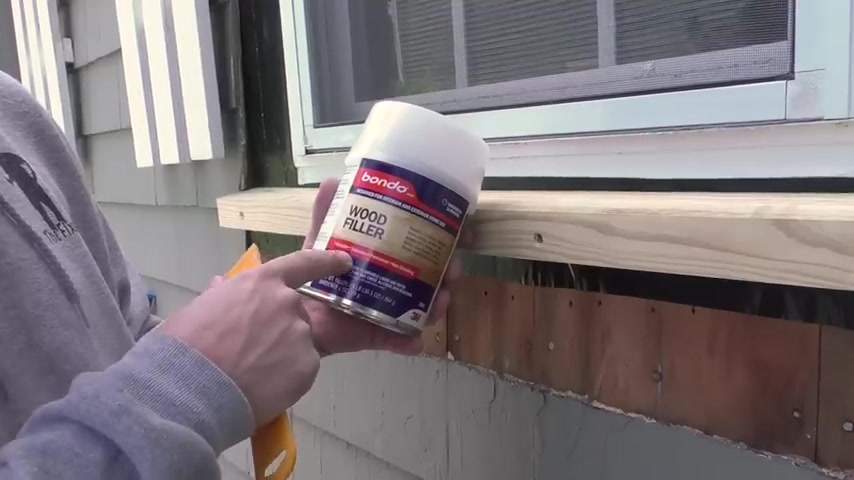
I'm going to use Bondo .
I really like Bondo for stuff like this .
I'm going to use the Bondo wood filler and that way this will dry and I can get a second coat on it and then I can sand it by the time I do everything else and then I can paint .
So going to fill those right away right now .
Yes .
Now I'm jumping up top , I'm going to put that rain cap in that I was talking about that's missing here .
Um It slides up under this siding .
I'll show you what it looks like right here .
So it's gonna go in just like that and I'm going to try and get as much of this up as possible .
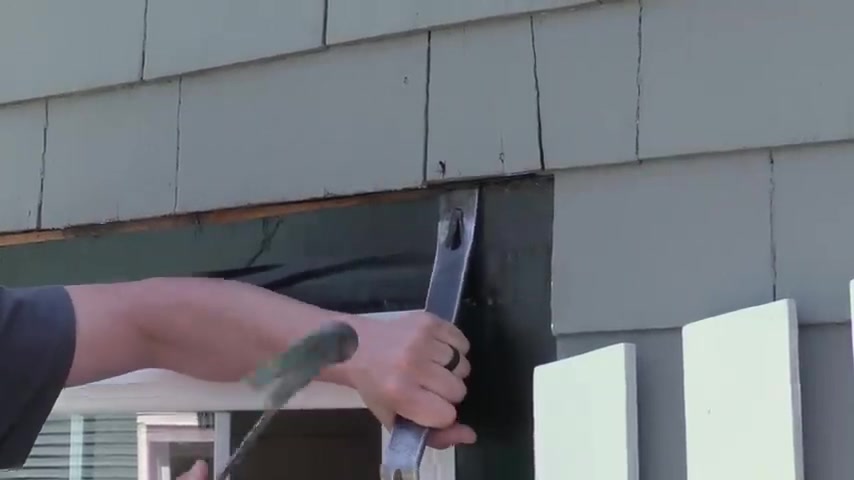
If I have to trim this down a little bit , I will like those nails right here that are probably going to interfere .
I'll see if I can take those out so I can get this up there .
I'm gonna grab a pry bar and just see how I'm looking .
Yes .
All the way that one's coming out .
I think the head broke off .
That one .
I can go up there .
Even if I'm just bending the nails , I'll try that .
There is some tar paper that I'm going to try and get behind all the way here .
I'm just trying to bend it up a little bit .
Ok .
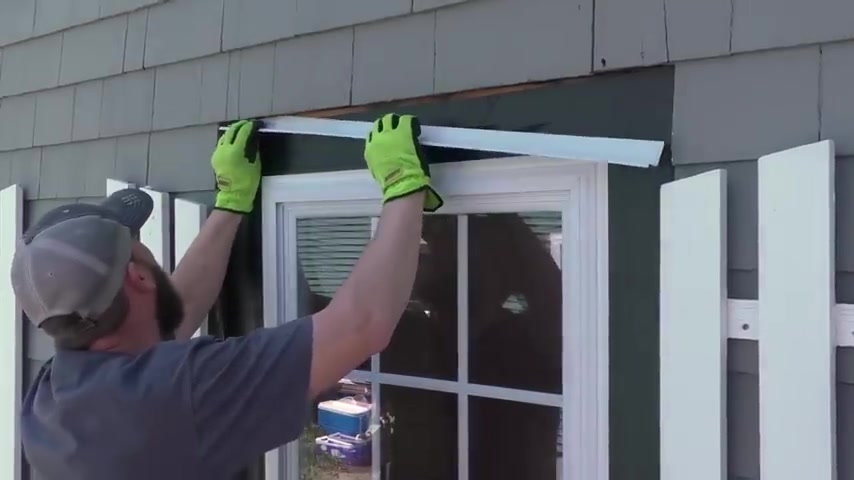
Well , I'll see if I can get this up there .
There's always a pain in the butt with old signing .
There we go .
Cool .
Now we have a rain cap as the water rolls down here .
If it does get behind , it won't have anywhere to go and it will drip down over the trim .
Cool .
I want to see how wide I'm gonna make this trim and I'm gonna make sure that that is about what the sides are going to be .
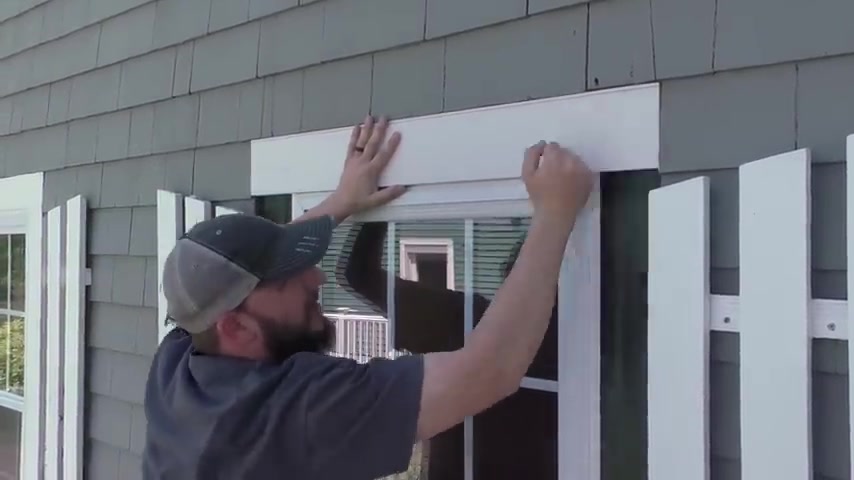
Now we're gonna test fit this , that looks great .
And I'm using wood .
You could use vinyl , but I have wood everywhere else uh on this house .
So any , any of the windows anyways .
So I'm gonna use wood and before I put this in , I'm gonna paint all of the un primed surfaces .
I'm also going to load up this right here .
The talking , as you can see , I'm not messing around this time .
I'm going to do the same thing on the other side .
I got my piece and then start it .
Yeah .
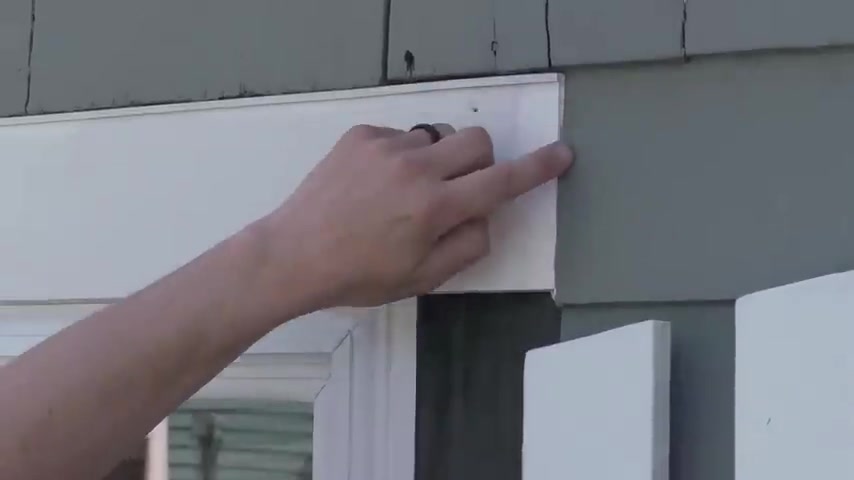
Now I'm just going to use my finish gun to nail this in .
I have galvanized nails .
In here , exterior grade .
This looks pretty good .
I'll just clean up any cocking that may have spilled over to the signing .
I'm going to cock this in afterwards too , but I just want to clean it up so it doesn't dry up on me .
Ok .
This is totally dry now .
So I'm gonna add just another coat so I can sand it smooth afterwards on the bottom of the side pieces of trim , I'm gonna have to cut this at an angle because the sills at an angle .
So I'm gonna cut a test piece before I , I do it on the actual pieces .
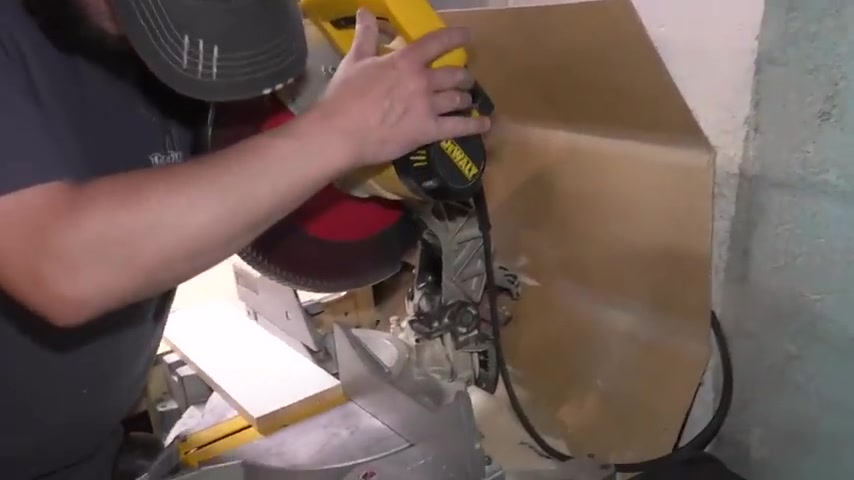
So the way I'm gonna do it is on my chops saw , I'm gonna move this and I'm gonna start with a 15 degree angle just like the sill is and that's what it should be .
I might have to fine tune it , but we'll start right here .
Hey , ok , 15 degree angle .
Test it out .
That looks pretty good for me .
So for the two side pieces , I'll cut two of these angles before I change that chops saw back to a straight cut , I'll measure the side pieces .
So I have those measurements and I can cut them right away .
52 38 to the short point of that angle .
52 a half to the short 0.8 inch off .
We should rip the window out just kidding .
Alright .
Do a quick test fit and that is perfect .
So I'll make sure the other side is good and then we can paint all the cuts .
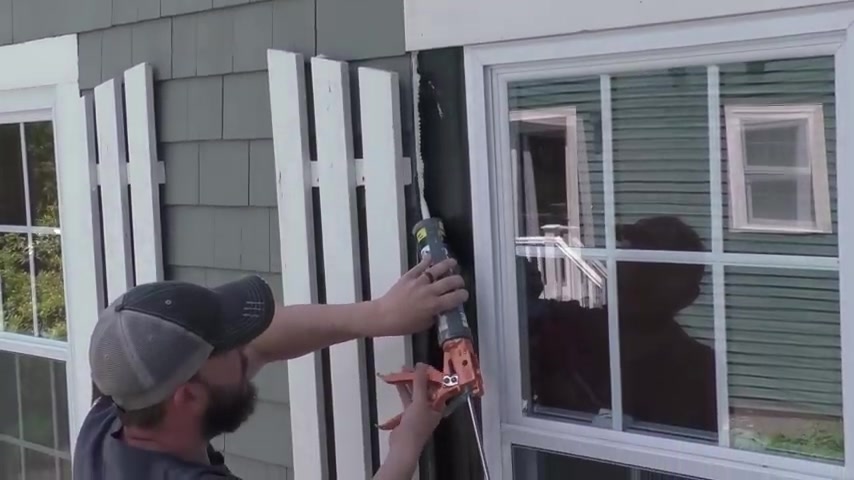
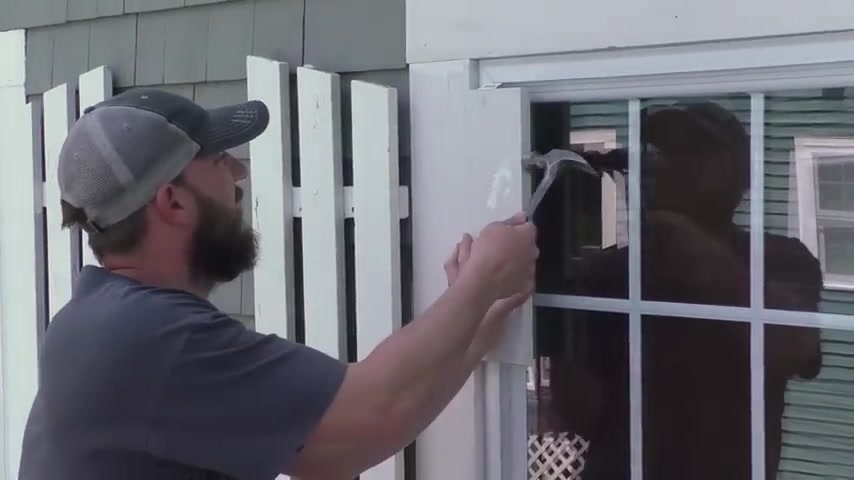
Now , I'm gonna add some cooking to the siding here , be pretty generous with it because I don't want this to have any more water issues .
Oops , I miss , I'll go against the window between the window and the flex state .
Now , when I put my piece in there , it'll smush that cocking in .
Create a nice seal .
Keep it as tight as I can .
Let me take to this siding , smashing the window .
Yeah .
Now I'm going to clean up that cocking wherever it may have spilled over .
Now , talking on this side , same deal , load it right up and you're gonna put this piece in the same way .
Yeah .
Uh While I'm here , I'm going to measure for this piece right here .
28 58 strong .
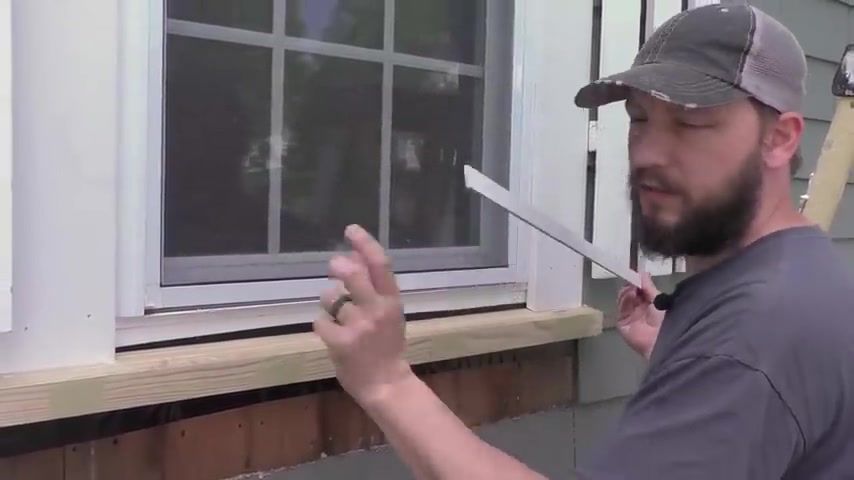
I decided to rip down some of the pre primed pine that was left over from the window trim to create this little profile right here .
So this is going to go in just like that .
And then that , that other piece is going to go right here with this .
I'm not going to paint the backside , sorry guys .
Uh What I am going to do is I'm going to add another beat of cocking right here and then nail it into place .
Now , I can measure for this piece .
Eight more cocking and I'm gonna fill this right up .
Yep .
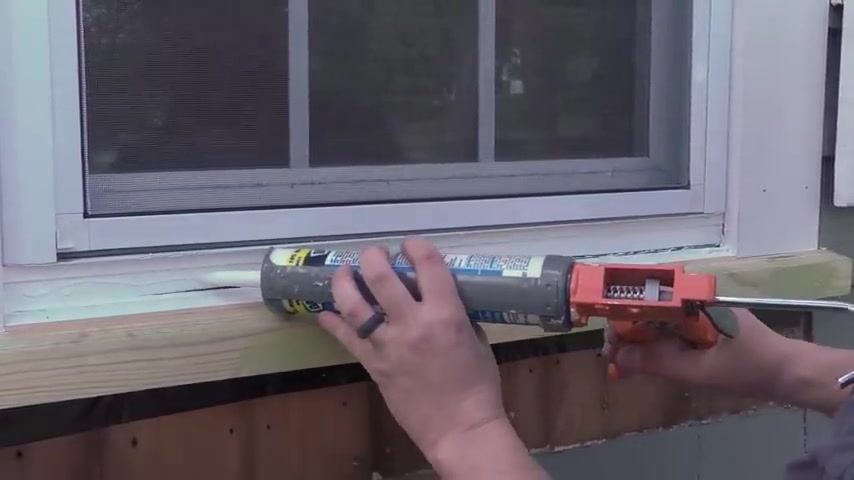
And in fact , this it's going to be held in just by cocking because a nail will probably break that plastic .
I can sneak this piece in there .
Wow .
I took the nails out of the old siding .
I'm going to reinstall it .
Some of it broke .
Some of it looks terrible .
But if you've seen the rest of the siding on my house , it's basically going to match it .
So , until I reside this whole thing , I'm not going to worry about it .
Just go piece by piece .
Try and make it look as good as we can and a little tip for you .
So I don't split it any further .
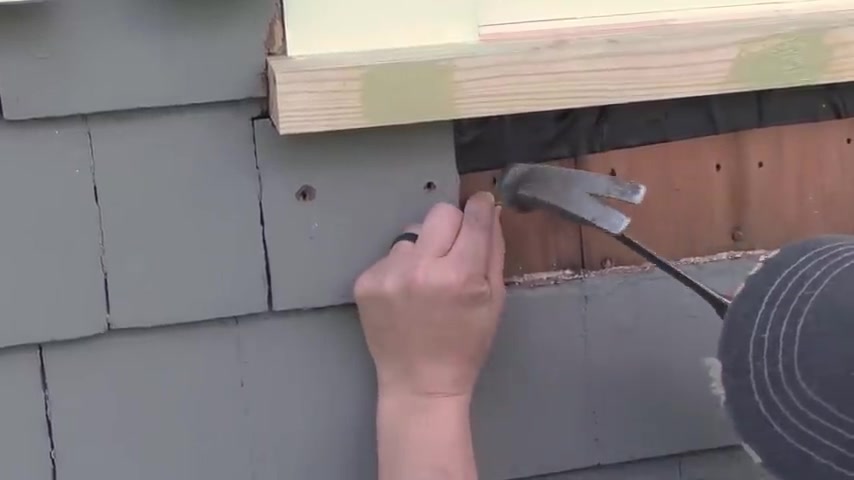
You turn the nail around , give it a little bunk on the and here it'll push the wood instead of separated .
That's the thought anyways .
And I'm going to go in a different location than the nail that was already there since they were bigger nails .
I'll go up here old houses , man .
I think what I'm gonna do is hit this with Bondo afterwards and uh try to make it look a little better .
We're not building a brand new house .
This is siding from 1940 .
So it is what it is .
Ok .
Let's do some Bondo .
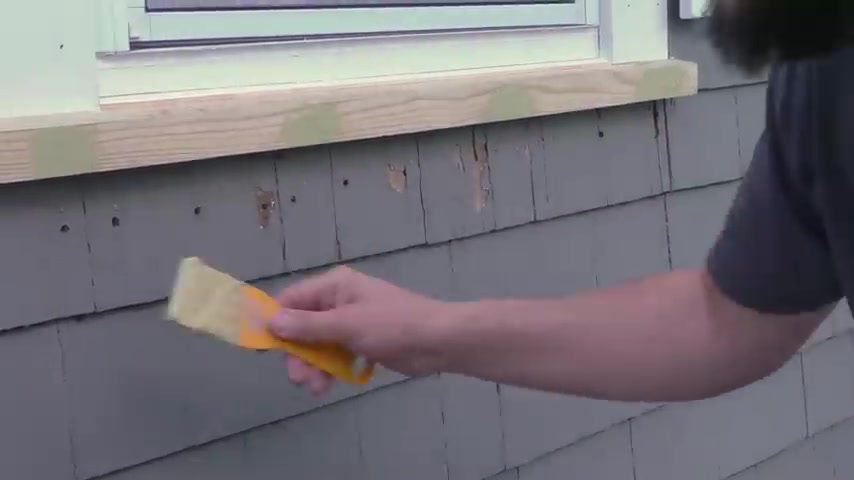
I put a little more hardener in this time because I want this to set up fairly quick so I can sand everything out .
Let's do some work on the siding .
I could go crazy here with the Bond because of the shape that the old signing is in do the entire house .
I'd be here for a year .
Uh This one then I'm gonna use the rest of this on these nail holes .
So the Bondo is dried or cured .
I'm going to send it out with a random orbital sander and I definitely recommend you wear a mask when you're sanding this .
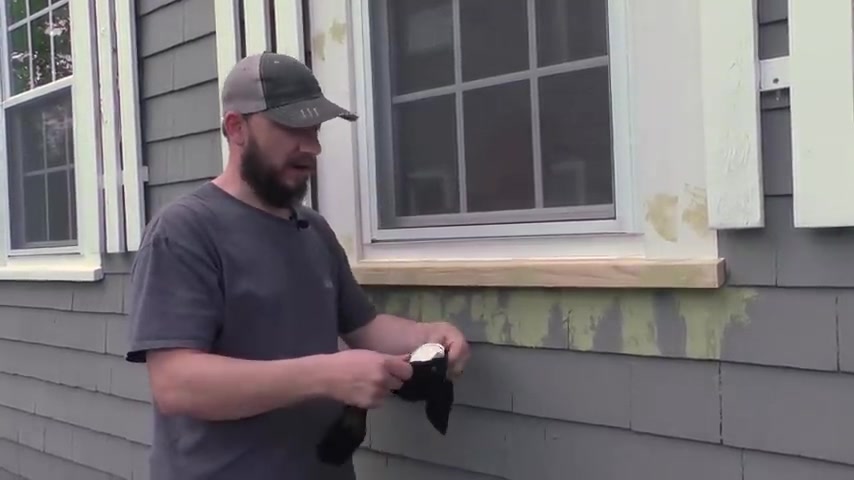
Speaking of a huge shout out to R Z mask for sending these out to me .
They sent me a couple of masks .
They're awesome , comfortable , easy to put on and I'll leave a link in the description over to where you can get one as I do this , I'm gonna round over this edge a little bit and this edge just to match the other sills on the house just a little bit .
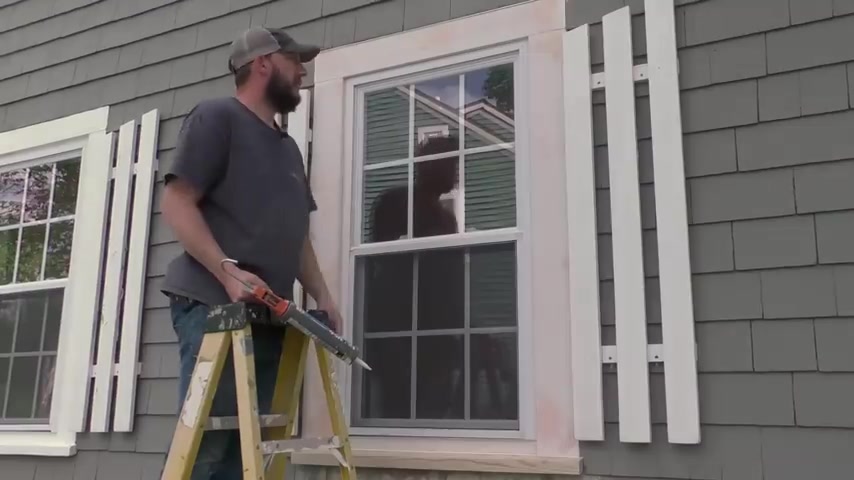
All that's left is to cock this in and paint it .
And I got this dep Dina Flex .
It's paint cocking .
It was more expensive than the cocking that I usually get .
So I'm hoping that it works better than the cocking that I usually get .
Basically just going to cock in anywhere .
There's a gap along here along the siding down on the bottom , on the sill just everywhere that I can and then paint the trim white and then touch up the siding where I sanded it and bonded it .
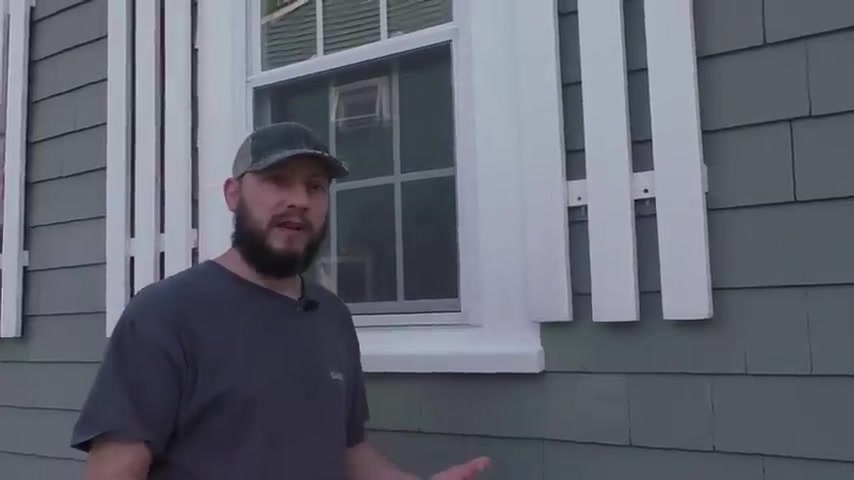
Well , I would say that that is a lot better .
That's only one coat of paint .
I do another one and I think this thing is going to look even better .
Hopefully you enjoyed this video and if you haven't subscribed yet , definitely consider it .
Thanks for watching .
See you on the next one .
OK .
Same situation on this side is a big ass b get away .
What smoking is it this or the wood ?
Maybe this , I'm putting it to the test .
Sick .
Huh ?
Yeah , we're youtubers .
Damn it .
Now , if I measure from the window to the wall , dang yo .
Important is that an important tax return documents ?
They lay a dollar short , bro .
I asked for that months ago .
Anyways , Shakira , Shakira , where did my hammer go ?
There's my hammer go .
These two pieces .
Well , this first piece , not this one piece , this one piece , but I'm gonna pour a ladder .
I mentioned I'm not good at painting .
Are you looking for a way to reach a wider audience and get more views on your videos?
Our innovative video to text transcribing service can help you do just that.
We provide accurate transcriptions of your videos along with visual content that will help you attract new viewers and keep them engaged. Plus, our data analytics and ad campaign tools can help you monetize your content and maximize your revenue.
Let's partner up and take your video content to the next level!
Contact us today to learn more.