https://www.youtube.com/watch?v=8JCoJvYPKBE
2023-06-14 18:10:08
How to Paint a Room _ Painting Tips _ The Home Depot
Taking time to perform a thorough surface prep and painting in an orderly systematic way are the keys to getting professional looking results when doing any paint project skimping on the prep work is probably the biggest mistake people make when painting take the time and do it right .
It really does affect the end result .
First , carefully inspect walls for cracks , holes , dents or other surface imperfections before priming or painting , use a lightweight sparkling compound and putty knife to fill and repair any holes or imperfections , then remove any excess sparkling with the putty knife and allow the area to dry completely .
Once dry , use a small piece of very fine 220 grit sandpaper or a sanding sponge to smooth the repaired areas flushed with the surface , wipe the walls clean with a damp towel or sponge and allow them to dry before priming or painting .
You should also make sure the walls are clean and free from dust .
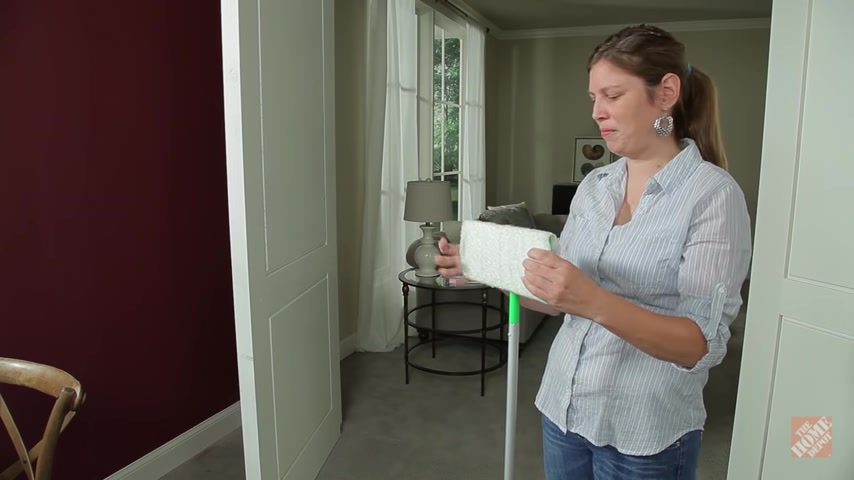
You'd be surprised how much dust actually builds up on walls over time , out of the way .
Corners and areas behind furniture can also have lots of cobwebs , use something like a floor duster to wipe the walls clean to ensure paint applies evenly .
Painter's tape is used to help you achieve clean professional looking results .
Its primary purpose is to protect areas you don't intend to paint .
It's perfect for door and window trim , molding and baseboards .
It helps you create sharp clean lines , paint stripes or patterns and create two tone wall effects .
There are different adhesion levels for painters tape , all are meant to be easily removed but some stick a little more firmly than others .
While some are perfect for textured surfaces , others are intended for more delicate areas like a freshly painted wall finished hardwood or wallpaper .
Be sure and check which adhesion level is right for the job you're doing .
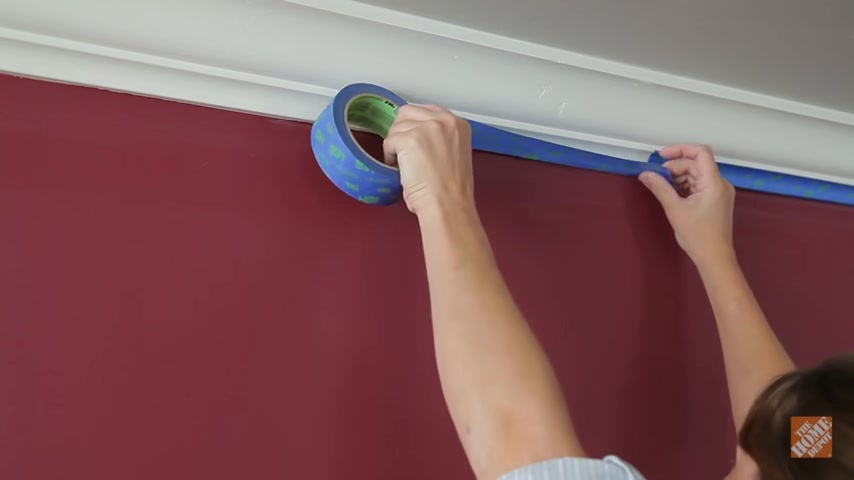
If your ceiling is non textured or if you have crown molding , you'll want to mask that off where it meets the edge of the wall , apply your tape in short overlapping strips , pressing down firmly along the edge .
If you don't take the time to apply painter's tape properly , you can experience bleed through .
Paint can seep under the tape barrier and get on the protected surface , make sure your tape is flat and evenly pressed down .
You can use your fingers or a putty knife .
Paint will seep through at any point where the tape is not in full contact with the surface before doing any priming or painting .
You'll want to protect your floors with a drop cloth .
There are three basic kinds , canvas , plastic and paper canvas , drop , cloths are extremely durable and absorbent so they can be used over and over again .
Plastic is less expensive and durable but isn't absorbent .

So spills won't dry as quickly and can be tracked through the room if stepped on paper is the most economical but can tear easily on floors .
But they're perfect for covering other things like cabinets and furniture .
If you're working in an average or small size room , you really should remove all the furniture any time you think you're saving by not doing this will be wasted throughout your project because you'll constantly be adjusting and relocating things to give yourself room .
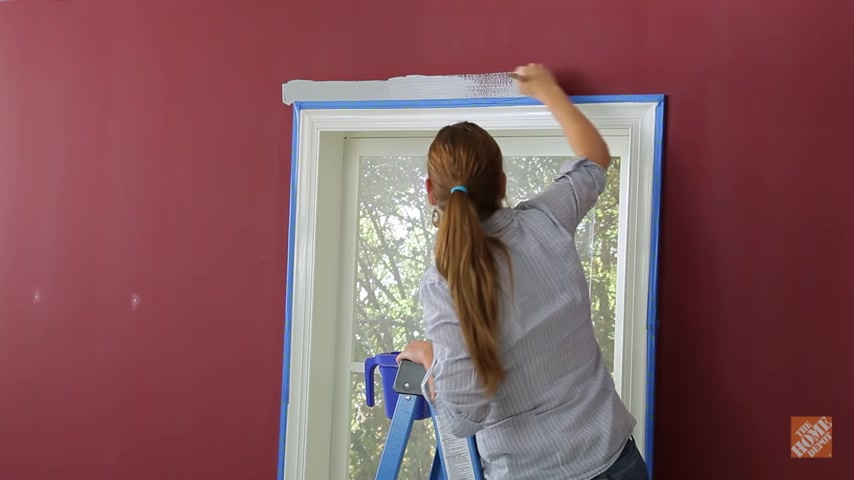
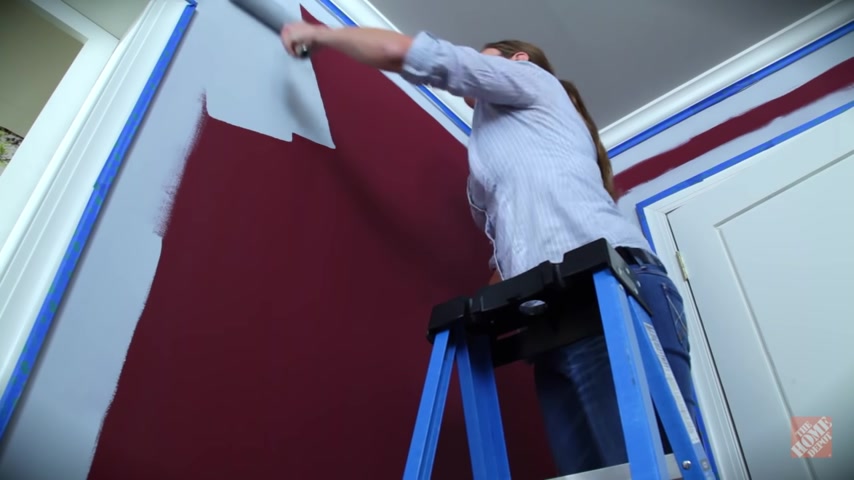
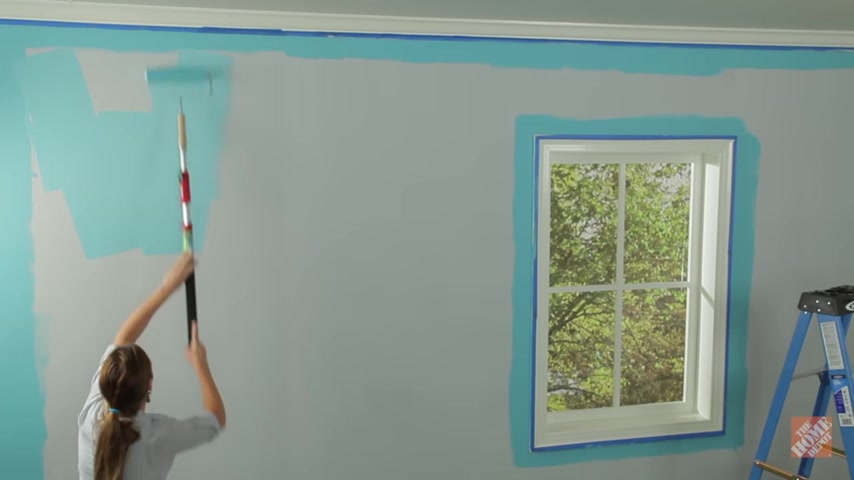
The final step of your paint prep is cutting in the room with primer cutting in is basically outlining the room and involves using a paintbrush to create 2 to 3 inch bands around the edges of the walls where they meet ceilings , baseboards , other walls , door and window frames and hinges .
Those 2 to 3 inch areas around the room allow you to roll the rest of the wall quickly without having to try and roll paint in those confined spaces .
It's impossible to use a roller that close to those areas .
You're trying not to paint without making mistakes when cutting in .
Many people choose to do the entire room at one time .
This is a good option if you want to finish in a hurry .
However , your border areas will probably dry before you overlap them when painting the wall .
You may see a slight difference in sheen between the two coats because they won't be able to blend .
If that's a concern , you should cut in and paint one wall at a time before moving on to others .
You'll achieve a smoother more seamless look because you'll be able to blend the wet paint you've brushed on with the wet paint being rolled on , priming your walls before painting is an important part of any painting project primers are specially designed to adhere to different types of surfaces and receive your top coat of paint .
You also have the option of using a paint and primer in one .
This will eliminate the need for separate coats of each and will save you time and money when painting new dry wall priming helps seal the wall and can help prevent mold .
They also help when you're painting walls that are stained or when you're making a dramatic color change .
Primers can also be tinted at our store to closely match the color of your paint .
Since primer is less expensive than paint , using a tinted primer can help you cut down on the number of paint coats needed and save you money .
If you've made wall repairs , spackle and special drywall compound will draw out the moisture from the paint giving the area a dull look that is different from the rest of the wall priming will prevent this problem since you'll be painting directly over the primer and not the repair material .
When applying your primer start by painting in three ft by three ft sections , roll in one section at a time , moving from top to bottom and from one side of the wall to the other with a fully loaded roller work top to bottom , rolling back and forth across the wall in a series of V or W shaped strokes until the section is covered .
Reload your roller and paint .
The next section covering only as much as you can finish while the primer is still wet , always overlap areas of wet primer .
This is a painting technique .
The pros call working to a wet edge .
The technique helps prevent streaking after the primer is completely dry , lightly sand away bumps ridges and other surface imperfections using very fine grit , sandpaper , fold it into quarters when the grid of one section becomes covered with paint , dust , switch to an unused section and continue wipe the wall clean with a damp towel or sponge and allow it to dry before starting any paint job .
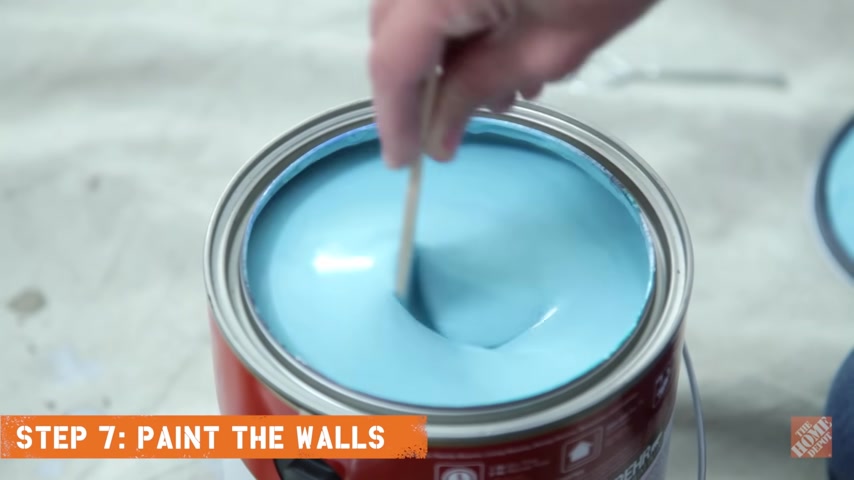
It's always a good idea to remix your paint using a mixing stick or a paint mixing tool .
You should do this any time you leave your paint sitting for an extended period of time .
The first step in painting your walls is to use a good quality paintbrush and cut in the room .
Again , this time with your paint .
If you left your painter's tape on , after priming , you can just paint over it again .
If you removed your painter's tape , you'll need to reapply it before starting a foolproof way of achieving clean and even paint edges is to avoid loading the brush down with too much paint .
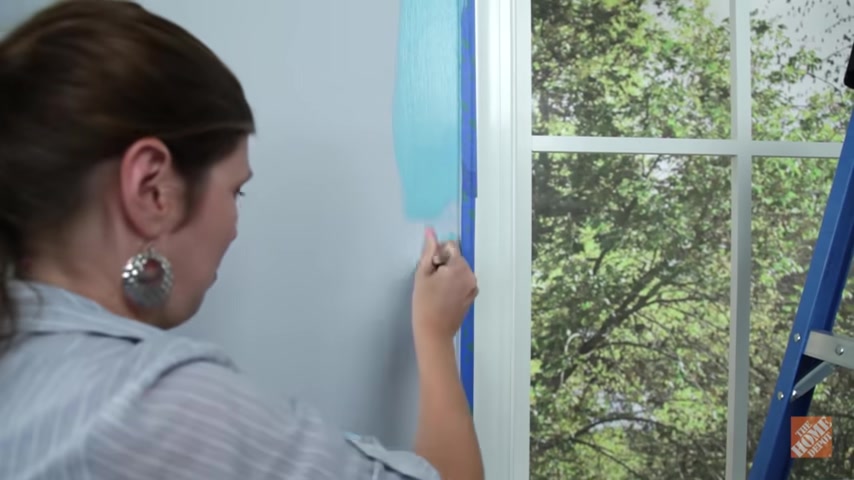
The excess has to go somewhere and will probably end up where it doesn't belong , begin painting by brushing onto the wall first and not the tape brush back and forth until most of the paint has been applied .
Then when there's just a bit of paint left on the brush paint , the area next to the tape and overlap your strokes onto the tape .
That way , there will only be enough paint left on the brush to cover the remaining unpainted wall surface and there won't be enough to seep under the tape to apply your top coat of paint .
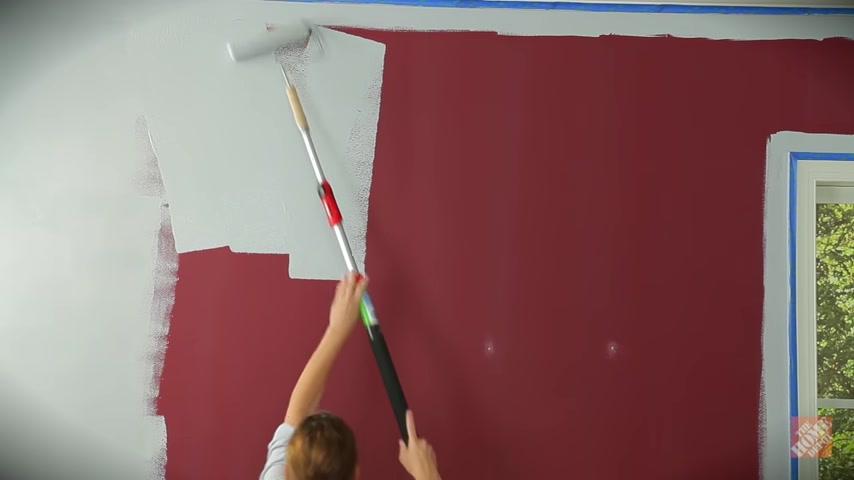
Follow the exact same process and techniques used when priming your walls roll in small manageable three ft by three ft areas from the ceiling to the floor and from one side of the wall to the other , blend your sections as you go with a fully loaded roller work top to bottom , rolling back and forth across the wall in a series of V or W shaped strokes until the section is covered .
You want your roller fully covered with paint but not to the point where it's dripping before reloading your roller and moving to the next section , roll over the area .
You've just painted in a smooth continuous stroke from top to bottom and back and forth without picking up the roller , these smoothing strokes , even the coat and help to cover up lines and paint roller tracks as you overlap areas already painted , lightly , lift the roller off the wall to avoid leaving end marks and to help blend different areas into one seamless surface .
Avoid the common mistake of painting straight up and down in rows from top to bottom .
When you do this , it's harder to blend your paint evenly and you can end up with a slight striped appearance which you won't be happy with .
Final step is to remove your painter's tape .
Now , you have two options .
You can do this just before the paint dries completely .
If you're concerned about the tape getting stuck in the paint or you can wait until the paint is dry .
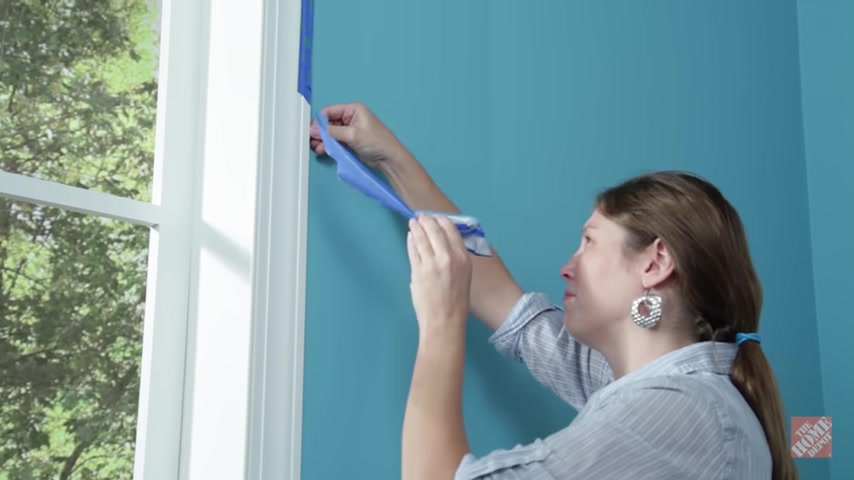
If left on too long , sometimes small pieces of the tape can tear and get left behind when being removed .
If you run into this , use a utility knife to slice through the dried paint while pulling up the tape at a 45 degree angle .
Now , tightly sealed remaining paint in cans , thoroughly and completely clean paintbrushes and rollers and dispose of used painter's tape .
Noticeable color variations and separate gallons of paint are rare .
Now , that mixtures are created by computers , but to be safe , once you've used half a gallon of paint refill that can with paint from a different can and remix .
If you're doing a large job , you can mix several gallons into 15 gallon bucket .
That way you'll be guaranteed color uniformity .
You also have options for how you reload your paint roller .
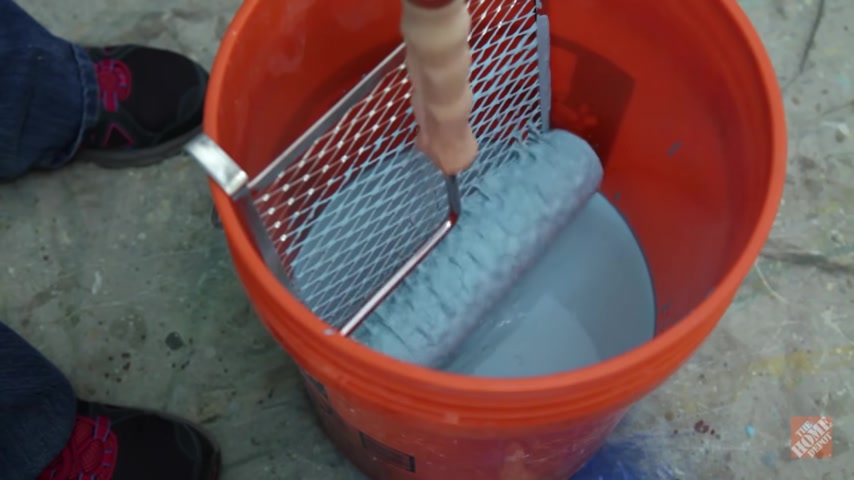
You can use a traditional and reliable paint tray or to avoid the possibility of stepping in your paint or having a pet wander through and causing a mess .
You can roll from a bucket using a paint grid for optimum results in color quality and finish .
A second coat may be needed , just be sure and allow the first coat to dry completely .
Usually between two and four hours .
Partnership
Are you looking for a way to reach a wider audience and get more views on your videos?
Our innovative video to text transcribing service can help you do just that.
We provide accurate transcriptions of your videos along with visual content that will help you attract new viewers and keep them engaged. Plus, our data analytics and ad campaign tools can help you monetize your content and maximize your revenue.
Let's partner up and take your video content to the next level!
Contact us today to learn more.