https://www.youtube.com/watch?v=80qdbvIK1WM
How to Install Crown Molding _ HGTV
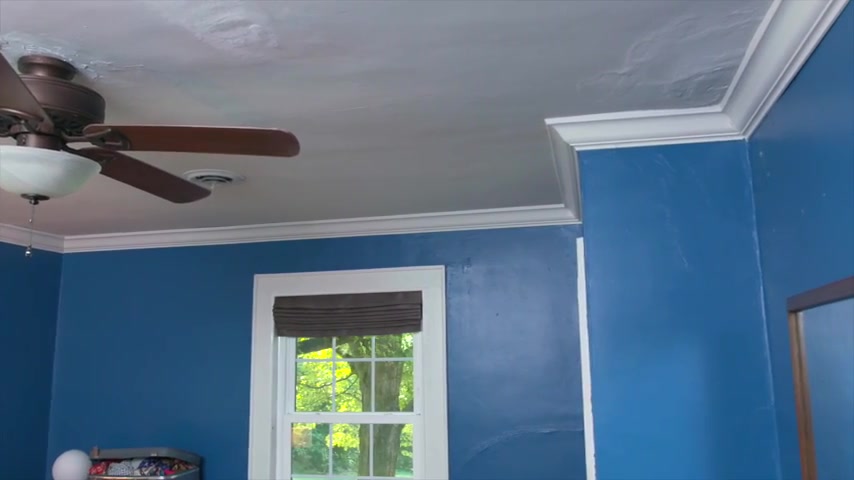
Crown molding is an inexpensive and easy way to upgrade any room in your house .
If you know what you're doing , tools and materials , you will need crown molding , 18 gauge nails , 2.5 inches , a nail gun paint , KKK and cack gun , a ladder .
You'll also need AM or saw tape measure safety glasses .
There are three types of crown molding cuts , the inside corner , the outside corner and the scarf joint or overlap for long wall sections .
We will start with an inside corner for every cut .
You will measure the wall where the bottom of the crown molding will sit measure corner to corner for inside corners .
The bottom edge will be long and the top edge will be short mark the wall measurement on the bottom of the crown molding , draw a small line just past your measurement indicating the direction and angle of the cut .
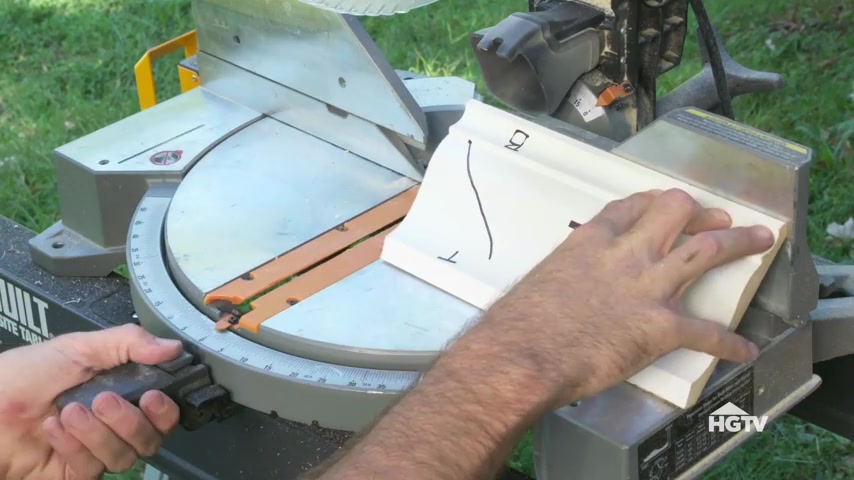
Now , let's learn the basics of an inside corner cut on the left side of an inside corner , the cut will angle up to the left on the right side of an inside corner .
The cut will angle right .
The number one trick to cutting crown molding is to cut each piece upside down .
This is the wall side or bottom and this is the ceiling side or top .
The second trick is to set molding against the saw and mark a line .
This visual reference will make sure your cuts are consistent from board to board .
No need to mark the center of the table because it will swivel , swivel the saw to a 45 degree angle to match the direction and make the cut follow the direction of your marks for each subsequent cut .
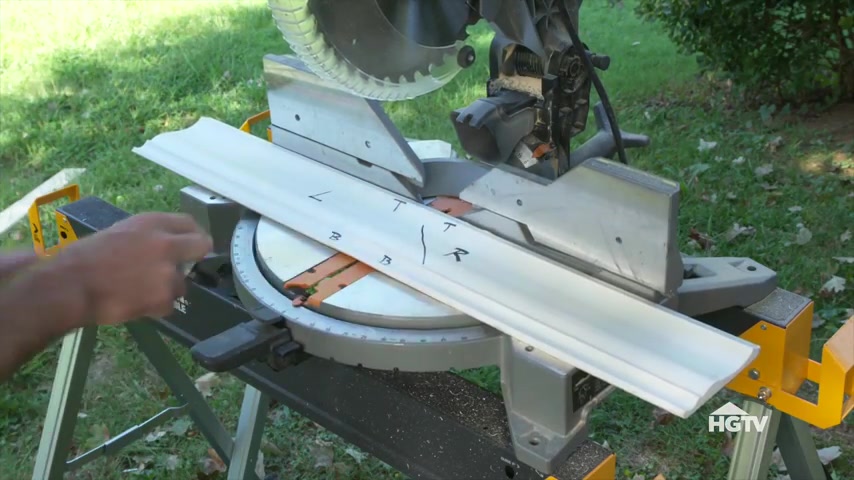
Now let's learn the basics of an outside cut for an outside cut .
The bottom is short and the top is long .
You still want to measure your wall where the bottom of the molding will sit on the right side of an outside corner .
The cut will angle up to the left on the left side of an outside corner .
The cut will angle up to the right again , flip each board upside down and line it up with the mark on your saw , set your blade angle to 45 degrees in line with your direction and make your cut repeat on both boards .
Finally , let's learn how to make a scarf joint .
This is used to hide where two pieces meet on a long wall start by measuring the wall to the lowest point of the front facing on both the right and left sides of a straight joint .
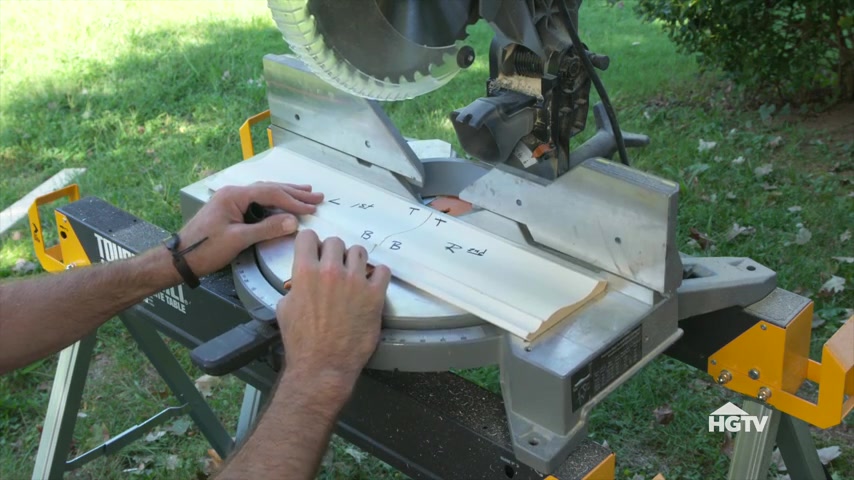
The cut will angle in the same direction for these joints , you do not turn the boards upside down and they lay flat on the saw , the swiveling part of the saw table stays centered .
Instead , tilt the saw blade to a 45 degree angle and make your cut , cut each board using the same method to install your cut pieces of molding .
Simply fit them snugly together and nail them in place .
As you can see , these inside corners didn't meet perfectly .
But that is easily remedied with some paint caulk , fill the gap with a small bead of caulk and wipe smooth with a damp rag .
I can still see a bit of a gap here at the ceiling and have visible nail holes you can use to fill those in for a seamless look on the outside corners .
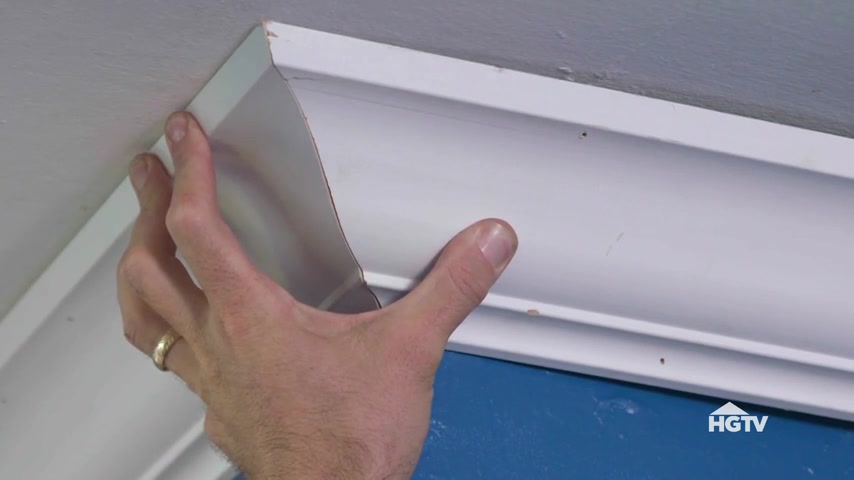
It is extremely important to get a snug fit because Caulk won't help you much here .
Crown molding is really not as hard as it seems and it can provide an immediate and visible upgrade to any space .
Are you looking for a way to reach a wider audience and get more views on your videos?
Our innovative video to text transcribing service can help you do just that.
We provide accurate transcriptions of your videos along with visual content that will help you attract new viewers and keep them engaged. Plus, our data analytics and ad campaign tools can help you monetize your content and maximize your revenue.
Let's partner up and take your video content to the next level!
Contact us today to learn more.