https://www.youtube.com/watch?v=L5mVKZnTqac
2023-06-14 18:10:01
How to Make The BEST ROYAL ICING (Quick & Easy Tasty Recipe)
Hi , everyone .
I'm excited to share with you how I make my royal icing .
And if you stick around to the end , I'll show you how I color my icing , how I make my consistencies and how I bag it as well .
So what you need today to make the icing is one bag of powdered sugar , three tablespoons of meringue powder , two third cups of water , one quarter cup of corn syrup .
The reason we add corn syp to our icing is not only does it add shine to the icing , it also adds a little bit of flexibility and it gives your icing a softer bite .
One tablespoon of vanilla extract or imitation vanilla and one tablespoon of butter emulsion or butter extract .

And about a teaspoon of white gel color .
I'll have the full recipe under the video in the description .
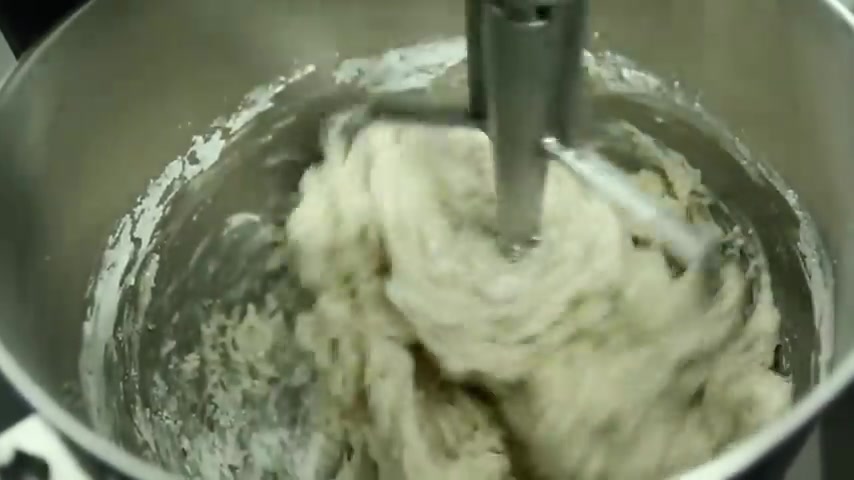
So we're gonna start by dumping the powdered sugar in our mixing bowl and we're gonna add our meringue powder .
Then on the lowest speed , we're gonna stir up these two ingredients until they're nicely mixed together .
Once they're nicely mixed , we can go ahead and add our water .
Make sure you only add about half your water right now .
The rest will be reserved to thin down the icing further .
We're gonna go ahead and add our corn syrup as well along with our flavorings , everything can go in the bowl at once and we're gonna keep stirring at low speed until the icing comes together .
Once the icing comes together , it's gonna look really thick and really ugly , but don't worry about it , it'll come together in the end if you need to add a touch more water because you still see too much powdered sugar .
You can go ahead and add a few drops .
You don't want to add too much because it'll be too thin in the end .
You wanna maintain a thick consistency at this point .
And finally , I'm gonna add my white gel color .
Now there's a couple of reasons I do this .
So the first reason is because I've added real vanilla extract .
It's colored my icing a little bit darker and it's not white anymore .
So I want to bring it back to a nice bright white .
The second reason you want to add white to your icing is because it prevents color bleed .
So it's super important whether you use , you know , real extract or imitation clear extract , you still want to add the white to your icing .
Once you have all the ingredients in the bowl , you wanna stop your mixer for a second and scrape down the sides and get all the way down there in the bottom .
You want to make sure any sugar or anything that wasn't mixed in thoroughly is gonna get in there now .
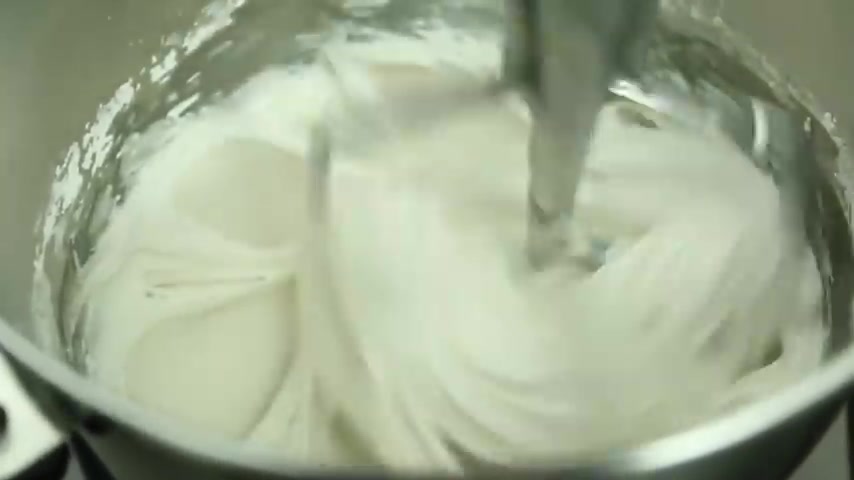
So now we're gonna turn up our mixture to about a 45 just for about a minute or two .
I don't want to over mix it .
I don't want to mix it too long because what happens if you overmix your royal icing , you will get a crumbly dry , very aerated icing that it almost crumbles to the touch .
It doesn't dry with a shine and it's not very pleasant to look at or even to eat .
So after about a minute , I want to scrape down the bowl again just to make sure that everything gets in there .
And I'm gonna go for another about 30 seconds and whip it up again .
I'm just gonna be give it about a medium speed here .
You can see that the color has changed .
It's nice and bright here .
You can see that it's a lot fluffier .
It's nice and thick .
That's exactly what we're going for .
All right .
So just a little tip here that I learned over the years is I used to mix my royal icing to a super stiff consistency because that's how everybody seemed to be doing it .
And then I realized it took me forever to thin it down to my outline consistency and then further down to my flood .
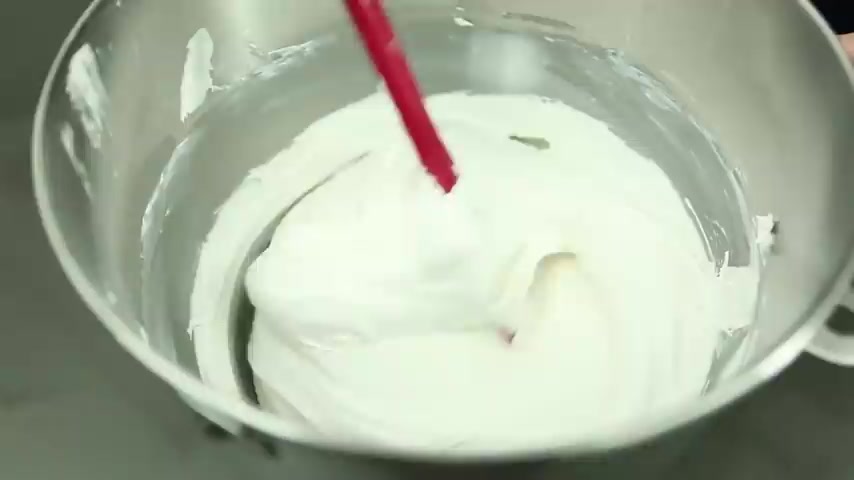
So now what I aim for in my mixer is to mix it straight to my outline consistency , which is basically a soft peak .
It's not super stiff , but you can see it's still holding all the little lines and little creases in the icing .
So that's what I'm looking for .
It saves me a lot of time .
You can see here it's got a soft peak .
So when I pull it out of the icing bowl , you can see the tip of the icing flops over nicely , but it still holds that peak .
So while I go to color my icing , we want to make sure that we cover this bowl , otherwise it'll dry out .
So make sure to scrape the sides of the bowl so that you don't have too much icing on the sides and we want to cover it with a damp paper towel .
So now on to how I color my icing .
So , like I mentioned before , this is my outline consistency .
So it's ready to go .
And what I'm gonna do is take enough icing in this bowl for my outline and my flood .
So this is the way that I get my outline and my flood , the exact same color .
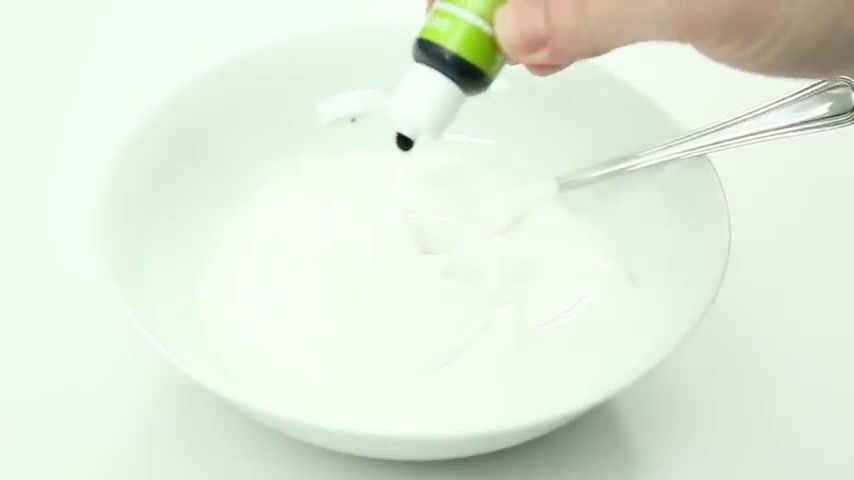
So I first color my icing .
And if you're not familiar with coloring icing or using gel colors , you always want to start with just a few drops .
It depends how much icing you're coloring .
You know , if it's just a minimal amount , a very small , let's say a half cup or a cup , you might not need that much color .
If you've got , you know , more than a cup or a couple cups of icing , you will need more , some colors are stronger than others .
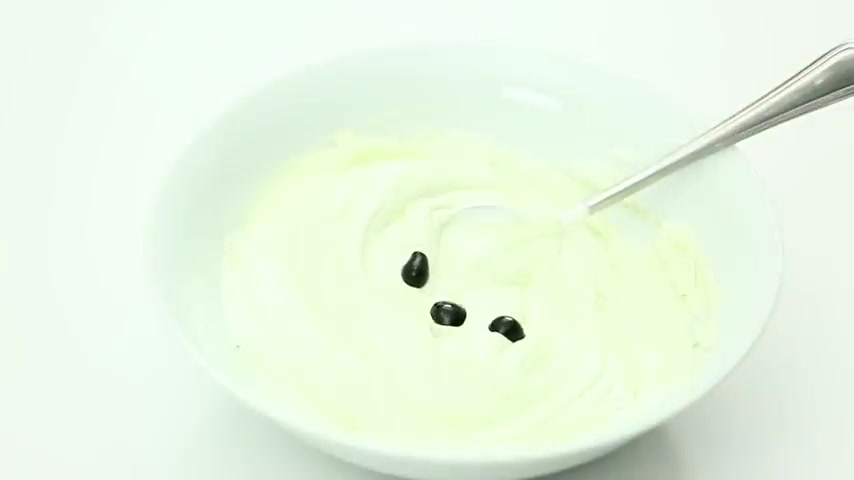
This green that I have , this is actually the first time that I'm using it and it's not as strong as I thought it would be .
So , it's always good to start with less color .
Just a few drops just to see how much color the icing will take on .
Then if you see it's really , really light , you can add a few more drops .
And after you get to know your colors a little bit , you'll realize , you know , how much you need and how much you don't .
It's always easier to color your icing darker if you need to than trying to make it lighter again .
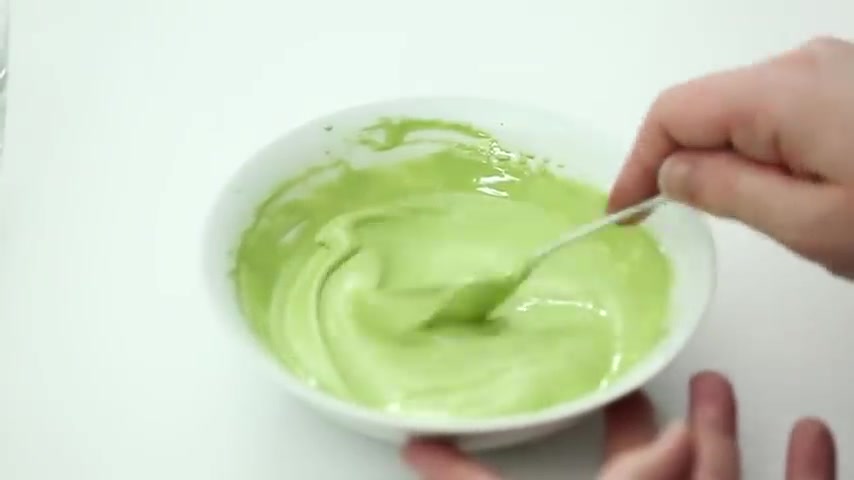
So each time you add some color , you want to give it a really good stir because you want to incorporate anything , you know , that's left on the sides or sometimes the gel gets stuck to the spoon .
So you want to make sure you scrape down the bottom of the bowl and you get it all in there .
So now that I've got the color that I'm going for , we're ready to bag our icing .
Now while I go get my bags , you never want to leave a bowl of royal icing out sort of open like this for very long .
So all my bowls , I always make sure to cover them with a damp paper towel .
This keeps the icing from crusting over and getting hard .

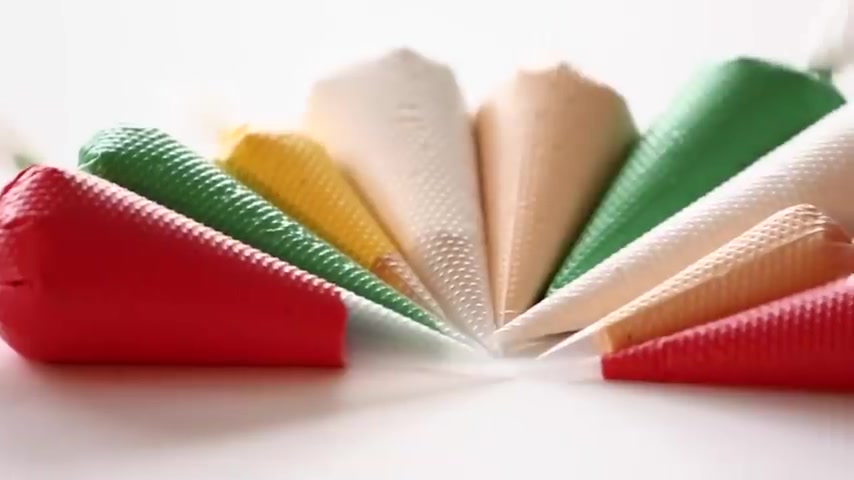
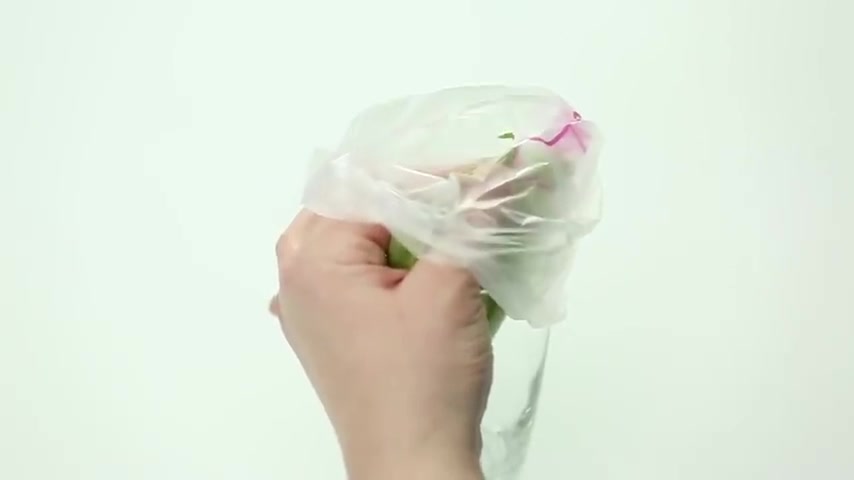
So I've got my tall glass here and I've got my tip bag and this is the easiest way I think there is to fill any kind of piping bag .
So you just fold the bag over top of the glass and I'm gonna put a couple of spoons of icing into my bag .
This is my outline consistency .
It comes in handy as well because if you ever run out of flood icing , which has happened to me many times .
I always know I have extra icing in this color that I could thin down easily .
I don't use much of my outline icing .
So it's always a little bit of a reserve as well for me .
So what you wanna do is get all the icing to the bottom of the bag .
So you wanna as much as you can squish it down to the bottom .
If you have some air bubbles or air pockets , you wanna just massage the bag a little bit while it's open up top .
And once you're ready , you want to twist the bag a few times .
And I prefer to tie knots in my bags because it , it keeps the icing nice and tight in there .
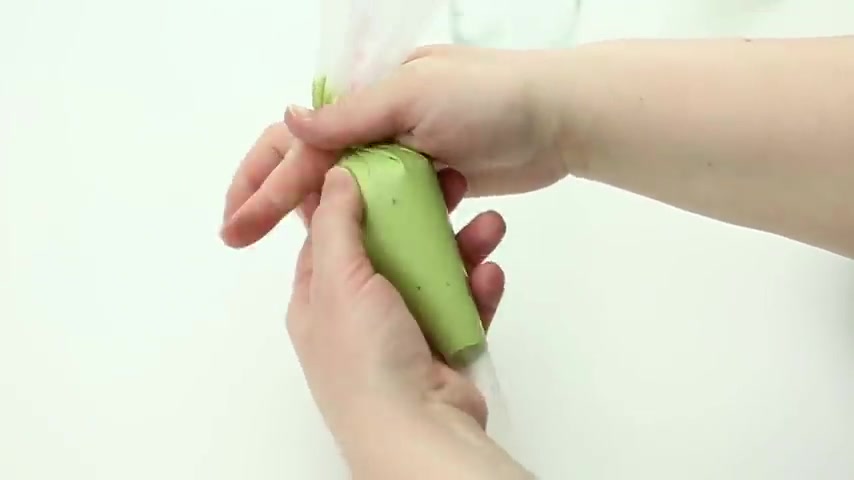
If you don't have space to tie a knot , your bags are too small or you put too much icing , you can always put um one of those little bag clips or something , whatever works for you .
And so now we have our outline consistency .
So we go back to our bowl now and I'm gonna make my flood consistency .
What I want to do is add a little bit of the water that we didn't use previously .
If you haven't made royal icing very many times , you want to go slow with the water .
A little goes a long way .
And it's , again , it's easier to add more water than try to thicken up your icing if you've added too much .
And I'm looking for a smooth consistency that ribbons off the spoon .
I want the icing to melt back into itself and come nicely off the spoon .
I want it to settle on its own nice and flat and then I'll know I have the right consistency .

This is also personal preference .
Some people like a really thick flood and they like to shake their cookie or top it or thin it out with their scribe .
Other people like a really thin flood .
I personally prefer a thinner flood because I find it's less time to try and smooth out the flood .
And so I'm looking for or something that settles by itself and here we're almost there .
You hear people talking about seconds .
So what they mean is , you know , if your icing is settling into itself or you cut your icing with your spoon in half , how many seconds does it take to come back to being flat .
So some people like an 8 to 12th icing and that's usually a looser flood , a flood that is very thin and settles by itself .
You know , something that's about 15 to 20 seconds that takes longer to settle down on its own or needs a little bit of help .
It needs to shake a little bit .
That is a little bit of a thicker flood icing .
But the one that I use , I like to make sure that it ribbons off my spoon nicely and that it comes together easily on its own or with a little shake .
Now , after I've mixed my flood , I don't want to bag it right away .
What I want to do is cover it back up with a damp paper towel and let it sit for about 10 to 15 minutes .
The reason I do this is because there's lots of bubbles .
Once you add more water to your roll , icing the looser your flood is the more bubbles you come , you don't want those on your cookies because they don't create a nice smooth surface .
So we want to pop them before we bag so that our icing comes out nice and smooth when we're doing our cookies .
And now I'm just running my spoon over the top of the icing to pop all those bubbles while I'm waiting for these bubbles to rise .
I usually go and color the rest of my icing .
So by the time I've done all my colors and I come back to the first one , all those bubbles are ready to be popped and now we can go ahead and bag our flood icing .
So I'm just gonna pour it in my bag here .
And what I like to do when I'm done is put the spoon inside the bag and squeeze it between the piping bag just to get all the excess icing off the spoon And there you have it .
The perfect roll icing recipe , which is really easy to make comes together quickly and it gives you a beautiful icing to decorate your cookies with .
This is what I use on all my cookies for my flowers , for my writing for my flood .
Everything .
The recipe won't be included in the description below the video and I hope you guys get a chance to try it out .
Let me know how it goes .
Thank you so much for watching and as always happy cookie decorating .
Partnership
Are you looking for a way to reach a wider audience and get more views on your videos?
Our innovative video to text transcribing service can help you do just that.
We provide accurate transcriptions of your videos along with visual content that will help you attract new viewers and keep them engaged. Plus, our data analytics and ad campaign tools can help you monetize your content and maximize your revenue.
Let's partner up and take your video content to the next level!
Contact us today to learn more.