https://www.youtube.com/watch?v=VVNxXfW_zXY
How to Tile a Shower _ Tile Prep and Installation
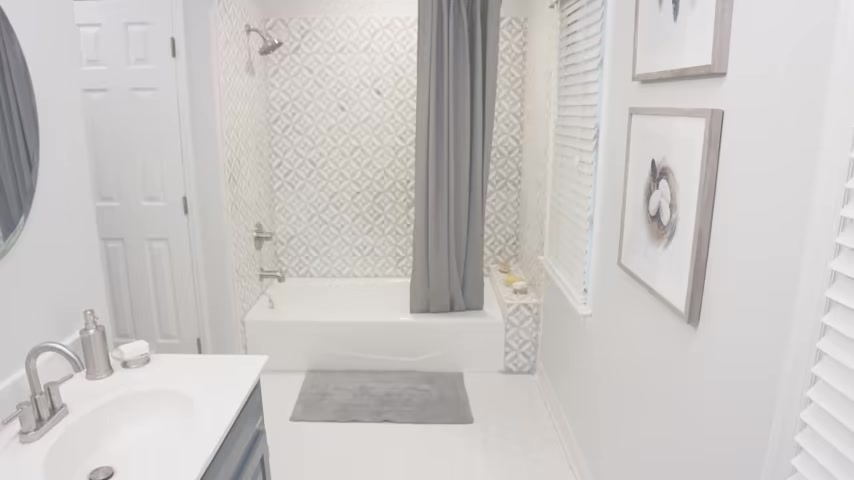
Nothing brightens up a bathroom like a freshly tiled shower wall .
This one needs it as part of this bathroom remodel project .
We're gonna remove that old tile and put in new tile .
Now , if you've done a tile wall on drywall , you will recognize a lot of these steps , but there's some things that we have to do in preparation for a shower wall that are a little different .
You ready ?
Let's get started .
The first step is to remove the old tile or the fiberglass shower wall .
Now , this is a dusty job .
So use plastic to cover your doorways , wear a respirator that's rated for dust , cover the floor with a drop cloth and make sure there's plenty of ventilation , use a hammer and a chisel and work your way across .
Use a reciprocating saw to cut out any screws , we will replace all the backing boards .
So if you damage it , it's ok .
Ok .
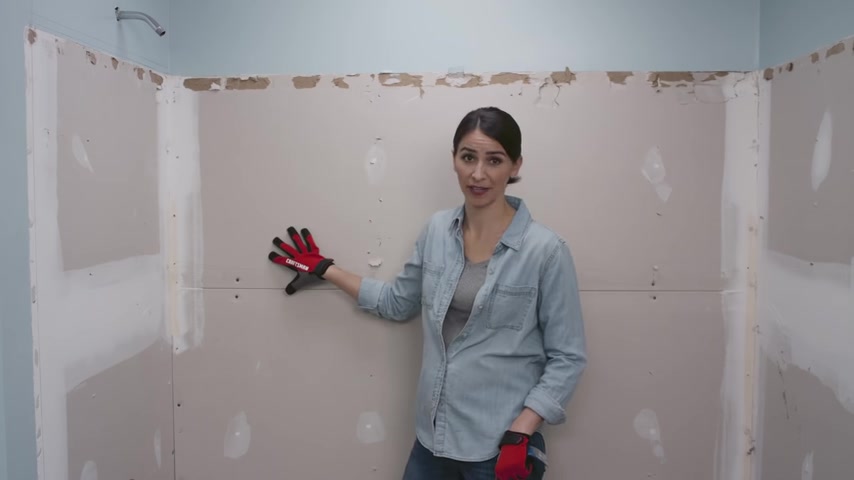
So we found this dry wall back here .
This is how they used to do it in the old days .
We don't do this anymore because it can get wet , it can grow mold .
You can have drywall above the showerhead , but anything under the showerhead has got to be cement backer board .
So we are gonna rip this out .
It's time to inspect what we got back here .
Make sure all your studs are in really good condition and that everything is mold free .
If you see any mold , stop call professional and have it removed by an expert , you don't want to mess with that stuff if you need to reroute any plumbing or install a new tub or shower pan .
Now's the time to do that .
We've updated our shower valve and added some X pipe to bring everything up to modern standards .
We're installing our backer board .
You can see we've chosen a board with the same thickness as our dry wall .
So you have a seamless transition from one to the other .
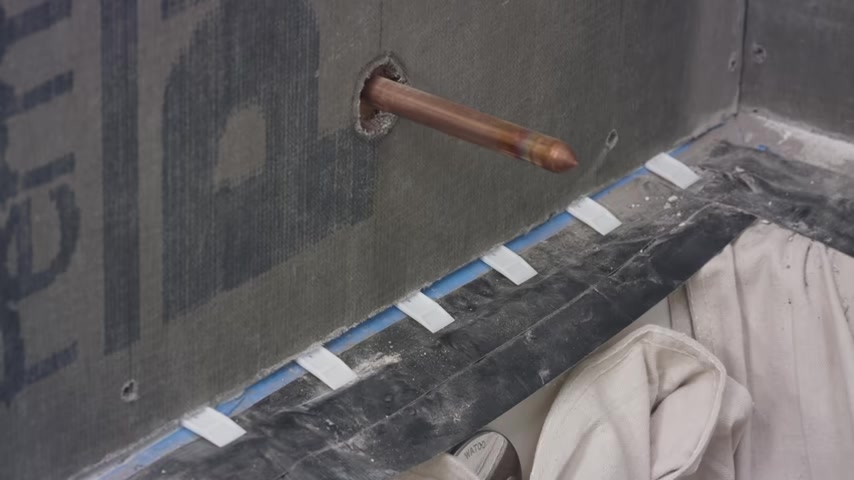
You measure your work area and you cut your boards to fit to cut a back aboard .
You mark it , score it with a knife and snap along the cut .
Use shims at the base to set a quarter inch expansion gap .
You might need a friend for this part to help hold larger boards in place while you attach them .
Not me , secure the backer board to the studs with concrete backer board , screws , not drywall screws , mix up some thin set mortar , then press cement backboard , seam tape onto the mortar and use your putty knife to press it down securely .
So there are two ways to create a waterproof barrier around your backer board , you can either put up a vapor barrier behind it or you can use a paint on waterproof membrane on top of it .
If you use both , there's a small risk of trapping moisture between those two barriers .
So we don't want to do that .
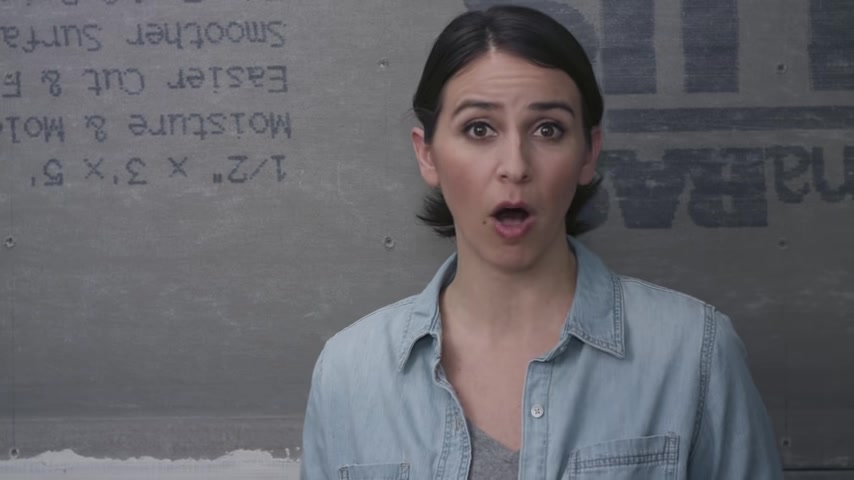
The only exception to that rule is if your bathroom is on an exterior wall , if you have an exterior wall , you may want to check your local building codes and see if a plastic vapor barrier is required for this shower .
I will be using a paint on waterproof membrane .
So you begin by brushing it onto all the seams .
Then you use a roller to cover all the exposed backer board when the first coat is completely dry , add another coat .
There we go .
The second coat is dry and our whole shower is prepped and ready to go .
Now before we go any further , it's time to make tile decisions .
Yeah , is my favorite part .
So determine how much tile you'll need .
Measure each wall area with times height , add up the wall areas and add 10% just to make sure you have a little extra .
When you're using ceramic tile , try to find boxes with the same die lot number .
If you can't find matching numbers , mix tiles from different boxes while you're installing , so that any color difference won't be as noticeable .
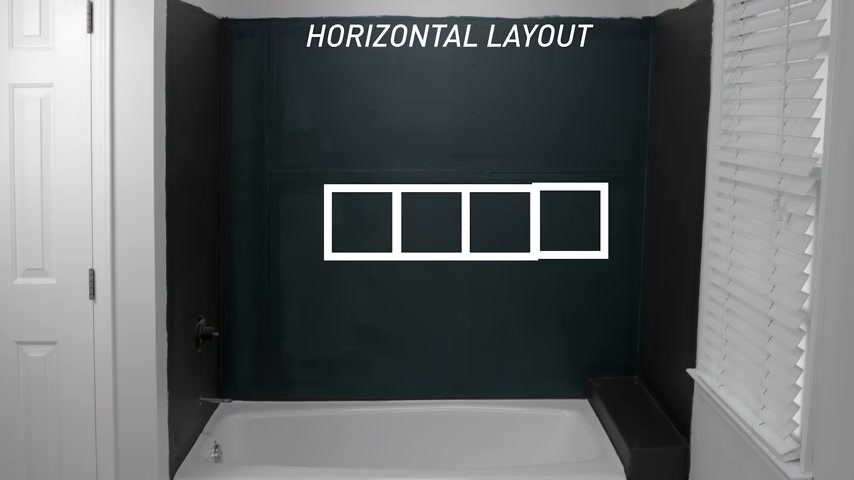
Next plan your pattern , you want to center a tile horizontally along the length of the wall and do a quick dry fit to make sure you don't have those tiny tiles at the end of the rows .
If so , you can adjust your layout , shifting it to either side to make sure you have wider tiles on the side .
For the vertical layout .
We're going to start our pattern at the top of the wall so we can have full uncut tiles at the top .
And then if we do have to cut tiles to fit , they'll be at the bottom where the tub or shower pan might be slightly out of level because we will probably be cutting that bottom row of tiles .
We want to start our installation with the second row measure and mark the spot for your second row of tile , then attach a board to the wall to act as a guide , mix up some thin set mortar .
According to the instructions , you are looking for a creamy peanut butter consistency .
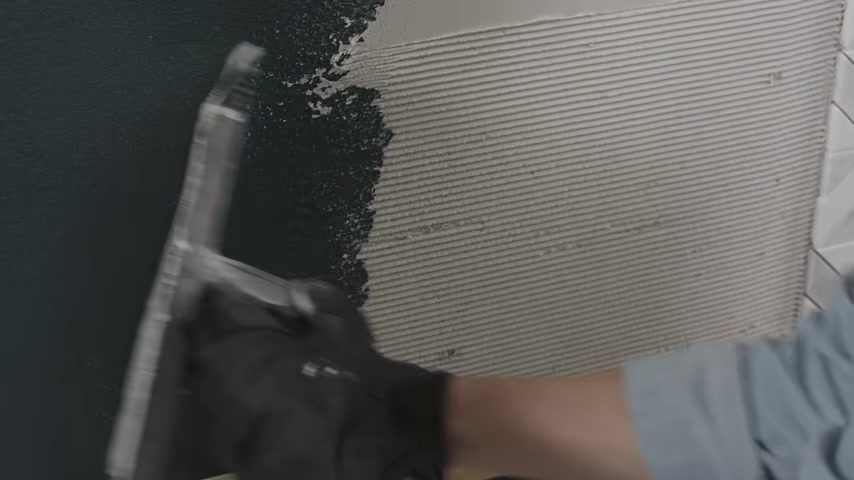
Spread the thin set in place , working in a small section at a time , use the notch side of the towel to texture the thin set , then push your tile firmly into place , use spacers between the tiles to make sure your gaps are consistent .
Different tile sizes and shapes work best with different trial notch sizes .
So find out which trial notch size is recommended , check regularly to make sure you are keeping everything level .
And it is a good idea to pull one tile off after you install it to check that the thin set is sticking to the whole tile .
If not use a towel with a larger notch to cut a tile , use a tile cutter and just score the length of the tile and press firmly to cut to cut curves .
Use tile nippers , a whole saw designed for tile as a tip for bowl nose or edge pieces .
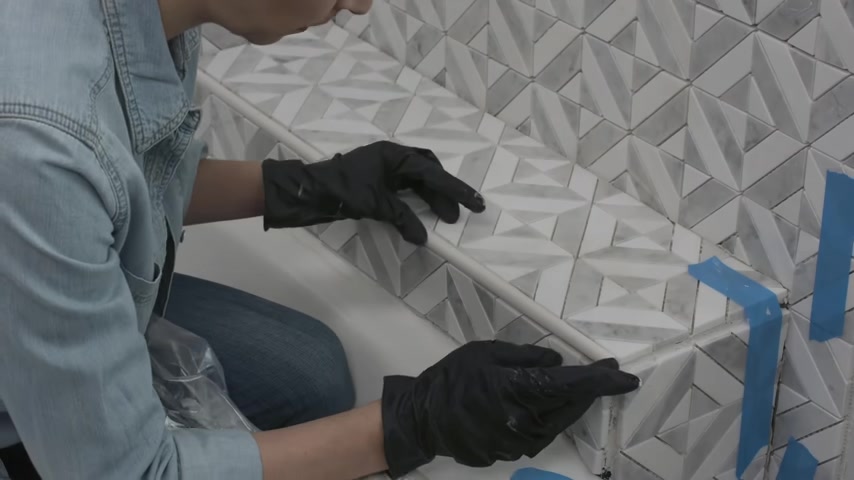
Use a Ziploc bag , fill it with mortar , snip the corner about a half inch and pipe it through the bag like frosting on a cake easy peasy .
Once the tiles are in place , remove the guide board and fill the screw holes with your waterproof membrane , then finish the bottom row .
Make sure that you leave a quarter inch expansion gap at the bottom .
Once the thin set has dried for 24 hours , you can remove the spacers and get ready for grout .
Mix a small amount of grout at a time and apply it with a rubber float , work it into the spaces by using a diagonal motion .
Once it is dried for about 10 minutes , use a wet sponge to wipe away any excess but try not to remove any of the grout in the joints .
Once the grout is totally dry , you can use the grout haze remover to clean the tile faces .
This can take several applications to remove stubborn haze .
So take your time and try to be patient .
After a few days of drying , apply a grout sealer to the grout and a silicone sealant to the corners , edges and joints .
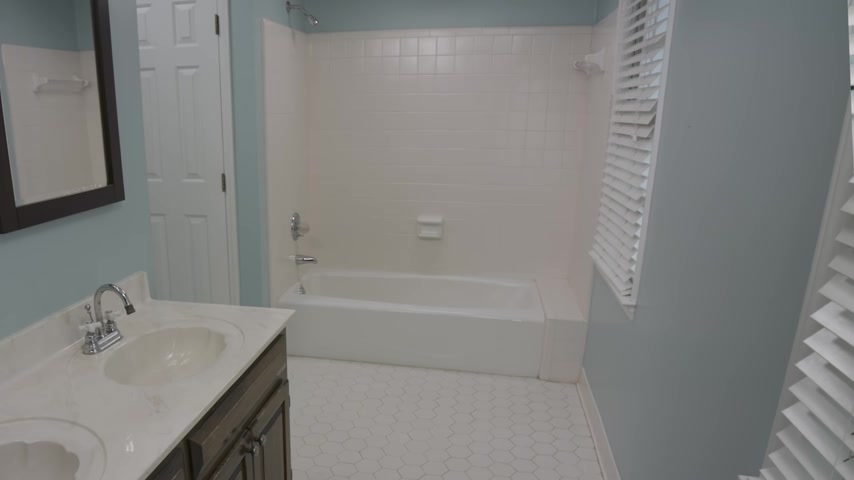
Wow .
What a difference .
Right .
Along with our vanity restoration project and some finishing touches .
This bathroom looks amazing and with some tools and supplies from Lowe's , you can transform your bathroom too .
I'll see you next time .
Are you looking for a way to reach a wider audience and get more views on your videos?
Our innovative video to text transcribing service can help you do just that.
We provide accurate transcriptions of your videos along with visual content that will help you attract new viewers and keep them engaged. Plus, our data analytics and ad campaign tools can help you monetize your content and maximize your revenue.
Let's partner up and take your video content to the next level!
Contact us today to learn more.