https://www.youtube.com/watch?v=sQWPnaiixe0
2023-06-14 18:09:07
How to Make a DIY Greenhouse _ I Like To Make Stuff

Hey , I'm Bobby and I like to make stuff today .
We're gonna make a greenhouse today .
We're at Josh's house on the side of his house .
He has a really large open space and his wife has always wanted a greenhouse .
So we're going to build one to go here .
This is going to be a lean to style greenhouse .
It's not going to be attached to their main house .
It's not going to be embedded in the ground and there's a bunch of different ways to make greenhouses .
This is just one of them .
Now , the first tip here is to clean off this wall because this is all going to be covered up by the back wall of the greenhouse .
We're going to do that now to give you an idea of how big this is going to be .
It's going to be six ft off the wall and 12 ft long .
Each one of these sections in the concrete is three ft .
So we're going to have four of those 1234 and it's going to end right here .
Now , the door to the greenhouse is going to be right on this end .
So you can walk around from the back door and walk right inside .
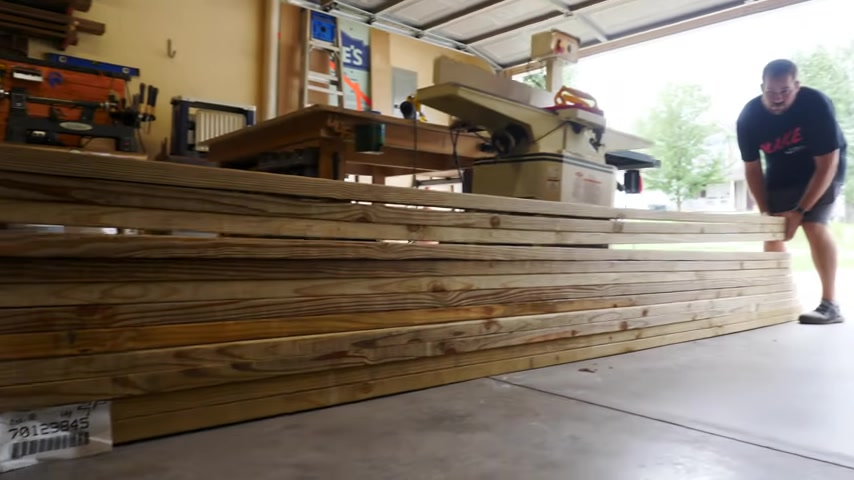
We've got a whole stack of two by fours here that we're going to use for the entire construction and we're going to start by making the floor .
The floor jots are going to be two by fours , 16 inches apart , 16 on center and the entire thing is going to be 12 by six .
If you wanted to scale this down by four ft , that would be super easy to do .
You can make it eight ft or four ft or whatever you want for this .
I'm going to use a pneumatic framing nailer and a lot of times people confuse this with the roofing nailer because it's got a coil .
There's actually a coiled and a straight version of both roofing and framing nailers .
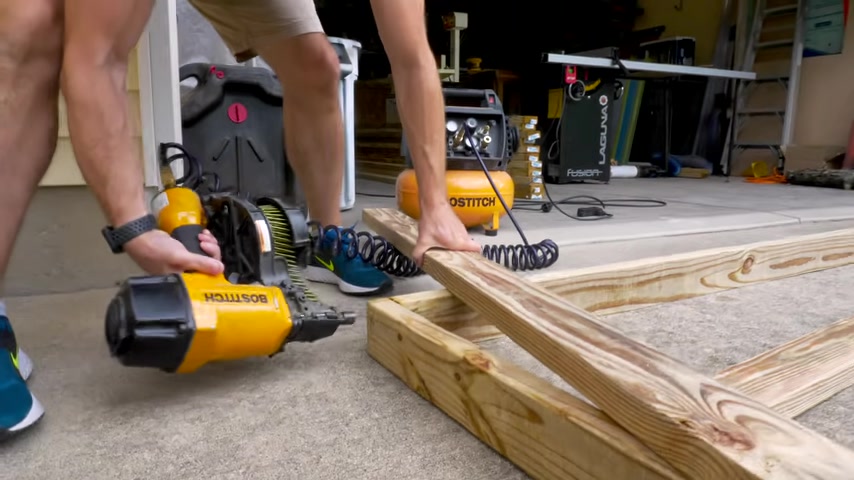
I'll have this linked down below as well as all the other stuff we got at Lowe's in case you want to check it out so far , I've only put in this one and one down there .
These are four ft from the outside edges .
Now , I said earlier that we are going to put all these pieces 16 inches on center and we're not actually going to do that .
16 is the minimum spacing to make sure that the floor is fully supported instead of 16 inches , we're going to break each one of these areas down into three equal segments and then just put the two by fours there .
We've got the frame laid in place and this is not its final position .
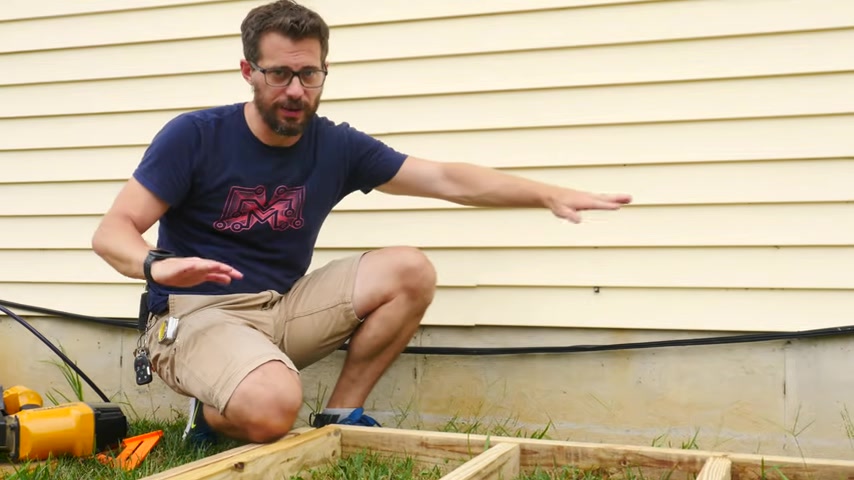
It's actually going to be closer to the wall , but we have to be able to work on the back of it before we push it up against the house .
And also we can't level the ground underneath it without completely grading this area , which we don't want to do until we get it into its final position .
We'll deal with that later on .
But for right now , I'm going to start building out the back face of this and nailing the pieces in place so that we can get the back complete , move the whole thing into place before we do the rest of it .
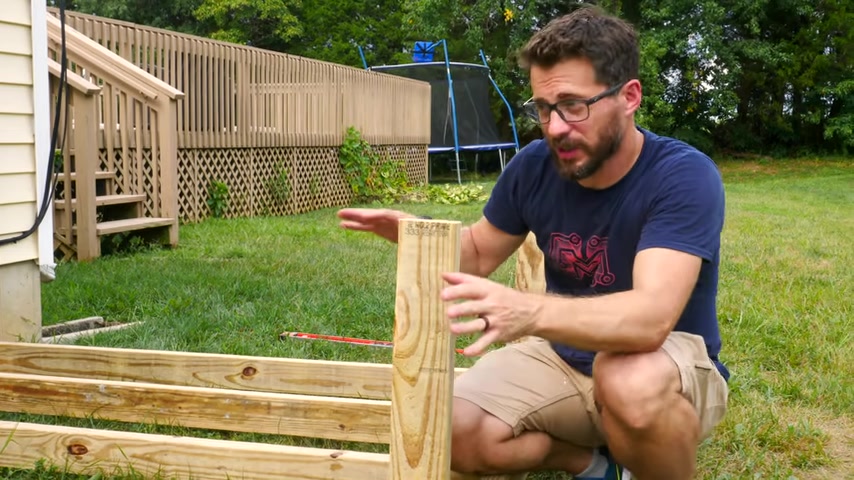
I've got the vertical pieces up on the back and they're really floppy right now because they're only connected at one little spot on the bottom , but we're about to tie them all together with 12 by four going all the way across , then we'll have at least kind of a stable wall .
Now , at this point , there's nothing to stop it from going forward and backward .
So we're also going to build the front wall and then connect to the front to the back at the top corners and that will at least give us a stable structure for today .
We thought this area of ground was pretty level .
But once we got the frame pushed into place , we saw that it wasn't going to be good .
So we decided to stop work and figure out a way to get the surface level all the way across .
Now , like I mentioned before , you could grade the surface ahead of time , but we didn't really want to do that .
So instead , we used some two by fours to act as feet going all the way from the frame to the ground .
We used two levels on the frame and worked our way from one end to the other , making sure that the entire thing was level and now we've got a great surface to build on .
We got this outer frame put on , but I'm not going to nail these two pieces in yet .
I'm going to screw them in instead because eventually we want to take them out so that we can lay down the floor panels on the floor Joyce .
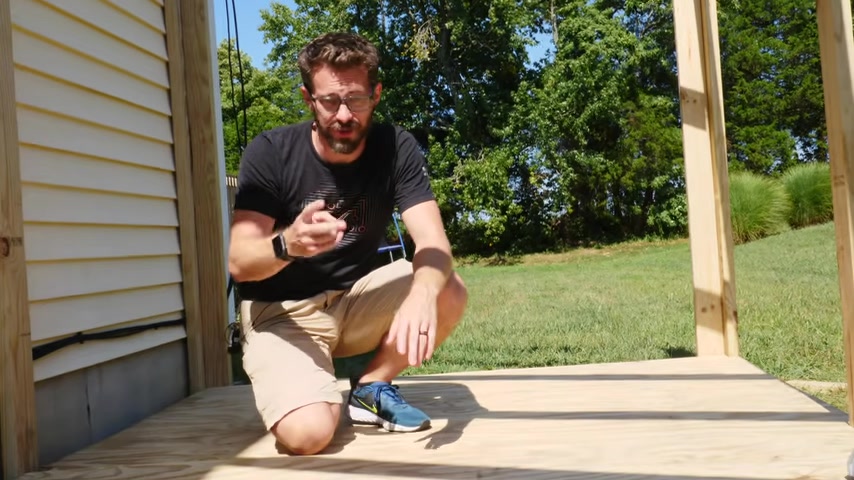
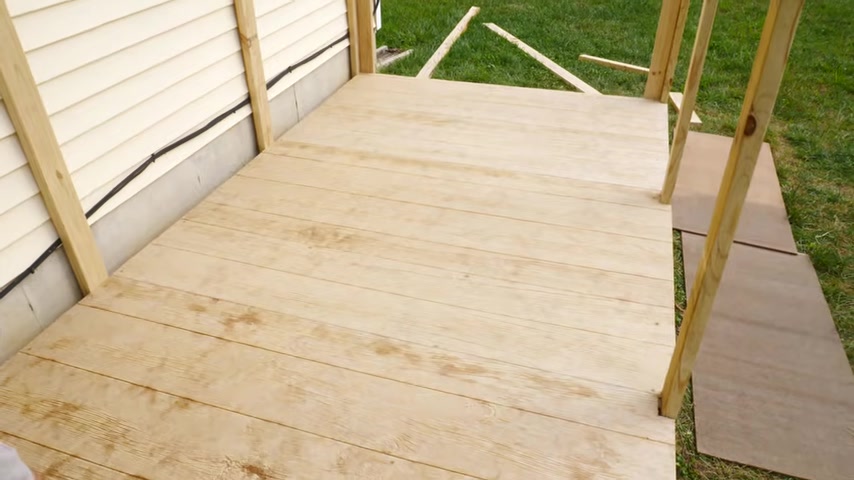
Now we're ready to lay down the floor and this is going to be two layers .
The first is half inch pressure treated plywood .
We've notched it around the two by fours .
We've laid it down and we're going to use decking screws to hold it down .
Then on top of that , we're going to use some outdoor siding .
This is a composite , it can get wet , it will be just fine and it actually is going to look a lot better on the floor than just regular plywood .
We got the floor put down and we're going to finish putting the uprights on the sides just to make sure that this is parallel with this .
We've got some spaces on the top and the bottom .
We can just slide it all the way over and nail it in place .
The framing is now complete .
We got the floor down and now we're going to start wrapping the outside of this with some paneling .
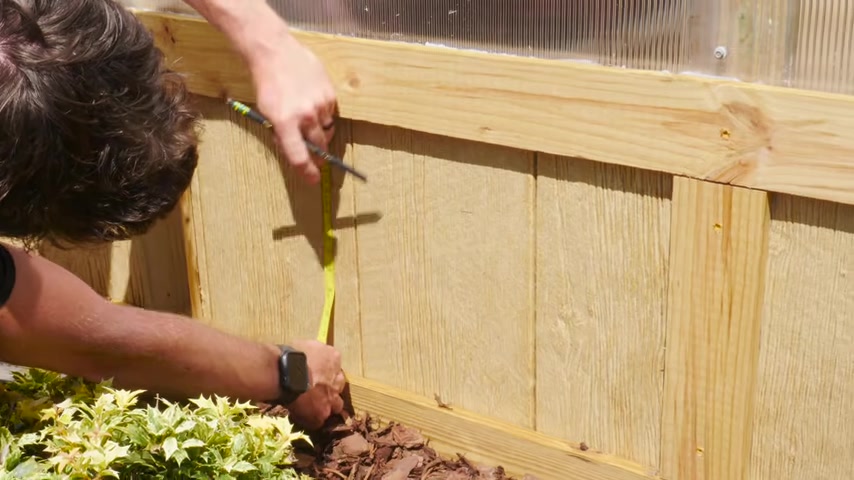
We took the off cuts from these floor pieces .
These are going to get nailed onto the walls right here and then wrapped in some trim just to make them look better .
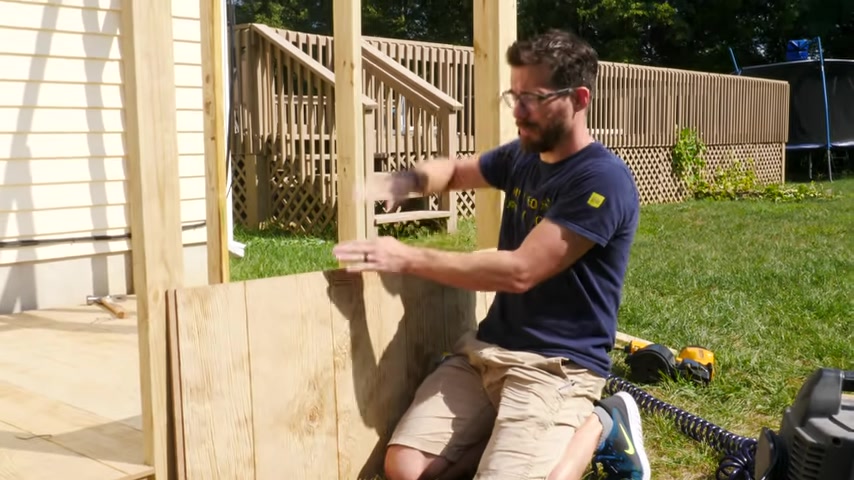
Now , the clear part of the greenhouse is going to go on top of these pieces , but we'll get to that in a little bit to cover the outside of the greenhouse .
We ordered these four by eight sheets of plastic and we couldn't get them at our local store .
Unfortunately .
But luckily if you order from lowe's dot com , you can have them delivered to your local store for free , then you just gotta go pick them up .
This plastic actually comes with a white sheet on the outside that you could leave on if you really wanted it to not be fully clear .
Some people actually paint the inside of greenhouses white to cut down the amount of heat , but it's up to you whether you leave this on or take it off and have these pieces completely clear .
And I think in this case , we're going to pull this off .
This is basically the same stuff that you would find on a political sign , it's two pieces of plastic with a corrugation on the inside .
And so since it's thin plastic , you can easily cut this with a utility knife .
So we're going to set it down into the trough that we've made down here , cut it off at the top and then connect the panels .
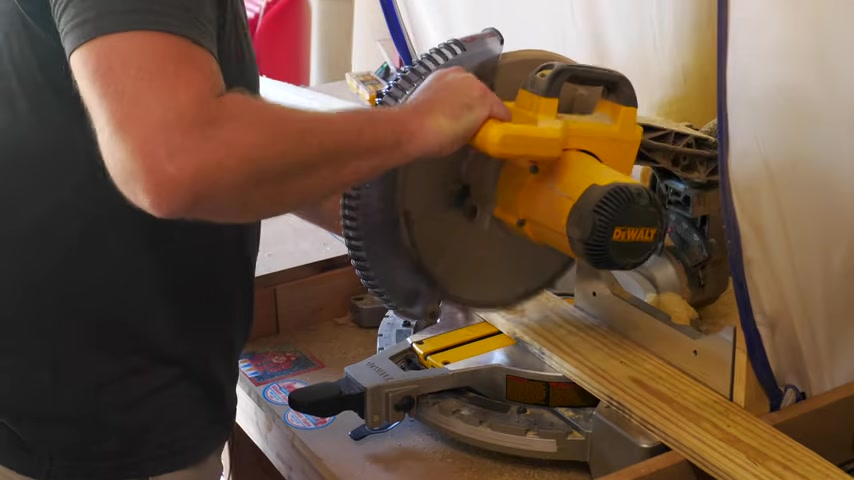
I said I was going to use a utility knife and that would make more sense if you were cutting this way in between the corrugations , but we actually have to cut across them .
So instead I'll use a circular saw .

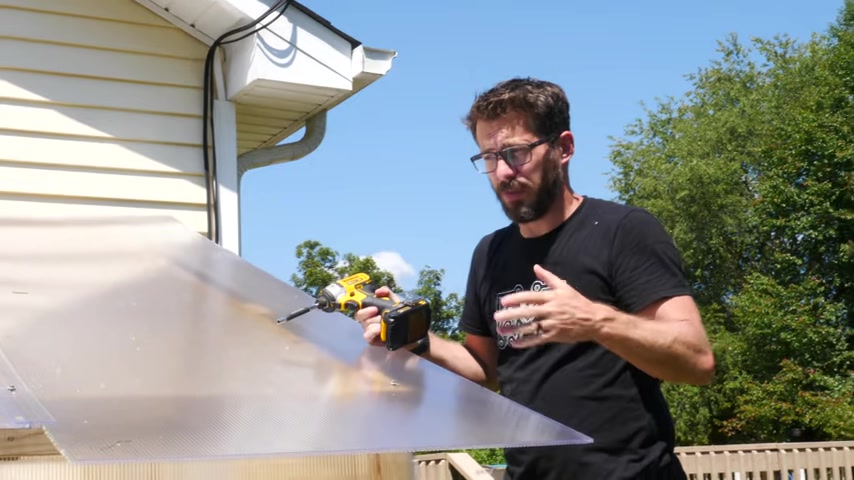
We've got these roofing screws that we're going to use to put this stuff on .
It has a washer and a gasket and really in this case , that's really just going to help not crush the plastic as we screw these in Bob's in the garage , cutting up the rest of the pieces for the roof .
I have to worry about the door .
It doesn't need to be really heavy .
We're going to use some of the same plastic for the top and some of the same trim for the bottom .
And so I'm going to frame this out nice and simple using pocket holes and three quarter inch material because again , it doesn't need to hold a lot of weight .
I've got the door made up , it fits the space just fine .
And before I add the plastic , I'm going to attach it to the greenhouse with the spring hinges so that when you let go of the door , it just closes .
We still have to add a little bit of trim to the outside and maybe some bracing .
So it doesn't sag .
But while I work on this , Bob is up working on the roof , I've got the center panel on roof and I put this on the same way that we did the stuff on the outside .
It's got a channel on each side so we can slide on two more pieces .
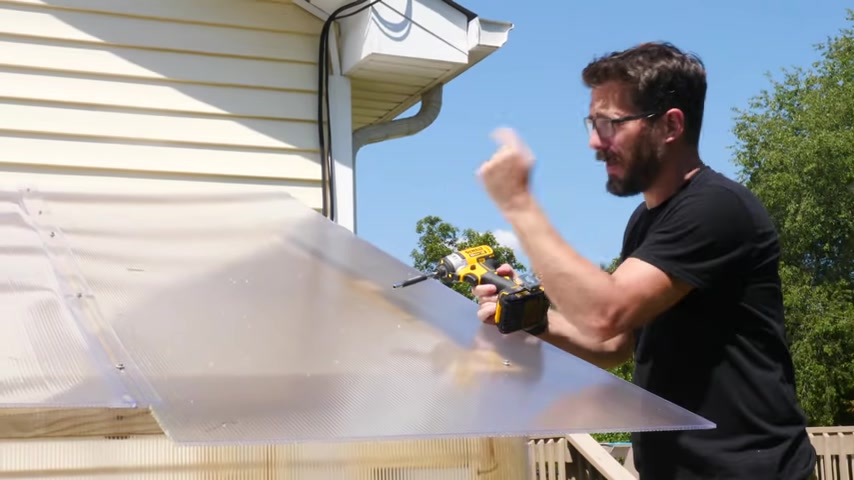
But we also have to cut some holes in this .
Oddly enough , we need to add some vents to make sure that it doesn't get too hot on the inside .
We can open these vents and let some air out .
So I'm going to get a jigsaw up here and cut a hole to make the flaps on the top of the roof .
I cut down a few more pieces of this and then I also cut down one piece that's a little bit smaller .
This is going to act as my template so I can lay this on the roof , trace this shape and then cut it out and I'll be sure that the flap is going to cover it enough on each side .
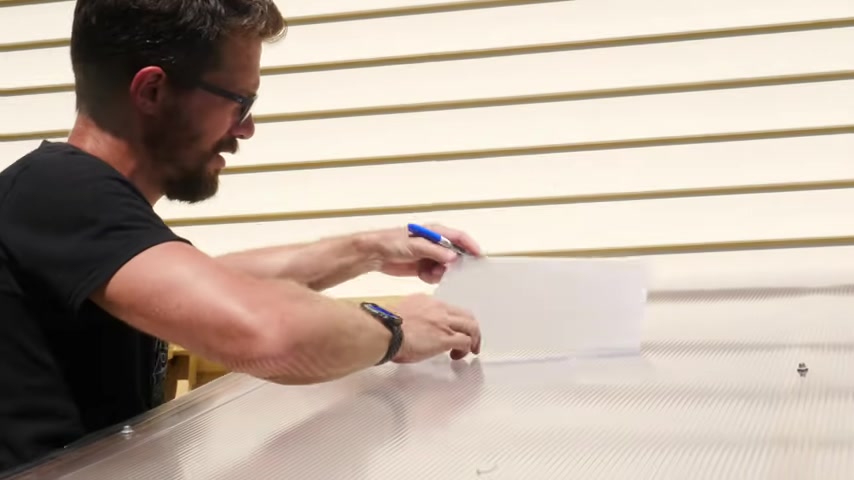
Then I'm going to put the flaps in place with some flex tape .
We chose flex tape for this because it's a waterproof tape .
It's used often to seal up leaks or things like that .
Water is not going to mess up the adhesive and in this case , that will work out really well because it's going to act as a hinge exposed to the elements exposed to rain and the humidity on the inside of the greenhouse .
If you make a greenhouse like this , I do have one recommendation .
Don't do it in the summer time because it's insanely hot on the inside .
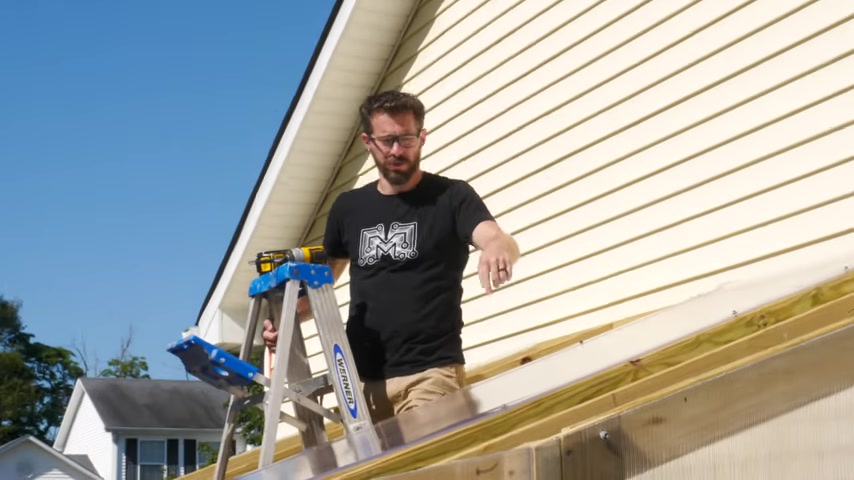
I've got to put a few more screws down here to attach this last panel and then we're going to run a circular saw down the front edge to get a nice clean cut on all of these panels .
I also wanted to point out one thing in this particular case , we're going to run some lag screws through the back of the frame into the house to make sure this thing stays down .
But if you live in an area where you have to deal with high winds , maybe hurricanes , you want to look at how you're supposed to strap something like this down .
So it stays in place in those situations .
Just be sure to check your local code .
I got both vents put in on the top and Josh cuts some little pieces of wood that can be clipped into place to keep them open .
And when you're ready to close them , you just pull those pieces out and they'll fall down .
Now that will give us air out .
But we also need a way to get air in .
And for that , we're going to use these registers .
These are ac registers , these are specifically made for high humidity areas and they can be open and closed so we can cut some holes right down here .
Put a register here and one on the other side and then this thing will be done .
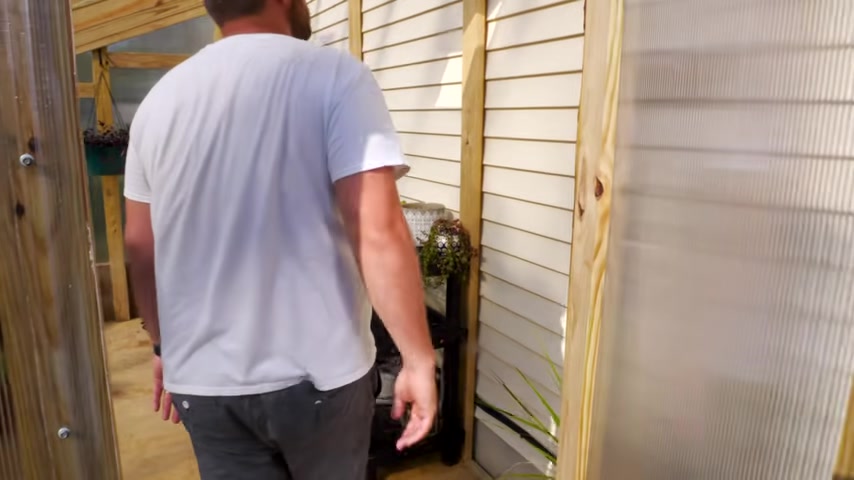
So here it is the final greenhouse .
Now , there's a bunch of different ways you could do this .
There are tons of different designs for greenhouses .
This one was made specifically to go up against the house .
In fact , because it's up against the house , we ended up not even putting a back wall on it because it just uses the house and it's holding plenty of heat on the inside .
We chose the plastic for this , but honestly , the stuff is pretty expensive and there's a bunch of different options that you could use to cover a greenhouse of any type .
You could use this stuff or you could use the white version of it , which is a lot cheaper and will actually create a little bit of shade .
You can take plastic sheeting on a big roll and wrap each one of these sections .
It's going to be a lot cheaper but not as strong .
The construction for the greenhouse is pretty much universal , but depending on where you live and what the temperatures are like , you may need more vents or fewer vents .
You may need a fan , you may need a heater .
There's a bunch of different options that will all depend on where you live .
Huge .
Thanks to Lowe's for sponsoring this video .
We got everything that we use in this project tools and materials either on Lowe's dot com or at our local Lowe's store .
We'll have links down in the description for everything so you can go check it out .
We've got tons of other types of project videos for you and if you're not subscribed , be sure to do that as well .
That's it for this one .
Thanks for watching .
See you next time we've got a whole pile of two by fours here and I'm gonna attach it now with some spring hinges so that whenever the door fart , I think it's fine for what we're planning on farts .
But if you live in an area with high winds , maybe if you have .
Partnership
Are you looking for a way to reach a wider audience and get more views on your videos?
Our innovative video to text transcribing service can help you do just that.
We provide accurate transcriptions of your videos along with visual content that will help you attract new viewers and keep them engaged. Plus, our data analytics and ad campaign tools can help you monetize your content and maximize your revenue.
Let's partner up and take your video content to the next level!
Contact us today to learn more.