https://www.youtube.com/watch?v=n9zIEujAGTc
2023-06-14 18:08:57
How to Make a Pottery Mug, from Beginning to End.
This week's video is one I've wanted to make for a long time .
It shows the entire process of making one of these simple straight sided mugs from beginning to end , it can take weeks and months to accumulate all the footage needed for these as there are just so many steps along the way that go into creating a piece of pottery .
So let's get started .
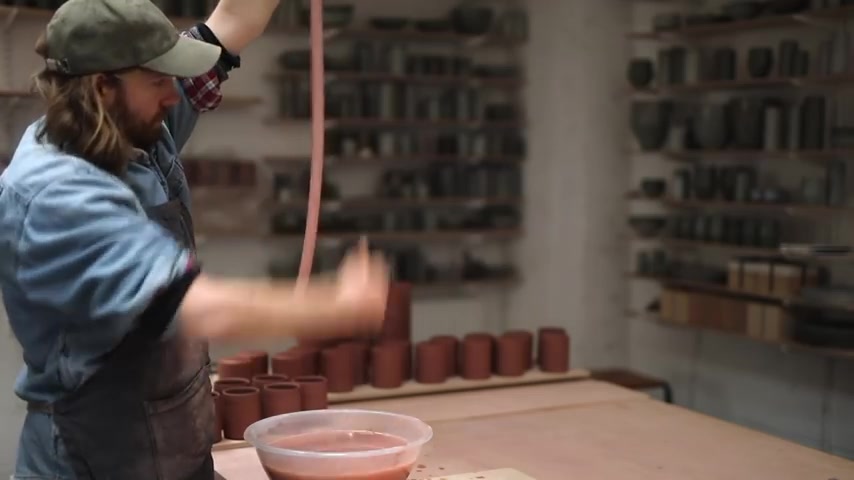
As always , this process begins with the wedging of clay .
This method of folding and spiraling , the clay gradually removes all the air pockets and makes it completely homogenous , which is what you want .
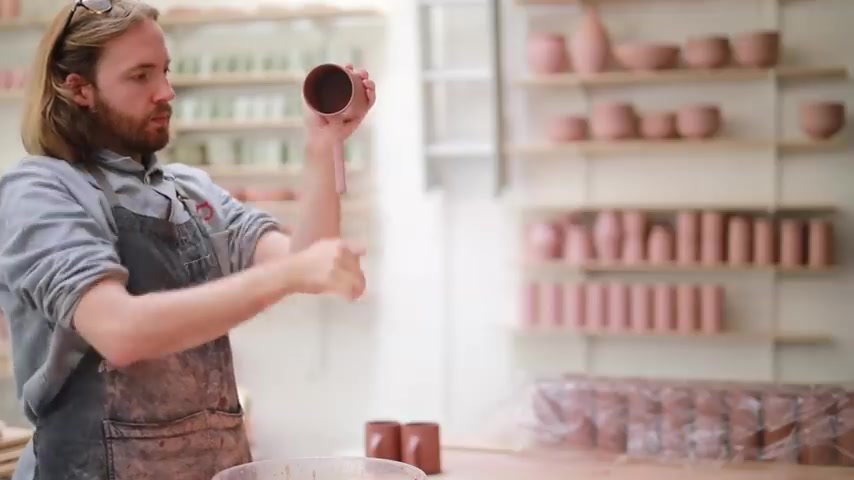
Ideally for when throwing on the wheel , I then take this wedged up lump of clay , which is a high iron body that's manufactured to be reduction , fired in a gas kiln .
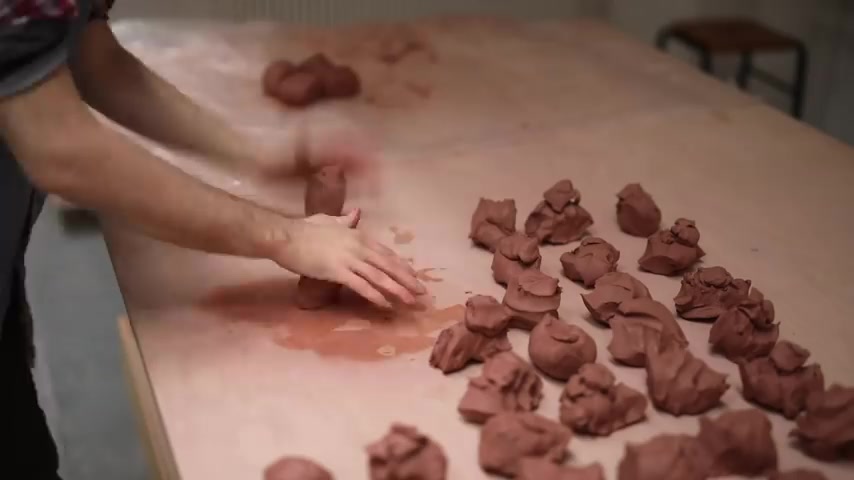
And I weigh it out into 300 g lumps .
Each ball of clay is then given another quick wedge two at a time like this .
This is done to bring together the weighed out pieces .
And it also creates a shape that's easier to center once placed on the wheel for anything larger than 300 g .
I tend to spiral wedge each piece individually again but as these are so small , it can be quite hard to do so .
And I prefer this method , hopefully in the future , once I purchase a pug mill , all this wedging will be a thing of the past .
But at least it keeps me active nonetheless .
It's a process that needs to be done well .
And I think it's a fundamental skill to learn .
Even if you have access to a pug mill , it spiral wedging , cut wedging or ram is head wedging .
Any ceramicist needs to be able to do at least one of these proficiently and then wrap them all up in plastic , which helps to keep them soft and prevents them from drying out and move them over to the wheel .
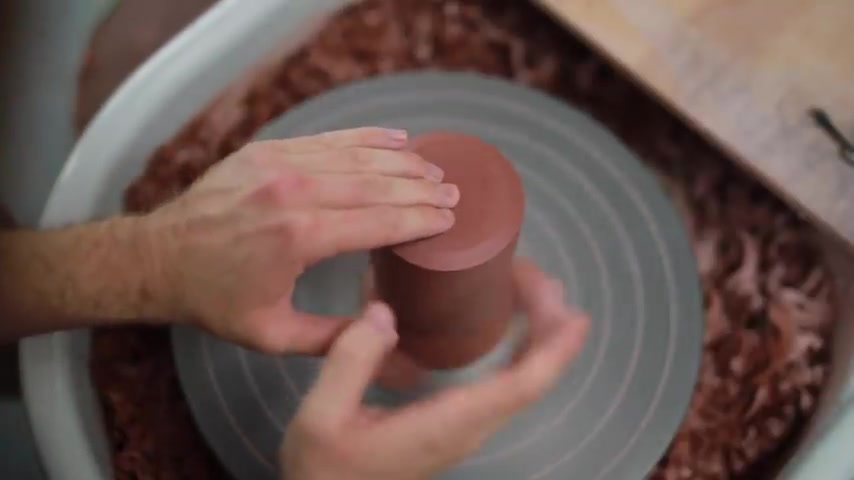
Then it's time to start throwing each ball of clay is thrown firmly into the middle of the wheel .
And then I spend a few moments centering it , toning it up and down slightly , which is essentially just like wedging , but on the wheel .
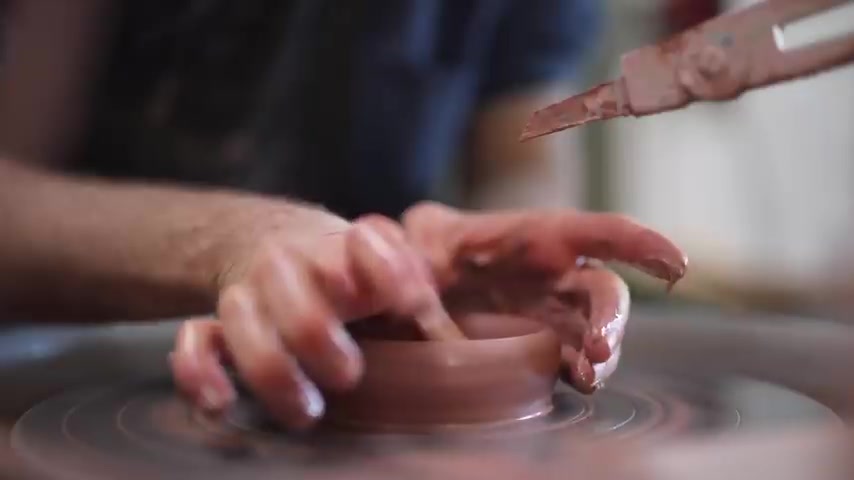
But essentially , all I'm trying to do is to get the ball of clay completely centered and then use some wetted fingers to push down in the middle , open it up and form the base throughout all of these processes .
I'm trying to keep my arms and hands as steady as possible and to help keep them .
So I lean my upper body weight onto my arms and I also brace my arms on the plastic of the wheel tray .
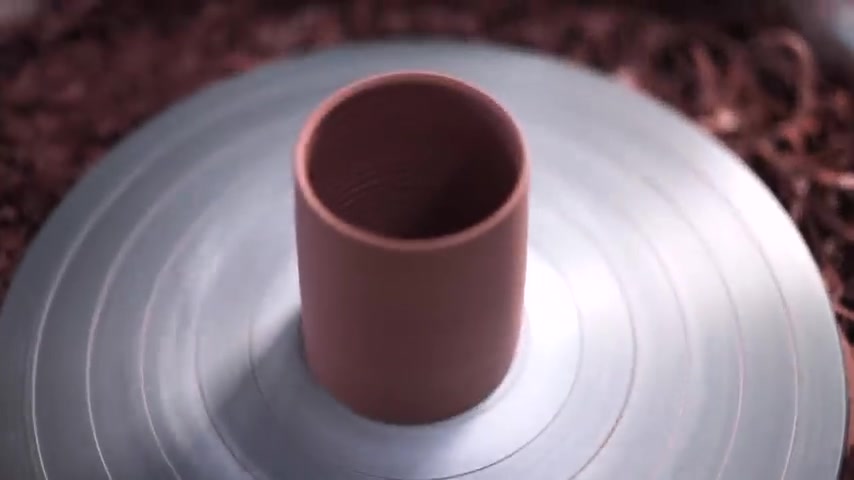
The next step is to start forming the walls .
I reach inside and I pinch the clay from the base where it's thicker and then slowly and gradually I pull the clay up towards my throwing gauges pointer which I've measured and set at the correct diameter and height for these mugs which is 11 centimeters tall by 8.5 centimeters wide .
Throughout this entire process .
The walls of clay and my hands too need to be kept wet as if either part dries out .
It will cause one part to stick to the other .
And when it does so the clay will drag and twist and buckle , causing it to go off center .
This final pull of clay is just to get the shape right .
And then I take a blunted turning tool and remove the skirt of clay around the base .
I then remove the excess water from inside the mug with a sponge on a stick .
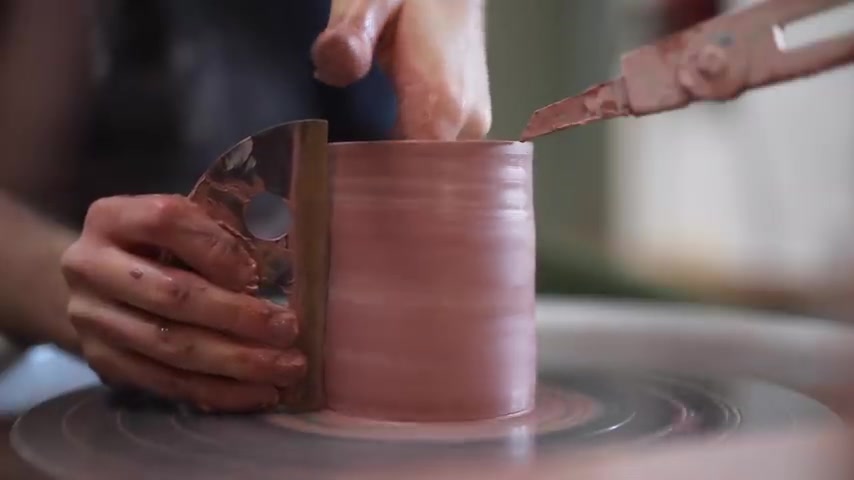
I then take my trusty , an ancient metal kidney and scrape off the outside .
And in this process , I'm pushing the clay out against the brass , removing the slip , which is the watery clay that accumulates on the outside and also neatening up the form making it nice and straight .
Although there is a very slight taper from bottom to top , I try to remove as much slip as possible as it will help the pot dry out faster .
And it also makes it easier to pluck the pot off the wheel like you'll see in a moment .
The first I use a Mimi leather to smooth off the sharp rim which has a beveled edge leading to that wall .
I then take a tort twisted wire and drag it underneath .
And then with dry hands , I clasp around the pot and twist the wheel and lift in the same motion and carefully set it aside with all the others ready to dry out to leather hard .
I should mention whenever I'm working on the wheel , I do so with a mirror in front of me like this , it means I can see the side view of the pot without having to lean back awkwardly .
And all I have to do is glance up from my usual view , which is this and I get a totally different perspective , which really helps me to see the form of the pot I'm throwing .
And nowadays , if I have to work without using a mirror , I feel as if I'm missing a sense .
So if you haven't tried it , I really recommend it .
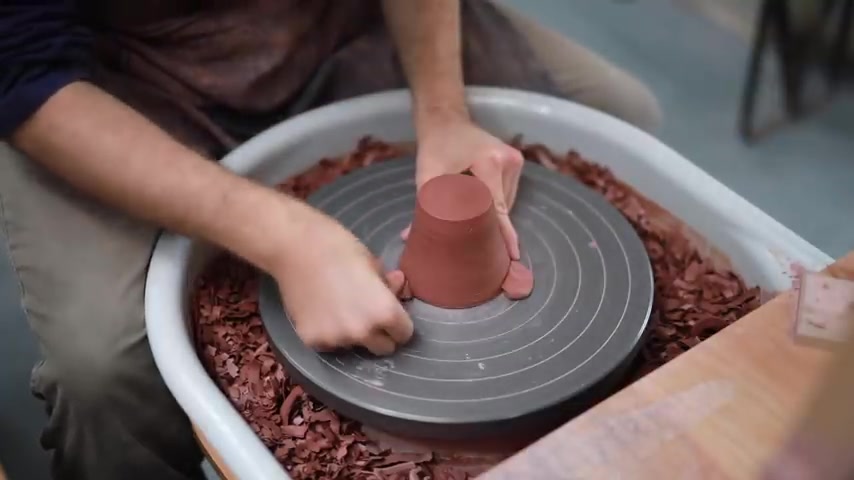
The next step in this process is to flip the mugs over onto their rims , which I usually do the following morning .
By this time , the rim is usually firm enough that I can flip them without them being damaged .
And ideally , I want them to be totally leather hard before I start to trim them , which is the next step .
Drying your pots out efficiently is a skill in itself .
And it's one that changes , depending on where you are in the world , what your studio is like and even what your play is like too , there are just so many different variables that can be totally different for everybody to trim these .
I use a leather hard chuck which I keep wrapped up tightly in plastic and sprayed with water to make sure it doesn't dry out .
The fact that it's leather hard , helps it stick to the cups when they're placed on top , which is something I found that is fired .
Ones don't quite do as well .
I then take the mug , drop it on top of the chuck tap , center it into place and begin to trim .
I place this piece of metal on top which I've scavenged from an old emac computer and I push down through it , which helps to keep the mug from jumping off .
I don't trim a huge amount of these mugs .
It's just a thin skin really .
But I'd say generally I'm a potter who likes to create very thin and light ceramics .
So this process not only lightens the form but also neatens up the shape .

And this very sharp tungsten carbide turning tool helps to make that job very easy .
Once the walls have been turned , I then trim an E edge onto this bottom corner which creates a base that's far less susceptible to being chipped as it's moved around , placed on tables and putting in cabinets then I trim the base , removing the wiring off marks that are left over from when I removed it from the wheel before I don't want it to be perfectly smooth , but I wanted to at least match what the walls are like .
So finally I take a metal kidney , I just give it a quick burnish from both the beveled edge and the flat base .
I then use the pads of my fingers just to soften off those sharp lines .
And lastly , I take my maker's mark , which I carved from a small block of porcelain and I stamp it into the clay .
This is my signature essentially .
And it's how people can identify which pods I've made .
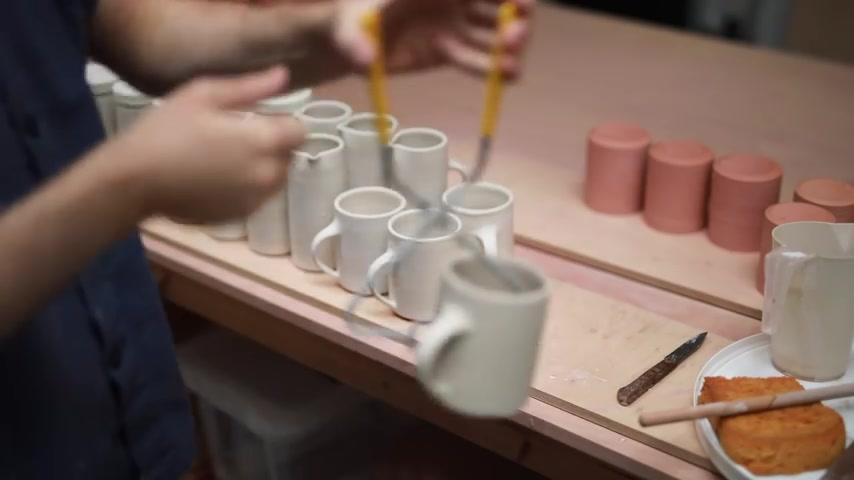
This process is repeated on every single mug .
And I'd say that generally speaking , I make about 60 or 70 mugs in a batch .
And I always like to do all the processes in batches .
So I do all the throwing , then all the trimming and all the handles and finally , all the clean up .
I'm often asked how long it takes me to make a mug , which is sort of a difficult question to answer because I never just make one individual piece .
And I never know whether to include all the drying time in between all these stages .
Even if a mug just takes a minute and a half to throw a minute and a half to trim and then a minute to handle , there's still hours in between these stages , not to mention the disk firing , the waxing , the glazing and finally , the glaze firing .
So to calculate the time it takes to make one individual piece , including every little step along the way is a real challenge .
I thought I'd show you a little cross section here just so you can see what these look like .
Once they've been trimmed , this particular specimen was pretty good .
It has even walls and an even base and no obvious thickness anywhere .
You can also see quite clearly the beveled room I spoke about before , which is made this way .
So it fits comfortably in the corners of your mouth .
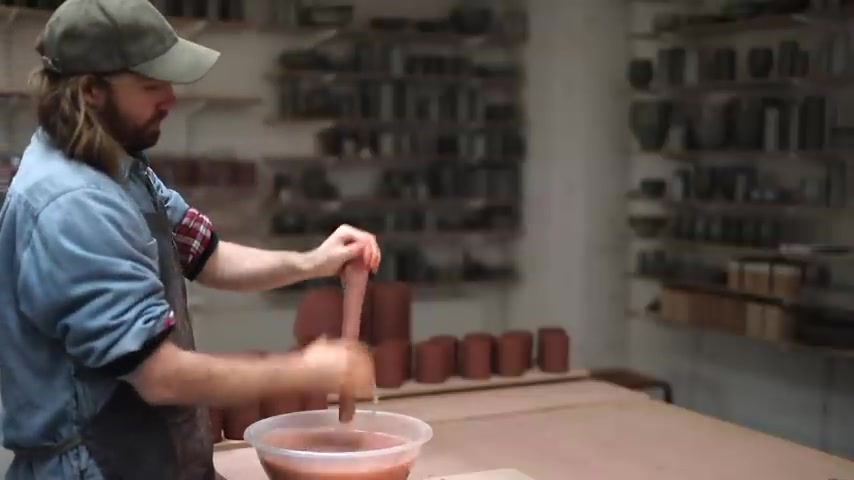
Next , it's time to pull the handles for these .
I start off with a larger block of clay which I pull into a long strip .
As I pull , I grip near the top of the lump and I pull the excess clay down the length .
It gradually gets thinner and thinner .
And I make sure the entire time that I have a wet hand as if my hand dries during this process or the length of clay dries , one will stick to the other .
I can very easily rip the whole thing off .
So it's vital that you use enough water .
Otherwise things can very quickly go wrong .
What I'm making here are the blanks which will then be attached to the mugs and pulled again .
So at this stage , this length of clay doesn't have to be perfect .
It just more or less has to be the correct thickness and length .
But I don't have to worry about any of the finer details .
You could equally use an extruder for this process .
But this is the method I was taught and it's the method I enjoy .
And it means I don't have to constantly clean out the extruder too .
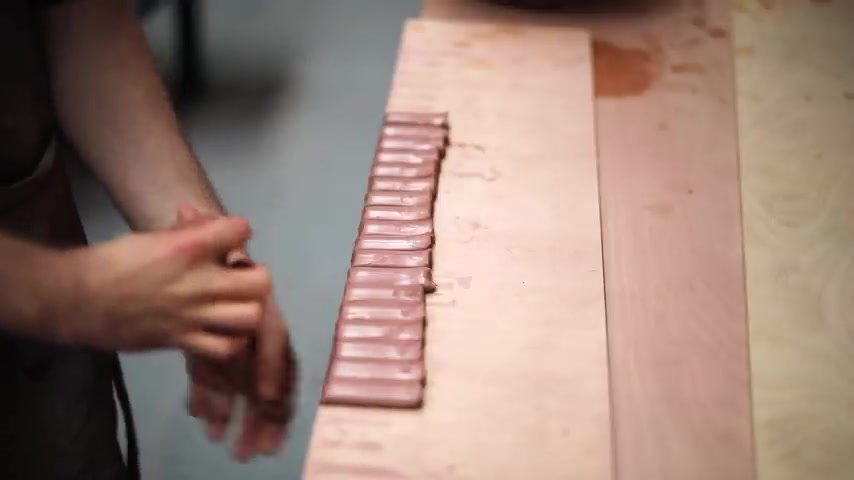
I then take this long length of clay and I place it against the sharp edge of a table or a board and I use my thumb to snip it off cleanly .
I place them as close as I can to one another .
And it really doesn't matter if you get any finger marks on them or if one is slightly longer or shorter than the other as long as they're more or less identical in the hotter months .
Once I've pulled all these blanks , I'll stack them up together and even wrap them with plastic and spray them with water .
This is because I attach them almost immediately to the leather hard mugs .
As when the clay is softer , it's easier to blend into the mug and to create a strong joint , they're also a bit easier to pull to .
Although you do need a delicate touch .
But like any other process in ceramics , it's one that just requires a lot of practice .
Initially , it was a task that I never really looked forward to until I started my apprenticeship with Lisa Hammond where I suddenly had to start pulling hundreds of these handles every week .
It was like jumping in the deep end , but it worked .
And now it's a process that I'm always looking forward to .
So let's get started .
I take a leather hard mug and I score an area with a serrated kidney .
This is where the handle will join at the top .
And then also dab a little bit of slip onto that area .
I then take one of the blanks and I tap out one of the ends .
During this process , I make sure that my hand that's grasping the handle blank isn't doing so too firmly .
I don't want to indent the length .
I just want to create a flare of clay which I will easily be able to blend into the mug .
I then take the blank and I firmly push it against the mug .
I make sure that I have two fingers inside opposite of the area where the pressure is being applied .
This just supports it and stops the wall from potentially bending as I firmly push the handle into place once firmly attached , I pick the mug up and I can begin to blend in that clay .
This is where having soft clay helps as it's very malleable .
And I don't have to use a lot of pressure to make a nice , smooth even join .
Whereas if the hand or blank is too firm , the amount of pressure you have to use can actually end up distorting the wall of the mug itself .
I then use my hand to ladle on lots of water onto the handle blank .
And I begin to pull as I'm pulling , I make sure that I don't only pull in one orientation .
I move the position of my hand .
And this helps to keep the cross section of the handle .
Even otherwise , if you only pull from one side , it's very easy to create a lopsided handle .
I then use the tip of my thumb to pull in three grooves into the back of the handle .
This helps to thin out the length .
And it also creates three interesting marks which my glazes will interact with .
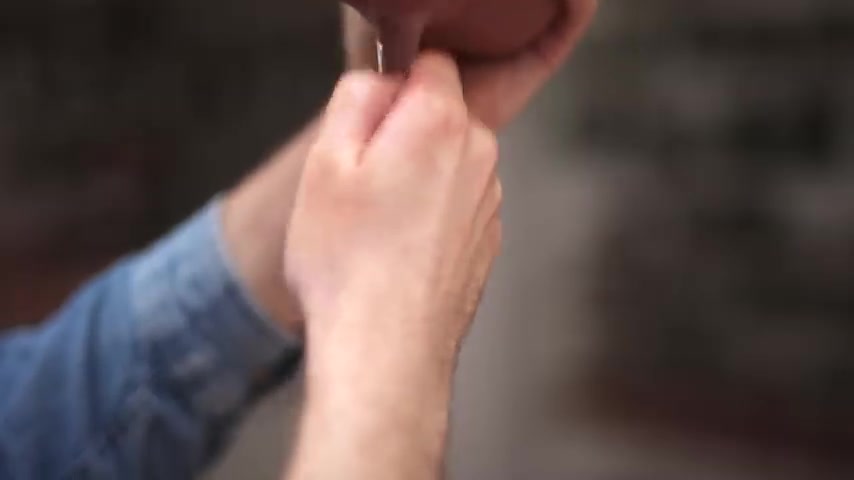
Then once the handle is the right length and width , I carefully hold it by the end and I loop it downwards to join near the base .
I then check it from a few different orientations to make sure it's nice and straight and then use my finger to snip away the excess handle on the base .
And now it's time to smooth off that bottom join which I do .
So with just one finger , I smear the clay left and right very firmly , which makes a very strong join and means that I don't have to score and slip it before attaching it .
I then use a wetted finger just to smooth over these finger marks and to create as seamless a join as possible .
Although I don't have to do it perfectly as inevitably the glazes I use will cover all of these areas anyway , hiding them .
And that's it for the handles .
They're quick things to make really , they're fluid and natural and that's why I like them so much .
They look like they always belonged on the mug as if they flow from it .
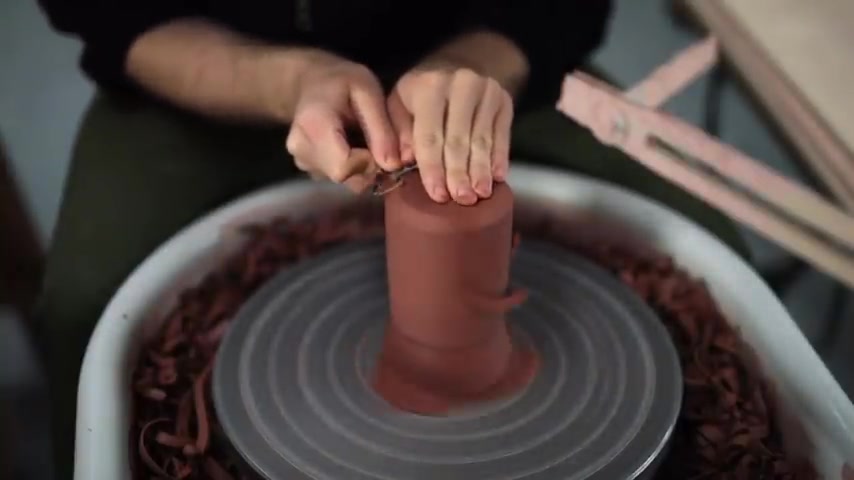
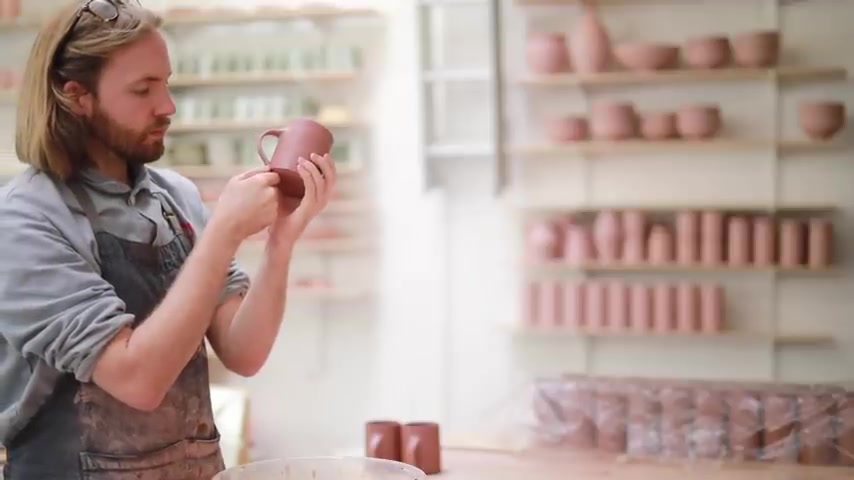
A few hours later , once the handles have firmed up somewhat , I take them back onto the wheel and I just give them one last little check on the chuck .
I place them over and as the chuck is quite around itself , it corrects the rims of the mugs .
If they happen to be slightly void from the handling process , I then quickly trim that bottom edge just to remove any of the smeared clay that might be present when I made the bottom joint and I give it one quick burnish too just to make sure it's as pristine as possible .
Once removed from the CHP , I place them onto a board of all the other mugs which is wrapped in plastic and beneath that , I'll let them dry out for a couple of days very slowly and very evenly .
It should prevent any cracks from occurring around the handle joints .
Finally , I remove the chuk from the wheel head and I wrap it up very tightly in plastic .
Occasionally , I'll even dunk it in water too and this keeps it leather hard for really very long periods of time .
This chuck , for instance , I probably made around eight months ago and it's still mostly leather hard once all wrapped up .
I place it with all my other chucks which are in an air tight box .
They're all different shapes and sizes and each has a different purpose for trimming different types of pots .
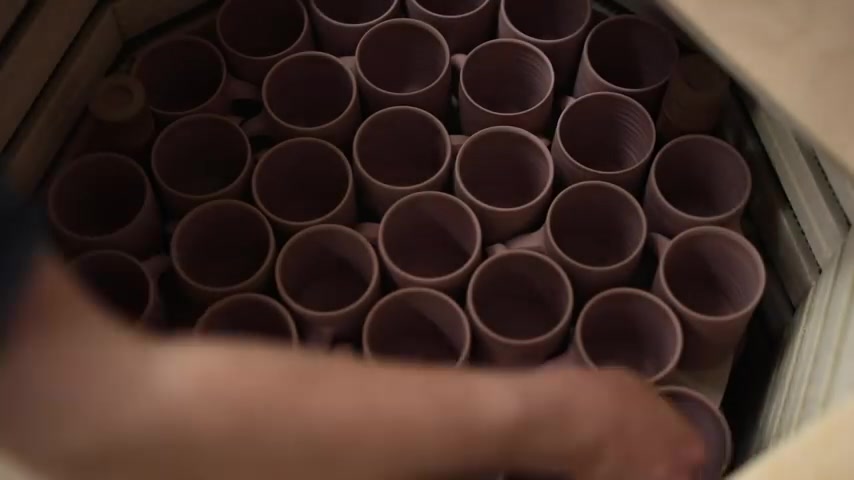
This is now a few weeks later , I've been making all kinds of pots in the interim and I have enough work now to do a few disk firings to biscuit fire my work .
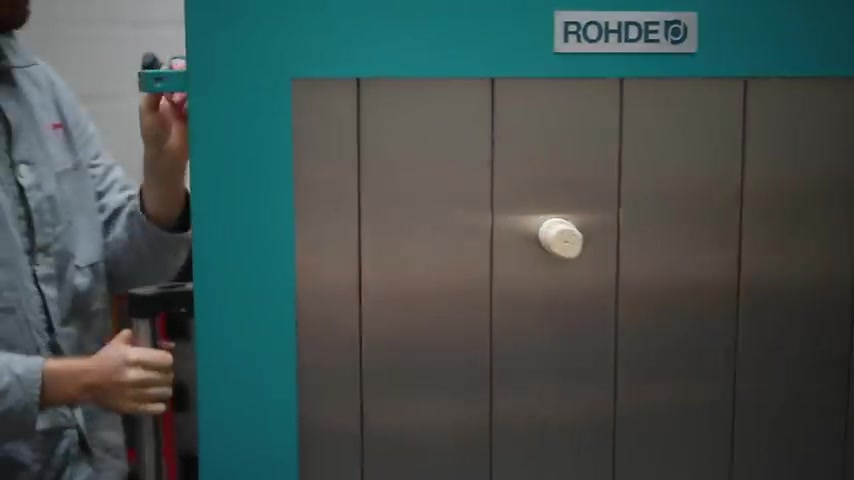
I packed them into my electric kiln which is a Roda T E 200 .
These kiln packs are very simple and essentially , all I'm doing is trying to squeeze in as much as I physically can .
At this stage .
The pots can touch one another as the temperature they're going to isn't hot enough to fuse any of the clay .
The more I'm able to squeeze into each firing , the more cost efficient they are .
This is all very delicate work though .
As at this stage , the bone dry pots are incredibly brittle and fragile .
But after being fired overnight to 1000 degrees centigrade and having gone through quartz inversion , the pots become much stronger and they also become absorbent too , which is necessary as they still have to draw in a layer of glaze .
Later on , I fire my electric kiln overnight when I'm not in the studio , which is very different from my gas kiln , which I have to be with the entire time .
As I'm firing it in many ways .
I could also be doing all my disk firing in my gas kiln too .
But having an electric K means I get to do this overnight when I'm not at the studio , which saves some time .
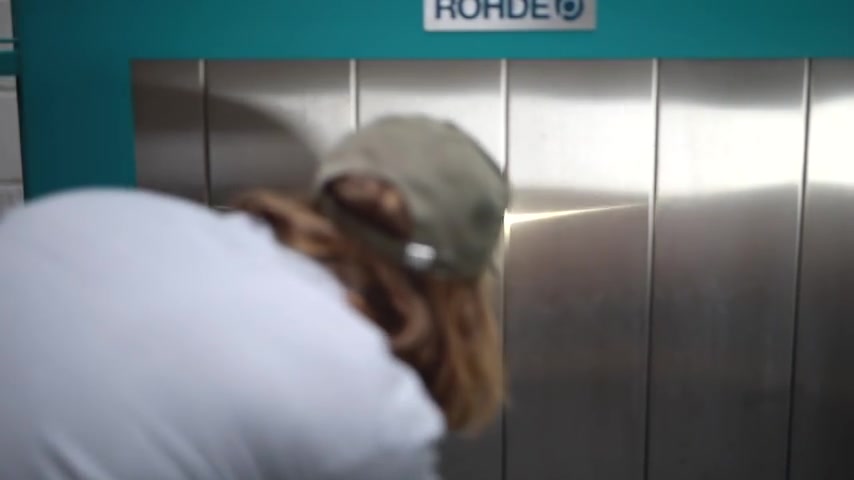
Once the electric K is totally packed , I just check to make sure that none are sitting too proud and you can see just how much of a jumble this top layer is as I squeeze in as much as I can .
I then close and lock up the kiln .
Then I turn the power on at the wall and then set my controller to the right firing program which in this case fires to 985 degrees centigrade and then soaks for 15 minutes at that top temperature and that's it in a few days .
It will be cool enough to unpack and start glazing the kiln takes about a day to cool down .
And then the following morning , I unpack it .
You can hear the difference in the clay .
It now has a ring to it which it didn't have before .
And I can dare to pick up the pieces by their thinner handles , which is something I definitely wouldn't have done before .
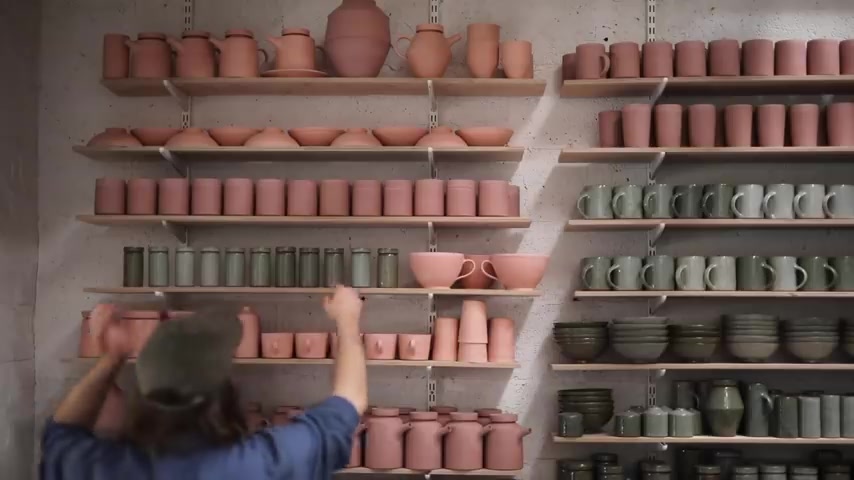
I tend to unpack the pots on to their respective boards .
So all the mugs go onto one shelf , all the tea pots on to another and so on .
Although the pots are noticeably stronger at this stage , they are still quite delicate .
For instance , if you were to squeeze one too firmly , it would definitely crack .
It's quite remarkable .
Just how many pieces I can fit into this 200 liter kiln .
That's the bonus of being able to stack them , I suppose .
As when it comes to their next firing , the final blaze firing , they can't be touching whatsoever .
Otherwise , they'll fuse together forever .
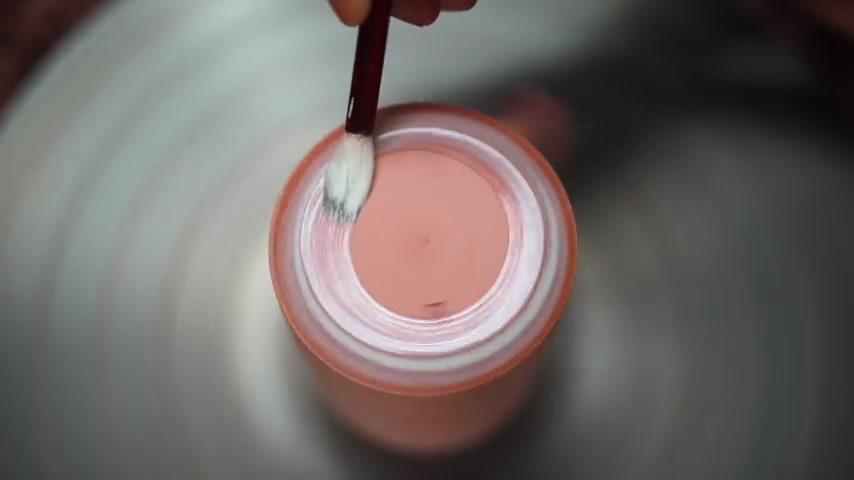
The next step is waxing .
I coat the base of every single one of my pots in a thin layer of wax emulsion .
I water my wax emulsion down with boiling water which helps it brush on more smoothly .
I also then dab a little bit of extra wax into my maker's mark just to completely seal it as cleaning glaze out of that can be quite troublesome .
This layer of wax acts as a simple wax resist and it means that my glaze once dipped over doesn't get absorbed into the base .
If the base of these pots were covered in glaze , when they're glaze fired , they'd simply fused the kilns shelves .
And the only way to remove them would be to smash them off , destroying not only the mug itself but damaging the costly kiln shelves too .
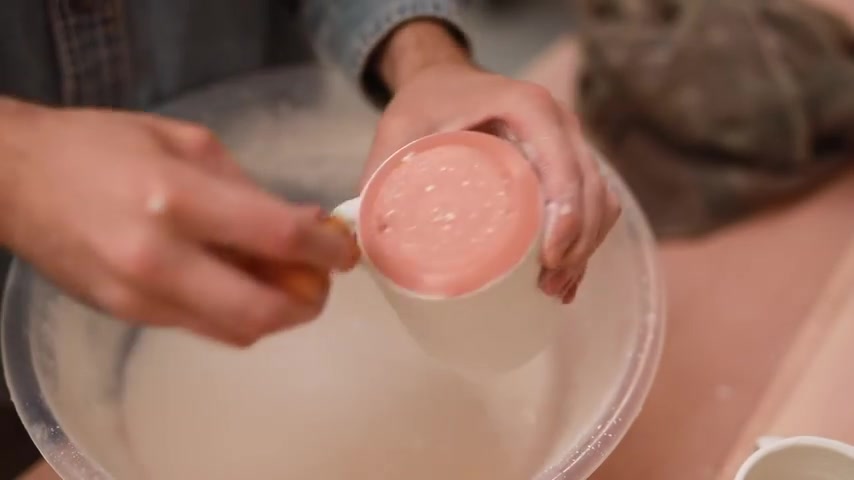
Next comes the glazing , I grasp the mug tightly with a pair of tongs and submerge it into the bucket of glaze for about five or six seconds .
You can quite clearly see how the glaze runs off the wax surface on the base .
I then steadily hold the mug in one place , letting all the excess drain away and then set it aside with the others .
I don't worry about the tongue marks as I'll quite easily be able to clean those up later in a day or two .
Once the glaze is totally dried out as the bisque clay body has become absorbent .
When I dunk the mug into the bucket of glaze , the water is absorbed into the clay body leaving a layer of the raw materials on the outside of the form .
It's these raw materials which make up a specific glaze recipe that will melt and form the glaze during the gas firing , I always keep my glazing tools on the respective glaze bucket lid , which helps tremendously when it comes to cleaning up .
This is now a few days later again .
And the pots are fully dried out after being saturated with water .
Previously , as they dry , the glaze surface becomes incredibly powdery and it's at this stage that I can clean them up .
I rub over any stray drip marks and the tongue marks too .
Beneath the mug is a basin of water .
So all the excess glaze dust simply falls in there which I can later recycle back into my main buckets of glaze .
The cleaner , the mugs surface at this point , the better they'll look once fired , it's a slow job when it takes days and days to do all four or 500 pieces .
But it's well worth all the time and effort as it makes such a difference .
Once I've cleaned the walls , I then take a wet sponge and I carefully clean the base of the pot , removing all the settled lumps of glaze that have formed on the wax .
And it's at this point that I try to make the line between glaze and clay as clean and perfect as possible .
It's this , that makes all the difference , I think .
And a cleanly glazed base does wonders in the appearance of your pot and it makes it feel just all that more professional glazing itself can be a very creative process .
But I guess the glazes I've chosen to use tend to lend themselves to quite monotonous and very repetitive work .
And at long last and after several weeks or months , it's time to start doing a few gas firings .
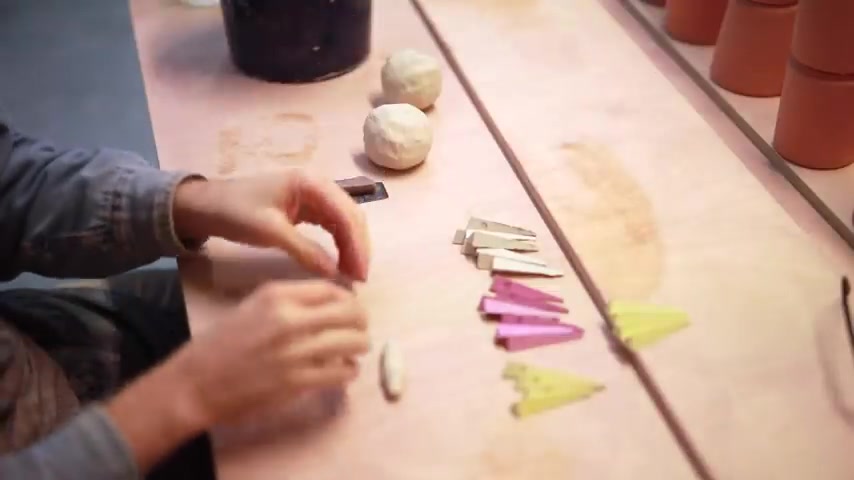
The first thing I always do is prepare a whole bunch of pyro metric cones .
I place one of each color into a block of Wooding at a slight angle .
Wooding is this clay like material I'm using , which is made from a simple mix of 50% China clay and 50% coarse aluminum hydrate during the firing .
These are positioned in very specific spots opposite the spy holes in the kiln door , so I can observe them during the firing as the internal temperature of the kiln reaches certain points , these cones bend over respectively very , very accurately and more importantly , than just measuring simple temperature .
They measure heat work too , which is heat over time .
It's these cones really that I used to judge each firing , which makes them incredibly important .
You couldn't really fire a gas K without them .
You'd be firing blind doing .
So , which is never advisable .
I only need two of these com packs per firing .
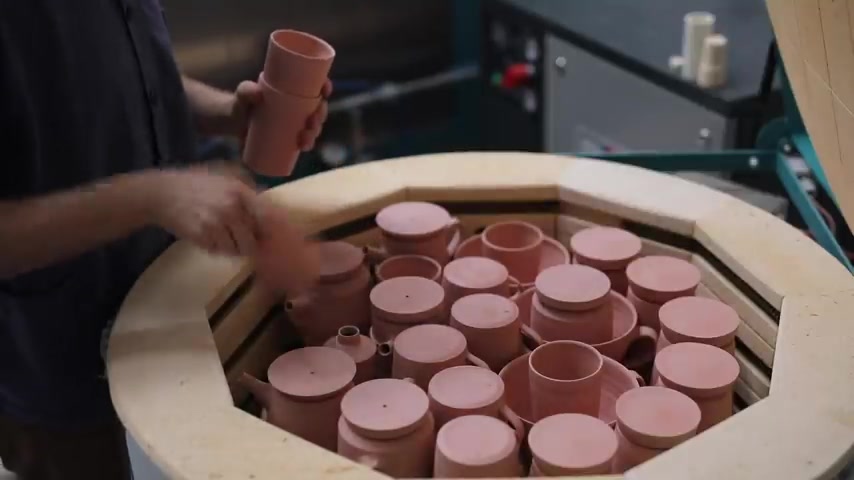
But it's easy just to make a whole lot at once I find , then once everything is ready to go , all the pots are cleaned up and all the cones are made .
It's time to start packing the kiln .
I can fit about 150 pieces into one firing depending on the shape and size .
Of course , you may notice if you ref on this bottom shelf , those spots never quite reach temperature , but they're a fantastic place to put pots in that just need a tiny bit more heat .
And often these refi pots end up being the most interesting pieces anyhow , ingo more props and more shelves and as many pots as I can squeeze in .
Although this time they can't touch each other whatsoever .
Otherwise they'll fuse .
This can make packing the kiln quite a puzzle and it can take numerous layouts and different iterations before I find the one that works the most efficiently all in all packing the kiln is fast .
It takes maybe two hours max .
Although longer when filming , like every single step along the way here , you can see those pyro metric cones .
I was putting together earlier and once placed , I just shine a torch through this by hole just to make sure I can see them .
There's nothing worse when you forget to do this and they're positioned at a really awkward angle that's difficult to see .
I tend to save the top layer for the most interesting parts .
The flames enter the kiln from four burners in the bottom one on each corner and they're jettisoned up onto these top shelves before being sucked down through the other layers and out the flu in the back bottom of the kiln .
So this shelf stays consistently hotter than anywhere else in the kiln .
And I think therefore , my glazes tend to be a bit more interesting due to the prolonged heat as opposed to the lower shelf in the kiln , which tends to always under fire just a little bit .
Once the kiln's finally packed , I can close it up and leave for the day ready to come in very early .
The following morning .
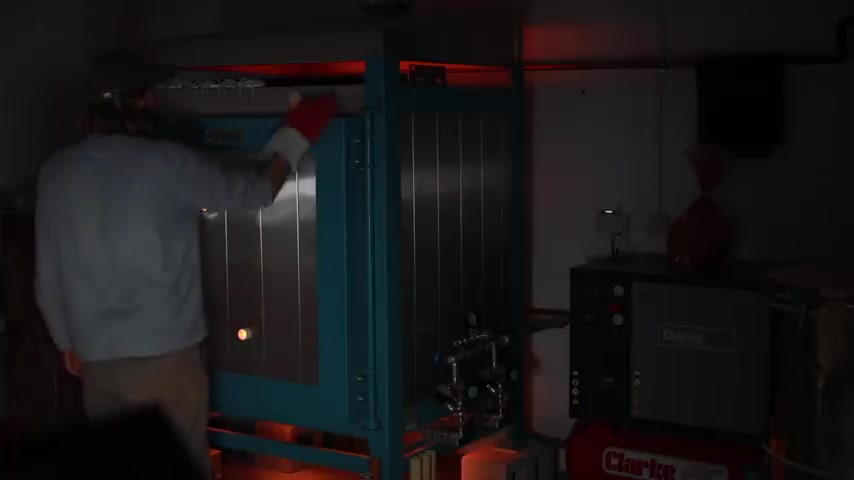
I like the kiln at seven AM sharp , igniting the pilots in the burners and putting them onto their lowest settings for a few hours .
This lets the kiln heat up very gradually at the beginning , which is important because you don't want to rush things .
I then tightly seal the kilns door .
Although it's very important to note , you should always light a gas kiln with the door open and then once you're confident that all four burners are lit , then you can close the door .
You don't want to risk filling a sealed chamber up with gas and then igniting it by leaving the door open .
At least the gas can vent outward and this is enough really to prevent it from exploding .
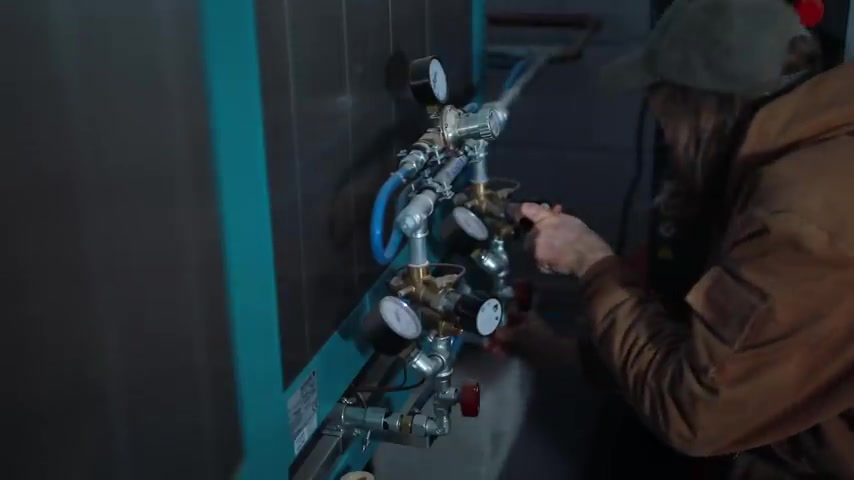
Thereafter , I very gradually increase the temperature until my digital pyro meter reads 860 degrees centigrade which takes about 4.5 hours at that point , I initiate reduction , which I do so by increasing the gas pressure greatly and increasing the air pressure to you can just about make out the air compressor behind me here , which is needed to help give the natural gas enough pressure .
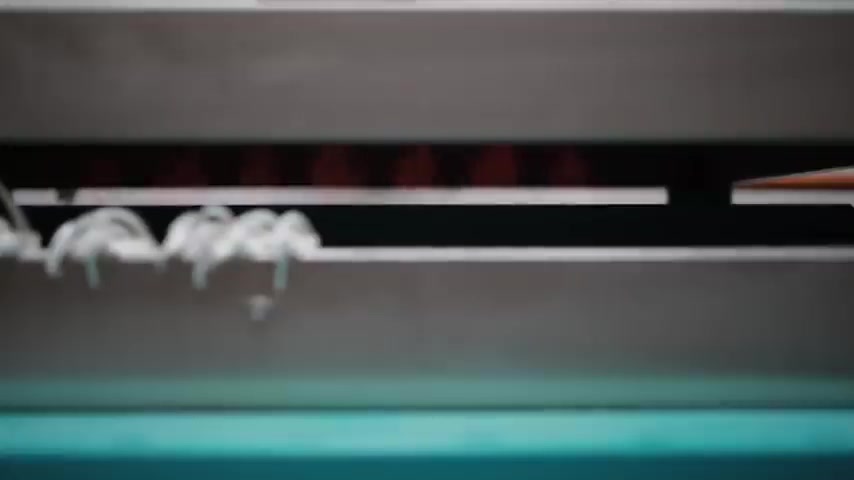
I then slide the dampers covering the flus to be halfway closed and that's it reduction should be set at that point and you can see it successfully and flames start to lick out the flu at the back here .
There's also a very specific almost sulfuric smell that emanates from the kiln very briefly .
Both the good indicators of reduction .
I should note a reduction atmosphere is needed as it chemically alters the iron that clay and glazes contain and allows them to fire to the correct color .
It's also responsible for the iron speckling .
My work has if I were to fire the same clays and glazes in an electric kiln at the same temperature , they would appear totally different and rather horrible .
In fact , as the reduction atmosphere takes hold the fuel inside the kiln starts to burn less and less efficiently and it starts to seek oxygen to attempt to burn more efficiently as there's a severe lack of it inside .
This is why the flames start to come out of the kiln as they're seeking oxygen to burn with .
And the fuel which in this case is natural gas from a main supply burn efficiently goes inside the clay and glazes and strips away an oxygen molecule which bubbles out , bringing iron with it , which is what's responsible for the large iron dots that can be found on my work .
Sometimes as the firing goes on , the interior becomes quite hot .
And it's at this point that the cones will start to bend over and it means that I'm reaching the right temperature .
So as they bend over , I have to constantly check them through these spy holes and I can see them by blowing in a big gust of cool air through the spy hole which briefly cools the spot where the cones are and reveals their edges .
And once I deem them to be sufficiently bent over and the kilns at the right temperature , it's time to switch the kiln off which after 9.5 hours of loud jet flames is always a big relief .
The final step is to crash cool the kiln .
And I do this by fully opening the dampers and by opening the two spy holes too .
I then let the temperature plummet all the way back down to 1000 degrees centigrade before fully clamming up the kiln .
Once again , crash cooling helps to preserve color and the glossy surface which I want the pots to have .
And then finally I slide the dampers fully closed and place the two bungs back into the spy holes in the door from this point of 1000 degrees centigrade .
It will take about a day and a half or so before it reaches the temperature , cool enough that I can open it .
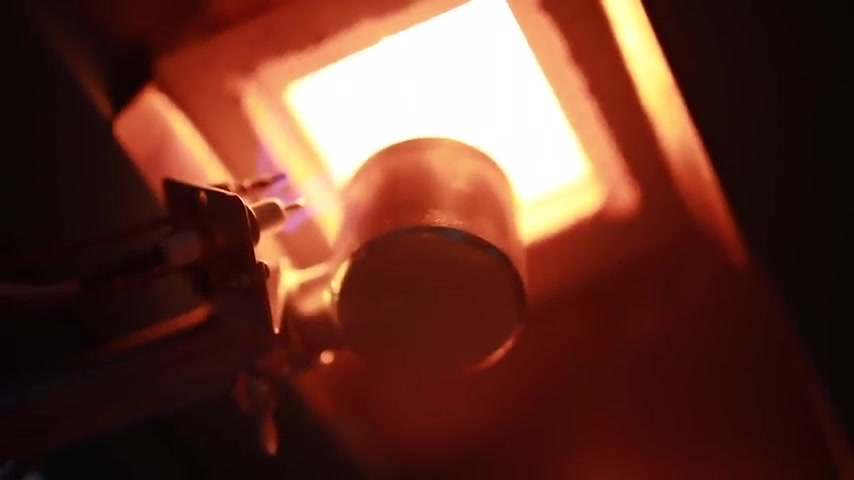
And here's the big moment .
It's always a bit scary opening the kiln as truthfully , you don't really know what's going on inside even if all the indicators have gone .
Well , you can still never be sure , but this was a really successful firing .
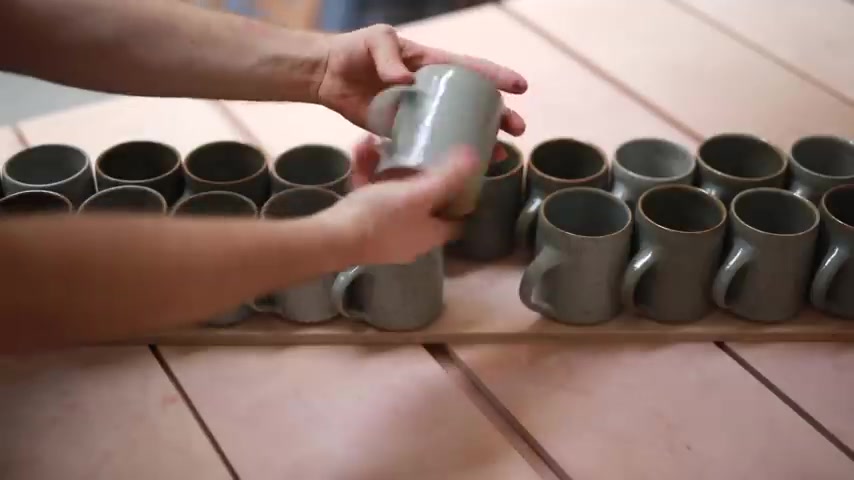
And here are some of those mugs that you see me make throughout this video .
I'd say probably 98% of the pots I get out from this kill and are successful .
The final 2% are either pieces that just need to be re fired or they just have to be smashed at the end of the day .
I have to let only my best work out into the world .
It's good to be critical on oneself .
And if I feel like a piece doesn't make the cut , really , there's nothing else for it anyway .
It does feel good to get to this point .
Handling newly fired but after months of making glazing and firing and here are a few clips of the finished fired mugs .
And as always , thanks so much for watching , especially if you've made it this far .
Partnership
Are you looking for a way to reach a wider audience and get more views on your videos?
Our innovative video to text transcribing service can help you do just that.
We provide accurate transcriptions of your videos along with visual content that will help you attract new viewers and keep them engaged. Plus, our data analytics and ad campaign tools can help you monetize your content and maximize your revenue.
Let's partner up and take your video content to the next level!
Contact us today to learn more.