https://www.youtube.com/watch?v=vuw97wl18R8
2023-06-14 18:08:31
How to Can Pickled Beets
We've had such a unique start to spring and summer here at the Gray Boxwood Farm .
But spring and summer canning is finally here .
And I am so excited .
I love to preserve things that I grow in the garden all year long and to enjoy them , especially in the coldest months of winter .
And today I'm going to bring you one of my absolute favorite things to have on hand pickled beets .
I know it sounds extremely odd and kind of sounds gross .
But if you go to any gourmet shop or any good grocer , you're gonna find jars of these wonderful pickled beets and why not do them for yourself at home .
It's one of the quickest and easiest things to can .
And I think after you have a bite , you are gonna love them .
They're great on salads or on a relish tray or to give us a gift .
They are so simple and so delicious to start .
You need a strong £3 of beets .
I use a dark Detroit bread beet .
These are a deep red color and they're the really what's most iconic when you think of a pickled beat .
You can use any beat , especially if you have golden beets or white beets .
But if you want the traditional beat , you want to use a dark red one to prepare the beats .
You want to make sure not to cut off the rods .
If you're buying them in the store , you don't have to worry about this because they're already prepared for you when they ship them .
But if you're pulling them from your garden , make sure to leave the root on and about an inch of the stem cut just an inch above the beat and leave the rest of the stem .
Otherwise they'll really kind of bleed out that dark red liquid before we cook them .
You want to make sure that you scrub them well , just to get all the extra dirt and debris that's on them from the garden .
I just use a good brush kind of like a potato brush and just brush around each beat , place them into a large kettle and cover them with water , set them on your stove and bring them to a boil .
This is where it takes a little bit of guess work .
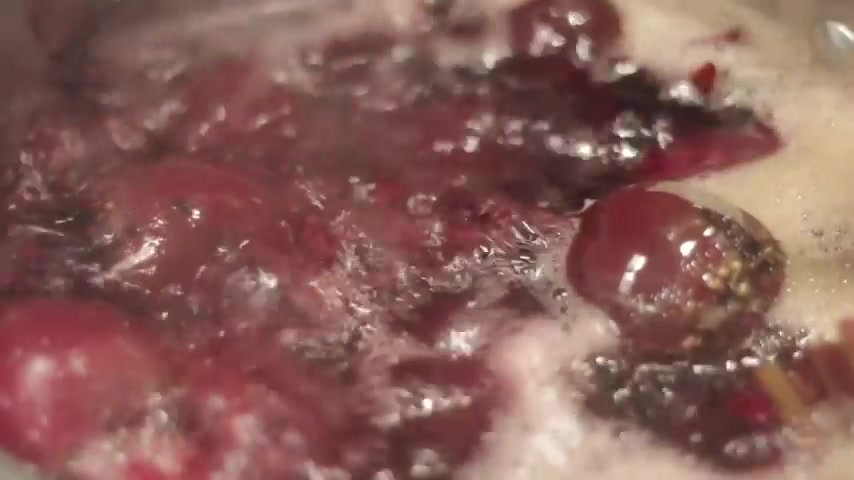
Since beets are each in different size , you kind of need to be checking them throughout the whole process and take them out as they're done for the really small ones .
It may only take 10 to 15 minutes for some of the larger ones .
It may take 15 to 20 upwards of 25 minutes , depending how large they are poke them with a knife and when they're tender for a knife , but still just a little bit of resistance in the middle , they're ready to come out .
Let the beats cool until they're cool enough to handle .
Once you're able to pick them up , they are so easy to peel .
This is such a nice way to do it .
I always use gloves because the dark red liquid can really stain in your hands .
And so if you're going anywhere , everyone's gonna wonder what you're doing and it probably looks like you just committed a crime , but you didn't .
So if you want to make sure to leave that off , just wear a pair of gloves .
Once all the beats are peeled , you're ready to start assembling everything you need to can .
These canning really is not as scary or as large a process as a lot of people think it can be simple in your large canning water bath , kettle , fill it at least halfway with water and let it come to a boil .
This is where you're gonna sterilize and can your jars .
Once it's at a full boil , dip each jar inside the boiling water and let them sit there for a couple of minutes , then take them out and let them dry without a rag , let them air dry .
This will ensure that they're sterilized and clean for use .
You even want to do this if you're using brand new jars because who knows in the factory where they've been touched or what could be on them .
Once you're ours are sterilized , you also want to make sure that your lids are ready .
Follow the instructions on the lids .
Most of them say just to wash them in warm soapy water and let them dry .
This is exactly what I do .
So just wash them and have them ready to go when you're canning .
It's best to have everything ready to go because right at the moment you need it .
It's best not to have to quick turn and do something .
So just have it right beside you in a separate kettle .
You want to prepare your brine .
This is a really easy brine that actually I use for so many different things .
It's two cups of water , two cups of white distilled vinegar and two cups of sugar and then just one teaspoon of salt .
It's such a simple brine and you , it's so easy to remember .
You don't even need a recipe .
Put this in a kettle and put it on your stove and let it come to a simmer to assemble the jars .
I just start by cleaning a little bit of fresh cut onion in the bottom of each jar .
I of course , hold this straight from my garden and just cleaned it and cut it and put it right into the jar .
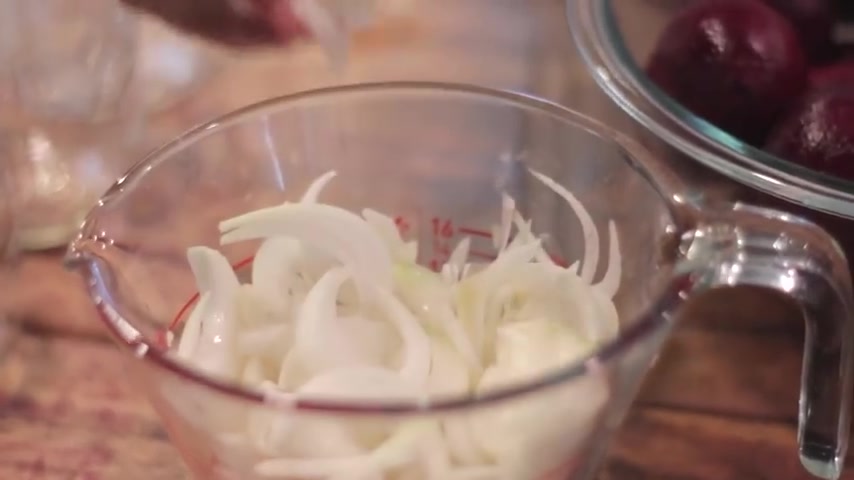
You can buy it and use a yellow onion or you can use white onion .
I wouldn't use red as it doesn't have as much structure and wouldn't keep up as well in the jar .
Cut however much you like directly into the bottom of the jar .
I like a lot of onions .
So I put quite a bit in , once you have your onion in the bottom of the jar , you can just start slicing your beats directly into the jar for the big ones .
I sometimes either have them or quarter to them and slice them on a different angle just to make sure they fit into the jar .
You can do whatever works best slightly pack them into the jar , but don't push too hard .
If you push too hard and make them way too tight , it could bulge the lids .
£3 of beets will yield you about six pints of canned pickled beets .
Once you have your jars full of your cut beef , you top them with a little bit more fresh cut onion .

If you're worried and don't like too much onion , you can of course leave this out .
This is just something that I love and really helps flavor the beats .
You will also want to make sure to leave a half inch of head space at the top of the jar .
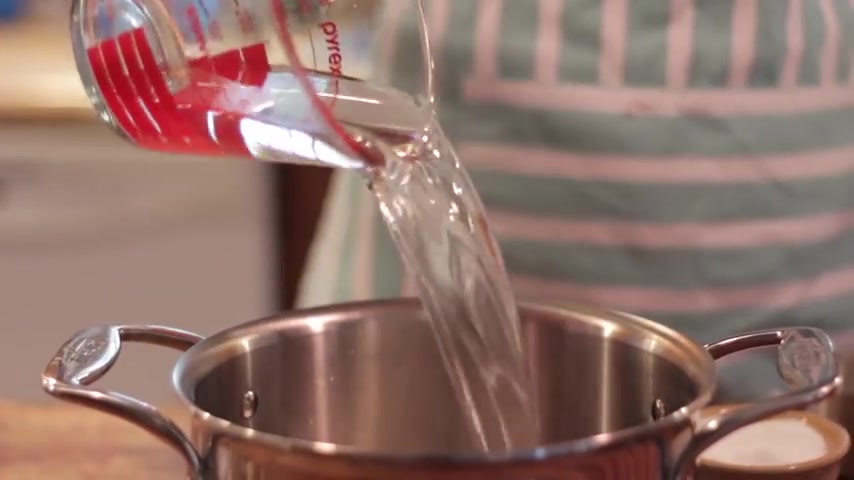
Once your jars are full of beef and onions , you're ready to pour on the brine and can these make sure your brine comes up to a full boil before you pour it on any time you're ready to can something it has to be poured in boiling hot .
Also , make sure your water bath is at its boiling point .
So these can go directly into the water bath .
Pour the boiling brine on each jar once again , leaving a half inch of head space , headspace is the amount of empty space at the top of each jar .
Just make sure to leave a half inch .
If you pack something too tight , they won't , can .
And it's too much effort not to have something canned .
Once you pour the brine on , make sure to wipe off the top of the jar with a little bit of boiling water .

I always just have a little bit ready and dip some paper towel into it and clean off the jar .
You just wanna make sure to get any drips of brine or anything else at the top of your jar away .
So when you put your lid on , there is a good seal place , a lid and a ring on each jar and tighten just until you feel it catch , you'll notice you don't want to go too tight that you can't tighten it anymore .
So just a little bit and then you'll know you're there .
If you turn your lid too tight , your jar has the potential to buckle while it's canning and the lid will just pop and dent and then it won't seal .
So make sure just not to go too tight .
This is all a learning experience and don't worry , I have had plenty of my share of jars that don't , can even .
This year , I've had a couple that don't and I just put them in the fridge and eat them .
Once your jars are assembled , the lids and rings are on , just place them directly into your boiling water bath .
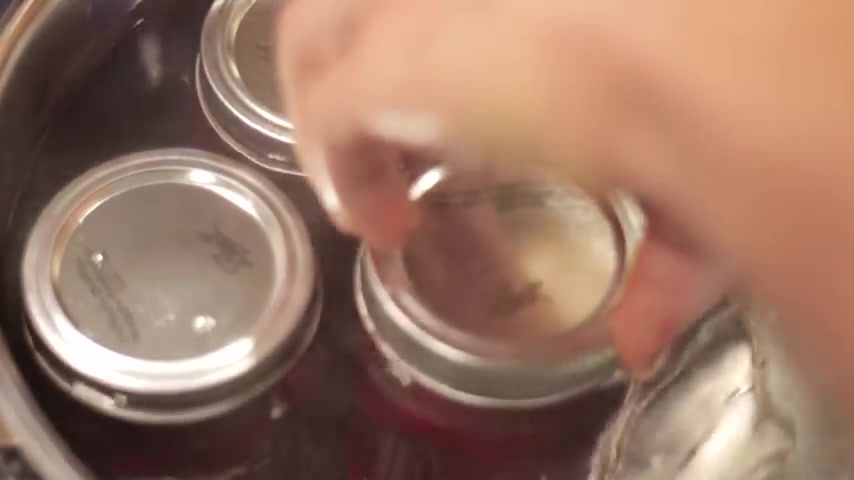
Make sure it covers all the jars with water , if not add a little bit of water and just make sure it's at least an inch over the jars .
It doesn't really matter how much as long as it's over the jars .
When it's at a full boil again .
You wanna process these for 10 minutes process just means the amount of time that they're sitting in a boiling water bath .
Once the Timmins are done , use a jar lifter and pull the jars out slightly , letting the water off the top by just turning them , place them onto a towel or on a cutting board and let them cool completely .
And you will soon hear the music to a canners ears , music to a canter's ears is that little pop you hear when the lid just seals and it is so sweet to hear .
I hope you can enjoy these wonderful pickled beats .
It's one of my favorite treats and soon we are going to be bombarding you with great canning videos .
It is becoming the prime season for all these canned goods and I love the can and preserve so many things .
So stay tuned for all the great summer canning options we have coming for you .
Thanks for watching this video to see more videos that you might enjoy .
Click over here or click down here and subscribe to our channel to see all the great new videos we come out with each week .
I can't wait to see you again .
Partnership
Are you looking for a way to reach a wider audience and get more views on your videos?
Our innovative video to text transcribing service can help you do just that.
We provide accurate transcriptions of your videos along with visual content that will help you attract new viewers and keep them engaged. Plus, our data analytics and ad campaign tools can help you monetize your content and maximize your revenue.
Let's partner up and take your video content to the next level!
Contact us today to learn more.