https://www.youtube.com/watch?v=l8lDyguSvJw
2023-06-14 18:08:17
How To Build An Affordable Deck
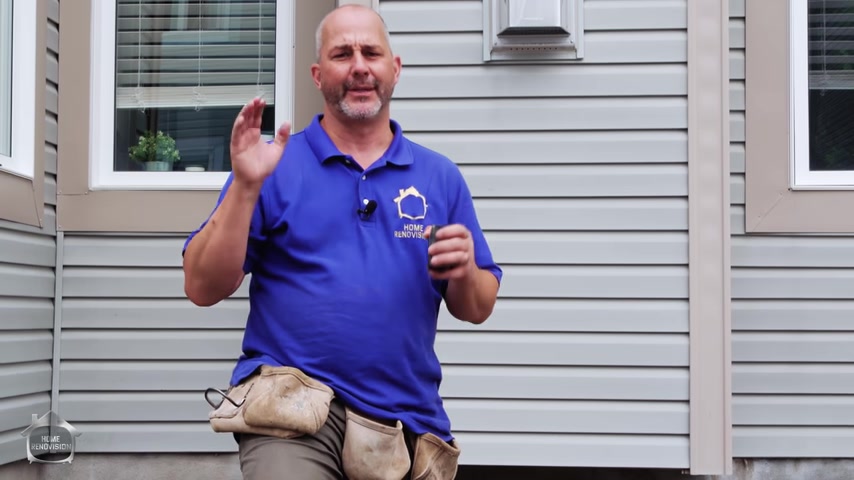
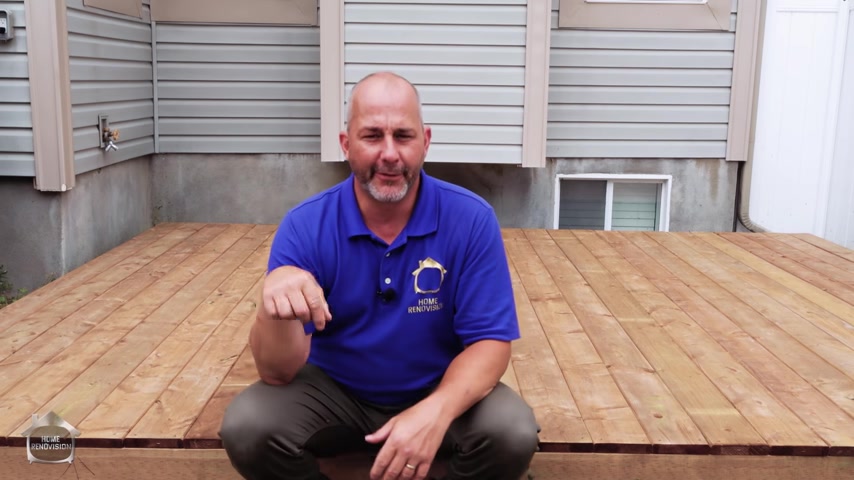
Hey , it's Jeff from Home Reno Vision here in the next 20 minutes .
I'm gonna teach you how to make a ground level deck .
That way you can enjoy living in your backyard .
Instead of sitting in the dirt , step into building a ground level deck .
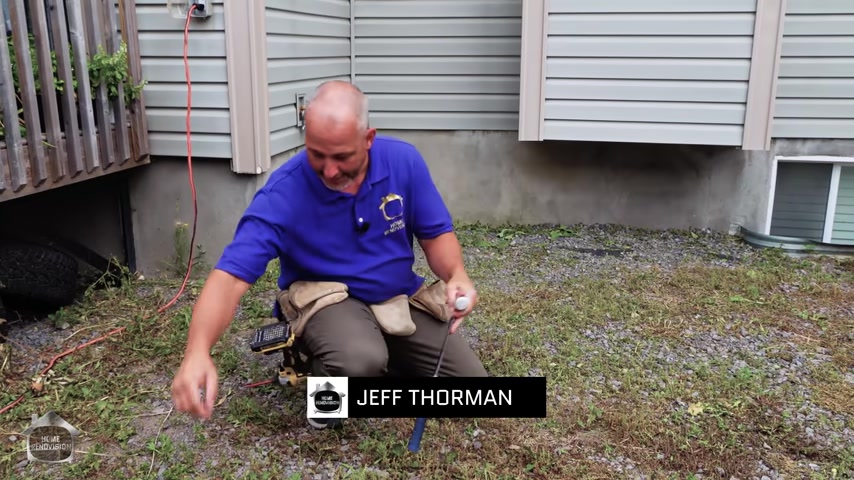
Is your surface preparation .
Now , for me , I'm lucky .
Um The guys that were here before me actually put down GEO textile already back to filled it with G A because the G A comes with rock and stone .
Dust leaves room for organics to sit here and grow .
I think it went down maybe a year or two ago by the look of it , we got some weeds that are growing in the , you know , just a little bit of dirt that's laying around .
You can see the , the cloth is exposed here , not concerned about this .
When I build the deck and I close it up there won't be enough sunshine to promote any of this growth and that will all end up just being done .
So don't be too concerned about it if you have a situation like this .
But for the most part , you want to put down some cloth the thicker , the better , right ?
The geo textile is the best , the little thin light gray stuff will probably work as well , but lay it down before you build your deck and work on top of a clean surface .
Let's get the building .
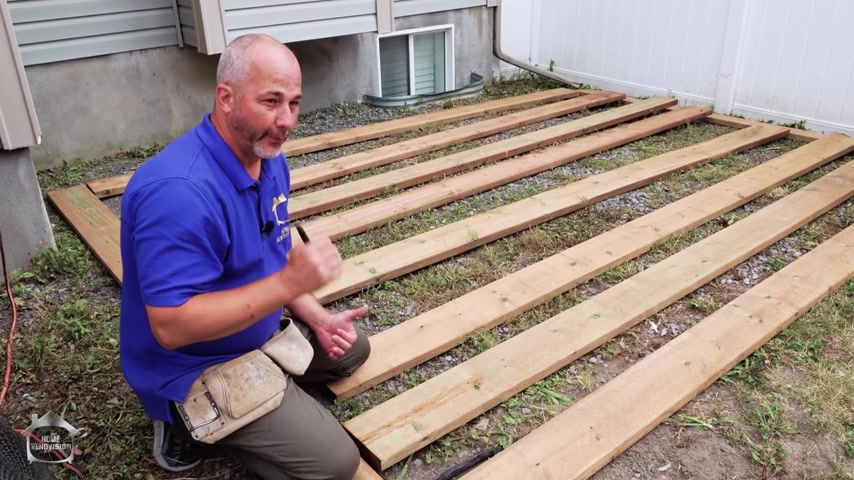
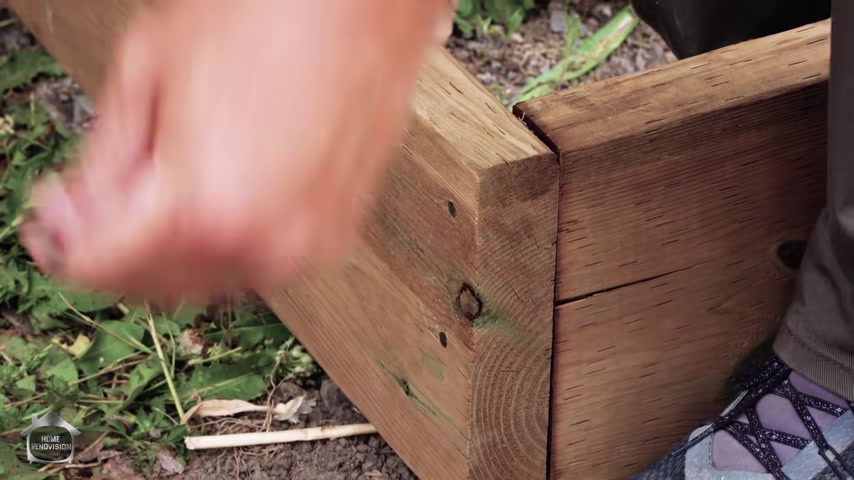
So the next thing you need to know about is your structure .
Now , we're using two by eight S and the reason I like using two by eight for deck is because that's the same height as any step .
So your , your body is very used to an eight inch step .
So when you use a two by eight , you get a seven and a quarter inch board , plus the top finishes runs you around the +88 and a quarter inch area .
And generally speaking , that's very normal and natural and you're not gonna have tripping hazards .
So the other thing you can do is when you're using two by eight , you can make multiple platforms and stack them and build something huge and elaborate all out of the same material .
So everywhere you go , it's the same step as when you come outside or go upstairs to your bedroom , you're not gonna have any issues .
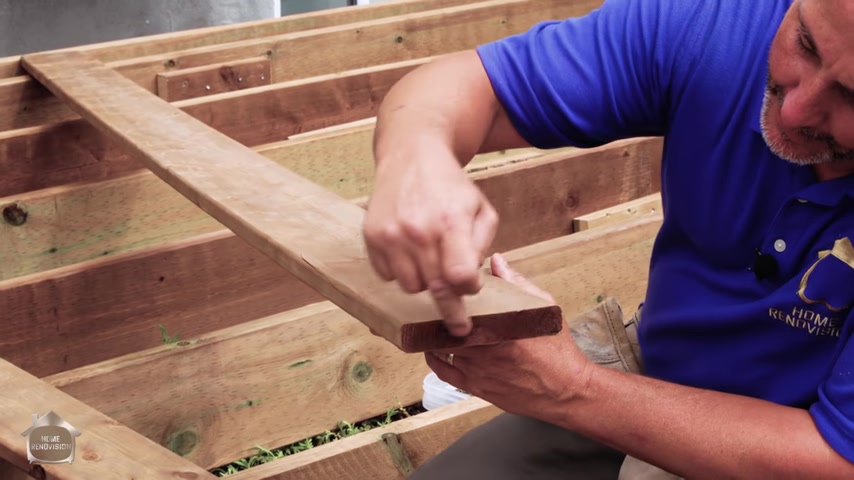
So here we are , what we're looking for is Crown Matt .
I just got to check this one .
Wow , that one's going this way and I just put an arrow on it .
And by crown , what I mean by Crown is I want you to look just like down here and you're going to see the wood , it'll have a bend one way or the other or it'll be neutral .
Ok .
So we mark the board .
Generally .
I always want the crown up and then under the weight of people and furniture and that sort of thing , it'll , if it sags it , it'll sag flush .
If you go the other way , you'll end up with dips and valleys and then it's really difficult to put the boards on and have them stay in place without having the screws and nails pop through .
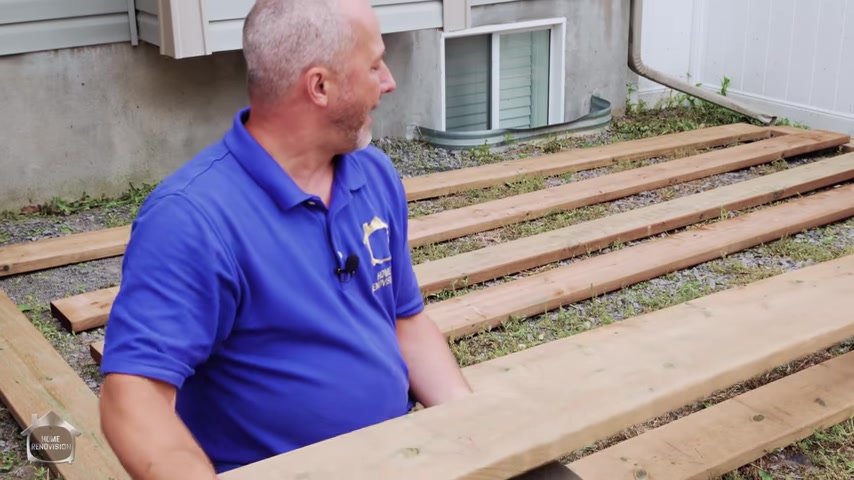
Now , there are a couple of basic rules of building and you're gonna need to follow when you're building your deck .
One is you need to use the right fasteners or fastening system .
And the second is you gotta have the right spacing .
Most wood comes with a five quarter inch board , which is actually one inch thick .
You wanna have your spacing set 16 inches apart on center .
The same goes true for some composites .
But if you're going to use other composites , you got to go to 12 inches .
So make sure you check your manufacturer's instructions .
But for us today , we're gonna try to keep this simple and as cost and quick as possible .
So we're just going pressure treated all the way through .
And so we're gonna go 16 inch on center .
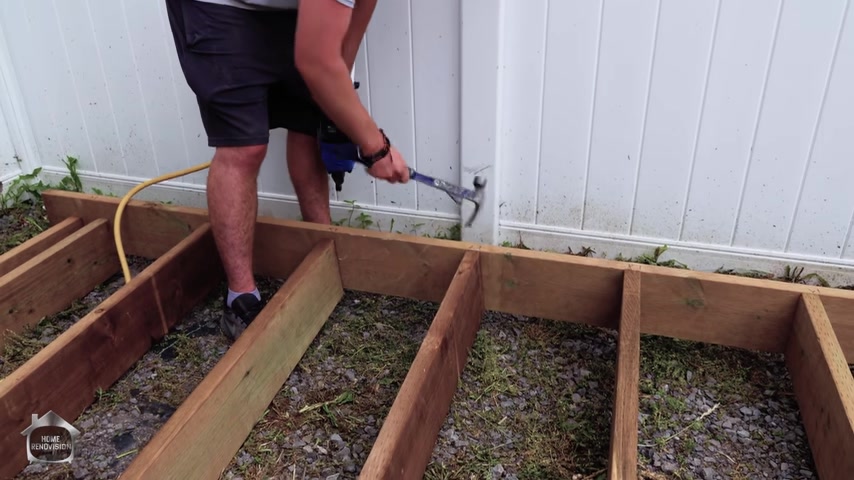
Now , when you're attaching all of your lumber , I've got a few different systems here depending on your tools .
Obviously , the easiest is going to use the , the pneumatic nailer , but you can go out and just buy yourself some three inch spikes .
Ok .
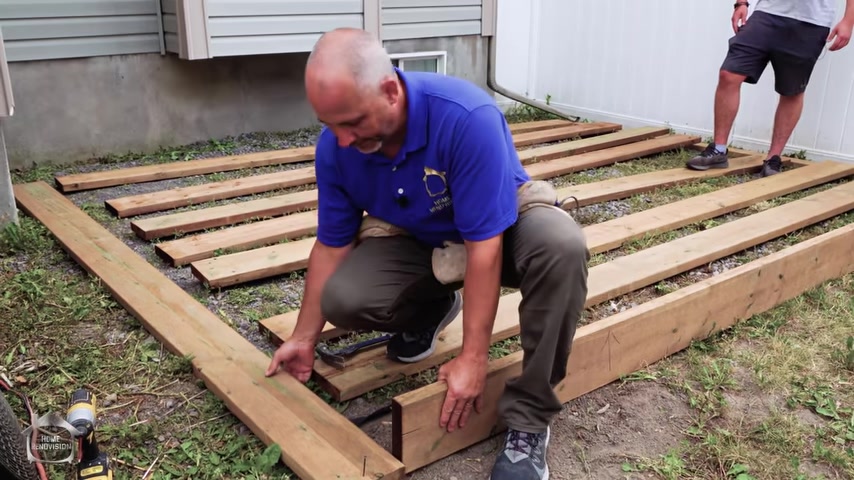
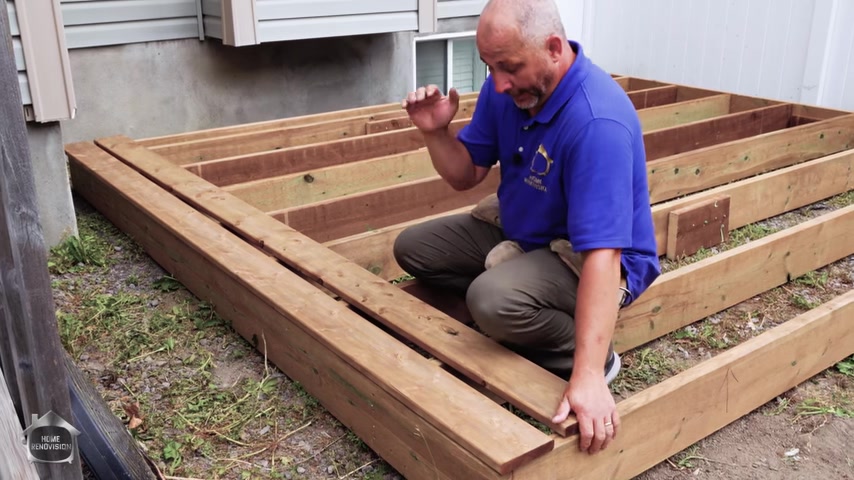
And you can , you use a hammer now to put all this together because the truth is if you have a hammer and a measuring tape , you can build a deck we're using here is a two by eight by 10 ft at the end and 12 ft for the length .
Now , the store that we bought it out every single one of these 12 ft jos is exactly the same length .
We double check the measuring tape first .
So we already have the material cut to go square .
We don't have to do any cuts out here .
So reality , if you want to do a quick 10 by 12 ft deck , you don't even need a saw .
If all you have is a hammer , you can build a deck too .
The rule of fasteners , you want one fastener for every two inches of dimensional lumber .
This is a two by eight .
It gets four nails if you want to build it quick .
The nailer is definitely the best option .
Matt's using these snails here which are three and a quarter inch .
They're a little smaller than the nail that I've driven with the hammer , but they are hardened steel and they carry the same structural look .
You got to keep your hands far , far enough away up the board .
When you're nailing it in that you don't hurt yourself .
So like back here would be a good enough spot to , to hold it .
You could throw a few nails in there .
So a little trick I learned uh when I was framing house is you use that little claw on the back of your hammer .
When you got a board that's twisted like this right now , if I nail it in , it'll just be twisted and my nails will be like on an angle .
So you use your claw , you put it on top and you just rotate it up completely flat , uh 90 degree angle and then you can nail them in just to keep them straight and pretty , you know , straight and pretty , gonna make it straight and pretty .
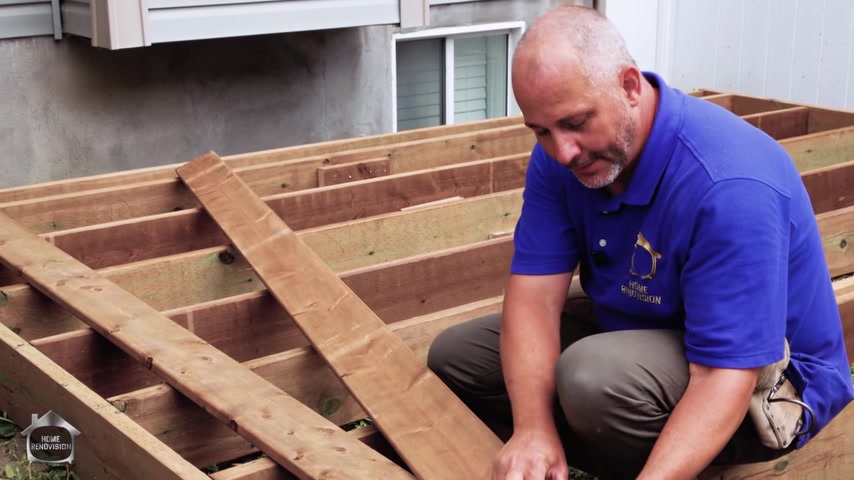
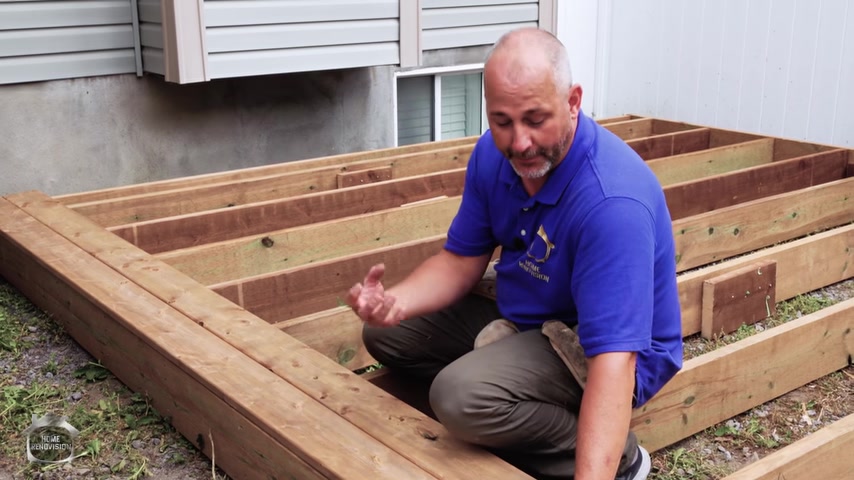
So once you've got your frame nailed together or screwed together or however you're going to put it together , you just want to make sure that a it's in the right position and check your level .
Now , if you don't have a level , there's all kinds of other options to level something out .
There's a water level which is a long plastic pipe .
You fill it with water and you just put , you hold it up and you can put a marker on it and you can put one in on each end and you can manipulate things until the water is on those black lines .
It's that simple .
But I have a six ft level .
I like to use it the high side of this deck is that far corner .
So you have options .
If you're doing a quick simple ground level deck like this , you don't have to go through all the hassle of digging holes and putting in blocks and leveling it out .
There are much more complicated ways to build a deck that's floating .
And if you want to see that we have an entire series on how to build a floating deck that's off the ground and multi level and stairs and ramps and you can click the card up here .
But for this video , it's just about how to get out of the dirt .
So what we're going to do is I'm going to cut some two by fours , just small sections , maybe even some two by eight in a couple of corners .
And I'm going to just lay it down .
We're going to lift the corner and laminate the two boards together to transfer the load from the joy or from the rim right to the ground .
It will be that simple .
Now , the fastest way to level off a ground level deck , put your level on the board , find your high spot and then you want to get your bubble right in between the two lines .
So what I'm gonna do is I'm going to just lift this up a little bit .
So I like it .
And then Matt's gonna drive that screw from the , the SEPP block into that lumber and that's gonna transfer the load to the ground and once we've got it all leveled off , we'll come back with the nails and we'll fire in a bunch of nails to give it the strength that we need right there .
Ok ?
Once we've got the four corners done , we'll just do that with the rest of the joy and that will get rid of our deflection issues .
We can do that all the way down the middle as well so that we have contact with the ground every five ft .
All right .
So right about now , some of you guys are putting in questions and comments and oh , it's all about building code .
This isn't right and whatever , whatever I'm gonna try to communicate this with you as effectively as I can .
There is no building code for decks that are below 24 inches in my area .
Other states are going to have different rules .
So make sure you check the rules in your state .
Some areas every deck is going to have to be attached to the ground .
But the point is this in my area , if I don't attach this to the house , it's not structural .
I can build it any way I want .
There are no rules .
Ok ?
So all you have to do is remember this , you have to use good building practice , which means you have to use the right amount of fasteners to put things together .
You have to use some common sense .
You got to follow some basic guidelines when you build it , you don't want people falling through it and getting hurt , obviously .
So you can't just get all creative as you want .
You got to follow some of these procedures , ok .
Use proper structural lumber , use proper fasteners , use proper deck boards and you'll be fine .
It's not rocket science .
If you want to get yourself out of the dirt , just do it quick and simple like this , you'll be done in a couple of hours .
Now , the next thing we want to do is we want to square the deck off , make sure that it's not built like this .
Right ?
Makes sense .
And then we can start putting our deck boards on and that's just a simple process of installing a bunch of screws .
Yes .
If you wanted to , you can use the air nailer and you can nail down your boards .
But nails , rust and rust looks like garbage .
And I just prefer to use the deck screw .
So we'll jump into that next and we'll talk about all the different decking options that you have .
Now , you've all seen this on other decking videos , I'm sure .
But the basic idea is if the measurement from corner to corner is the same , then it's square 1 89.5 , 1 90 .
So the diagonal that way is a little longer .
And when all you do is step back and take a look , I can see that my deck is twisted this way just a little bit , which is why this corner is closer to that one and that corner is further away .
So all I'm going to do is just give this a tug this way a little bit problem solved .
It's right at a point now where we got to put on decking .
Now , for our basic deck here , I'm using pressure treated lumber and pressure treated has changed a lot over the years .
It used to be green .
Now we got this new sea and the brown .
Now there's going to be a whole world of controversy over this .
But let's just take a look at this new growth trees .
You see these tight little rings , the growth rings on this tree .
This board is almost as big as this tree was .
And I know there's all kinds of discussion out there on the internet about should the grain here be looking like a rainbow or a smile ?
There's a couple of different factors that will affect your choice one if I look at this one looks like a rainbow .
Ok .
So the old school carpenters say put it in like a smile and that works really good because what they're talking about is uh the bark side out from the tree .
Ok .
They're talking about the way it cups , they're talking about this or that .
And old school carpenters had old school lumber , great big huge trees and it worked really well for them .
But look at this , see this in here , how this is coming loose .
Ok .
Right here .
And this whole middle vein here that's actually the center of the tree .
And what happens is after about one month , maybe two , it starts , it gets to rain and it starts to lift and all these become these little really nasty little slivers .
So the only way to protect yourself from all those slivers is to flip it over and put it in like a rainbow , which is contrary to old school carpenter technique .
But when you're doing your decking , look at it for this , you're gonna be putting in two screws , it's not gonna do much lifting or cupping or anything anyway .
Ok .
It's not a real big issue .
What you want to do is make sure that anything that's looking like it's going to become a splinter down the road is on the bottom side and the discussion if you're indirect .
So , ok , then you're going to have a more dramatic shrinkages , more dramatic cupping .
If you're in the shade or you're in a northern climate , it's not quite so severe .
So it doesn't really matter at all .
Um If you're gonna be in the hot sun , then I would suggest in this environment , go and pick out your own number and avoid the boards that are the center core right on the edge because every one of those is going to disappoint .
Now , as far as this is concerned , we're going to just be screwing this down .
We're installing tight .
This lumber is still pretty fresh .
It's only been here for one day so it doesn't really finished the drying out process yet .
I have a landscape cloth down here which acts a lot like a moisture barrier to a certain degree because this is a high quality geo textile .
So I'm going to have a little bit of shrinkage here .
If you're right on top of soil and you're close to the ground , you're going to get a lot of moisture and then the wood will actually end up swelling , it's not going to shrink .
So there's a lot of different things to consider here .
Bottom line is this , if you have questions about your own specific soil conditions and the job that's going on in your house , you can always ask questions in the comment section and I'll make sure to help you all out .
All right .
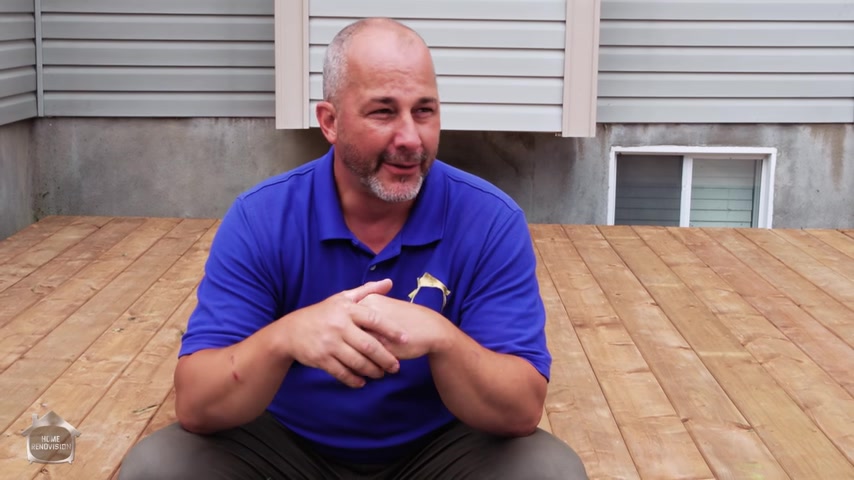
So this is kind of the whole point of the idea of this deck was to make this really simple , right .
So , what I have is I have a 10 ft board rim joy .
I have 10 ft decking boards .
I'm going to start flush on my most exposed corner and that's it .
Ok ?
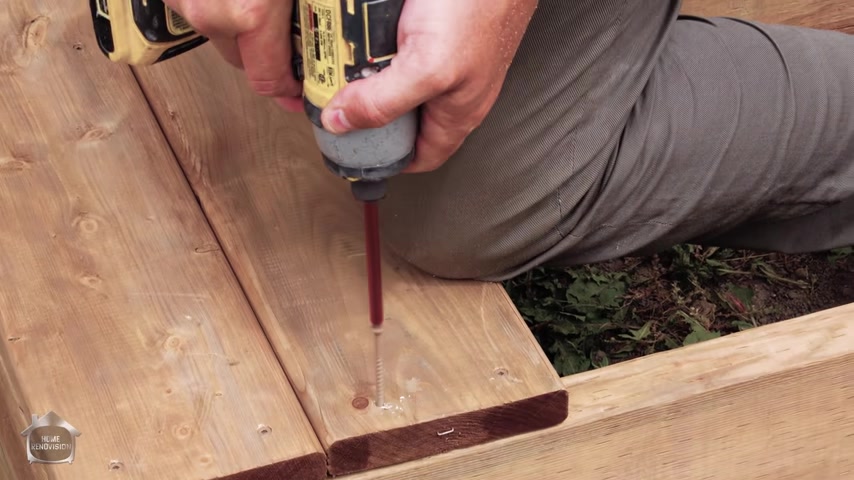
I'm gonna screw it down .
Now , most people , if you're going to screw down a board and you're near the end , it's gonna split .
So , what I do is I just get a little bit of a start .
I put it in reverse and I hold it still and I screw backwards .
Get a bit of a burn going and then drive it forward .

Guaranteed never to split .
Now , keep in mind , depending where you live , you may have the brown or the green pressure treated .
There are brown and green screws , but all things do the same thing .
No matter which lumber you have , it'll turn brown over time .
So , always buy the brown screw , green screws look like junk next year because you would have faded all that green property that in the pressure treater would have lifted out and it's gone brown .
You're gonna have green dots everywhere .
So save yourself the hassle .
Keep this flush all the way down and mark the screw mark the Joyce line .
Now , none of these boards are gonna be straight .
You already know that the secret is before you put it all down , go to the furthest point and straighten it out way down here because it takes a lot less strength to do it .
All right .
Now , we got a nice straight line .
The rest of the boards can be installed tight to each other .
They finish their drying process to leave a little bit of gap for rain and that's it .
One of the things you're going to know , deck boards are not going to be straight .
Make sure you got an extra two by four here for a lever .
Wait down , close the gap done .
So now the secret is to put in all your screws one board at a time and try to keep them straight .
Always the same gapping one inch from the edge right in the center of that joy line .
And it's nice to have two people doing this .
So , what I'm gonna do is I'm going to get my boys out here .
I'm going to have them install the rest of these deck boards and then we can talk about finishes and the controversy between oil based and water based products and what you can do to preserve the life of your deck and avoid having to stain every year .
All right .

So , depending on the kind of gap situation you're using , you may or may not finish flush .
Ok .
It also depends on how dry the wood is when it's delivered .
So , having an extra piece of lumber around like a two by four , we just had an extra Joyce .
I cut it down .
Ok .
You wanna lift that up ?
I'm gonna put it nice and flush at the front and we're gonna extend the deck a little bit and we're gonna add our last board to finish off .
Nice and flush .
Ok .
So now we've got a ground surface deck .
There's one other thing to talk about and that is how to preserve it and take care of it over time .
If you're going with pressure treated , the best solution I have for you is leave it alone and then pressure wash pressure treated , pressure wash right .
A couple of times a year , it'll clean off any of the moss and fungus that kind of grows on it and it'll last 20 years like this .
No problem , no maintenance .
If you want to do something different , get a little color .
Have a little more fun .
Then may I suggest using an oil based product instead of water ?
I know a bunch of years ago , everybody in the industry tried to go to water based products because using something that was oil was deemed to be not environmentally friendly .
Reality .
Is this , the water based chemicals are exactly that full of chemicals and they don't penetrate the wood .
They sit on the surface as a result .
The sealers and the stains and the paints , they all take really bad wear and tear with the combination of moisture coming through the wood from the ground and the sun's U V rays and they don't last .
So you end up spending half of your summer every two years sanding and finishing and fixing your deck .
It's just a waste of time .
If you use an oil based sealer , even with a semi transparent tent , you can get a great result and maintain it in just a few minutes a year .
Ok .
So oil base is actually more environmentally friendly because you spend less time screwing around with it and it will preserve your wood a lot better .
So you don't have to cut down another block of trees to build the deck again in 10 years .
Having said that this is quick .
It's simple .
It costs about $650 for all the wood , all the hardware and you get 100 and 20 square feet of living space , which is the size of the average dining room .
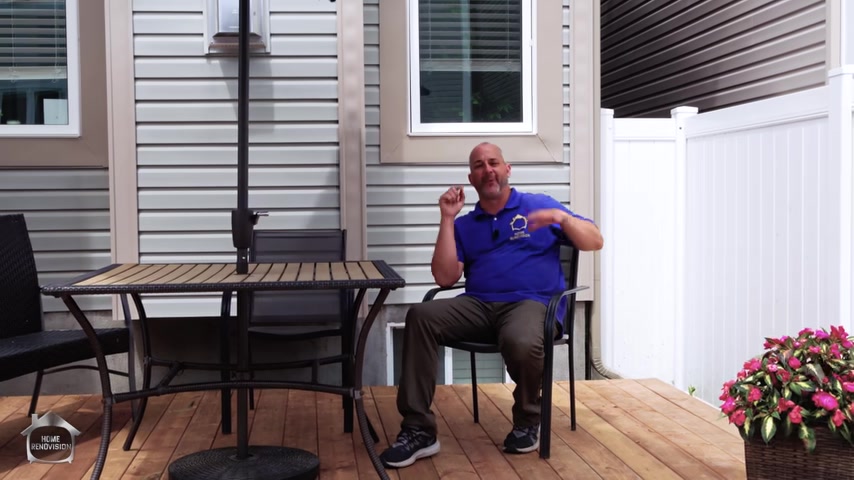
So we're just going to put the furniture on here and then stick around for the before and afters .
Ok .
It's going to blow your mind the transformation that happens with just a couple of hours of work .
Remember if you have any questions about your particular situation , ask them in the comments section .
If you need help designing your deck or anything like that and feel free to join the membership program and enjoy the before and afters .
Remember for about 600 bucks and just a few hours of work , you can have a living oasis in your backyard .
And if you want to do something more intricate and detailed , you can click the link up here and check out how you can make a multi stage living space in the backyard with built in planters and hand rails and all sorts of good stuff .
Partnership
Are you looking for a way to reach a wider audience and get more views on your videos?
Our innovative video to text transcribing service can help you do just that.
We provide accurate transcriptions of your videos along with visual content that will help you attract new viewers and keep them engaged. Plus, our data analytics and ad campaign tools can help you monetize your content and maximize your revenue.
Let's partner up and take your video content to the next level!
Contact us today to learn more.