https://www.youtube.com/watch?v=CmBzCnCj2XY
DIY Platform Bed With Floating Night Stands (Plans Available)
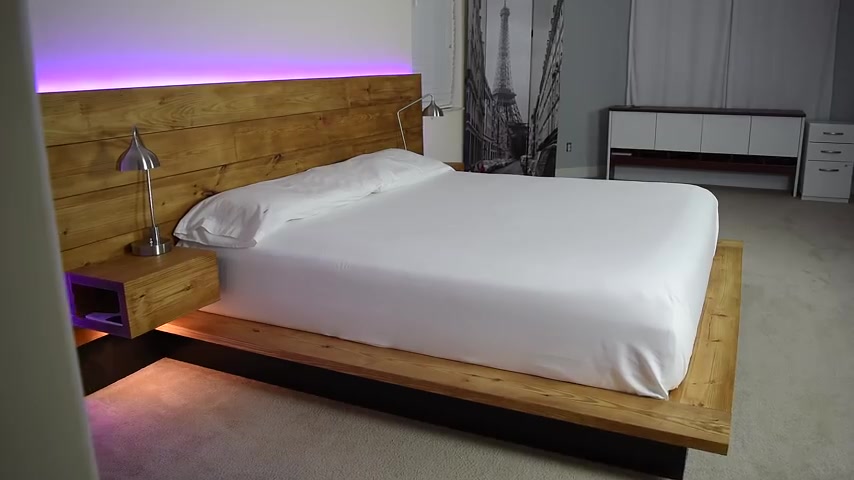
Picture yourself walking into your room and absorbing the feeling of accomplishment .
This is the feeling I get when I walk in this space .
Let me take a few seconds to give you the detail on this build .
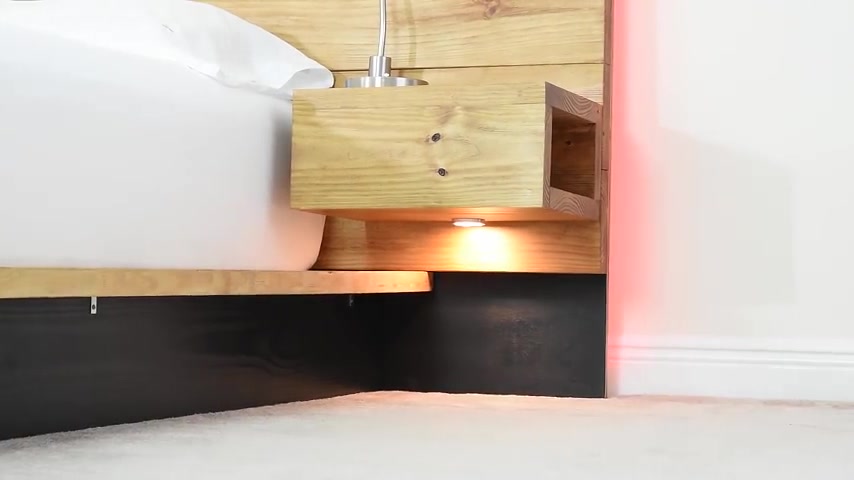
The majority of this platform bed was made entirely from eight inch lumber from your local hardware store featuring two floating nightstand with the idea of saving space and not jeopardizing functionality .
The nightstand not only has a place to store your lamp , but on the inside , it also have a place to store a book , an ipad and anything that you want within arm's reach .
And also let's not forget the electrical outlet providing you two ports to charge a lamp or any device .
And one of my most important features of this build is the on and off switch that control the under mount led puck lights and with the added lights , these gives off a luxury feel within the space and with the whopping 116 inch headboard back with led strips to set the mood in your space .
Hey , what's up guys ?
I'm Glenn with Diy Creators .
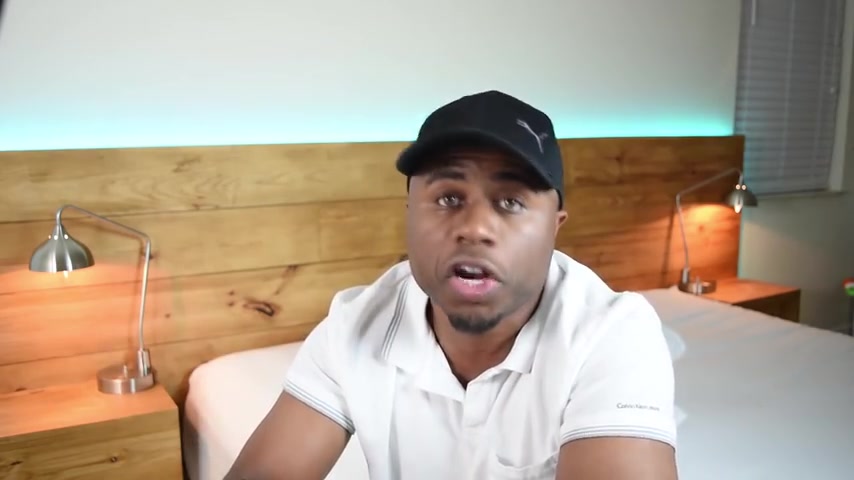
And today I'll be making a modern platform bed for the bedroom , I actually been getting a ton of requests to make a bed and I actually needed a bed .
So , you know , I like lights .
You know , I love led s and I've had to find a way to incorporate them .
And with this build , this is basically a temporary bed for me .
And what I mean by that is there's a lot of work I need to do in this room , gotta paint the wall , gotta replace the floors .
A lot of things I wanna do .
And this bed is not what I had in my dream bedroom , but it's a space for it right now and it should work for the time being .
I actually like the way this one came out and hopefully you guys are interested in this one .
So if you check out in the video description , you should see all the information about the bed and how much it cost and other details about it .
So if you have any question , you can check there or you can just ask me in the comments and I'll get back to you .
And with that being said , let's do it for this project .
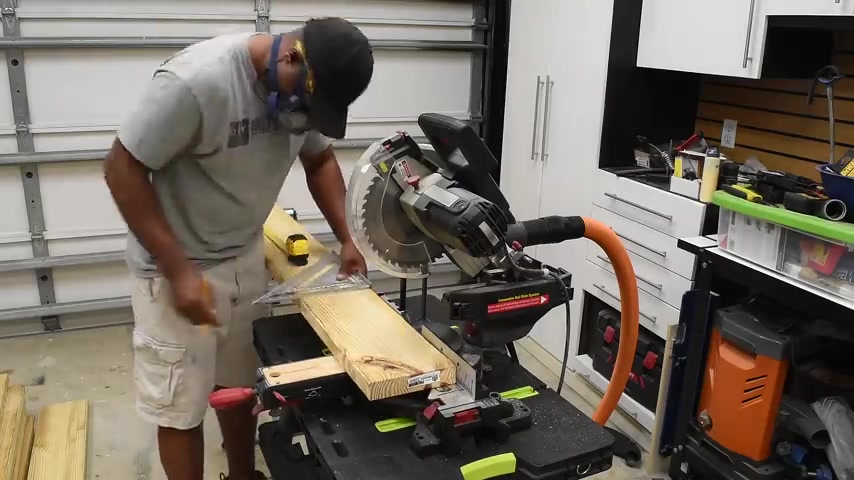
You do not need a ton of tools , but there's a ton of cutting and I would totally recommend am saw if you don't have one , maybe you can borrow one , maybe you can rent one from your local hardware store .
Your next option would be using a circular saw and you'd probably want to use a jig to cut those just so you have some consistency .
I do have a max cut two jig that I made a while back .
So you can check that out or you can check out one of the circular saw cutting guides and that should help you along with this project .
There's a ton of cutting with this project and majority of it is all repetitive .
So I'm just gonna make all my cuts .
And then you can see here's all the finishing pieces that I've cut down to size and now that everything is cut , I can now move on to sanding .
Now , you only need one standard for this project .
But since I had the luxury of having two of them , I decided to put both of them to use , I use one with a 80 grit sandpaper on it .
And then I use the other one with 100 and 20 grit sandpaper on it .
Now , keep in mind if you have a thickness planer and this is probably the time to use it .
Now , this lumber come pretty rough .
So there's a ton of work prepping them and smoothing them out .
And I do this process over and over again .
And then I finally finish sending them off with 100 and 20 grit sand paper .
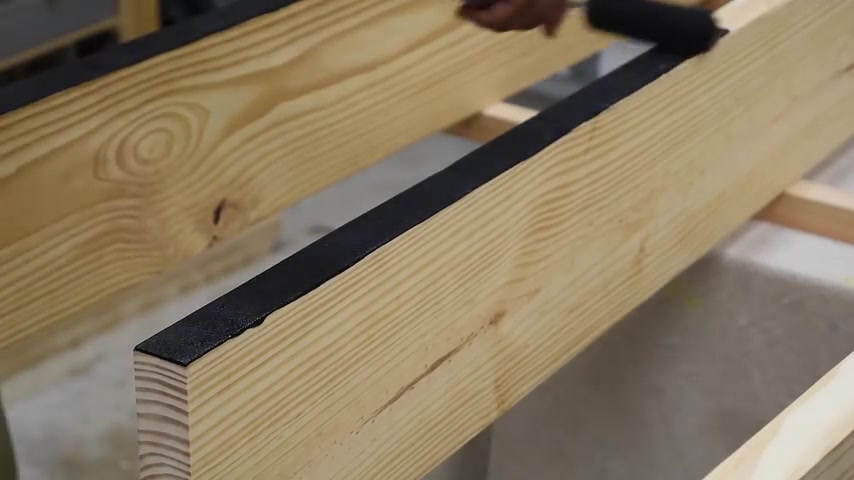
I'm not sure how well this works , but I was doing everything in my power to speed up the process for the bed frame I'm gonna use a glossy latex black paint to apply the paint .
I'm using a high density foam roller and this gave me the best chance of getting a good finish without putting out the paint sprayer for the back and on the headboard , I use plywood and those only come in eight ft section .
So the thing is I need to extend those and I use plywood glue and also packet hole screws just to extend it to the width that I needed .
The bed frame is painted black and to keep a consistent look , I painted the bottom part of the headboard as well so that it blends in at this point , the plywood is pretty heavy on its own .
But the more and more add wood on it , it's gonna get heavier and heavier each time .
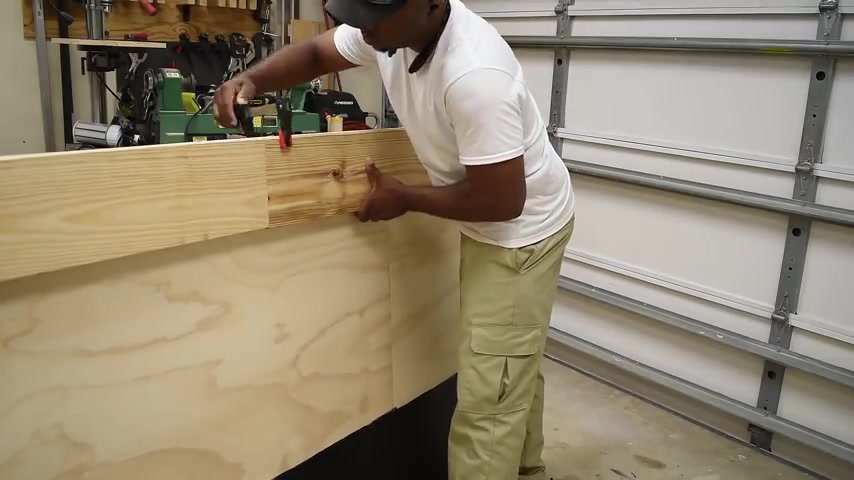
So it's important to secure the plywood in place as you add the pieces , of course , having a helping hand with toe to make your job a whole lot easier .
But if you don't have the luxury of that , the clamps work just fine .
After adding all the lumber , the headboard became extremely heavy .
If I had to guess it was probably between 304 £100 being that I'm so close to the edge is best to pre drill so that I don't split the lumber to secure the lumber to the plywood .
I add a two screw per board approximately every 24 inches due to the size of the headboard , your eyes will be drawn to it more than anything else on the bed .
So in this case , due to the design , the way you like , maybe you want to carry the wood across the entire width of the plywood .
In this case , for me , I wanted to see that line going back and forth .
I wanted that stagger .
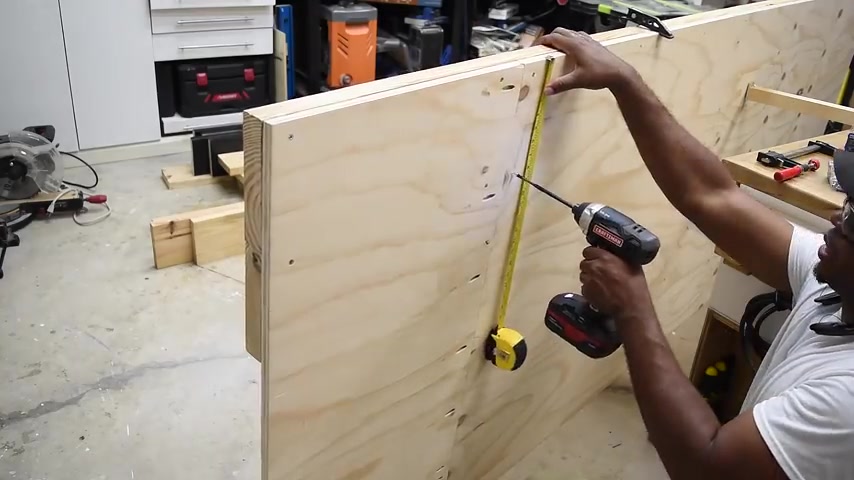
Look , I just continue the same step over and over until I get to the last row for the finish .
I use a dark walnut danish oil applied with the rag .
Now , if you like the color darker , you can always add more and more layers , but I was pretty satisfied with the tone of this one .
Now let's move the focus over to the floating nightstand .
Each nightstand will have the same setup and to make life a little easier , I'm gonna cut out the junction box opening so that we can install those later on using a jigsaw will make quick work of removing this section .
If you don't have a jigsaw , you can always drill a bunch of holes and then chisel out the rest .
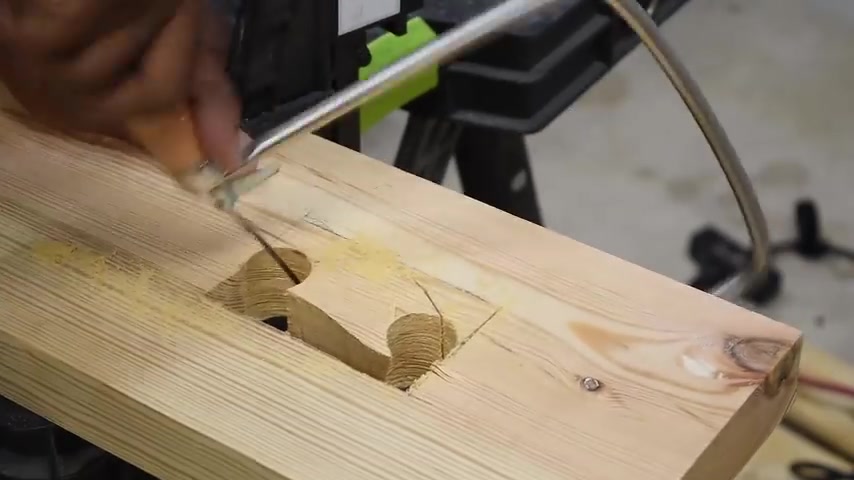
If you feel like you like a challenge and you wanna do this by hand , you can always use a coping saw if you go this route , it's a lot of work , but it's still an option to assemble the nightstand .
I'm gonna use dolls .
Now dials can be frustrating to work with because you have to be pinpointed on to make sure everything line up .
You should mark both pieces of wood at the same time .
That way you have a reference when you use the dow jig , these dow jig by rock actually have a center line on them .
If you place the center line on the marking , then you'll be more than likely to get a straight hole drilled before applying glue .
It's always best to test to make sure everything fits .
Well , as a reminder , I marked both pieces the same so that I know which two go together to ensure that my accuracy was on .
I just marked , drilled , marked , drilled and I did the same thing all the way around for each side on each box .
I wasn't sure about the quarter inch dials .
So I decided to beef those up with three eights and this part , it's pretty self explanatory .
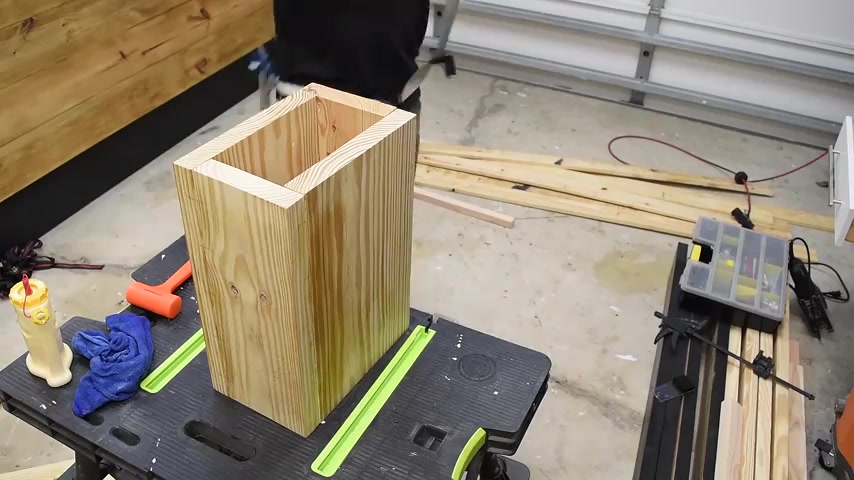
I'm just gonna add a ton of glue in the hole on the joints and also on top of the as well .
And after this part is done , it's time to bring out the clamps once the glue dries , that's where the majority of the strength comes from .
So you wanna be sure that you clamp this down as tight as possible if you don't build often enough and don't feel the need to own clamps .
What you could do is use screws and wood glue at the joints , then use wood filler to cover the screwheads .
My intention is to have the end table an inch or two inch lower than the top of the bed .
Next , I'm gonna measure and mark the inside of the end table .
Then I'm gonna drill a few pilot holes going all the way through the headboard just to mark the backside of the end table .
I wanted this switch to be somewhat hidden , but also in the location that I can get to it easily .
And this switch is meant to turn on the puck light that's gonna be below the end table .
The light that I plan to put here comes in the kit and it also has a tail on it .
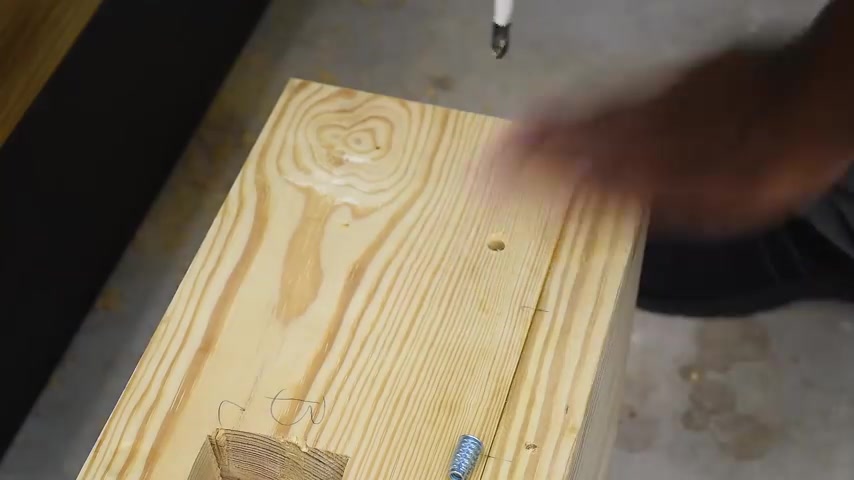
So what I'm gonna do to keep the wire hitting , I'm gonna drill up but at an angle so that the wire come out through the back .
So at this point , it's a good idea to just mark everything while the end table is in place , even the outlet and with the end table removed , I can now drill all the holes out for the boats to pass through the last boat .
I just drill actually fell into the opening of the outlet .
So I had to redo that one .
The end table is meant to be removable this way you can remove it and move the headboard around that wheel .
Notice I have tape on my drill bit as an indicator so that I didn't exit out the other side of the table .
This is the location that I plan to put the on and off switch for the puck lights .
Since I can't get my drill to drill in from the inside .
I'm gonna attach a piece of wood and drilling from the back side .
And this way I can avoid any major tear outs .
I drill a three quarter hole , but it seems like it's a tight fit .
So I just have to wobble out the hole just a little bit to accept the switch after sanding and applying the danish .
As I did previously , I'm now going to add wipe on polyurethane as a top coat for this finish .
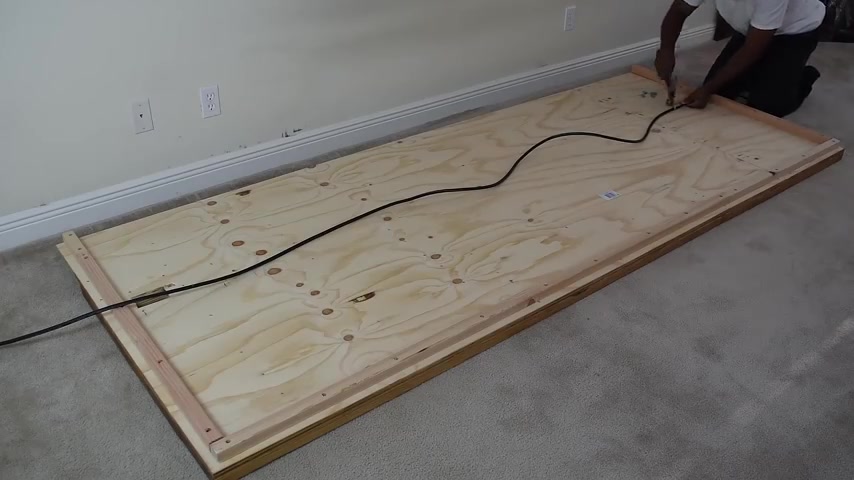
After applying the first coat of polyurethane , I then went back with a 400 grit sandpaper sand that down .
Then I applied one more coat onto it .
You can do it a third time to get an even better finish .
But I was happy with the second coat since I wanted to achieve a glowing effect behind the headboard .
I decided to add some strips of wood going around and this would serve a couple of things .
One is a resting area for the led s to sit , but it also help kicks the bed off the wall .
So when I plug the power cord in , it doesn't interfere with the headboard .
Now that I have the headboard in the room , I'm going to add the electrical wire and that's gonna go from one outlet to the other outlet .
Here's the puck light that I shown previously in the video , I'm just gonna cut the plastic connector off of it , pass the wire through the hole that was drilled and then screw the light into place .
This led Puck light comes in the kit and I really like the low profile of them .
And I have links to these down in the video description to wire up the on and off switch for these .
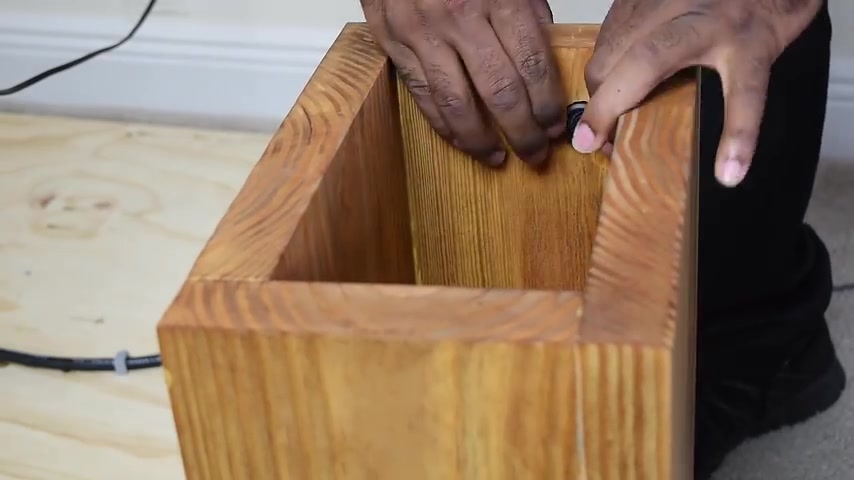
I'm gonna use some spade connectors which are called push on connectors or many different names .
I terminated those to a piece of wire passed the wire through the hole and then I can insert the switch .
So getting the switch in the hole was a pretty tight fit , but I made it work .
I left all the wires pretty long so I can pass them through the drill hole that was done early on in the video .
And now that all the cables are passed through , I should have the wiring for the puck light , the electrical and also the wiring for the switch .
And after getting the end table under the headboard , I can now install the bolts .
Now I can fasten all the wiring down and keep everything neat .
And out of the way before screwing the wood into place , I actually tested out the led s just to see where I get the best glow .
And I found that placing it one inch away from the edge actually gave me a go that I actually like turns out the led strip was pretty close to the size of the headboard going around the entire perimeter .
So I didn't have to add or cut any off .
I drew the half inch hole then forced to connect it through the hole .
I probably could use a different method here because I had a tough time keeping the cable flat while it was passing through the hole .
Since I don't have a ton of option .
The receiver is sitting in this general area allowing me to pass the I R receiver just outside the hole and to keep everything in place , I'm just gonna apply a ton of hot glue to create a plug that I can plug in the wall .
I'm gonna take an old extension cord cut off the end and I'm gonna use that wire so that I can make the connection .
And since I'm actually hiding the two outlets behind the bed , I need to bring some outlets back to the front of the bed .
So I'm gonna try to keep these hidden as well .
But the cool thing about these outlet is they actually have a USB port on them .
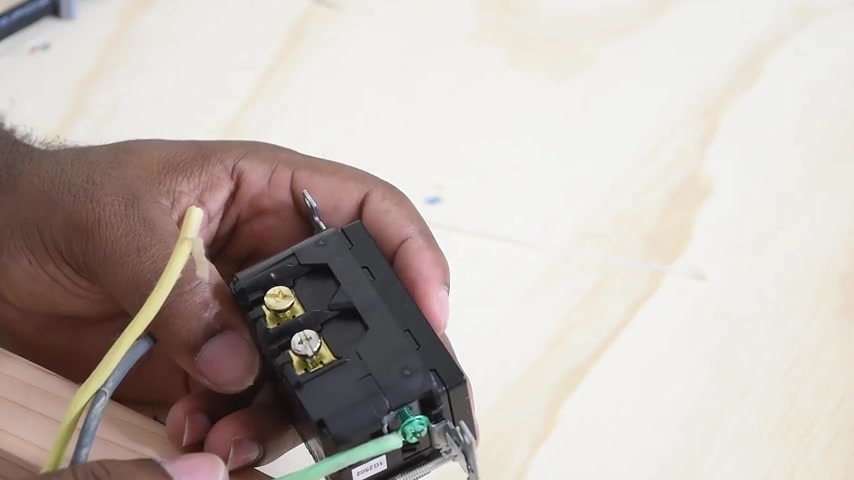
These outlets are fairly simple to hook up .
You have a green wire that goes to the green terminal , that's your ground .
You also have a white wire or in this case , it's a yellow wire and that goes to the silver screw , which is your neutral .
And the next wire you have left over is the black wire that goes to your gold terminal .
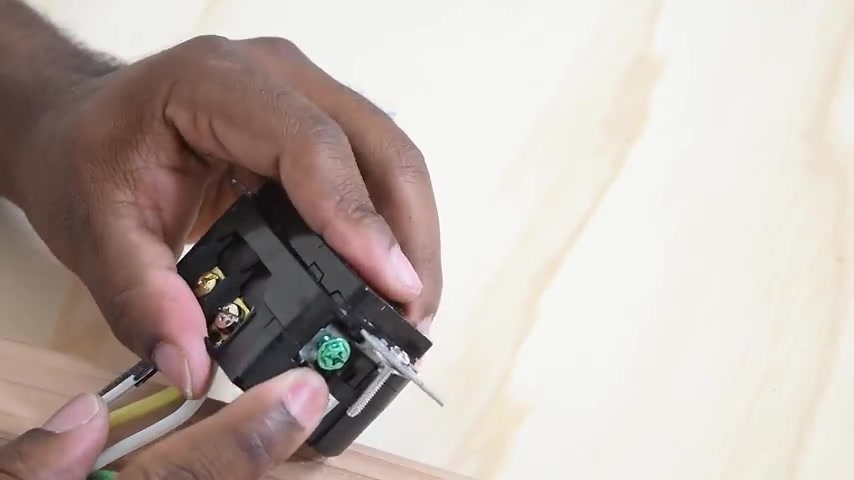
That's your hot leg coming in this old extension cord that I have actually have two white legs on it .
So I need to do a continuity test to figure out which one is the hot leg or the neutral .
Once I find a hot leg , I colored it with a black sharpie .
So the outlet on the far end only has one wire at that location .
This actually have two wire , the one that comes from the other outlet and the other one that goes to the wall .
And since I'm in the US , I'm only gonna address the outlet that I'm most familiar with .
If tinkering with electricity is not really your thing , what you could do is work on the circuit with it , unplug or power it off .
Once you've wired it up , you can use the inexpensive tester like this one to check if your circuit is correct or is incorrect .
It will also tell you that if you hooked up a wire backwards or if you have an open ground or hot or even a neutral .
Now , it's really important that you use that junction box so that nothing gets out of place .
Now that I'm done with the high voltage , it's time to work on the low voltage .
And here I'm gonna use a terminal block .
Now , I was planning to explain what I was doing here .
But then I realized that after I finished wiring this up , it actually looked pretty complicated .
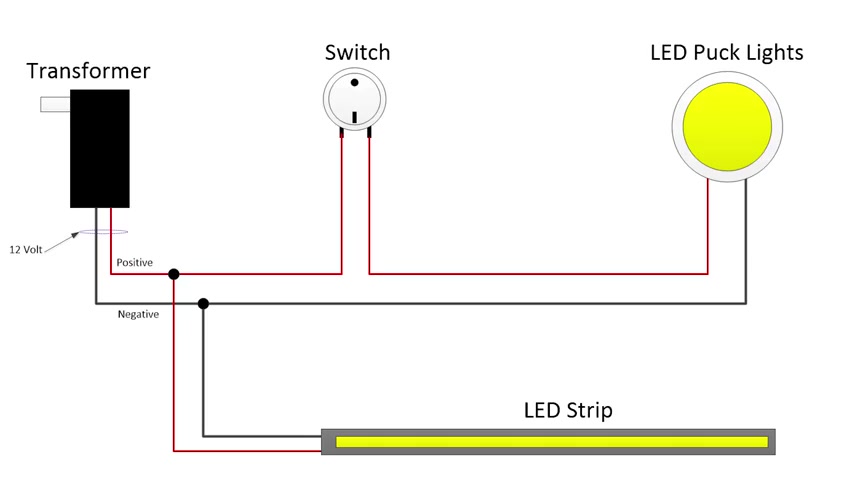
So I'm gonna create a diagram just to give you a basic and simplified version of what I'm doing here .
Now , the reason why I went this route because I wanted to easily disconnect the end table if I needed to move the bed at a later period , because I will be getting rid of this bed at some point .
So to clarify this area , I have my power cord here .
This would get plugged in the wall and this would give power to my outlets .
Here .
I have a transformer that would be powering the led s and also the puck lights .
I mean , this headboard is really heavy .
So I'm really surprised to see how the end table hold this up like a champ .
After the headboard goes up , I won't be able to get behind it because it's so massive and so much work that I have to do to get there .
And with the headboard being so heavy , I used a three inch screw going through the headboard and right into the wall .
I only have one in the middle .
But if you wanna be extremely safe , you can always have three of them , one in the middle and two on the end .
Once you attach the bed frame , it ain't going anywhere to hold the bed frame to get .
I'm gonna use these thick brackets .
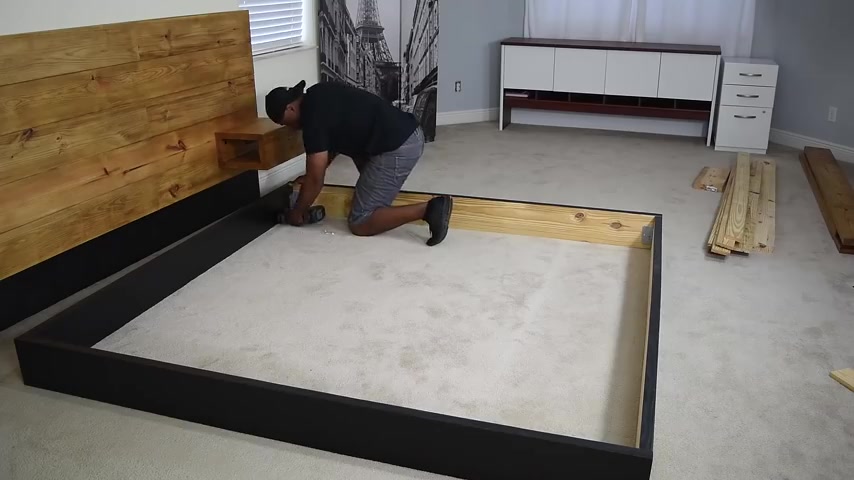
And the biggest thing about this design is being able to take it back apart .
And that's why I designed it the way I did because at some point I'm gonna get rid of the bed .
This is just a temporary fix for my room .
So if somebody's gonna get this bed and I'm gonna easily get it out of here by taking it apart .
In addition to adding the brackets , I was planning to add with a two piece of wood meat , but it was so strong .
I decided to go away from that .
Now , after adding the bracket , you could see it interferes with the piece of wood I had so I had to notch that out just so I can get the wood to fit .
I wanted to support piece to be flush with the top part of the bed frame using the combination square was a huge help .
After setting the depth going around , I can then take the combination square , eliminating the use of a tape measure after attaching a piece along the foot side of the bed that actually helped out when it comes to lining up the center beam because I didn't have to measure or find where the center was .
Somehow , I forgot to pick up enough corner brackets which I plan to add here in the middle .
But I didn't want to break away from the project and go pick up any .
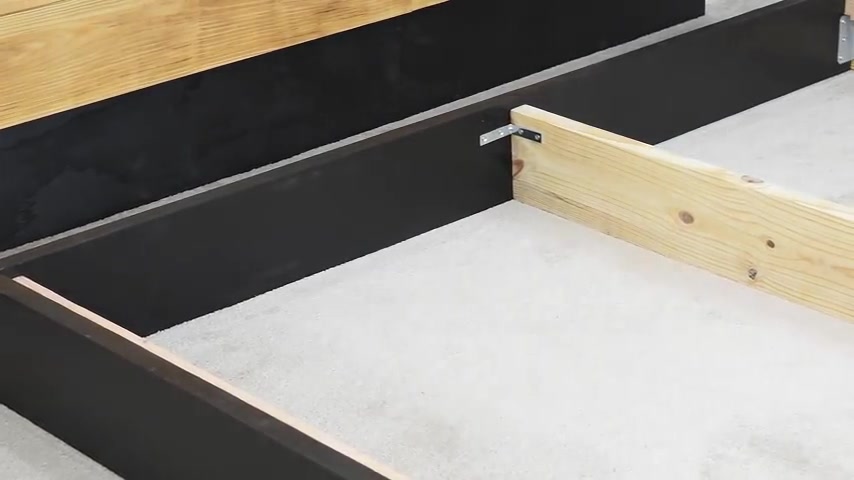
So I used these L brackets and these actually worked out just fine .
I just stagger them one on one side .
One at the bottom and one at the top .
And then I did the same thing on the opposite side .
I only put one full day of work into this project .
The other days was like in small spurts .
So I actually felt like I was never going to get done with this project until I started adding these support pieces .
I added two screws per connection point that would be at both ends and also in the middle to secure the lip of the bed to the frame .
I'm going to use some corner brackets on the inside and also on the outside .
I'm going to use a total of four per side .
Now , all I have to do is line it up and then I can move on to screwing it from the inside .
Well , if you ask me , it looks strong enough and you're probably wondering what do I do at the end ?
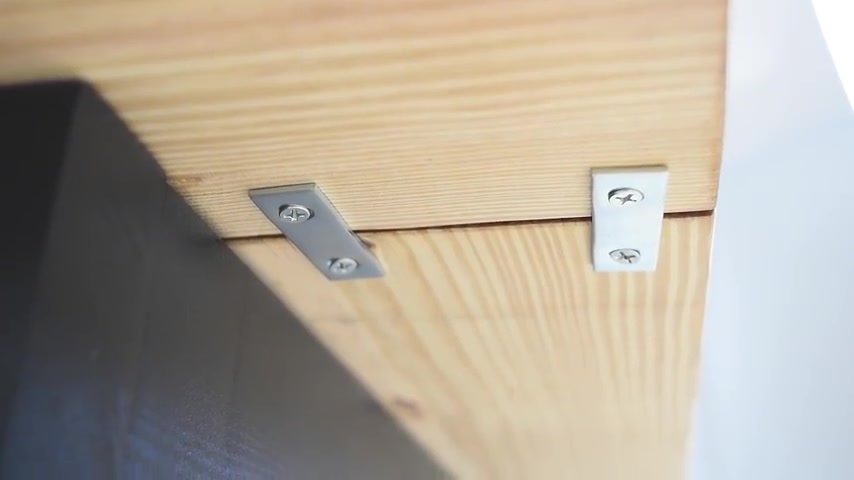
Well , here I'm gonna use a mending plate and I'm gonna use this plate to attach it from the bottom and this is a perfect situation for that because that keep the two pieces of wood flush with each other .
I also added some smaller bracket that will secure the lip from the inside after adding the bracket to the outside , this provided the strength that I was looking for .
Now , you cannot see this bracket when you look at the bed unless you bend down and look under it .
But one thing I could have did was actually spray painting them black , so they would have blend in better .
Now , it did take a lot of fine tuning and maneuvering to get the bed fine tuned .
So I have the proper spacing on both side .
Now , all I have to do is attach the bed frame to the headboard , throw the quarter inch plywood on top , just throw a few screws in it , secure that in place , throw the bed on there .
And we done .
I really had to cut my victory dance out of this one because I just went crazy .
I was so happy this project were done .
Hope you guys like this one .
Hope you like this one and that's it for this one guys .
Be sure to like , subscribe and I love to hear your thoughts on this one .
If you have any questions , just leave them down in the comment and I'll get back to you as soon as I can and be sure to follow me on Instagram at Diy Creators 2015 .
And I wanna give a big shout out and thank you to my friends over on Patreon for supporting the channel .
If you're able , please consider supporting the channel as well , so we can continue to make content like this .
Have a good one , guys .
Are you looking for a way to reach a wider audience and get more views on your videos?
Our innovative video to text transcribing service can help you do just that.
We provide accurate transcriptions of your videos along with visual content that will help you attract new viewers and keep them engaged. Plus, our data analytics and ad campaign tools can help you monetize your content and maximize your revenue.
Let's partner up and take your video content to the next level!
Contact us today to learn more.