https://www.youtube.com/watch?v=P16xnzCWiec
2023-06-14 18:08:00
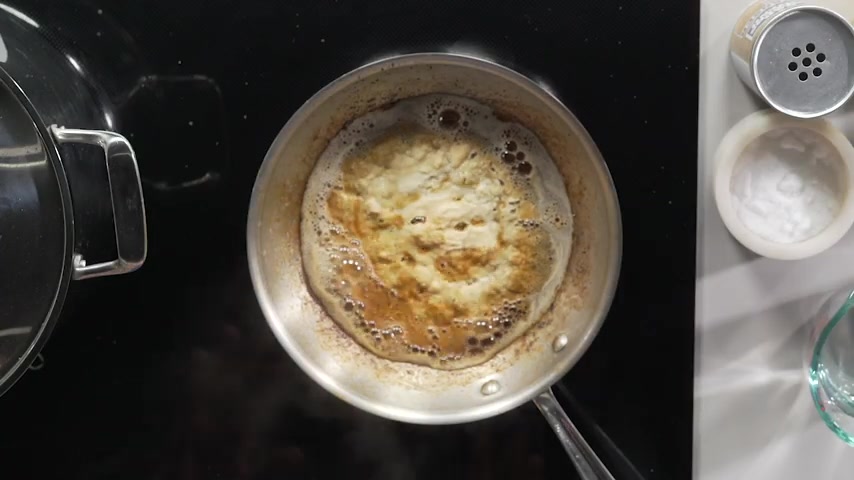
How to Clean Stainless Steel Pots and Pans

Hey guys , my name is Bart .
In this video .
I'm gonna show you guys exactly how I built this low level deck and cover it with composite decking .
We're gonna talk about how to lay it out .
So your deck is actually square , the framing of the structure and the decking material , how to install it .
But first , let me show you why we're building this deck because it came from a need .
Not a one .
You guys all understand in a second .
Oh , again , four .
Hey , you see this .
Why do you always have to poop right outside the door ?
You know what I'm gonna do ?
I'm gonna build a deck all through here .
He doesn't care .
Anyways , we're gonna build a deck right in front of the door .
So he has to find a new pooping spot .
Welcome to the Kmart Project .
This is all your fault .
Are you gonna clean this up ?
Right .
So this is the back of our suburban home .
Nothing special about it .

Just a rectangular building , but we're going to be given it a huge transformation by adding a large composite deck that's gonna give us years of maintenance , free enjoyment in the backyard .
The plan is to have it framed with traditional pressure treated lumber and deck , it with composite decking from tracks to start the prep work .
I want to make sure that no weeds actually grow through the deck .
So I use the grass killer to spray the lawn area where the deck is going to be .
Next .
I needed a layout of the mentions for the deck and somehow I lost the footage of the actual layout .
So I'm gonna be breaking down the process on a smaller scale for you guys .
But this is exactly the same thing that I did .
So I know I want my deck to be 18 by 24 ft and to help make sure it's square and to mark the location of my post , I made a couple of bat boards and all this is is just a couple of pieces of scrap wood that you screw together into a U shape and then later pound it into the ground and you're gonna need eight of these batting boards to help with the layout .
So after you get them all put together , you hammer them into the ground around where the deck is going to be two on each corner , making an L shape , then you can tie four pieces of string to the batons that are facing each other .
And what this does is it allows you to move the string from side to side to make sure that your deck is square .
And to check for a square of a rectangle or a square , you measure from corner to corner across the rectangle and again , on opposite corners .
If your measurements are exactly the same , you're good , you're square .
If not , you can just adjust the string left or right until you get the same exact measurement from corner to corner .
Then using the string as a reference , I spray painted the location of the corners for the deck and all my post locations .
Next came the exhausting task of digging all the post holes .
And to help with that , I rented a gas .
This is one of those tools that if you're building a large deck like I am , it is absolutely indispensable .

We live right outside of Chicago so our windows can be pretty cold and our required hole depth is 42 inches deep .
So hand digging , all these holes would be backbreaking .
Now , before starting a project like this , I would definitely call Julie and check all your local codes .
Also contacting your local building department may save you lots of headaches and structural mistakes before you start .
Next , I needed to pour the concrete from my frost footings .
A frost footing is a chunk of concrete , no less than six inches thick that your post sits on inside the hole .
It also needs to sit below the frost line .
So my actual whole depth was 48 inches I'm using about a third of a bag per post and then I just add some water and mix it directly in the hold , stop it .
I know what you guys are thinking .
Not cool .
That sounds good .
Ok , I'm done with the frost footings .

It's 10 o'clock at night , but at least tomorrow I'm gonna be able to start framing , put my post in and build in the deck .
Oh , glory days for my posts .
I'm using 10 ft treated four by four posts that I couldn't have .
This way .
I don't have to worry about calculating the height right now and it leaves me with plenty of posts to work .
And once my deck is completely framed , I can trim them to the height of the deck .
You guys will see a little bit later .
What I mean ?
Next , I set my posts in the holes , using the string from the batting boards as a reference .
Make sure they are plumped with a post level back , fill them with dirt and pack them down really well .
With the back end of a post utility bar , I'll have a link to it and all the tools and materials I used on this built in the description below .
Partnership
Are you looking for a way to reach a wider audience and get more views on your videos?
Our innovative video to text transcribing service can help you do just that.
We provide accurate transcriptions of your videos along with visual content that will help you attract new viewers and keep them engaged. Plus, our data analytics and ad campaign tools can help you monetize your content and maximize your revenue.
Let's partner up and take your video content to the next level!
Contact us today to learn more.