https://www.youtube.com/watch?v=1EbcSqPP5Bk
2023-06-14 18:07:54
How to Build a Garden Pond (w_ Monica from The Weekender)
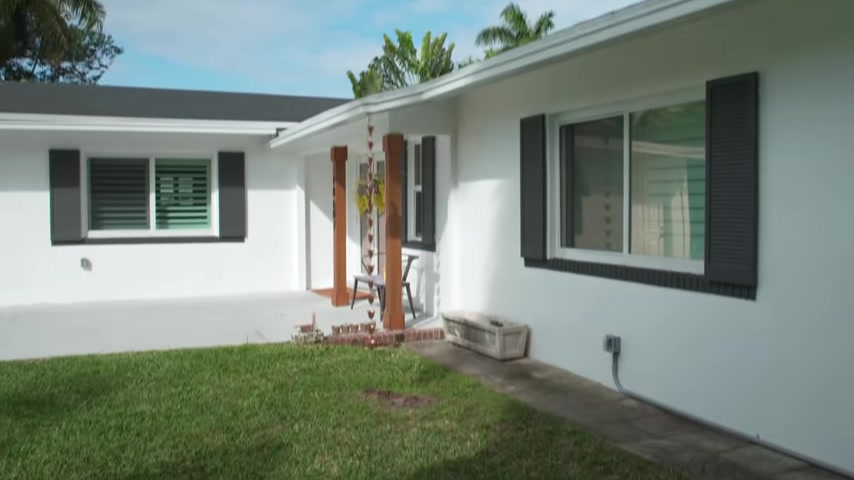
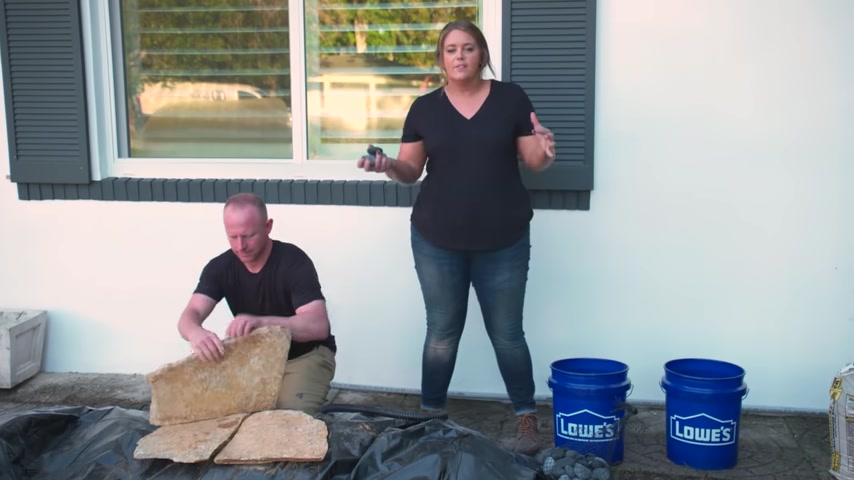
Hey , everyone today , Steve and I are going to show you how to install a garden pond .
We're gonna take this kind of bland boring section of the yard and give it some serious style and serenity and heads up .
You can find links to all the products we're using in the description below .
Ok .
The first thing you need to figure out is where you're gonna put your pond .
The location is really important and there are some factors that you're gonna want to consider , install your pond on level well drained ground .
The closer to electric , you are the better plan , the most direct line possible between the house and the pond for electrical wiring to the pump .
Make sure that site isn't directly over any existing underground sewer lines or electric wires , call 811 .
So you know what you're dealing with before digging , you want an outdoor faucet nearby so that you can add water to the pond from a garden hose as needed .
The more direct sunlight the pond receives the more choices of water plants you're going to have .
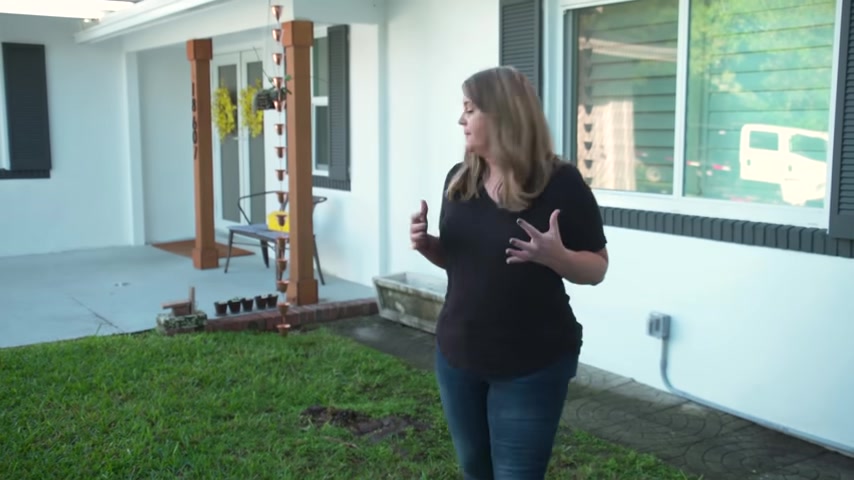
If you plan to add fish to the pond , you'll also want to balance the sun with some shade and lily pads for our pond location here in this yard , we check off all the boxes now that we have our location , we need to think about design for our pond .
We're gonna do a two tiered pond with a waterfall .
The pond will be dug out first .
Then we'll build our waterfall up with dirt and decorative rocks .
The pond water will circulate using a pump and filter system .
We'll finish it off by adding beautiful landscaping around the perimeter .
We're gonna be using the rigid shell for the base here .
So this is a rigid shell .
It's about five ft by four ft .
So for the waterfall , we're actually gonna use a flexible liner so we can determine the shape of it versus something like this where it's already predetermined for us .
So we're doing a little combo here .
So now we need to mark out the location of the pond .
We'll simply use marking paint along the edge of the liner , we're all marked out .
So now we actually can get this out of the way because it's time for us to start excavating .
And basically , we're just using a fancy word , but we are going to dig a big hole .
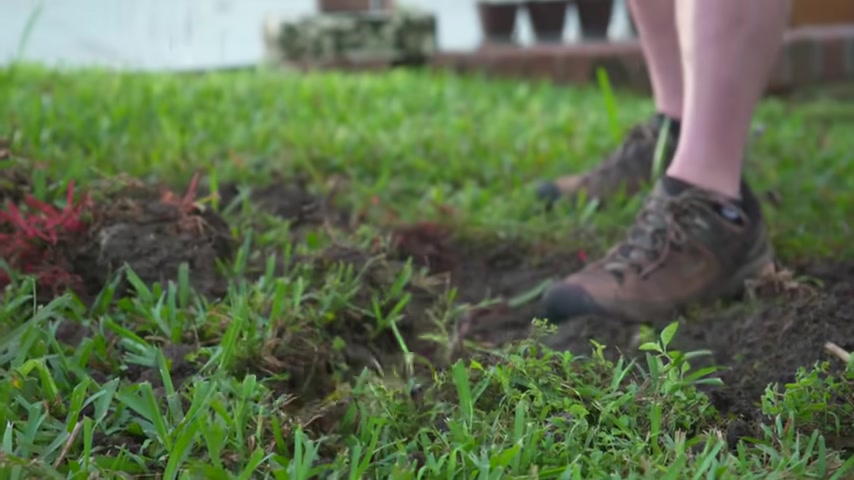
So we're going to dig out the entire shape of our pond and there's going to be a lot of extra dirt and you want to have a plan for that in some situations , we might be able to use some around the yard .
We're going to use some of the dirt for the waterfall and we're definitely taking some out as we're digging .
We want to dig a couple inches wider than the actual shape of your pond .
As far as the depth goes , we want to dig down three inches deeper than the liner .
A little bit more on that in a minute .
But what I have right here is something that you may encounter .
This is an old root from a tree that used to be here .
And when you're digging your hole , you want to get rid of any sort of rocks , roots , anything big and large , that's got to two .
So Steve has some other tools that we kind of anticipate needing to get this route out .
I'm going to start with just using thematic and then pick around the perimeter of it .
This isn't so bad .
So , so far our digging is going great .
Now , we just need to get down to our full depth plus three inches .
So I'm too shabby now that we have our perimeter kind of all edged out .
Our pond shell is 18 inches deep and we need to go three inches further than that to allow for some sand .
And so we're going to dig down 21 inches .
All right , we're about 21 inches .
And as we were digging , we tried to make this hole as level as possible , we don't need to get it perfect .
Right now , sand will take care of that , but we did want to get it pretty close .
This looks pretty good .
Yeah .
And at this point , we want the line to be flushed with the existing ground .
We're going to use a two by four and a level check and see how level we are .
So you can see the bubbles going there .
So it's a little high on this side .
We'll have to build this up to build up than to dig more .
Now , for this one , you're doing two things here , right ?
So , first check level .
So once again , we're a little high over there .
Now , we want to check to see how the ponds sitting in relation to the ground .
Uh This looks pretty good , how we're sitting .
The lip of our shell is about level with the ground and that's what we want currently .
But our next step is actually going to be built this up a few inches because of run off .
And we also have some landscaping plans .
We don't want our pond sunk down into it or we'll have cloudy dirty water all the time .
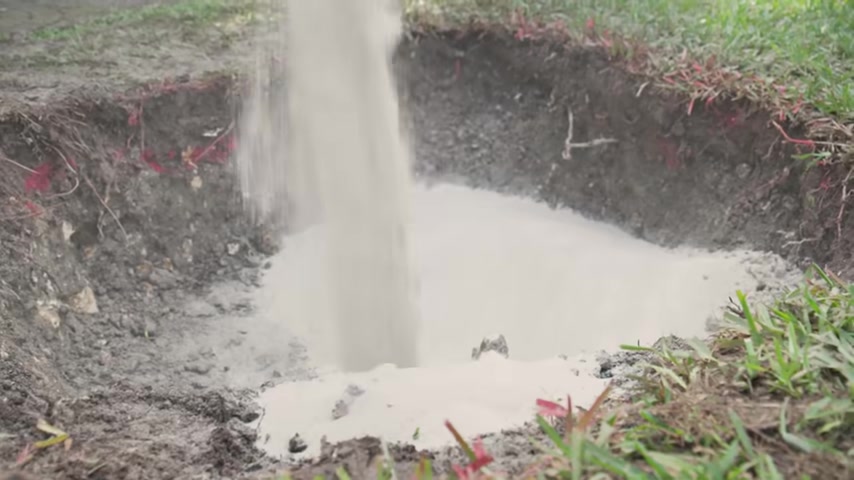
So what we're going to add now is actually sand .
We're going to add about three inches to the base here and it's going to lift our shell exactly where we want it a couple inches above the ground .
And it's much easier to work with sand than our existing dirt because that has some rocks in it the sand is going to be nice and smooth and a really solid base for us .
So I'm leveling this out and when I'm doing it , I'm actually using the backside of my rake .
That's kind of the easiest when you're just moving sand around .
So we're using the four ft level running it across .
How are we looking ?
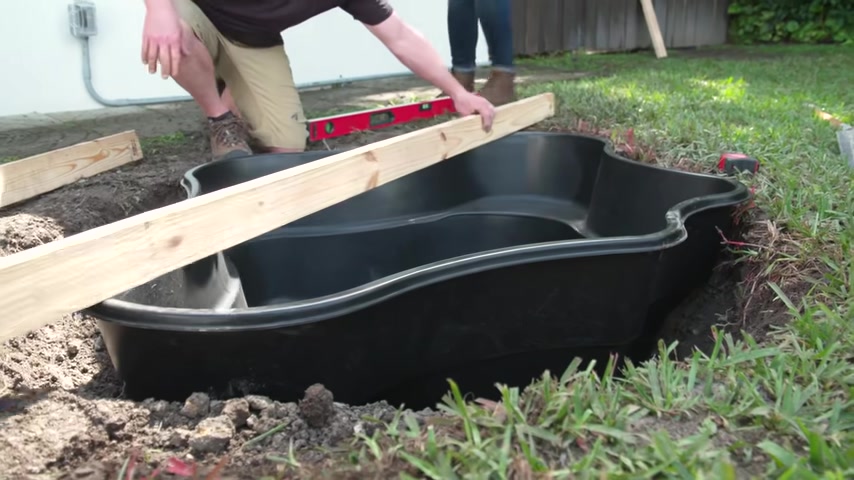
We're on the money now that our sand is really level , we're going to put our shell in before anything messes it up .
Now , this time when we're checking with the two by four to see where it meets the ground , I want to see a gap between two and three inches above that's going to allow for all of our landscaping our stone .
Next thing now is to make sure we're level , we're looking pretty good .
Yeah , we have our shell totally level .
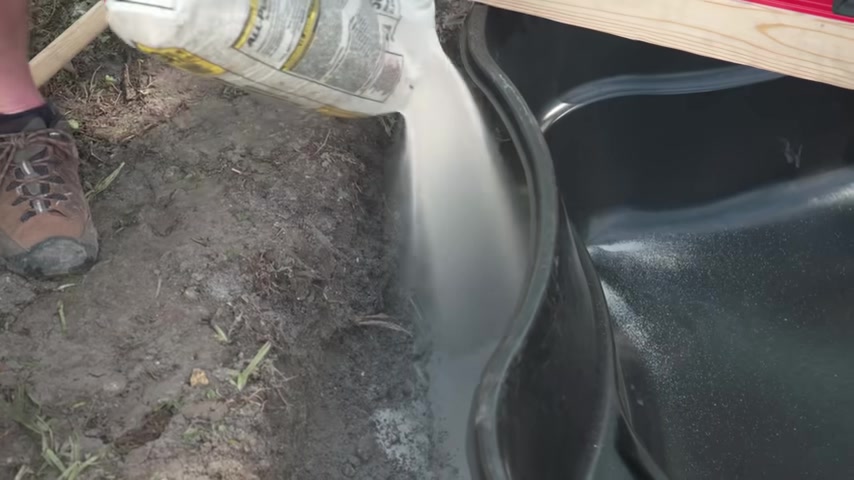
And now what we're doing is we're taking bags of sand and working our way around the edges to start back filling it .
Since we worked so hard to get this perfectly level .
We want to make sure that it stays that way .
Even as we're working on building the second tier for our waterfall .
The nice thing about sand is that it finds the open area , it's going to fill in all the nooks and crannies and we're keeping our level and our board across the whole time just so that we can keep an eye on it and make sure that nothing is getting out of whack our pond is done for now .
And Steve and I are going to work on building the waterfall instead of digging out , going to be adding dirt in .
And thankfully , we saved some dirt .
As you can tell this area here is built up about 15 inches .
So this is just kind of the base and the foundation of the waterfall .
But what do we have going on ?
Next ?
A lot of layers Next , we'll do sand , thin layer , thin layer , sand going down from our left to right .
We want to be level .
That's what Steve's checking now .
But then from back to front , we want to be tilted down into the pond .
So that once we add water , it flows down , not back .
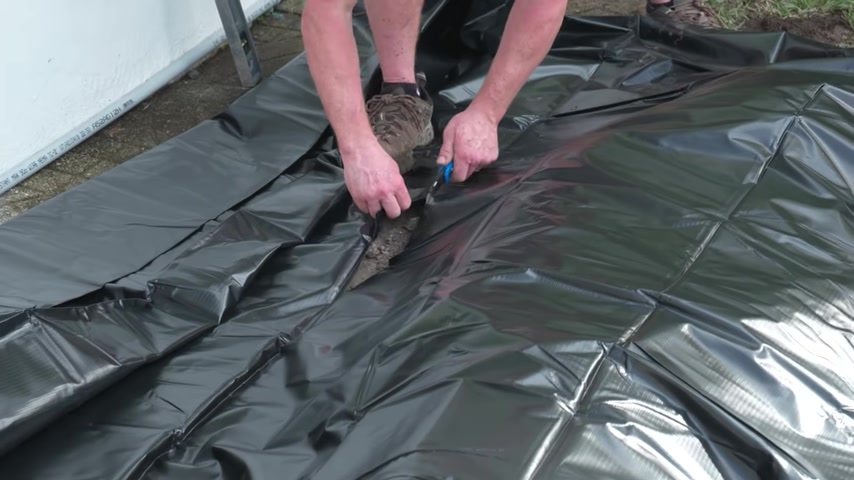
Now , we're on to the flexible liner .
This is customizable .
We're going to cut it and place it into the shape that we want .
The liner obviously is going to help direct all the water flow into the pond .
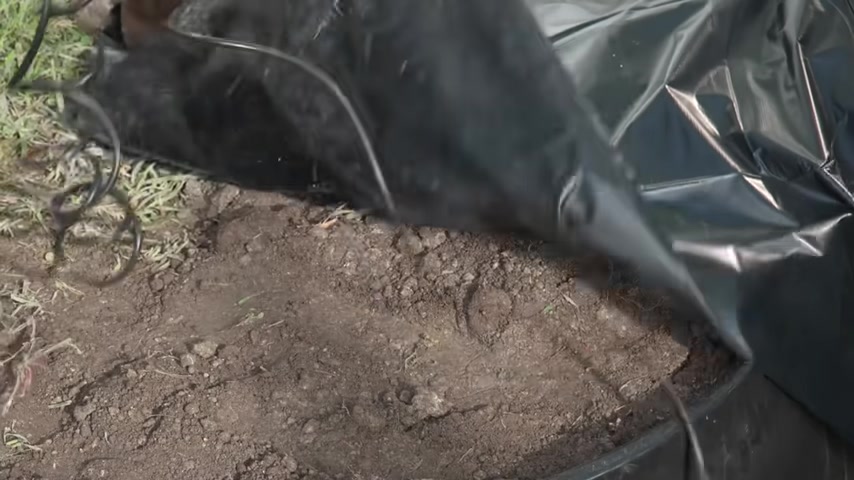
The important thing is we want to make sure this edge of the liner drapes down into the pond .
If it doesn't , the water is going to drain behind the pond and not in it and we'll just lose water constantly .
This will get hidden by rocks later .
You will never see it .
So obviously , we have way more liner than we need and we'll use the utility knife to cut away the excess as you're trimming the liner .
If we cut too much it will seriously affect our ability to manipulate the shape of the waterfall and will be limited .
Now that our liner is in place , we can work on installing our pump and filtration system .
The pump will go down into the pool and the filtration system will actually get partially buried outside of the pond because we're putting our filter to the right of the pond .
We're going to put the pump on the right side as well .
One important thing to note here is the cord of the pump .
We want to make sure that it can run and meet our outlet and we also don't want to run our cord directly , our waterfall .
So I'm going to put it underneath the liner .
Now that that's in place , we'll move on to the filter and we're going to do a little more digging for that .
We're going to partially bury the filter because we want to hide it a bit .
We still need to be able to access the top of it .
But even with our plants that we have planned , we kind of need to hide this .
So Steve is digging a hole for about half of the filter , but then also is going to trench a little bit so that the hose kind of is down into the ground so we can still access it .
But putting it down into the ground , makes it more low profile .
So we need to get the water from the pump to the filter .
How we're gonna do it ?
Flexible pond hose .
Ok .
And put a hose , clamp on the end of it and cinch it down to the outlet side of the pump .
All right .
Now , we're going to run our hose over towards the filter and figure out just about how much we need .
We're actually going to cut the hose using a utility knife .
So the line from the pump is going to go to the inlet , which is the top and the bottom is going to be the outlet which is going to go to the waterfall .
The basic utility of this product is done .
We have our pump in , we have our filter in , we have our liners in place and now we're gonna move on to decorative landscaping .
The goal here is to use the rocks to kind of fill everything in , make it look organic and hide some of the liners .
We're using a combination of our large flagstone and then filling it in and kind of supporting it with our smaller stone and also using pond foam that will waterproof and seal things together .
Also almost replaces the use of mortar .
It's going to help hold this stone in place .
No two rocks are alike .
So really , this is going to be a bit of a trial and error and design process .
The biggest thing to remember is you just want to make sure that you're controlling where the water is going and you're using your spray foam to seal in any areas and also hold everything nice and secure .
We're happy with the height of our waterfall , but now we need to get the hose up here and hide it .
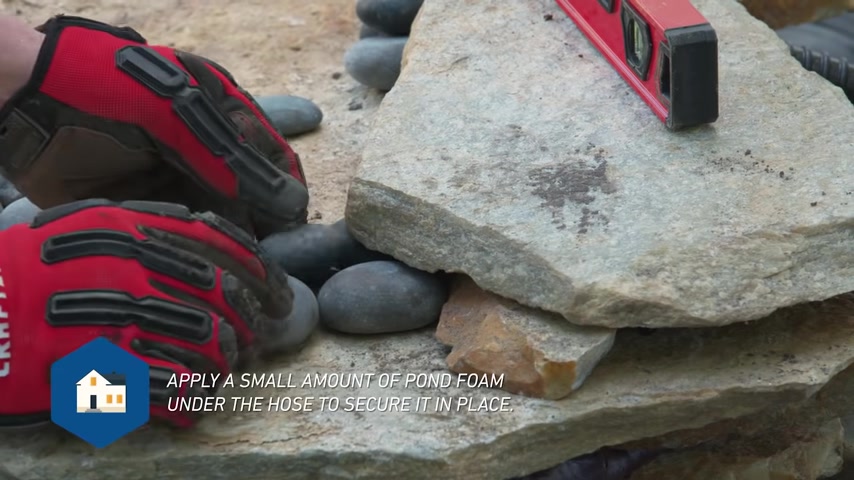
So , what we're going to do is we broke one stone into two .
We're going to hide the hose between it and then put like a little lid on it .
So basically we built a shelf to hide the hose .
Steve's working with our thin flagstone that's going to be for the waterfall and also the edges around our rigid shell .
Then we also have some beach pebble .
These smaller stones are going to be used to kind of fill in any of the nooks and crannies .
We have some egg rock , which is a lighter color and then we have some pea gravel that will go down into the base of the pond .
Most of our large stones are in place .
And while we were working , there's definitely a good amount of dirt and rock that got down into our rigid shelf .
So we're just going to give that a quick wipe out to help with water clarity .
After we're done cleaning out , we're using some of our flagstone to make a small shelf in the bottom of the pond .
It helps hide the pump and it gives a little bit more visual interest , makes it look a little bit more realistic along the bottom of the shell .
We're also going to add a little bit of the pea gravel where we have our ledges .
It's going to look really good .
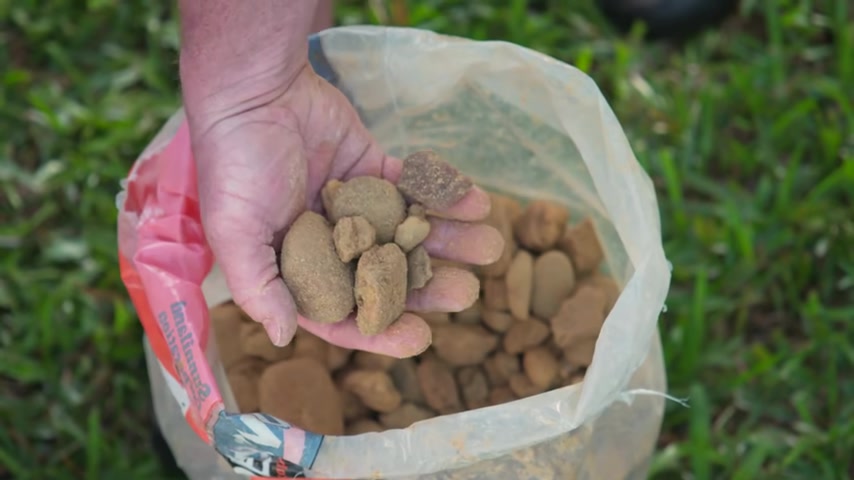
Make it look more authentic pro tip here when the gravel comes out of the bag , it's dirty .
It's really good to water it down and hose it off before it goes into the pond .
Otherwise it's gonna make your water really cloudy .
We're ready now to start filling up our pond and to do this , we're just using a simple garden hose .
It's gonna take a little bit to fill in while this is filling .
We're gonna work on finishing up our landscaping .
Any time you're adding beauty and value to your home with a water feature .
It always helps to complete the project by adding some new greenery and landscaping around it .
It really helps unify the entire project .
All that's left now is to turn the pump on and that's as simple as plugging it .
In .
Moment of truth , we have water nice .
We have all of our plants around our pond , but kind of as a finishing touch .
We're going to add some water lilies to this pond .
Water lilies are a great option for a project like this .
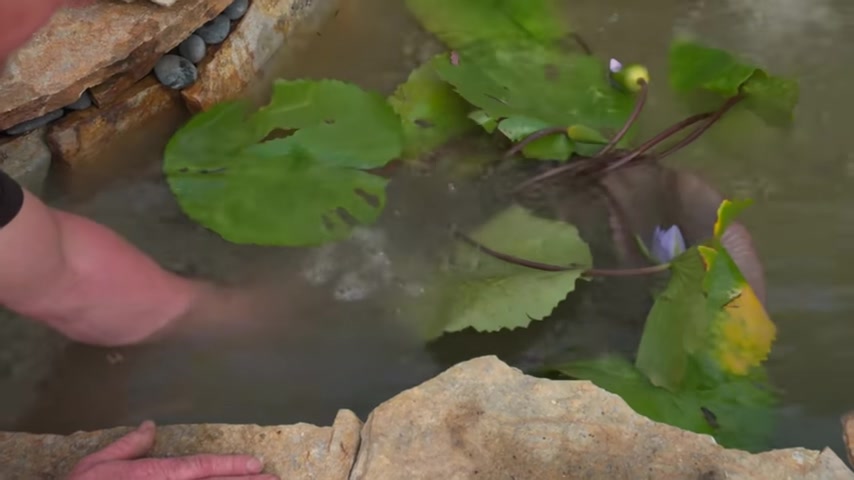
So to install this , we're actually placing the entire pot down onto the bottom .
If you going to add this to your pond , it really gives them a nice amount of protection , also helps prevent algae .
And now we have an amazing landscaping feature that doesn't just look great , but adds some serious serenity to this yard too .
Just love the sound of that waterfall .
It's my favorite part .
I hope you guys learned a ton throughout this video and that you feel confident to try this project in your own yard .
And as always , all the products that we use throughout the video are linked in the description below .
Partnership
Are you looking for a way to reach a wider audience and get more views on your videos?
Our innovative video to text transcribing service can help you do just that.
We provide accurate transcriptions of your videos along with visual content that will help you attract new viewers and keep them engaged. Plus, our data analytics and ad campaign tools can help you monetize your content and maximize your revenue.
Let's partner up and take your video content to the next level!
Contact us today to learn more.