https://www.youtube.com/watch?v=vvDdzD5pF3M
2023-06-14 18:07:46
How to Repair a Hole in a T-Shirt
Is a hole in your t-shirt bumming you out .
I'm TOBA with Professor Pincushion .
And in today's tutorial , I'm gonna show you how to repair it when your t-shirt is damaged .
You have a few options , toss it , wear it with a hole or you can repair it .
This repair is so easy .
You'll be able to enjoy your favorite t-shirt for years to come grab your t-shirt and let's get started .
I'm going to be demonstrating two different techniques .
Both of these techniques work best for holes that are really tiny like the pin holes .
So if they're five millimeters or less , it's probably gonna work best for both of these techniques .
And the first one I'm gonna show you is the No so option .
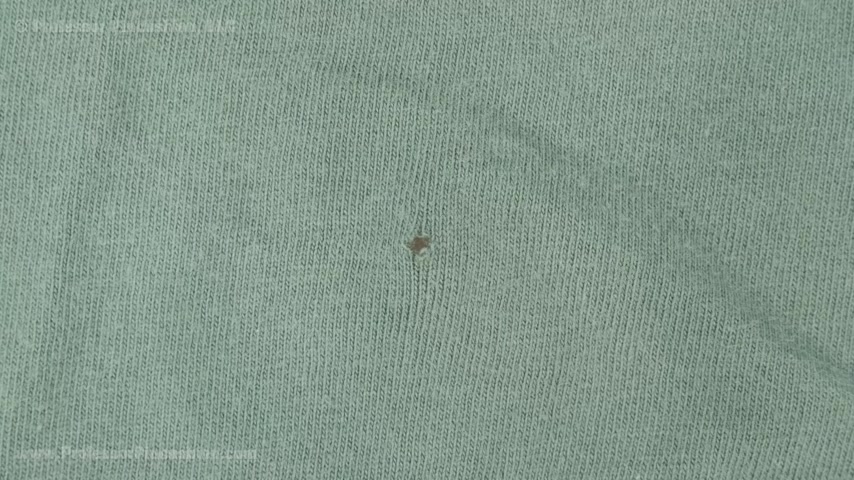
So you can see my little tiny hole here in my t-shirt .
The first thing I'm going to do is take it to my irony board .
Flip the shirt inside out and you're going to press this area where the hole is located .
I've already pressed the section , then I'm gonna come in with my fingers and just kind of try to bring the edges together because the smaller this area that we're repairing the better off it's going to be in the end .
I'm next going to cut a very small piece of some fable bonding web .
It looks like this and you can see it's just a little bit bigger than of the area that I'm trying to repair .
And this is a ultra light weight because we don't want anything heavy to be fused in the back of our t-shirt .
And then on top of that , it's a slightly bigger piece of lightweight cutaway or sewing stabilizer .
So you can find both of these in the notions department .
Now , if you don't have either one of these , you can try to do this technique with a lightweight fusible interfacing .
But again , make sure that it's very lightweight before I put this on though .
I'm just going to point out that underneath this section .
I just have some parchment paper and that's because I want to make sure that the fusible bonding web , which is basically a glue that it doesn't go through the hole and get onto my ironing board .
So I'm just using the parchment paper as a protection .
I have my iron heating up on the wool setting .
I'm going to place a press cloth without shifting anything underneath and then I'm going to dampen that .
Then I'm gonna carefully place the iron down and don't shift it , just put it straight down and leave it there for about 10 seconds , flip it over to the right side .
So this is that section right there .
And just because it still is a tiny tiny hole , I'm just gonna kind of push it together and then I'm gonna press the right side with the iron .
And as you start to do this , you'll start seeing it come together .
Here , we have the finished results and you can see it does a pretty good job , especially with those tiny pinholes .
You're not even gonna notice it unless you know it's there .
Now , the con with this way is that you are gonna tell if you look on the inside of the shirt because you do have that stabilizer that's gonna show .
Now I'm gonna show you a different technique .
Now , this one is with the hand , you don't want thread , you want to use a matching color .
I'm gonna go ahead and use a contrasting one .
So it stands out a little bit more for you and I'm looking at the wrong side of my t-shirt again .
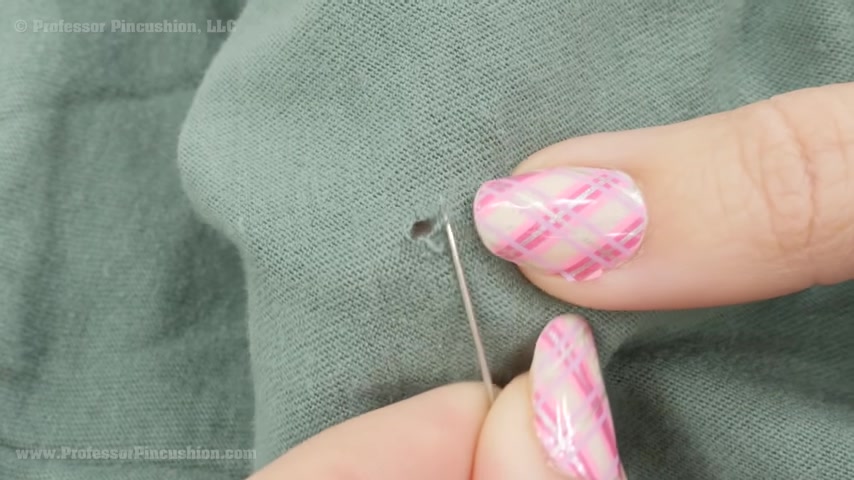
So I'm just grabbing a few strands here at the end .
You don't want to grab a huge chunk of fabric because we don't really want it to show up this much on the right side , but we do want to anchor that into place .

So now I'm just gonna grab a few strands again on the opposite side of the opening here and then I'm very gently gonna start pulling it and it's gonna bring the two sides together .
So now I'm going to the opposite side , I'm grabbing a few strands and then I'm gonna very carefully bring them together and I'm just gonna keep doing that .
So I'm going from side to side until I get to the other side .
And then I'm gonna tie a knot .
Here's the right side of that same section .
This is where I did the repair .
So you can see that when you bring the two sides together , it does create a little bit of a ridge right in that repair section .
So after I finish doing my stitching , I look at the front and then I just kind of massage it with my fingers just very gently pulling it .
You don't want to pull your stitches or anything like that , but it does kind of help flatten it out .
And even though you'll notice the repair there , it's not gonna be noticed at a distance .
Here are the two repairs side by side .
So this is the one that we did for fusing right here .
And this is the one I just did with sewing this one right here .
Yeah , it's really easy , but it really only works well .
If the holes are super , super tiny , this one probably can handle a hole that's a little bit bigger , but it's definitely going to stand out more .
We hope you enjoyed this tutorial .
Please subscribe to get notified of our weekly releases .
Also check out professor pincushion dot com to view our complete library with well , over 350 sewing tutorials .
If you would like to directly support us , you can check out our Patreon campaign and earn some exclusive perks .
Thanks for watching .
Partnership
Are you looking for a way to reach a wider audience and get more views on your videos?
Our innovative video to text transcribing service can help you do just that.
We provide accurate transcriptions of your videos along with visual content that will help you attract new viewers and keep them engaged. Plus, our data analytics and ad campaign tools can help you monetize your content and maximize your revenue.
Let's partner up and take your video content to the next level!
Contact us today to learn more.