https://www.youtube.com/watch?v=6ad07z8P17s
2023-06-14 18:07:34
DIY Garage Storage _ Shelf _ Workbench Solution
Hey everybody .
My name is Mike Montgomery .
And today we're going to be building the ultimate garage storage and workstation solution on modern bills and have a bud light .
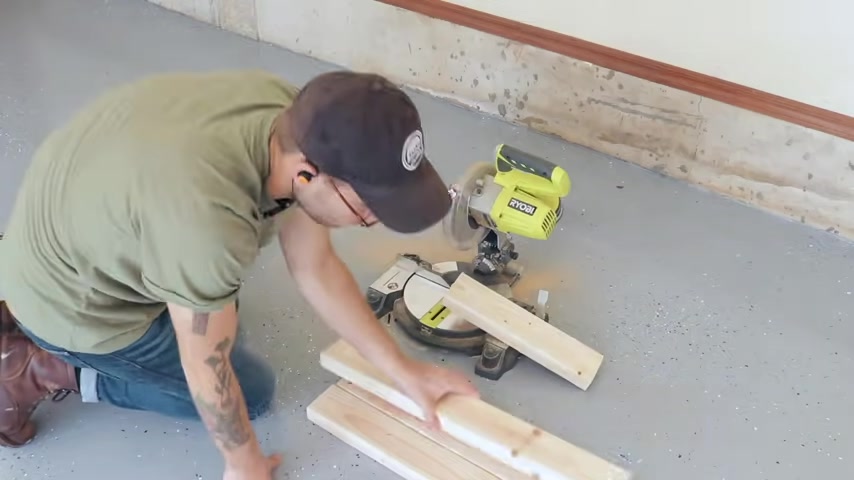
I started by cutting down some eight ft two by fours on my micro saw , I set up a stop block so I could make repeated cuts since I'm just making a lot of the same size pieces .
Each section of the shelf is eight ft long and 30 inches deep to fit the plastic totes .
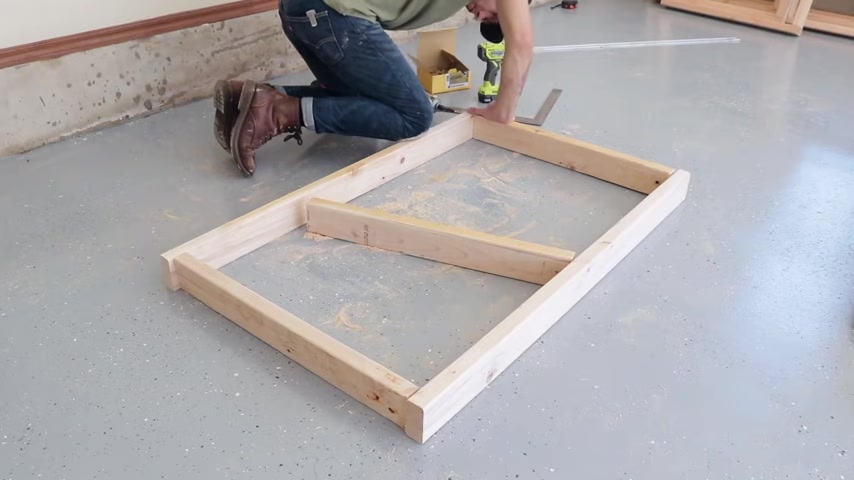
I bought after pre drilling holes with an eighth inch bit , I used 2.5 inch deck screws to attach each of my pieces together .
As I went , I used the square to make sure everything would line up nicely .
And after I had four of those built , I started by attaching the legs onto the front of the first shelf .
I'll be raising the legs are eight ft tall .
So I just got an eight ft two by four .
No need to cut .
I measured for the second leg to be 48 inches on center and don't worry about all of these measurements because I'll have plans in the written article linked in the description .
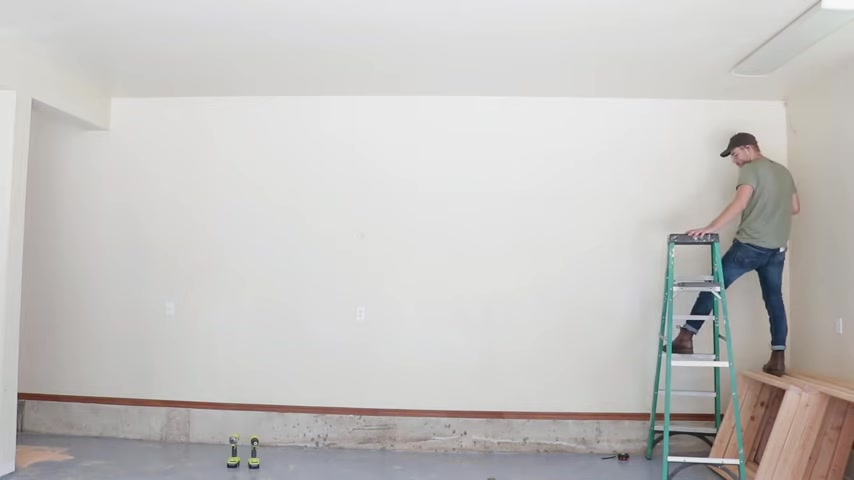
But before I raised my shelf , I laid out lines on my wall since I'm doing this as one person , this is gonna make it a lot easier without having a second person to measure for me .
The two legs in the front of the shelf help hold everything in place .
And then I used a couple of braces to make sure that everything was lined up while I was drilling holes and driving screws .
I've seen people do something similar when they're hanging cabinets and this is where I got the idea .
And I should mention I used full three inch screws anywhere .
I was attaching the shelf to the wall .
The second shelf was a lot easier to raise .
And the third even easier than that , mainly because after I put in a couple of braces , I was able to tie into the previous shelf as my reference for straight .
And as I went , I kept cutting my braces down .
So I had that extra pair of hands that kept things safe and manageable .
The next shelf sections are all 48 inches long rather than eight ft .
So I cut down some two by fours in half and built shelves the same way as I did the first time .
And just like before I cut my braces down so that I could rest the back end of the shelves while I screwed in the front .
It's not so much about holding the weight as it is keeping things from shifting on you while you're working in a different corner .
I did add an extra brace in the shelf section for the work bench , but aside from that , it installs just the same as the others .
And in the closet section , I installed a shelf as low as I could .
In fact , I rested it on the trim .
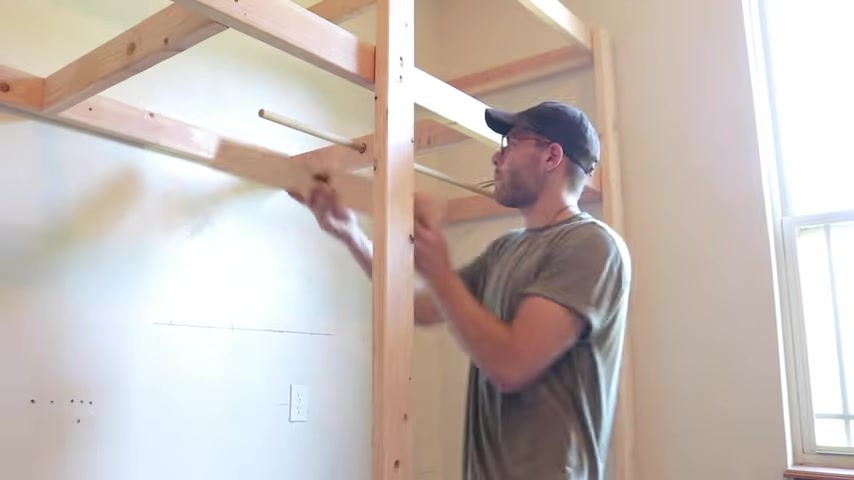
As you can see , I also used a spade bit to drill out a hole and install a doll for a coat rack and that wrapped up the two by four framing portion of the project looking good .
Right now .
I'd like to give a huge thanks to this video sponsor , Vo Zebo instant action sprays provide safe yet powerful results against all kinds of insects with four different formulas , stinging , crawling , flying and multi insect sprays .
You'll be sure to have the right tool for the job .
What I love about Zebo is unlike their competitors , you use nasty toxic chemicals .
Zebo sprays use common essential oils for their active ingredients .
So take care of those ants in the garage or that hornet's nest under the deck and for those flying bugs you don't want to spray , use the plug-in flying insect to trap bugs are drawn in by the U V and blue rays and then stick to the adhesive .
Back then once it's full of bugs , you can remove the adhesive trap without touching any bugs and replace it with a new one .
It's as easy as that .
So to learn more about the Zippo whole home system , make sure and follow the link down in the description .
Thanks , Zibo .
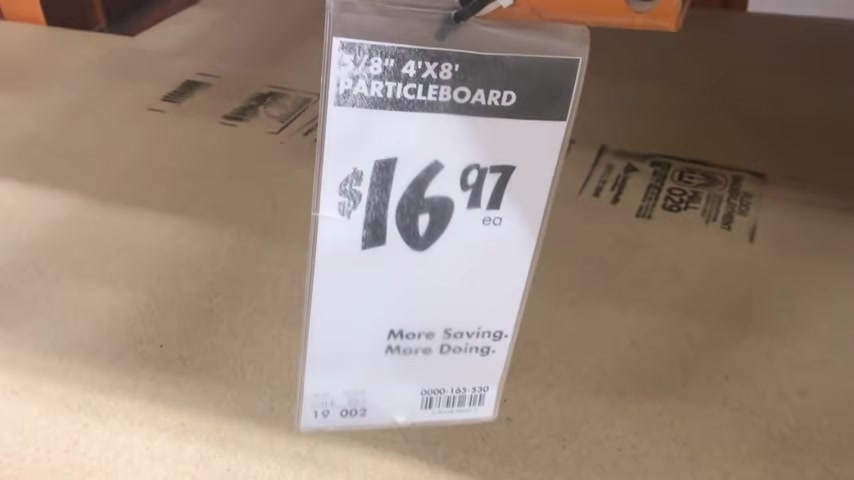
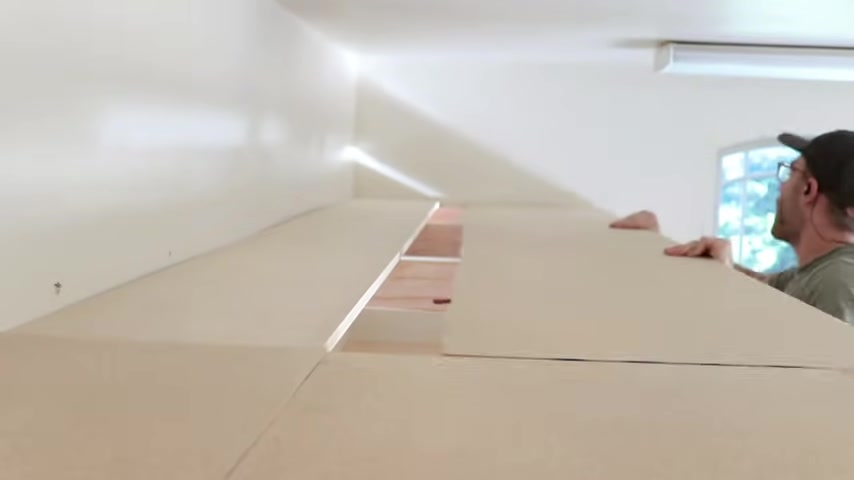
The shelves are made out of 5/8 inch particle board .
This stuff is pretty cheap and I had it cut down on the panel saw at Home Depot for some of the eight ft sections .
I could just drop them in place like the work bench and then in others , they had to cut them down to 48 inches to match the shelves .
I set my circular saw blade to go just past the wood and into the polystyrene insulation that I was using as my cutting board .
It only costs about 10 bucks and it's so much nicer than cutting on two by four blocks .
As y'all know , I cut down those panels to 30 inches deep , which means I had quite a bit of cut offs that I could use to make the top shelves by using these scraps .
It ended up being a really efficient way of making the shelves .
In fact , I think it's cheaper than if I were to use only two by fours .
I made the floor of the closet raised so that mice would be less prone to get in there .
I also cut some of the particle board to make a side wall so that it didn't interfere with the work binny .
And because I already put one divider on the workbench , I decided to close off the other side .
Who knows ?
Maybe I can put some cool tool storage on the sides here .
The last step to finish out the project were to install some lights above the work bench .
I found some link two ft long led strips .
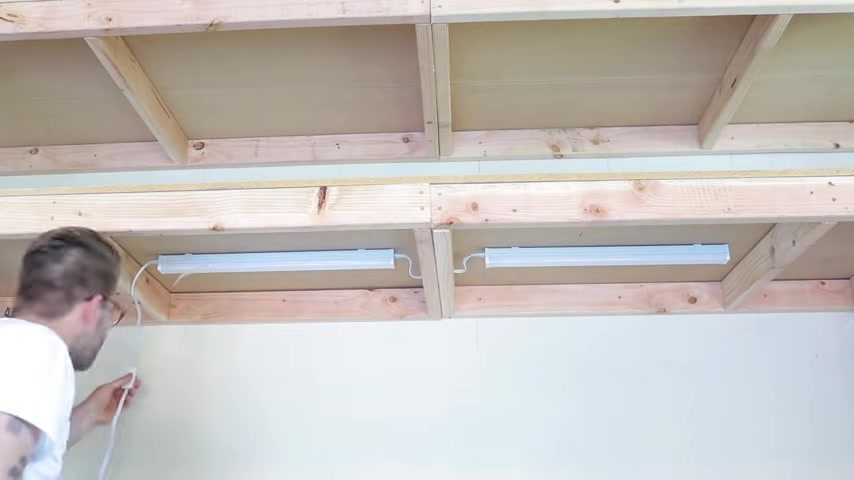
I got these from Home Depot , but I found a better deal on Amazon and I will leave those linked in the description thing that's going to go on here .
Eventually , this is probably going to get full of a lot more stuff .
But for the sake of State Jake , I think everything looks great .
There's room for tools and stuff you'll be using on a daily basis , longer term storage up top and a closet for motorcycle gear or hunting equipment , which is what we'll be using it for .
I want to give one more huge thanks to vo for sponsoring this video .
Make sure and follow their links down in the description and if you have any questions about this project , make sure to leave me a comment down below .
If this is the type of video that you enjoy , make sure to click that thumbs up .
So I know and don't forget , click that subscribe button .
If you haven't already , there'll be a couple more videos linked here on the screen if you haven't already seen those .
And until next time there's been modern films .
Partnership
Are you looking for a way to reach a wider audience and get more views on your videos?
Our innovative video to text transcribing service can help you do just that.
We provide accurate transcriptions of your videos along with visual content that will help you attract new viewers and keep them engaged. Plus, our data analytics and ad campaign tools can help you monetize your content and maximize your revenue.
Let's partner up and take your video content to the next level!
Contact us today to learn more.