https://www.youtube.com/watch?v=z9hdV5dMaLQ
How to Change a Drill Bit - Rockler Skill Builders

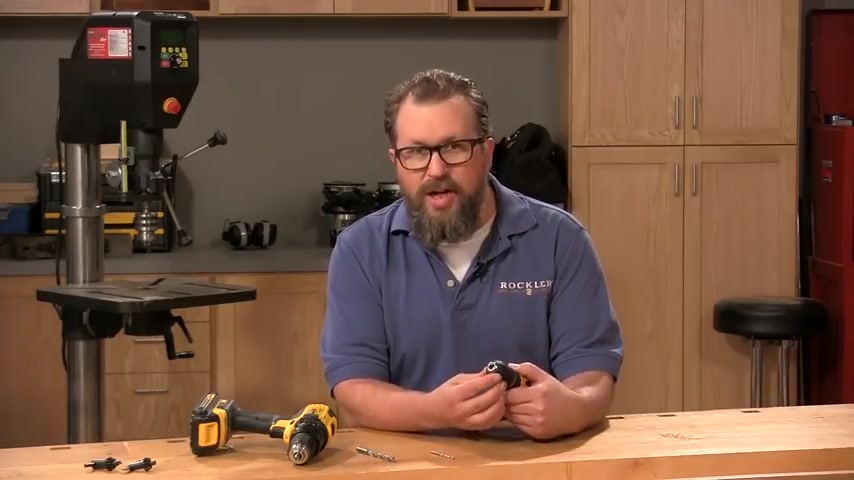
One of the most common things we do in a woodshop is changing out all the different types and sizes of drill bits to the point where it starts to feel like second nature .
But there are a few things to keep in mind to ensure success .
The part of the drill that holds the bit in place is called the chuck inside the chuck .
There are three jaws which you can see when they , when you rotate the collar , the jaws either open or close , depending on which direction you're rotating the collar .
The most important thing to remember when you're installing a bit is to make sure that the bit is centered between all three jaws of the chuck .
That's typically not a problem with a larger bit , but with a smaller bit , it can actually get stuck between two out of the three jaws of a chuck like this and you can still tighten it down , but you won't be able to drill a hole because the bit will be spinning off center .

Now that you understand how the bit is held in place .
Let's talk a little bit about chucks .
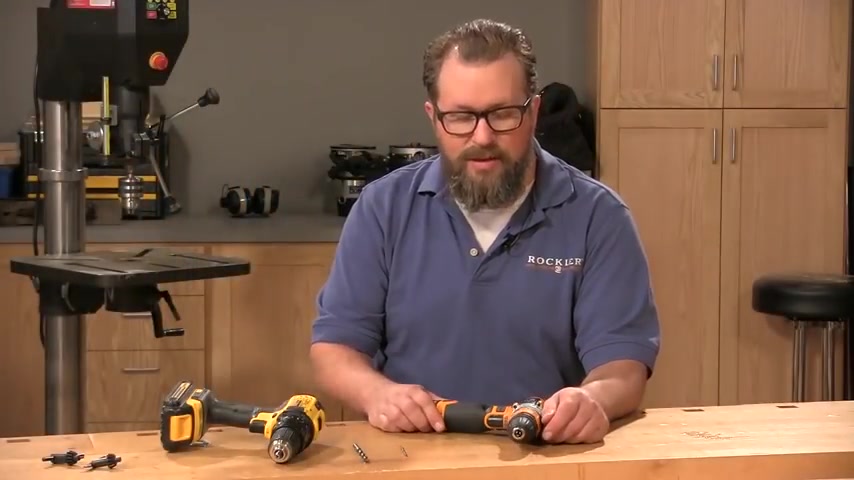
The first is called a keyless Chuck .
And that's typically what you're going to find on most portable drills and how this works is you just install a drill bit , make sure it's centered between the jaws and turn the collar until it's tight .
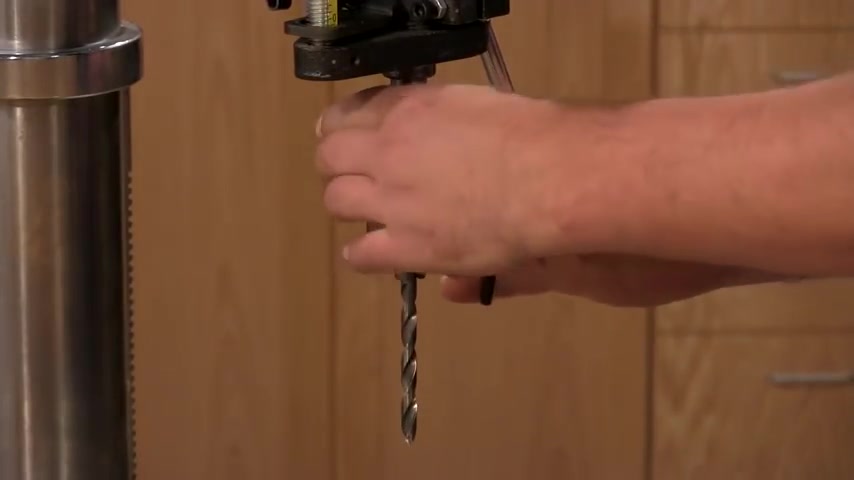
The second type of chuck you're going to run into in a wood shop is called a keyed chuck .
And typically , those are going to be found on older or larger portable drills or on a drill press .
These chuks are tightened and loosened using a key that looks like this .
When you're installing a bit in a key , chuck , the same principles apply just center the bit in all three jaws and then you're going to tighten it by hand to start and then you'll use the key to finish tightening .

And it's a good idea to tighten it in all three holes .
So remember when you're changing drill bits center the bit between all three jaws and snug the chuck down tight and you'll have great results .
Are you looking for a way to reach a wider audience and get more views on your videos?
Our innovative video to text transcribing service can help you do just that.
We provide accurate transcriptions of your videos along with visual content that will help you attract new viewers and keep them engaged. Plus, our data analytics and ad campaign tools can help you monetize your content and maximize your revenue.
Let's partner up and take your video content to the next level!
Contact us today to learn more.