https://www.youtube.com/watch?v=ZItgvAlbgvo
2023-06-14 18:06:47
How to sew a KIMONO JACKET _ Cutting and Sewing Tutorial

Hey guys , welcome back to my channel .
My name is Ayo Midi .
And if I go on , I would like to wish everyone a happy and prosperous 2021 .
If you're new here on this channel , you're going to find diy sewing tutorials and pattern drafting tutorials in this tutorial .
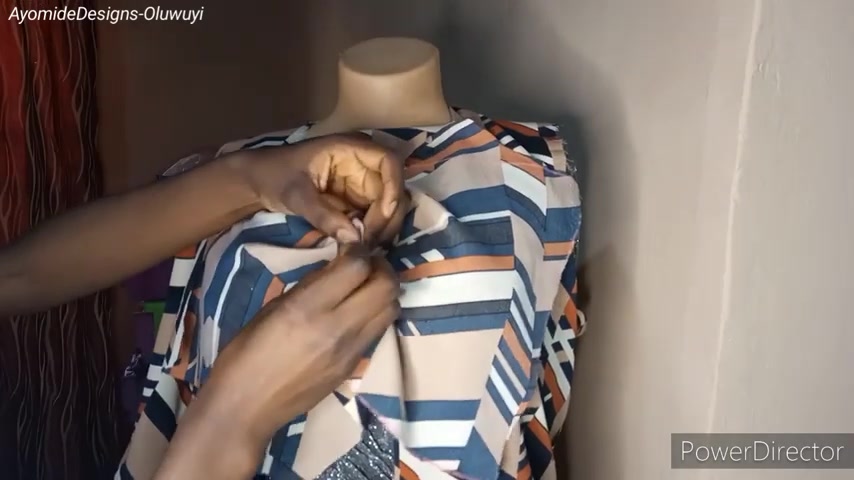
I'm going to be sharing how I made this Kimono jacket .
Ok .
And before we move on , if you haven't subscribed to the channel , please do so .
And now let's get started .
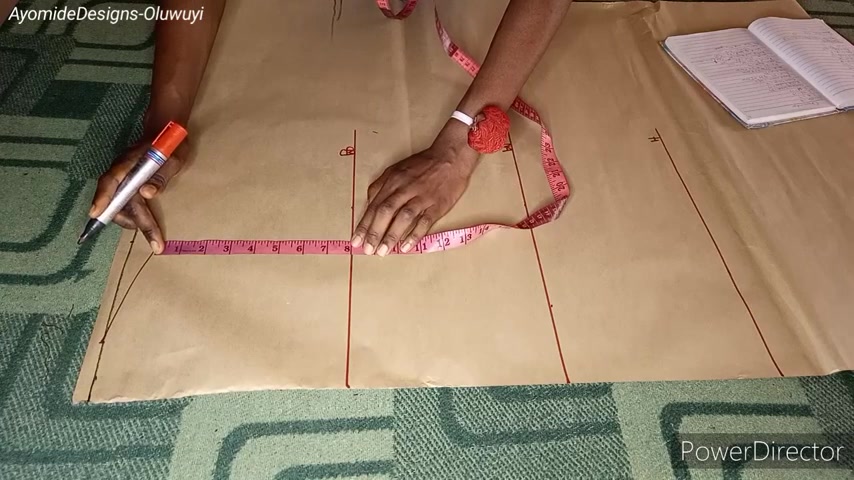
So guys , I have my pattern paper here .
I have my shoulder line , bost line , waist line .
I equally have my IP line and the full length of the jacket including my SIM allowance of 1.5 inch .
Ok .
So I have gone ahead to please this half of my shoulder measurements .
The shoulder measurements I'm working with is 14 , half of 14 is seven plus 0.5 inch sim allowance .
This is optional .
And for the uh it also came down by one inch for the shoulder length .
I do this for all of my body pattern and from the neck width , I'm going for 2.5 inch .
Ok .
This is because this is a kimono and it is not supposed to be too wide .
Now , the next thing I would do is to place my chest line measurements and the chest line measurements I'm working with is 7.5 and I'm also adding half an inch to that , making it eight inches .
So what that means is that my chest line is now my bot line .
Ok .
So I'm using my chest line as my boss line or rather my boss and my chest line , whatever .
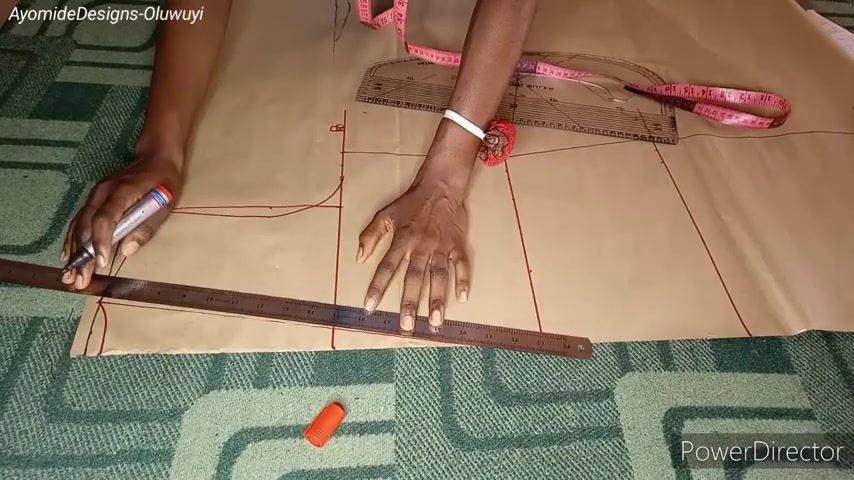
So I'm also going over to rule in the straight line that would enable me to draw in my um , what I will do next is to place my horizontal measurements .
I'm placing my boss measurements plus one inch ease .
I'm going to be adding ease of one inch and then I'm going to be adding one inch , four seam allowance the case for because this is a jacket , you need to add ease allowance on the waist line .
I'm also going to be placing a quarter of the waist .
There is no that this is a kimono jacket .
I will be adding two inches for ease along the waist and one inch for sim allowance .
This is because I want it to be free along the waist and on the line , I'm going to be placing a quarter of the IP measurement plus one inch and one inch sim allowance two .
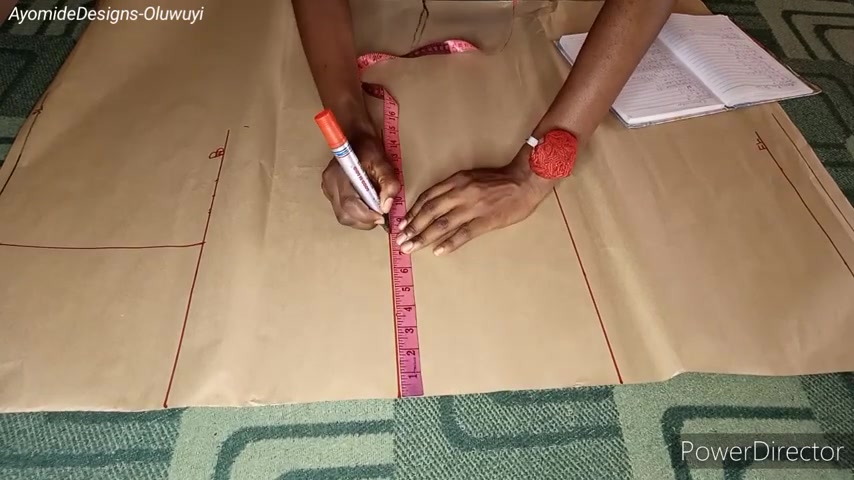
Now moving over to the full length , I would measure the total measurement I have on the line and then place that same measurements on the full length and also on the SIM allowance length too .
So as I'm screw with all of these , I'm going to go ahead and connect all of the points together .
Ok , guys .
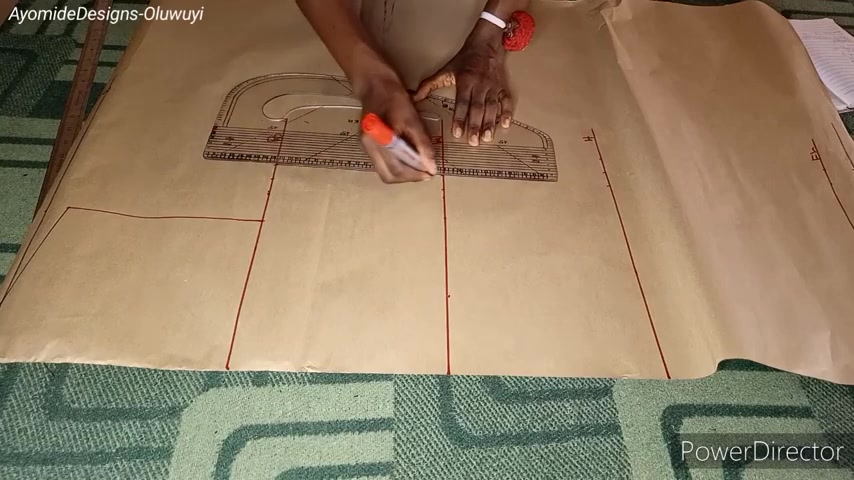
So what I will do next is to draw in my arm all and this pattern , I'm going to be using it to coat both my front piece and also co the back piece .
So I'm going to be showing you how you can drop both your front pattern and your back pattern on a single pattern paper .
So once I'm done with the front arm , all , I'll go over and mark 0.75 inch for the neck depth for the back .
Ok .
So it's not supposed to be too deep .
And uh after that , I'm going to be marking the neck be for the front .
So for the front , I'm going to be coming upwards from the waistline by about , I think I came up by about 2.5 inch .
Yes , I came upwards by about 2.5 inch .
That is going to be my break point .
You could choose your waistline , you could choose your boss line could be your under burst the entire , but it depends on what you're working with .
So this is going to be my neckline for the front and that will be the neckline for the back .
So I'm going over to draw in the M O for the back .
So , so this is how you dr both your front and your back pattern on a single pattern paper .
And when you have it this way , what that means is that you're going to be cutting your back first of all , and then trim off the other parts in order to just have your throwing pattern .
So this is a pattern and it is ready .
And what I will do next is to place it on my fabric and coat .
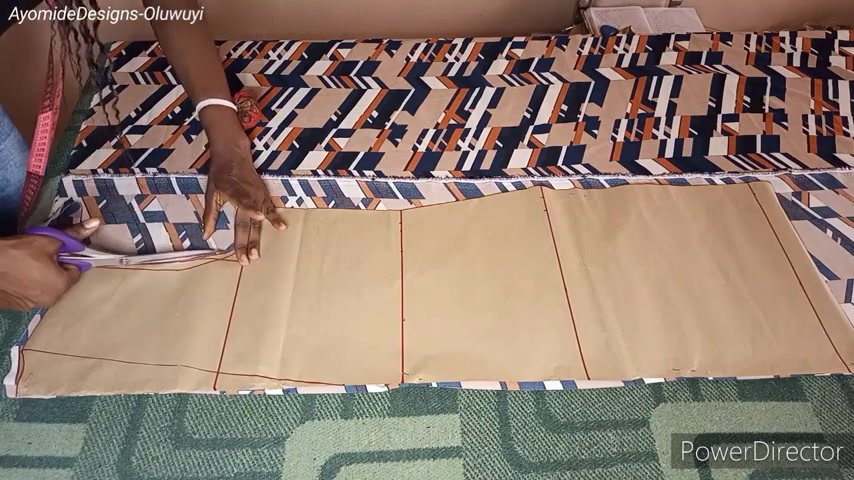
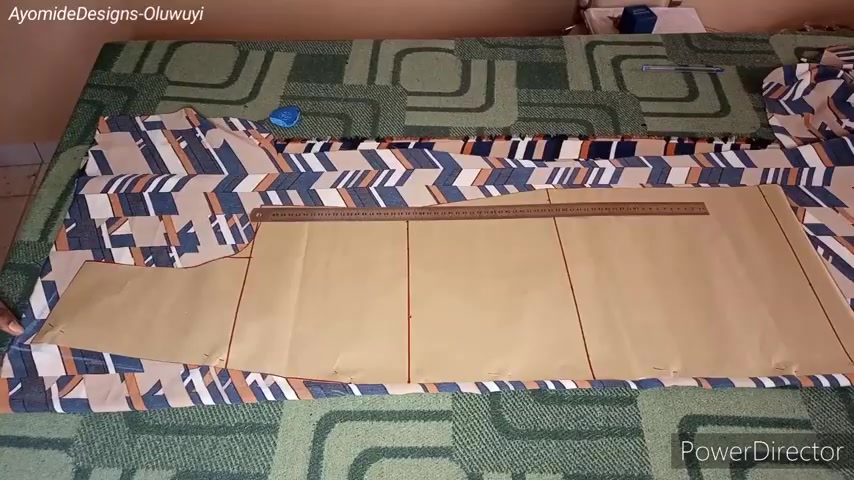
So along the waist adversary along the neckline and the shoulders lines , I added I anim allowance , I'm cutting my back pattern piece first of all , and I'm cutting the center back on foot .
So what that means is that there won't be any seam along the center back .
So I'm just taking my time to cut out my fabric piece .
And once I'm done , you're going to see how the back pattern looks like .
So this is how my back pattern looks like .
Now to move on to cut the front pattern , to cut the front pattern .
I would trim off my ham hole just to review my front ham hole .
So trimming of that back hole .
Now , I know that I have just my F O .
Now , I would also trim off the neckline .
You can decide to fold in the neckline just in case you want to use your pattern later on .
So once that is done , I have my pattern for the front .
Ok .
Quite simple and quite easy .
I equally added , have an in some allowance along the shortest lines and also along the neckline because I'm going to be fixing like a short collar that will go all the way around .
You know , that thing that K jackets usually have .
So I need that allowance to attach the collar .
Correct me if I'm wrong .
But I think you can call it a short color anyways .
So I'm equally taking my time to cut it out .
And once I'm done , I'm going to be showing you guys how it looks like .
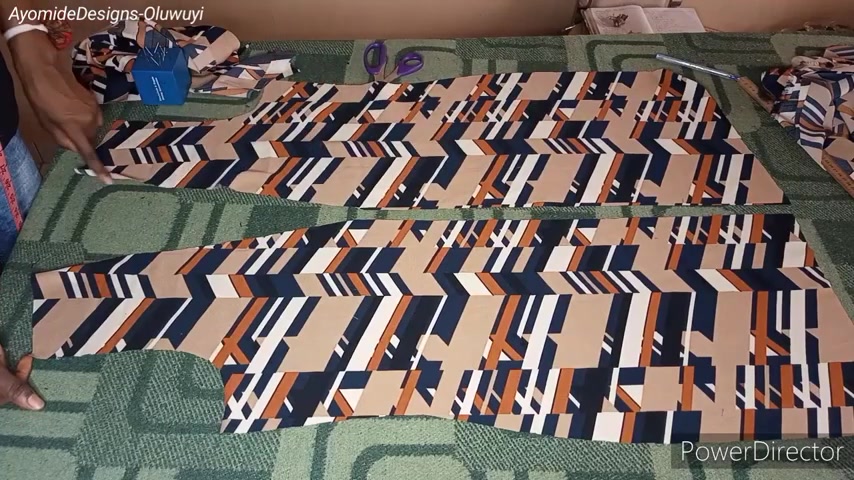
So guys , this is my fabric piece .
I have two for the front and I have a single piece for the back .
Ok ?
So what I'll do next is to measure the length of the show just to get a rough estimate .
And what I'll be doing is I'm going to be measuring the entire neckline of the front from the end to the shoulder .
And also I would measure for the both sides of the front and I would repeat the same thing for the back to measure around the neckline for the back just to have an estimate length of what amount of fabric that I'm going to be needing .
So using my tape measure , I'm going to be placing it along the end and just try and get a value , just try and measure it all around up onto my shoulder sloop and I have 40 inches .
So what that means is that for my boot front piece , I'm going to be having a total of 80 inches and for my neck , back neck line , I think I have about six .
So 80 plus six is 86 .
I'm going to be adding roughly about an extra 5 to 8 inches just to be on the safe side or maybe even cut 96 .
It is better to have an excess fabric than for it not to be enough .
So now let us move on to the sewing .
OK .
I'm going to show us the short color later .
I want it's just a long strip of fabric .
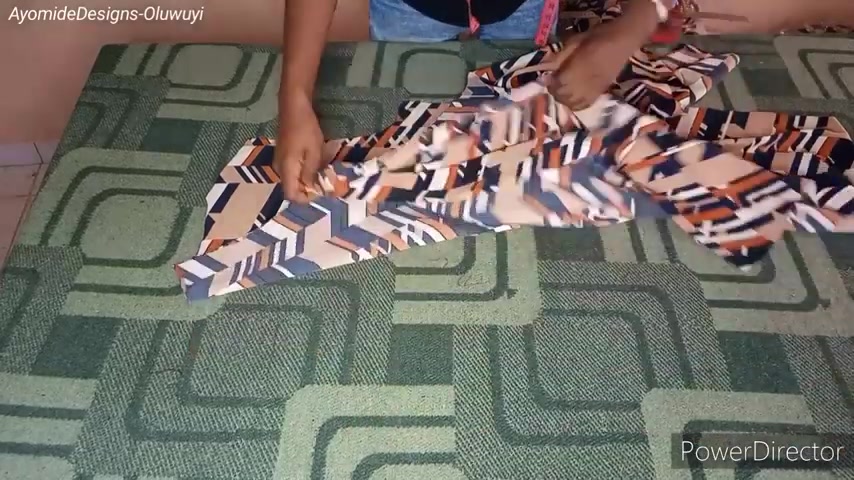
Now to sew all you have to do is to place right side of your fabric against each other .
I will place the front part that corresponds with the back .
And so it by my similar allowance of half an inch along the shoulder length and also some allowance of one inch along the side .
So I would repeat the same thing for both sides of my jackets .
All right guys .
So I'm done stitching along the shoulder .
I also stitched it along the side too .
So I fixed the sleeve for one hand .
I still have my other hand here .
Got the sleeve here for just illustration purposes .
So this is the sleeve just in case you don't know how to drop a basic sleeve .
I will I have a detailed tutorial on that you can check my channel .
I will also put the link in the description box .
Ok , guys .
So this is a long strip of fabric that I'm going to be using and I think it's about six inches wide .
So when you fold it , it should be about three inches .
Ok ?
I'm going to be fixing it along the entire neckline from one end of the front , making sure to sew it along the back neckline up onto the other end .
I would also fix the sleeve and here is the outcome of the jacket .
I made it for someone and she absolutely loved it .
I did a top stitch along the neckline just to keep the show in place and avoid the SIMS from showing .
So just in case you find this tutorial helpful , please give it a thumbs up .

I equally medium matching shirts and uh also don't forget to subscribe to the channel for more videos and also then kindly have a wonderful day and have a blessed amazing here I heard .
Partnership
Are you looking for a way to reach a wider audience and get more views on your videos?
Our innovative video to text transcribing service can help you do just that.
We provide accurate transcriptions of your videos along with visual content that will help you attract new viewers and keep them engaged. Plus, our data analytics and ad campaign tools can help you monetize your content and maximize your revenue.
Let's partner up and take your video content to the next level!
Contact us today to learn more.