https://www.youtube.com/watch?v=zhcEe3z0kig
2023-06-14 18:06:35
How To Make a Quick and Easy Box Cushion
This video is brought to you by say , visit say dot com for all your project supplies , tools and instructions , you can quickly and easily make box cushions .
Following this diy tutorial .
There's no faster way to make a cushion cover and still get gorgeous results .
Follow this seven step process and you too will be making cushions in less than 60 minutes .
A couple of things that make this cushion easier .
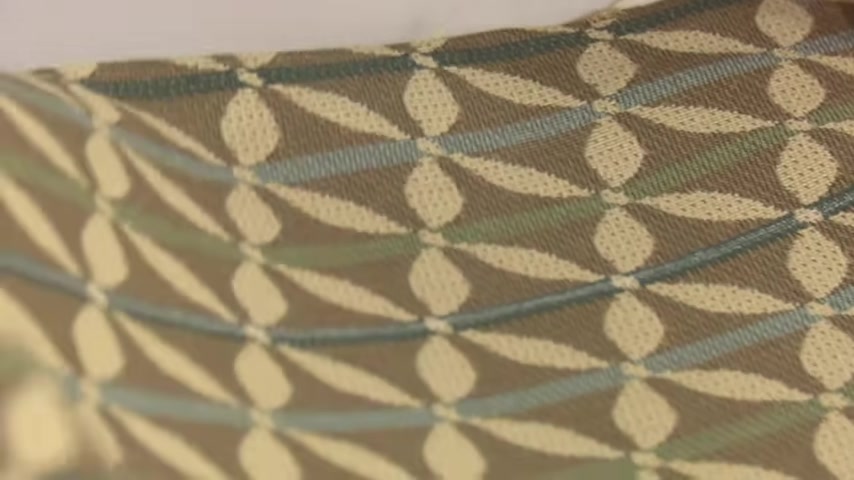
One of course , there's as many panels to join so it does go a little faster , but more importantly with a pattern like this .
If your boxing didn't line up , it would look a little off and you could go either way you could just have the boxing not line up or you could spend a tremendous amount of time trying to match everything up with this particular pattern .
And this design , it just rolls right off the edge , the pattern carries over .
It does the same thing at the end .
The only place your pattern doesn't really match is there at the corner , but that's a lot better than having a complete mismatch all along all the faces .
Thanks Brian .
Let's get started showing you in less than 20 minutes .
How to make this easy cushion from start to finish .
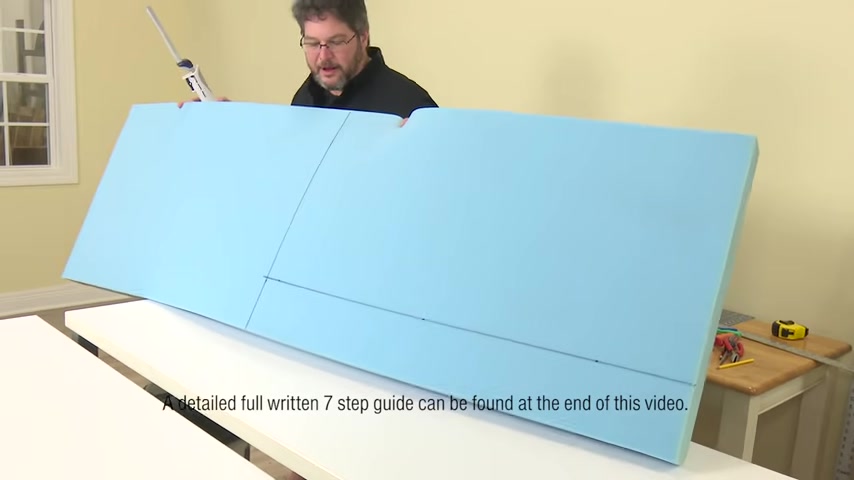
We'll start by cutting the foam to size .
What we're going to do start with is we need to start with our dimension of a finished cushion .
Now , our finished cushion , we desire to be 40.5 inches long by 19 inches .
This is a square cushion .
So adding a quarter inch to each dimension really just means we're going to add a half inch to the length and a half inch to the width .
Step one cut the foam to the desired size plus a quarter inch to all sides of the foam .
So my length is going to be 41 inches .
Ok .
So there's our 41 .
What I did here is I actually split our table in into this may not always be possible , but it's easiest to get a good straight line .
If you can follow the edge of the table , the length of our foam is going to require me to support both sides .
If you have it just hanging off , then your foam , you're not going to get a straight cut .
So I've got my cut line as you can see right along the edge of the table .
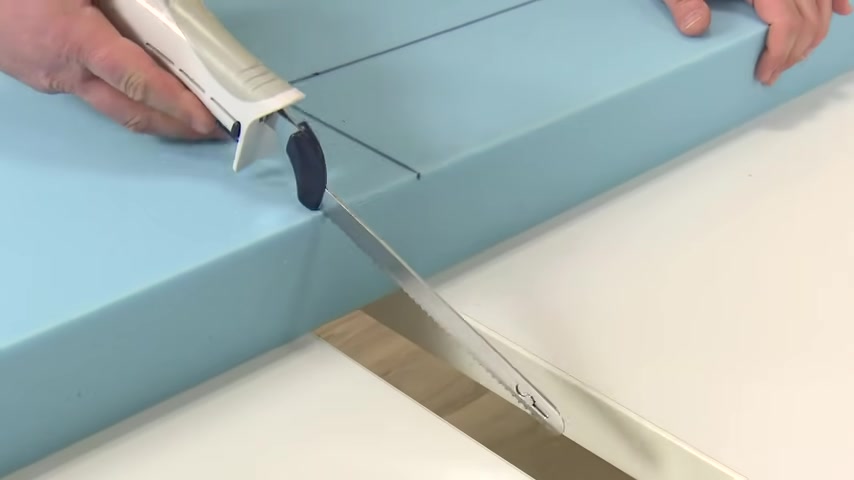
And so when the idea is just , it were nice and follow the line to cut the foam , we're using an electric kitchen knife .
Be sure not to do this on a table that you're concerned about damaging , try to hold the knife as straight as possible .
So your cut is straight and true .
When you get to the very end , you probably will need to hold the foam making a lot of cushions .
You may want to consider purchasing the acu cutter 3 50 from SA right .
It is a base that helps guide the blade making it easier to keep your cuts straighter .
The foam is cut to size .
Now it's time to pattern the bottom plate .
What we're gonna do now is we're gonna go ahead and trace this onto our underlining material for this project .
We're using cushion , underlining material .
Uh What this is is , it's a breathable foam or breathable fabric and it has a little bit of a grippy texture to it .
So that way it doesn't slide as much on the uh application step .
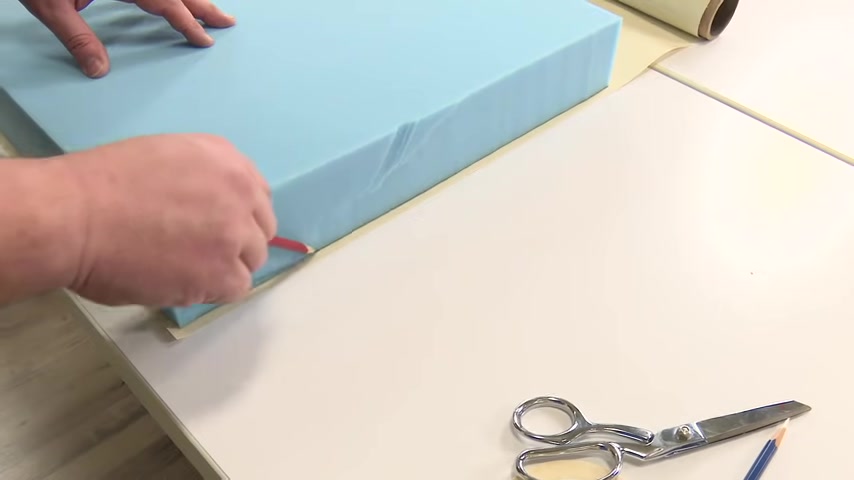
Two use foam and trace around it on the fabric , then draw a new line a quarter inch inside that first line , we're gonna trace the line on the outside .
We want to make sure not to compress our foam .
As we go , we're using a high density foam that is rated as firm from say , right ?
This foam will last 10 plus years even if used often .
And as you can see , it provides excellent support for the occupant and is very comfortable .
And now what we need to do is we need to draw a line a quarter inch in all the way around and that will be our actual cut line visit dot com to see more choices of high density foam in size , thickness and firmness ratings .
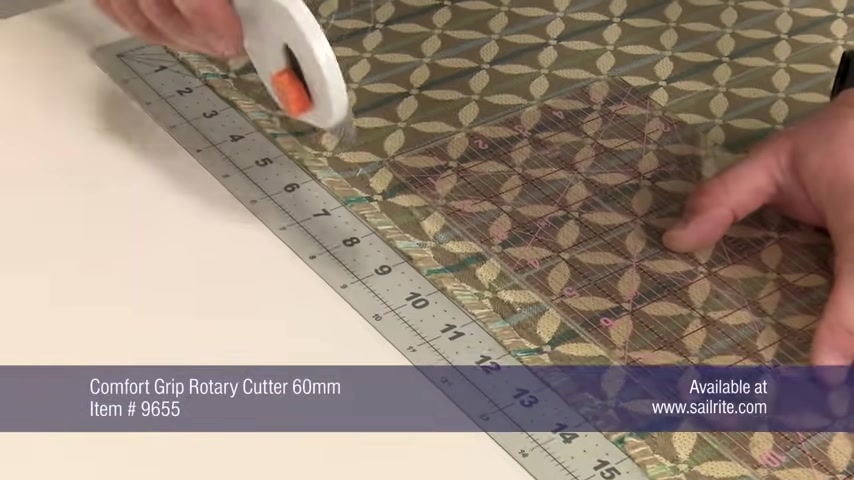
It's now time to cut the cushion , underlining material to size .
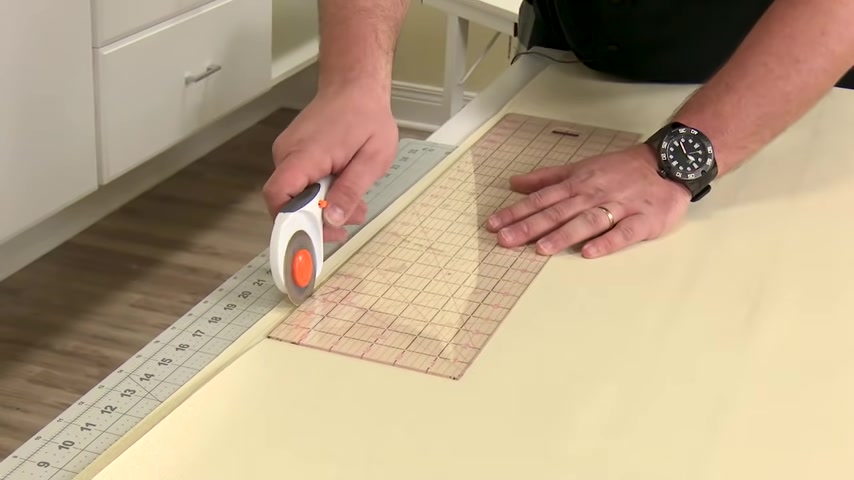
This cuts well , with scissors , but if you have a rotary cutter and rotary mat or a cutting mat , I like to do it this way , you have good crisp lines that way .
And we're cutting along that inside line so effectively , what we're doing here is we're cutting this or this underlining material to a quarter inch smaller than our foam , which if you remember our foam is a quarter inch larger than our desired cushion size .
So effectively , this underlining is going to be the size of our finished cushion or our desired finished cushion .
Now , the reason that I'm cutting in the manner I am is I'm cutting the fabric that's outside of my ruler is gonna be the scrap material .
Basically , this is my finish .
I wanna cut outside because if I miss cut like that doesn't really matter .
All right .
Well , I have this plate like this .
What I wanna do is fold it in half each direction and go ahead and just make a pencil mark .
What this is doing is this is marking the center of each panel each side .
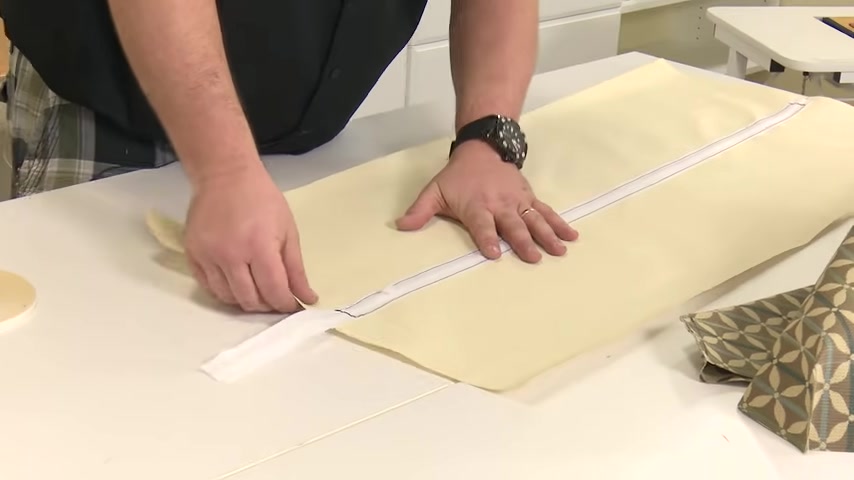
We'll explain that in a bit , box cushions require an opening for the foam to be inserted inside the cover coming up next , we'll install a zipper to the bottom side of our plate .
Ok .
We start by lining up her zipper and we're gonna cut it about four or five inches too long .
Step three will base and sew a zipper to the bottom plate .
I'll go ahead and separate the tape just slightly .
Now , the key with a locking slider is , it almost takes three hands .
You have to be pulling on the zipper tab as you're moving it all moving it forward .
It's even a little harder when you're trying to hold it where the camera can see it .
The seven steps to make this quick and easy box cushion will be listed at the end of this video .
There we go .
So we've got our zipper started .
Now , we don't want to zip it all the way .
We're just going to go ahead and get it started .
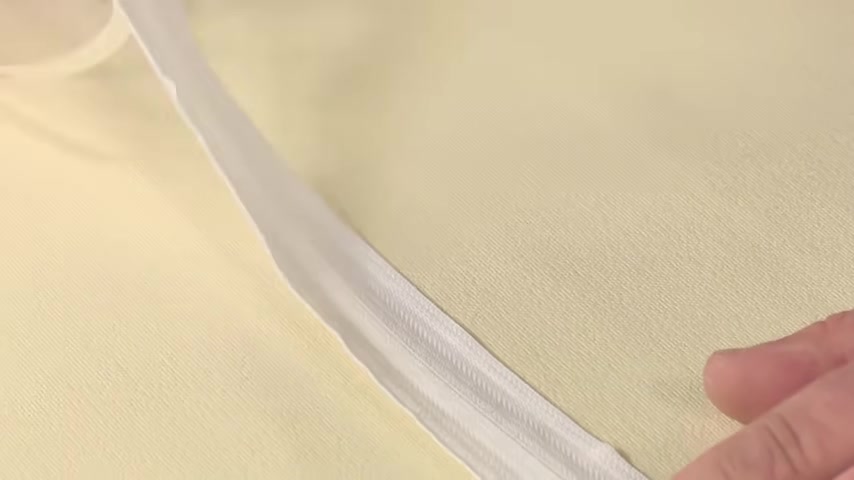
As you can see the zipper is closed on both sides .
We're using quarter inch tape for this entire project on the zipper .
It's important because it ensures that you're keeping the basting tape completely away from the zipper teeth .
And when we're using this in other places , we're using the quarter inch tape because we'll be using a 38 inch seam and using a quarter inch tape for a 38 inch seam ensures that the tape will be inside of the cushion , not outside and exposed , peel off the transfer paper and the glue is revealed .
Ok ?
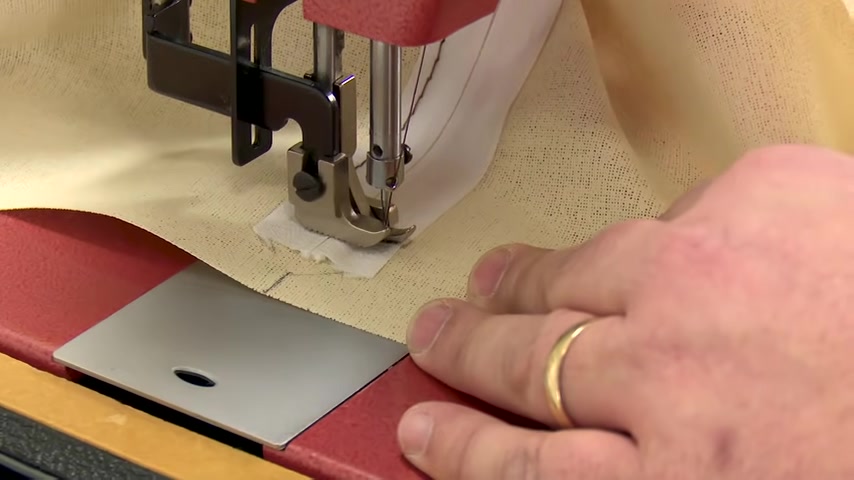
We're gonna base this teeth down .
You see , I'm pulling the tape as I go because the basting tape does stick quite well to this underlining material and I'm just peeling as I stick .
Ok .
What I'm gonna do is I'm gonna start , oh , roughly an inch , inch and a half , two inches away from the edge .
And you can see that my zipper foot is lined up along the outside of the zipper teeth .
Now we're on the back side , but if you just feel you can kind of see where they're at .
And so we'll start sewing , do a couple back stitches .
At the beginning for indoor cushions , we recommend using a nylon thread for outdoor use a polyester .
We're using B 69 for lighter fabrics like this .
You can also use an upholstery thread .
Ok .
When we get to the end , we lift and turn 90 degrees .
And now what we're gonna do is we're gonna sew across the teeth .
We're gonna go ahead and go back and forth .
Once that way , we're putting three sets of stitches across .
Notice when Brian rotates the fabric , the needle is buried , go ahead and pull that material through , drop her foot again .
And so towards the other end , I wanna stop , even with my other one here , once again , do a few back stitches .
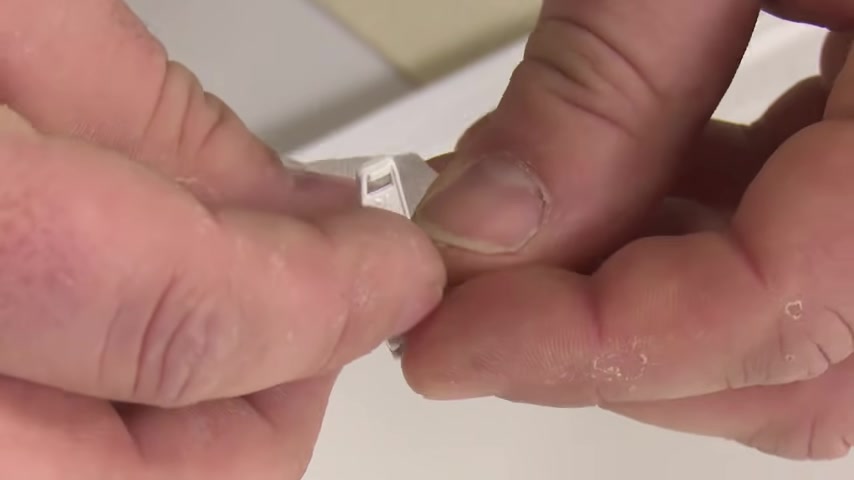
And now what we want to do is put our slider forward to push the slider back .
Brian uses his scissors , OK .
What we've done is we've just slit our slider onto the sewn tape .
Now we're gonna do a couple of rows of stitches across .
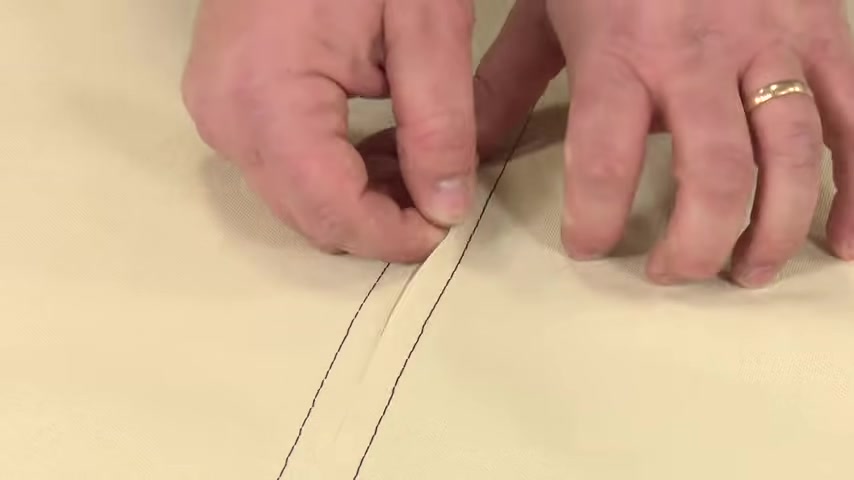
And what that will do is that will contain our slider so it can't come off the end gonna do is we're gonna cut just a little bit and we wanna make sure we're not cutting our zipper teeth , but rather just cutting a little hole to get our zipper or our scissors into and then just kind of slit .
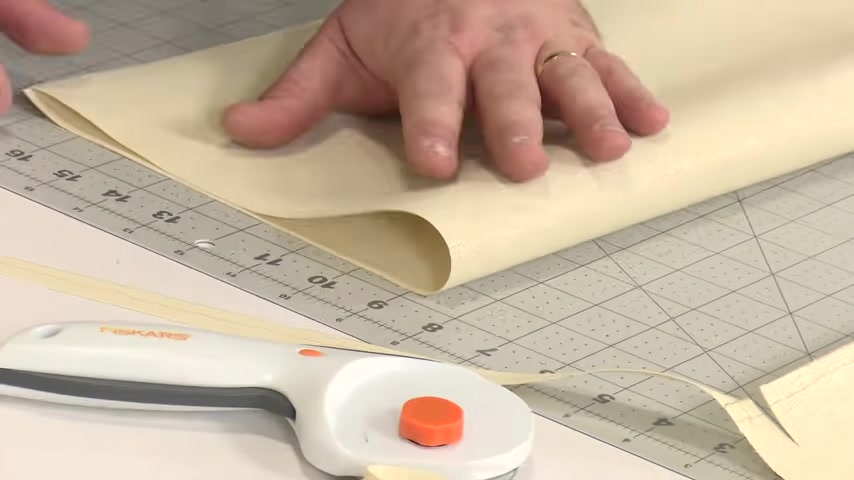
And since we use the uh cushion , underlining material , it doesn't uh doesn't ravel on us .
So we don't have to worry about this edge .
If you're using a fabric that would unravel , then you would need to do a finished edge here with this material , just cut it .
You're good to go .
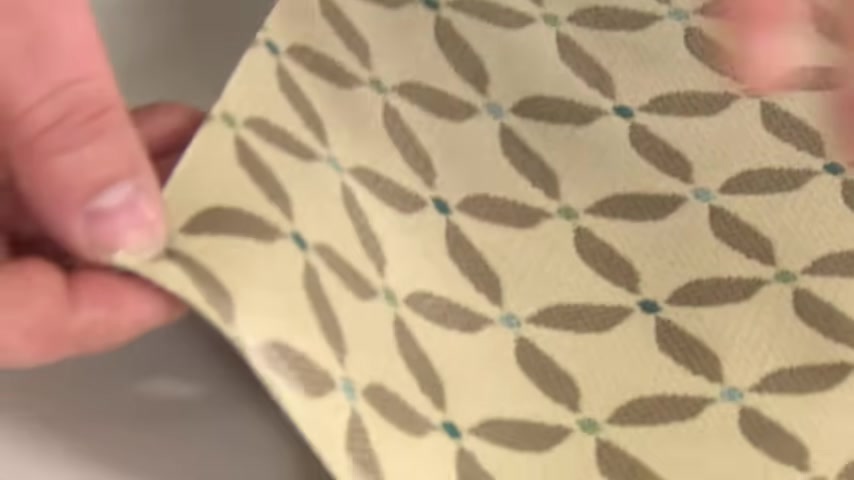
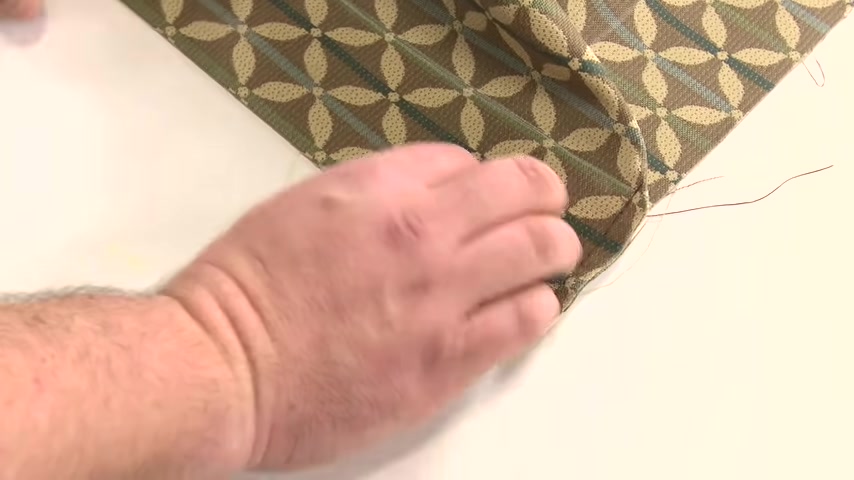
Here comes the fun part .
We will use our decorative fabric for the top plate and this plate will include our facing for the sides of the cushion .
What we want to do is take our cushion and lay it out in the general area .
We're going to go step four trace around foam on the wrong side of fabric , then subtract a quarter inch from foam thickness and draw a second line out from that measurement on the top plate .
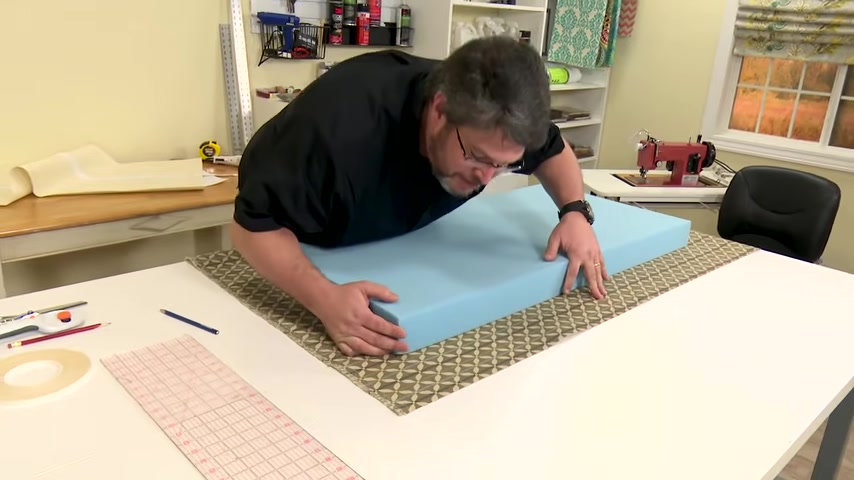
Let's let Brian explain it .
You want to make sure that the front of your cushion is make sure you're following the pattern .
If there is , if there is a squared off pattern , make sure you're doing that .
The other thing too is we're going to have to extend this out a bit because this is actually going to be our sides also .
So just take your phone , go on each side , make sure that you have plenty of extra material before you start tracing to ensure that you can get enough out of the edge .
And then we're gonna go ahead and trace our phone , ok .
We got our foam traced , we'll pull that off , ok .
Now , what we need to do is measure the thickness of our foam .
Now , we know we have a three inch foam here , but always good to double check and we can see that .
Yes , it is three inch .
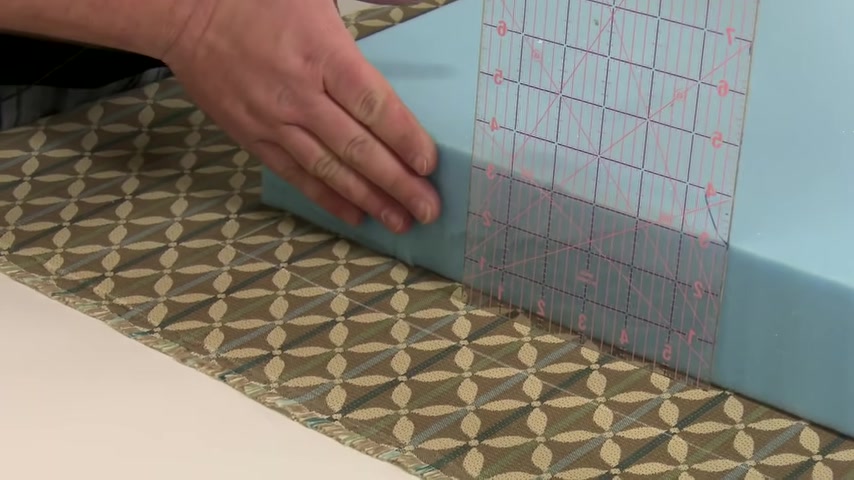
Now , what we're gonna be doing is we're gonna be cutting or we're gonna add the same amount of fabric as our foam minus a quarter inch .
So you get three inch foam .
So we're gonna add two and three quarters of an inch to each side and just trace each line .
This outside line will be our cut line , step five , extend lines at corners and cut out the plate in each square of fabric at the corners , then base and sew at each corner .
This forms the plate and basing edge .
Ok .
So now what I need to do is take my original lines , which is the outside edge of the foam .
I need need to extend each of those lines all the way to or really just a little bit beyond my cut line .
OK , we're gonna go ahead and use a cutting cutting mat and rotary cutter for this .
With this fabric , you can use scissors , you can use a hot knife .
Uh really any preferred technique to keep the edge of a synthetic fabric from unraveling , use a hot knife .
We recommend the sari edge hot knife if you prefer that rather than scissors or a rotary cutter .
Now , what we're gonna do is where we extended these lines beyond , we're gonna go ahead and cut out each of those corners and just stop right at the corner .
Now that we're on our face side , we're going to add a quarter inch basting tape to each corner .
And the reason we tear this as opposed to cut it is it makes it easier to pull the paper off .
This seams stick is being added to the outside surface of the fabric .
Ok ?
Now , for each corner , just go ahead and separate our tape and then you wanna use it to base the corner together .
The key is you want these edges to match up .
So we'll do that for each one over 17 years .
Ok .
We're gonna take this to the sewing machine now , ok .
What we're gonna do is we're gonna go ahead and set up for a 38 inch seam .
So we'll measure and we'll set our guide .
Here we go .
This straight stitch is approximately 3/8 of an inch away from the edge of the fabric .
He does some reversing at the beginning and the end of his stitch to lock the stitch in place .
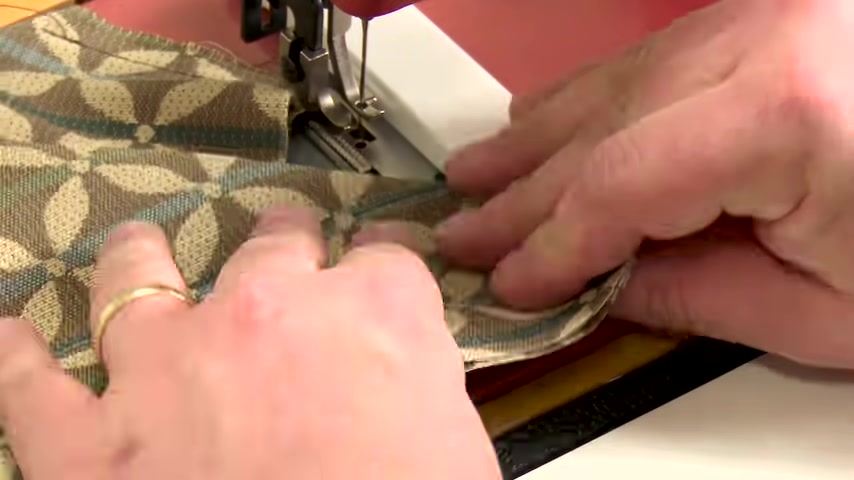
He'll do this for each of the four corners .
You'll notice that he's not cutting the trailing threads .
He's simply moving to each of the four corners and sewing them .
And then when he's done , he'll go back to those trailing threads and cut them close to the fabric .
Let's move on .
We want to do is just fold each side in half and just give ourselves a little mark there for the center .
Earlier , we placed marks on the bottom plate .
These marks will be used to match up the two assemblies when it comes time to base and sew , you're almost done .
It's now time to sew our assembly together to make the cushion cover .
Now , remember this is the face or the bottom of our zipper .
This is the inside .
So we want to go outside .
We're gonna put a row of basting tape all the way around the edge .
Step six will base the top plates incorporated facing to the bottom plate and then sew it up and we didn't cut our zipper off earlier .
So we'll do that .
Now , let's just pull that back , just cut right through it there and just make sure your other end is away from your sea .
We're going to cut a little bit of it off too .
If it doesn't get in our way , you can do this with pins , some people also choose just to line it up and do it as they sew .
I like to do the basting tape and basting tape sticks pretty well to these fabrics .
It just enables you to get it all put together and it just makes the sewing process go a little faster .
Now , we're gonna get our actual cushion material .
We're going to get it face down , expose our basting tape .
And what we want to do is the marks that we made .
We want to go ahead and line those marks up .
What we're doing is we're getting the center of each one set and then we'll get the corner set and everything else will kind of guide to make sure it should all be the same .
Yeah , but it just helps to make sure we have a nice good square cushion .
One of the main advantages to using basting tape to base this assembly to the bottom plate is that if you get something that doesn't line up perfectly , you can unbased it and rebased it until you're happy with the results , then you can take it to the sewing machine and sew it because we are using a quarter inch wide seams stick for canvas .
From we know that when we take this assembly to the sewing machine and sew a 38 inch seam , we will not sew through the basting tape ensuring that when the cover is turned right side out , the tape will not be visible .
What we're gonna do is we're still , we've still got our guide set up for a 38 inch seam .
So we're gonna start just inside of that seam and make sure we're not catching our material on the back side , which we're not , we're using the world famous cite Ultra Feed L S One sewing machine .
This is a straight stitch walking foot sewing machine .
Also available is the Cite Ultra Feed L S Z A straight stitch zigzag sewing machine and bring yourself to just short of the edge a little bit right there , lift your foot , turn and just work your material under like so drop your foot .
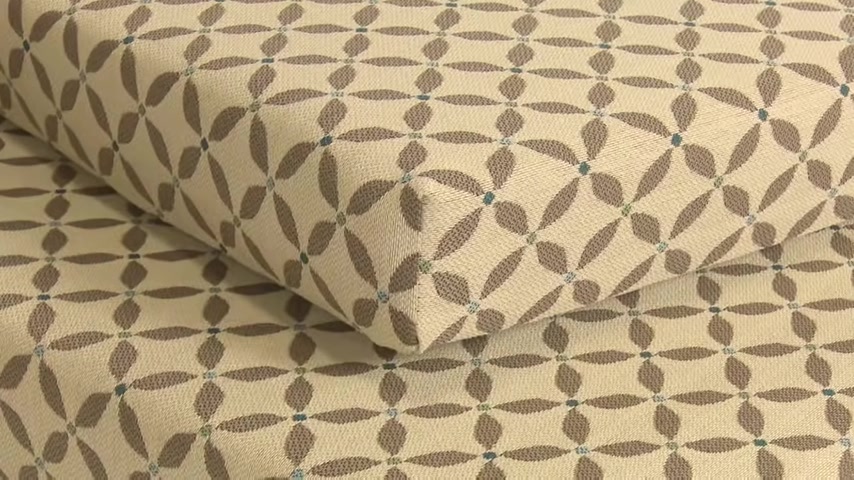
So we've chosen to use G Bella fabric , which is 100% of the yarns .
JIA Bella is a superior quality design fabric great for indoor and outdoor applications .
JIA Bella is virtually indestructible and wears like iron making this a life proof fabric for any home .
Order your favorite pattern and color at say today .
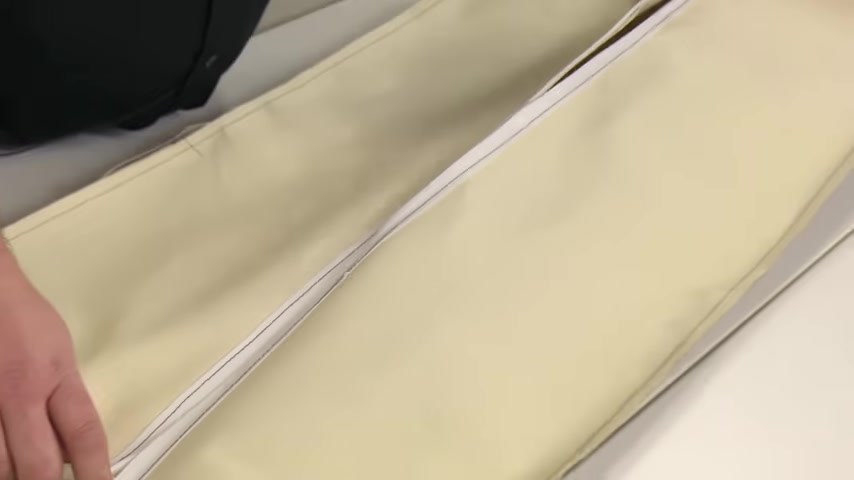
Last step , insert the foam .
What we do is in front of our zipper here , we just go ahead and separate the zipper and pull it right side out , step seven turn cover right side out , insert foam and push into corners and edges .
As you do .
You're going to want to go ahead and take your hand and get your corners worked square at the end of the day .
There's not really a right way or wrong way or easy way to get the foam in .
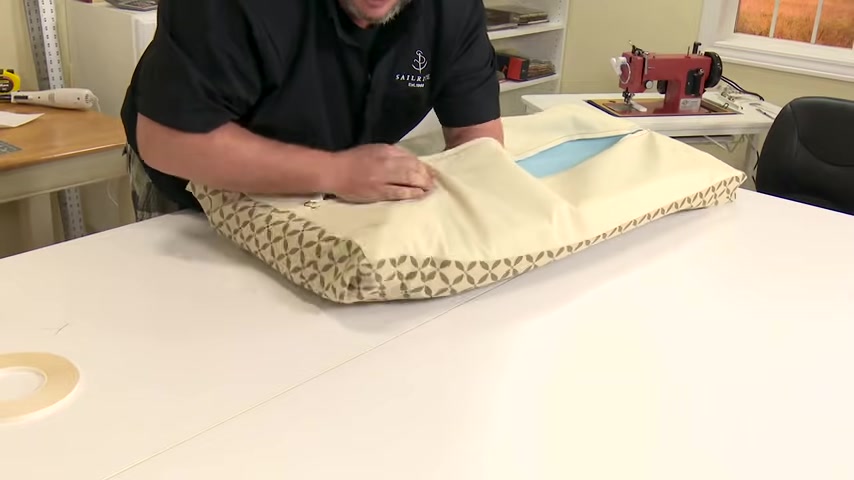
It just depends on how you prefer to wrestle your alligators .
And now that we are inside , now , what we need to do is basically go around the whole cushion and just get things worked into the proper place .
Things really do look good when it's all squared up .
Don't go away .
The materials and tools list is coming up and the seven step process guide that should help you navigate your next cushion project .
You kind of get to a point where you just don't think you can do a whole lot more than go ahead and zip it up and then you can still take kind of work things around from there .
Our desired size was 19 by 40.5 .
So if I line up my ruler , you can see edge to edge about 19 .
And if we line this up , we're pretty much right at our 40.5 target .
I'm Brian with sale , right ?
Thank you for watching .
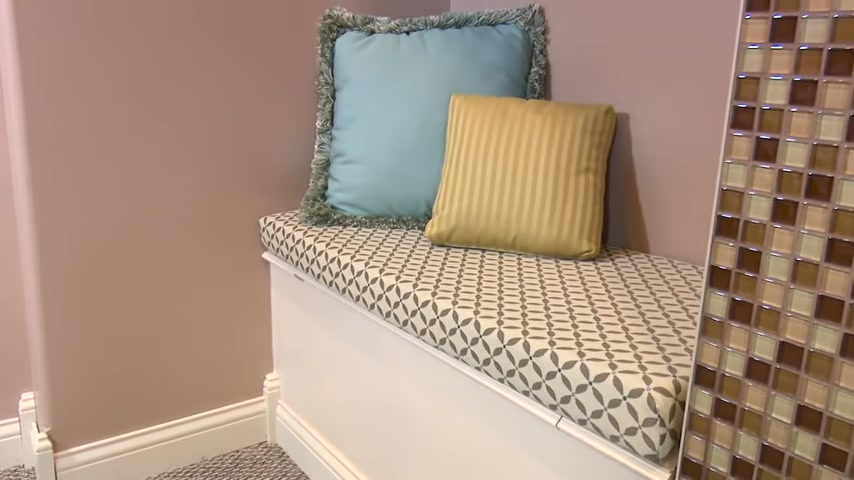
We made two cushions for a seating area and a few throw pillows with coordinating fabrics from Sa Rite .
And as you can see , they look awesome and are very comfortable .
Here's the materials list and tools we use to make these cushions .
You will find hundreds of great decor and upholstery fabrics from say I pick yours today recommends using a high density foam for cushions that will see daily use coming up .
Next is the seven step guide after watching this video and purchasing your supplies and tools from , you should be ready to make this quick and easy diy cushion project .
Feel free to pause and study this list as you make your own .
It's your royal patronage to cite that makes these videos possible .
I'm Eric Granton from all of us here at C R I .
Thanks for watching .
Partnership
Are you looking for a way to reach a wider audience and get more views on your videos?
Our innovative video to text transcribing service can help you do just that.
We provide accurate transcriptions of your videos along with visual content that will help you attract new viewers and keep them engaged. Plus, our data analytics and ad campaign tools can help you monetize your content and maximize your revenue.
Let's partner up and take your video content to the next level!
Contact us today to learn more.