https://www.youtube.com/watch?v=Bbibe0yuiew
How to Build a Greenhouse
Hi , I'm Aaron .
A greenhouse is on the wish list of every avid gardener .
A greenhouse allows you to extend your growing season and protect your plants .
But you can also use your greenhouse as a solarium and just sit outside and enjoy the daylight .
I'll show you how to put together a greenhouse kit .
I'll cover setting the foundation , assembling the framing and panels and adding some finishing touches at the end .
Here's what you need to know to do it .
Right .
We're building this Monticello greenhouse kit that has aluminum framing , twin wall polycarbonate panels and roof fent , whichever kit you choose , just make sure that you read the manufacturer's instructions .
So before you start building , make sure that you check all your local building codes .
Greenhouses might be considered accessory or utility buildings in the code .
There can also be a little bit of digging for this project .
And whenever you dig , call 811 to have underground utilities marked .
Ok .
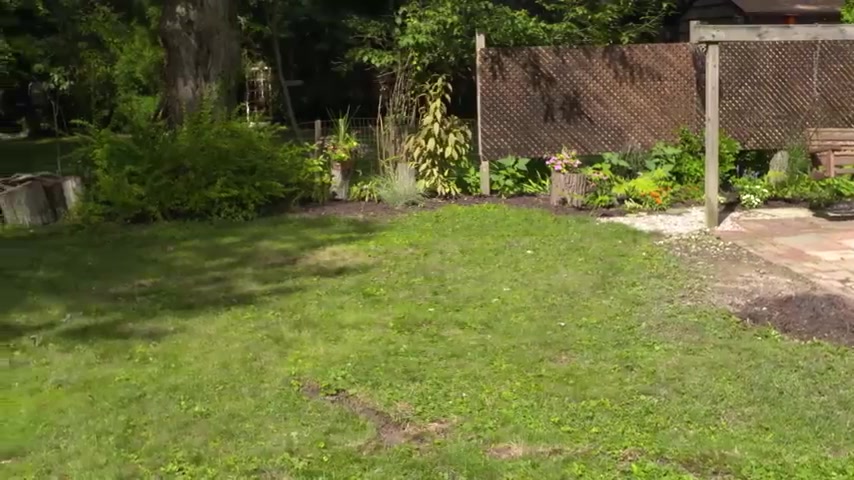
So we've checked our local building codes and now it's time to pick our spot .
You want one that has at least six hours of sunlight throughout the day .
Ours has plenty of morning sunlight also , it's helpful for growing .
If you have some tall hedges or a fence next to the greenhouse , they will keep any of that cold wind out .
However , you'll want to avoid large overhanging limbs that will block most of the sun or could possibly fall and damage the greenhouse .
So if the spot you're thinking of isn't flat , you're going to want to level it out before you can start building .
Also , it's helpful to have the greenhouse near a water source .
If you're not planning on putting a permanent line in , regarding the orientation , running the ridge , east and west will give both sides of the greenhouse , even sunlight , which pros consider that the ideal orientation .
However , running the ridge , north and south is fine too .
Also , it's best to have about three ft of clearance all the way around the structure .
Sometimes it just depends on where you have space in your yard .
Ok .
For the base , we're going to build our frame , we're using ground contact , pressure treated two by fours .
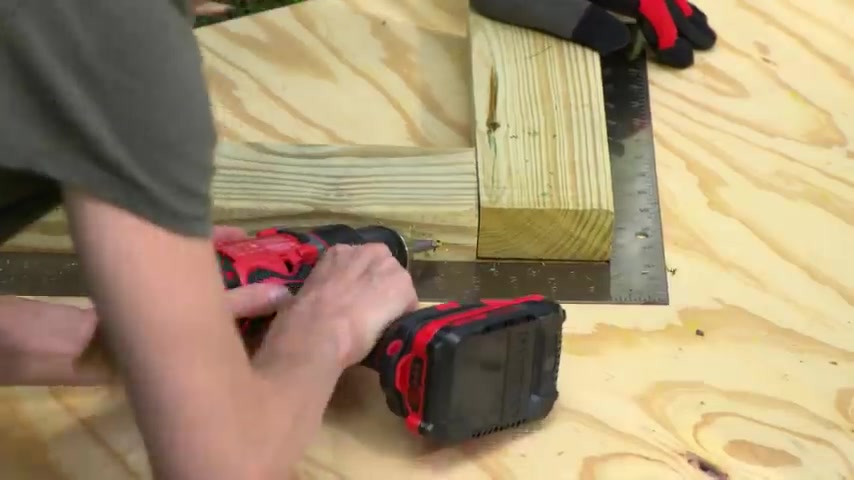
So just make sure when you're looking at these that you always check the tag for the ground contact rating , use exterior screws to hold the lumber together and then square it up by measuring the diagonals .
When they're equal , it's square .
I'll add another layer of tubas right on top , staggering the joints at the corners , secure everything with screws , then check for square , attach the braces to hold the frame square while you're working .
So the base for this kit can be installed directly on the grass .
As long as it's level , we're going to remove our grass because we're going to put down a gravel floor .
Some codes might require paver base under the frame .
Here's what to do .
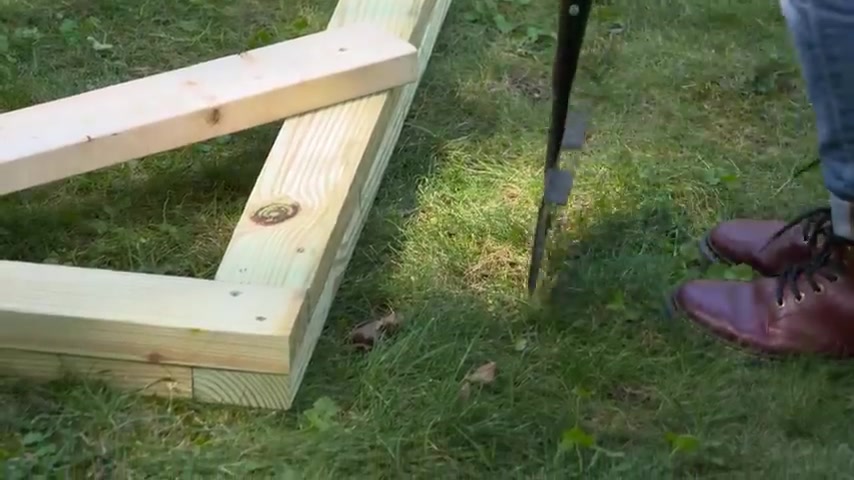
I'll use an edger to outline the frame to dig for the foundation , set the frame aside and dig up the dirt , then lay down some landscape fabric , pour the paper base , what it and tamp it down , try to get it close to level , set the wood base in position and check for level .
So if you're adding permanent utilities to your greenhouse , now would be the time that you want to run your lines .
So this kit comes with anchors to hold the greenhouse in place during strong winds .
However , I'm going to install these longer shed anchors because we have a thick paver base .
I'll use a long piece of rebar to create a pilot hole .
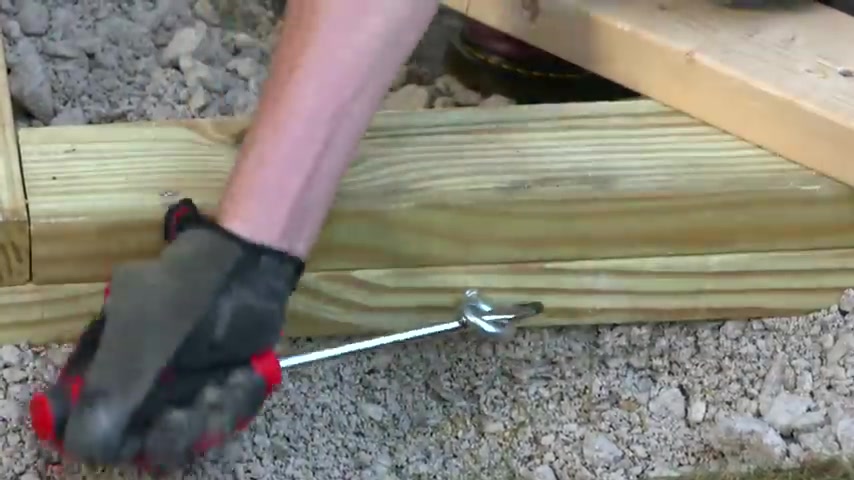
Then I'll attach an ice screw to the frame .
I'll use the rebar to help drive the anchor into the ground .
Then I'll attach it to the ice screw with a steel cable and a clamp .
Our local building inspector wants to check the foundation before we attach the frame .
So that's as far as we can go today .
Ok .
So we are ready for day two .
We have had our inspection .
We have passed , we are good to go .
So it's time to build .
But before we get into the actual build , it's best to open the kit up , familiarize yourself with all the parts that come within it .
Because if you have everything sorted out ahead of time , it's going to make your build go that smoother that much easier and be that much more enjoyable for you .
So as far as your polycarbonate panels go when you make a pile for these , just don't leave these guys sitting directly on the grass because they will burn it .
So these polycarbonate panels have a cover on them that helps to identify which side has this UV protective coating .
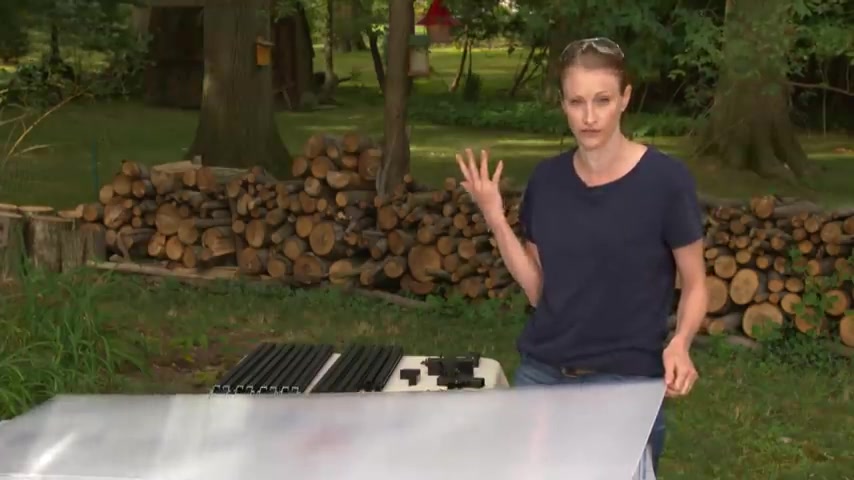
If you remove this coating prior to installation , add a little bit of a mark to the edge dot or an X or something small just so you know which side this is because this is the side that is gonna have to go on the outside of the greenhouse .
So the design of this greenhouse is pretty cool .
Actually , the framing members have channels for T bolts , the bolts lock into the channels and you just tighten the nut .
You can use the included wrench a ratchet or a drill on a low torque , low speed setting .
I'm assembling a few of the components before building the frame just so that they are ready to go when we need them .
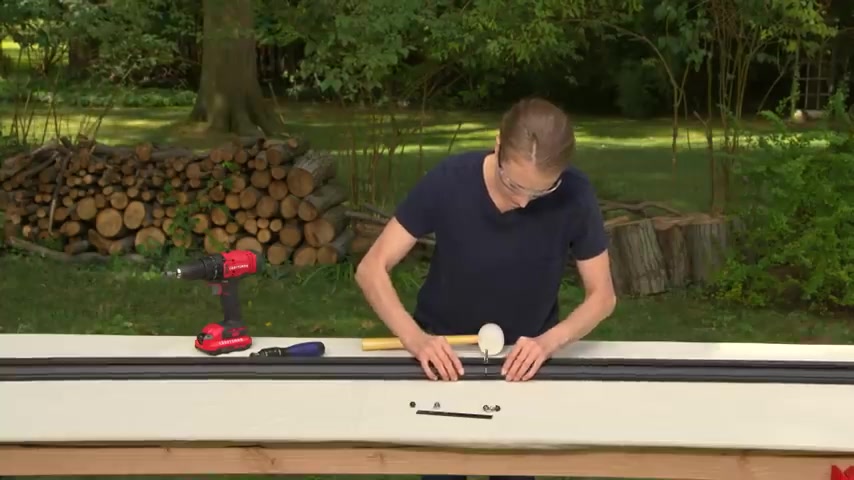
The gutters secure together with brackets and the T ball , the roof ridge slides together with connectors and brackets for the doors , assemble just part of the frame and then slide the panels in place , secure it with the other side of the frame , then attach the doorstop .
After the inspection passed , we added some pea gravel inside the frame .
It's easier to add your floor before the structure goes up .
Ok .
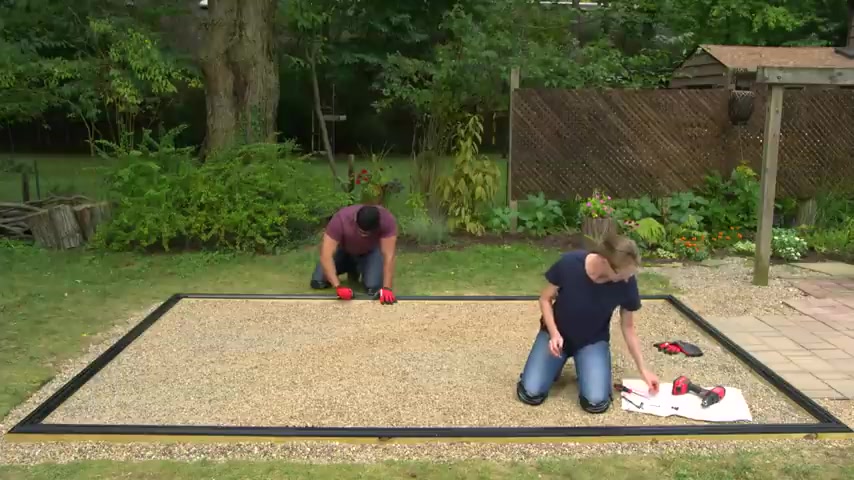
For the aluminum base of the greenhouse , you're gonna assemble the profile pieces on the wood and then just connect them with the brackets , double check that everything is level and secured the wood frame with the screws .
So the first framing member just going to go in the front corner , hold it in place , then slide the panels into the channels for the side wall and the front wall , pulled it all together with the brackets and the nuts and bolts for the rest of the side wall .
Use the included spacing tool to get the correct position of the framing members and then secure them with the brackets .
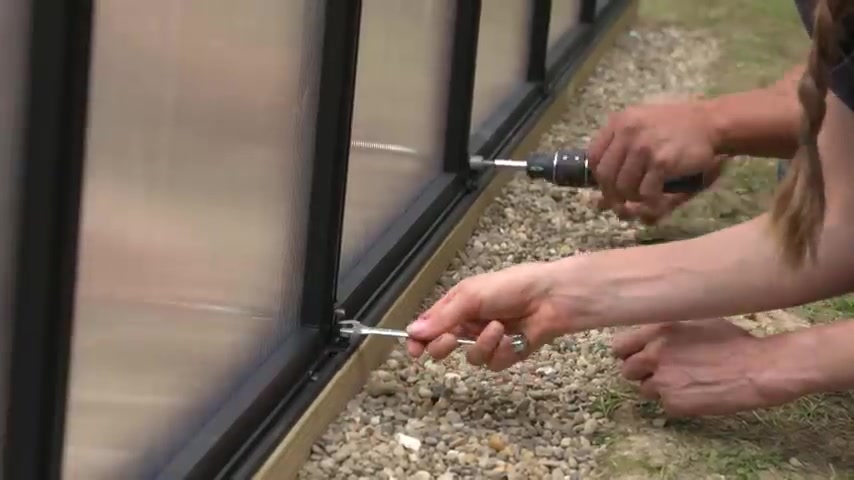
The panels slide into the channels , secure brackets to the outside too .
When you get to the back wall , put the first panel just around the corner for right now .
So now we are going to install our gutters on top of our wall .
The gutter goes on top of the side wall .
But before installing it trim a quarter inch by four inch notch off the corner of the front and the back panels using scissors or side cutters .
The gutter will now sit right on top of the wall you might need to tap it with a rubber mallet to make sure it's flush at the ends , secure it to the walls with brackets and bolts .
Now use the spacing tool in the brackets to set the back wall .
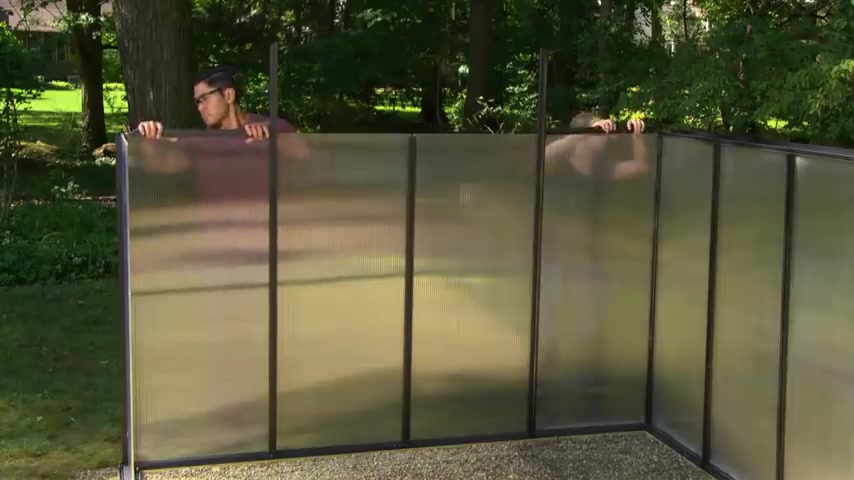
Notice the taller framing members with the angled profile , those are placed near the middle of the wall , add the short horizontal frame pieces at the top of the panels , cross brackets , hold this back wall together , then build the other side wall , secure the gutter on top on the front wall with the door , add your hinges to your frame .
And when you're done , they're going to be on the outside of the greenhouse , then you're just going to slide your framing members into position .
Next , hold the door framing together by the horizontal piece at the top of the panel and secure it with the brackets in the bolts , set the angled panels in place .
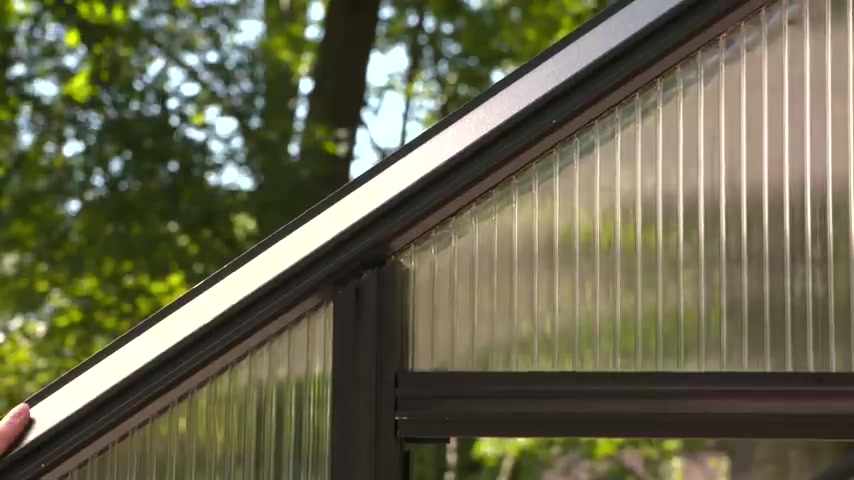
Now at the header piece and the barrel bolt lock then set the top panels in place and attach the corner brackets on the inside .
You might have to trim the angled panels to make the framing fit on top .
My gosh , the gutters have a special bracket that covers the end and holds the corners of the structure together on the back wall .
Attach the rest of the framing members , panels and brackets to secure the roof ridge .
We'll put the inside support brackets in position on the framing and then we'll place the ridge , you might have to cut the tips of the angled panels to set the ridge in place , then secure it with bolts .
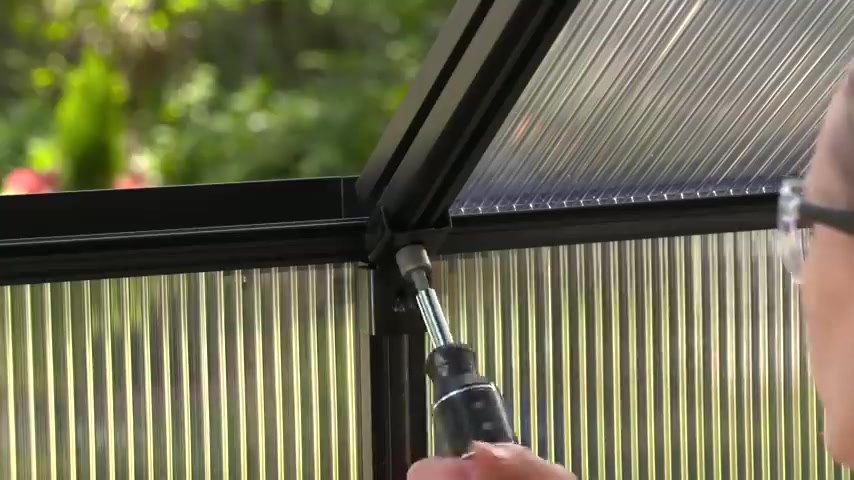
So to give the ridge some extra support , install two by four braces underneath just until the roof panels are installed .
Clamps can help keep them secured .
The panels slide under the ridge cap and then just rest right on the gutter , place the framing member at the exposed edge and then secure it with the brackets and bolts .
Now the roof panel is secure , install the panels at both gable ends first , then add the next panels towards the middle , then add the next set and finish out the rest of the full panels .
The spots we skipped are for the roof vents which rest on shorter panels at the bottom of the roof .
We loosen the bottom brackets to help slide the short roof panels into place .
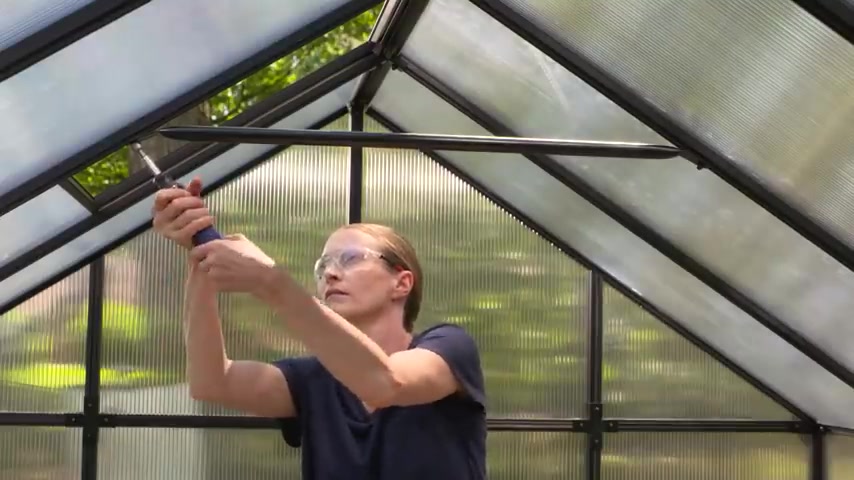
When the panels are in place , add all of the support braces at the walls and under the ridge , double check the entire frame to make sure everything is straight and square , then secure the end plate at the ridge along the top of the gutter .
Add a bead of silicon sealant and the trim plate also don't forget to put the plugs in the gutters .
Our roof vents have automatic openers that release any excess heat that builds up when the temperature rises .
The cylinders are filled with wax that expands in the heat to open up the vent for assembly .
It's helpful if you store these guys in the freezer just to make them a little bit easier to work with .
To install , mark the center on the inside of the roof vent panel , then hold the opener in place and mark the screw holes .
Drive the screws in and back them out .
Secure the opener with the screws and on the outside drive the screws through a gripping plate .
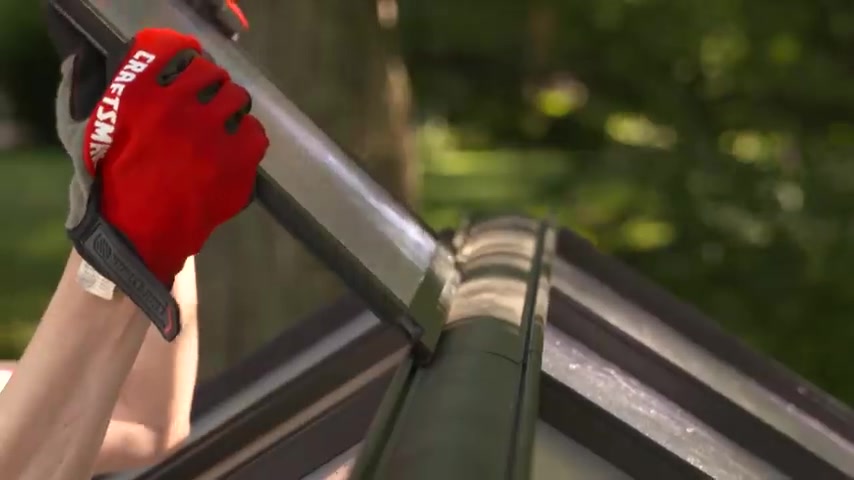
I covered the exposed tips with screw caps , then lock the vent panel on the fridge .
Now secure the other side of the opener to the stationary roof panel with screws and another gripping plate .
Ok .
So now we're going to attach our doors to our hinges with the screws , make sure the barrel bolt works on the closed doors .
This kit includes sealant tape to apply along the frame and the lower door .
So another really cool thing about this greenhouse is the self closing doors .
We're going to attach the spring on the inside of the greenhouse with a T bolt and then to the door with a screw .
Ok .
So that's it for the basic construction .
Just keep in mind you want to take your time , you will maybe have to adjust some brackets here and there .
You'll have some play to do so .
But in the end , you're gonna have a gorgeous greenhouse in your backyard and once it's built , now you get to do all the fun stuff .
All the finishing touches .
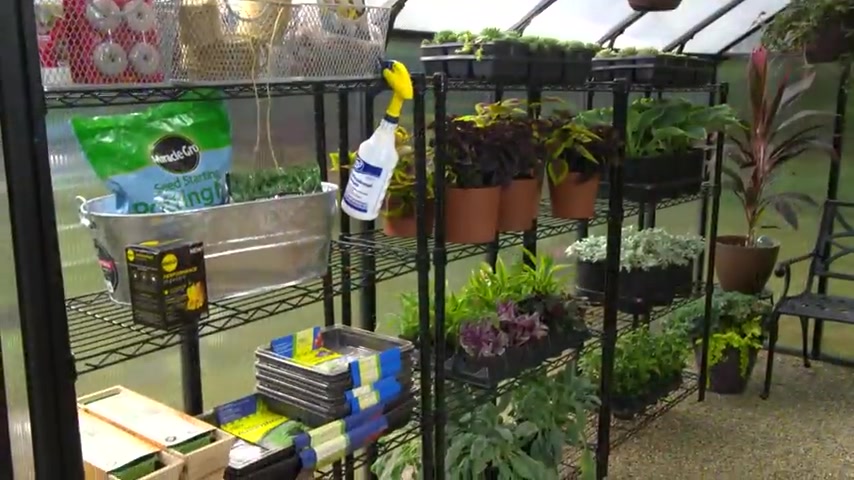
A functioning greenhouse for tending plants requires a workspace .
We built a custom potting bench to fit .
It's a great area for working with plants .
Plus it has storage underneath .
Of course , you can also just use a freestanding shelving unit .
A shade cloth can help prevent the greenhouse from getting too warm during the summer .
A sprinkler irrigation system can make watering easier .
We ran a few pieces of three quarter inch PV C pipe under the frame to easily hook up a hose from the outside , then turned on the water to hydrate thirsty plants and to allow for drainage and spills .
We use gravel as the floor .
A functioning greenhouse is about what works best for you .
Our homeowners had another plan for the greenhouse .
They were looking for another outdoor space to kick back and relax .
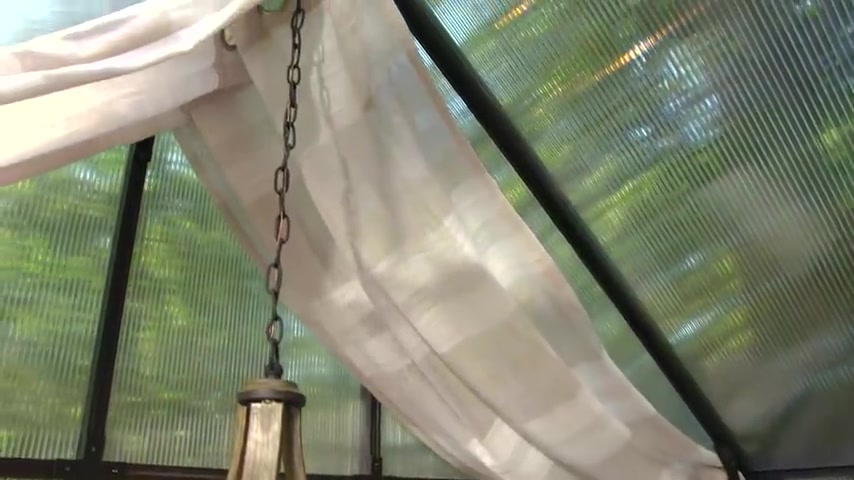
So we added a bistro table and chairs for entertaining friends and hung fabric along the back which just makes the area seem more cozy and inviting .
We repurposed the potting bench as a serving station for coffee and pastries on hot days .
It's helpful to have a fan to create a comfortable breeze for the floor .
Paver stones provide a solid surface as well as a finished look .
A rug on top adds even more personality and at night , a small chandelier above the table brightens the space and adds character .
A greenhouse can have many uses how you use your greenhouse is up to you take inspiration from these ideas and come up with your own custom design .
Yeah .
Are you looking for a way to reach a wider audience and get more views on your videos?
Our innovative video to text transcribing service can help you do just that.
We provide accurate transcriptions of your videos along with visual content that will help you attract new viewers and keep them engaged. Plus, our data analytics and ad campaign tools can help you monetize your content and maximize your revenue.
Let's partner up and take your video content to the next level!
Contact us today to learn more.