https://www.youtube.com/watch?v=DGUes4c1rks
2023-06-14 18:05:47
Learn How to Install Hardwood Floors _ DIY Projects

Wood floors are as beautiful as they are durable and installing it yourself can save money , but you need to prep your subfloor or your new flooring could have problems .
We'll show you the steps to prep a plywood subfloor .
First , you need to know how much flooring and materials you'll need , measure the room length times width to calculate the square footage add about 10% for mistakes or warped boards .
Next , remove the baseboards , carpet and tax strips .
If you have vinyl , you can install certain flooring right over it .
No matter what type of flooring you install , your sub floor has to be clean , dry level and structurally sound .
For glue down applications .
You need to remove any wax , paint adhesives or oils with a sander for floating and nail down floors .
You just need to clean up dust and debris .
What about odors from pet stains ?

Well , the best approach is to use a stain remover , then cover it with a primer sealer .
But keep in mind some glue down adhesives won't adhere to the sealer .
So check the instructions after you've cleaned your floor , check the moisture level .
A simple moisture meter will work just press the pins into your subfloor and check the reading .
Your flooring manufacturer's instructions will list acceptable readings .
If your moisture levels are too high .
Call a pro for help .
Oh , when working on plywood over concrete , check the levels of both floors .
After the moisture tests , check that the floor is level .
It shouldn't vary more than 3/16 inch every 10 ft , sand any high spots and fix low spots .
According to your floor type , typically on glued down and floating floors , you can apply leveling compound for nail down floors .
You can repair by reinforcing the joists or building up the low spots with £15 belts or MPS .
Your subfloor also needs to be strong and structurally sound , fix loose or creaky boards with wood or decking screws .
Of course , any major damage will need to be repaired too .
One more note for subfloor repairs .
Flooring typically looks best running along the longest wall in the room , but it should be perpendicular to the floor joists .
If it won't be , you can add another plywood layer to strengthen the floor .
Next , prep the doorways stack a piece of flooring on the underlayment and cut door casings about 1/16 inch above with the jams saw for doors , remove them and cut about 1/8 inch above .
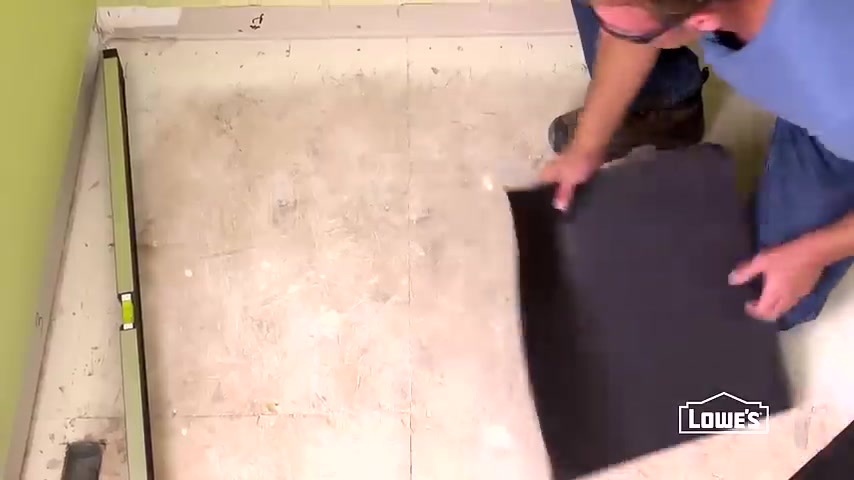
When your subfloor is in good shape , you can put down the underlayment .
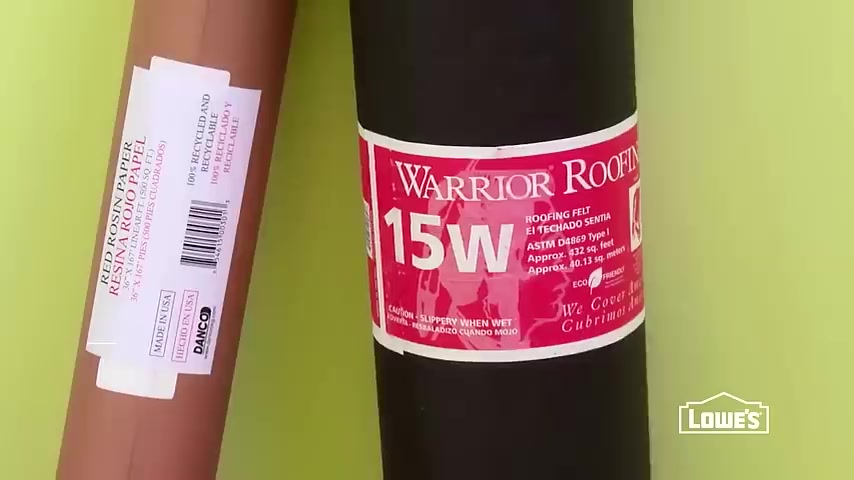
The type depends on your flooring installation for nailing solid hardwood or stapling engineered go with felt paper or grade D craft paper , roll it out , leaving the underlayment long at the ends , you'll trim it after you've installed the floor overlap , the seams about six inches and staple down for floating , engineered locking or laminate .
Use a two in one or three in one .
Typically , they have self adhesive scenes to join the pieces together for glue down floors .
The moisture barrier is usually part of the adhesive .
Some products even have the underlayment pre attached , but you might still need a moisture barrier .
One other thing , some engineered locking and laminate floors can go right over vinyl as long as it's not two layers thick .
Next step is to mark a starting line square to the room walls , however many walls are bowed or out of square .
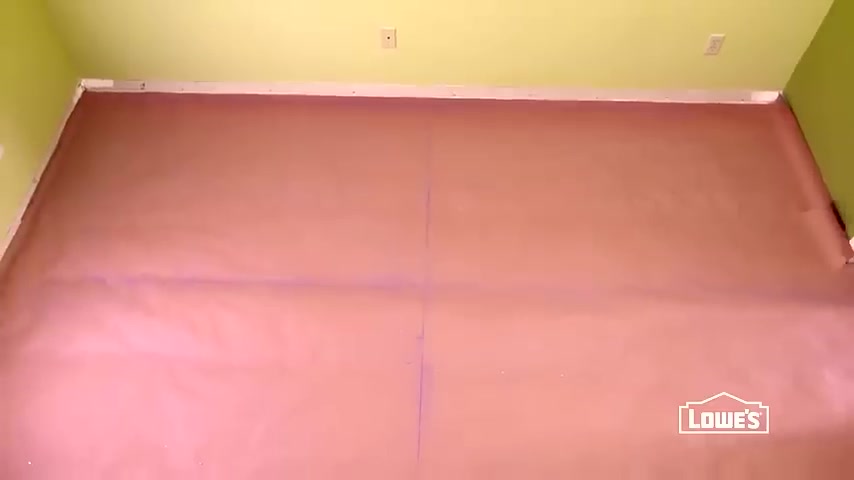
So here's what you do , mark the center of each wall and snap lines between then measure from the center to the starting wall , subtract the expansion gap and mark this distance at the ends , snap a line between to get a straight line against the wall .
Now your subfloor is prepped .
Here's a quick overview of the installation , run the flooring along the length of the room with an expansion gap at the perimeter .
Solid hardwood expands and contracts stagger the joints at least six inches and also avoid h joints .
In other words , don't allow the joints to line up unless they are at least two rows apart .
It's smart to calculate the width of the last row too .
If it will be less than one inch , consider cutting the first row by half before you get started , determine how much flooring you'll need by multiplying the length times width of the room to get the square footage add about 10% extra for any warped or damaged boards .
When you have your flooring , let it acclimate to the room temperature and humidity for at least 72 hours .
Typically , you remove the flooring from the boxes and stack it in the room .
This is a good time to check for any warped or defective boards .
Hold on to them .
You can use the bad pieces to help pry the last row into place .
Also , you might be able to cut off the damaged parts and use the good pieces for your install .
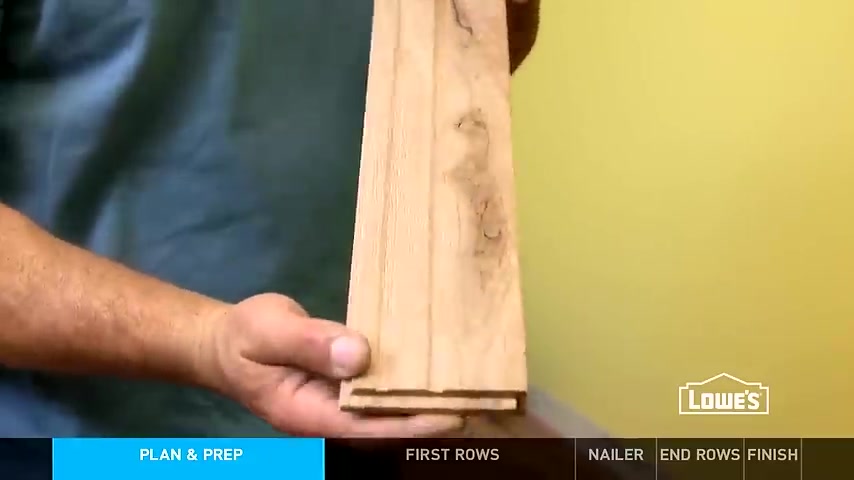
When the flooring has acclimated , pick out the straightest boards for the first two rows , hold the first board on the starting line , you snapped during prep groove side toward the wall set spacers for the expansion gap , typically three quarter inches , face nail about half inch from the tongue side , starting about three inches from the ends and generally every six inches in between , we're using an air nail gun .
But drill pilot holes .
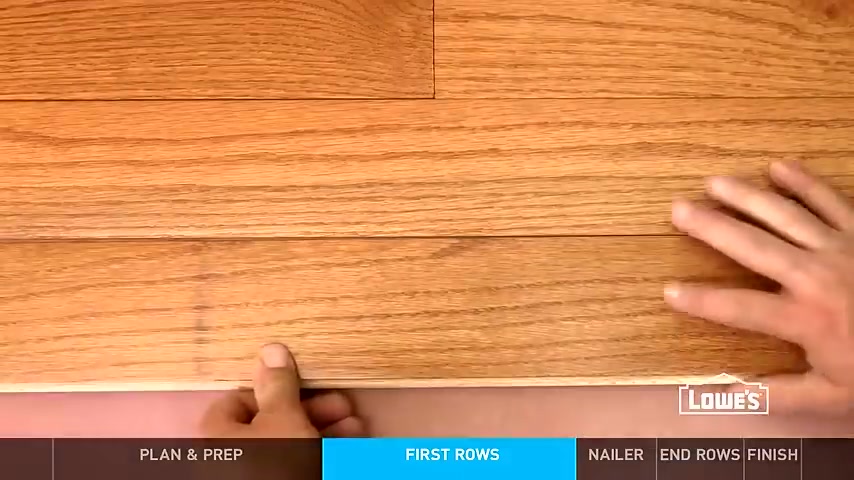
If you're using a hammer and nail set , tap the next piece in place with a tapping block and mallet and continue face nailing , you can fill the nail holes with matching floor putty later when you get to the end cut the board to fit .
Remember to account for the expansion gap place the board face up and cut with a flooring blade .
Then install now blind nail at a 45 degree angle every six inches .
If using a hammer and nails , be sure to drill pilot holes to start the second row , push the groove onto the tongue of the first row and tap the boards together with a tapping block .
Keep installing the next few rows this way , staggering the joints at least six inches .
It's a little slow now , but the installation will pick up once you have enough room to use a flooring nailer to use the flooring nailer , hold it against the flooring tongue and hit it with a hammer and hit it again and again .
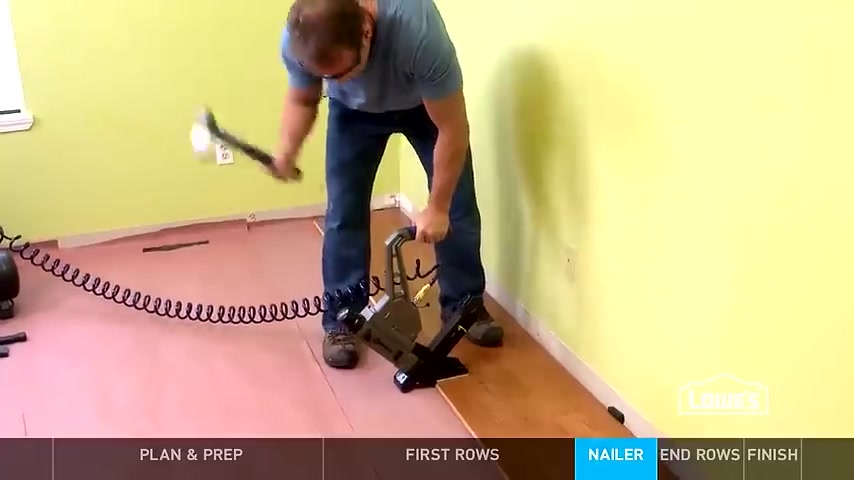
Spacing the nails , continue installing the rest of the floor staggering the joints and maintaining the expansion gaps , mix boards from different boxes .
So you don't have patches of similar color or grains cut around any obstructions like vents or columns .
When you get to the last few rows where the flooring nailer won't fit blind nail where you can for the last two rows , you'll have to face nail along the tongue side to fit the very last row cut the pieces .
Keeping in mind the expansion gap , use a pole bar to wedge the pieces in place , then face .
Now , if the last strip will be less than one inch wide , glue it to the previous row .
Finish up by cutting the excess underlayment , filling nail holes with wood putty and reattaching the baseboards and shoe molding , attach the trim to the wall , not the floor , then add the transitions and it's finished .
Solid hardwood .
Definitely adds a rich look to this room .

Want more great ideas and how to go to lowe's dot com slash how to or click .
Subscribe .
Partnership
Are you looking for a way to reach a wider audience and get more views on your videos?
Our innovative video to text transcribing service can help you do just that.
We provide accurate transcriptions of your videos along with visual content that will help you attract new viewers and keep them engaged. Plus, our data analytics and ad campaign tools can help you monetize your content and maximize your revenue.
Let's partner up and take your video content to the next level!
Contact us today to learn more.