https://www.youtube.com/watch?v=9RlbHGRtSfk
How to Install a Mailbox _ The Home Depot

Installing a post mounted mailbox is a simple diy project that adds great curb appeal .
Follow these tips to install your mailbox like a pro .
Here's what you'll need .
The US .
Postal service has specific requirements for installing a mailbox first mark a spot .
So the front of the mailbox sits 6 to 8 inches back from your curb , then set the height of your mailbox post using a posthole digger dig deep enough to hold your post .
42 inches above the ground including curb height .
The maximum U SPS approved height for a mailbox is 45 inches .

The Federal Highway administration recommends your post be made of yielding material like wood or steel that can bend or fall to the side if it gets hit .
If using wood , use a four by four inch support .
If steel make sure it's two inches in diameter , then insert the mailbox post into the hole , use support beams to prop the post up and keep it secure while you pour your concrete .
Follow packaging instructions to mix your concrete , pour it into the hole surrounding the post , leave a few inches of space at the top of the hole .
So the concrete isn't flushed with the ground's surface .
Check that your post is level and make any adjustments before the concrete begins to dry .
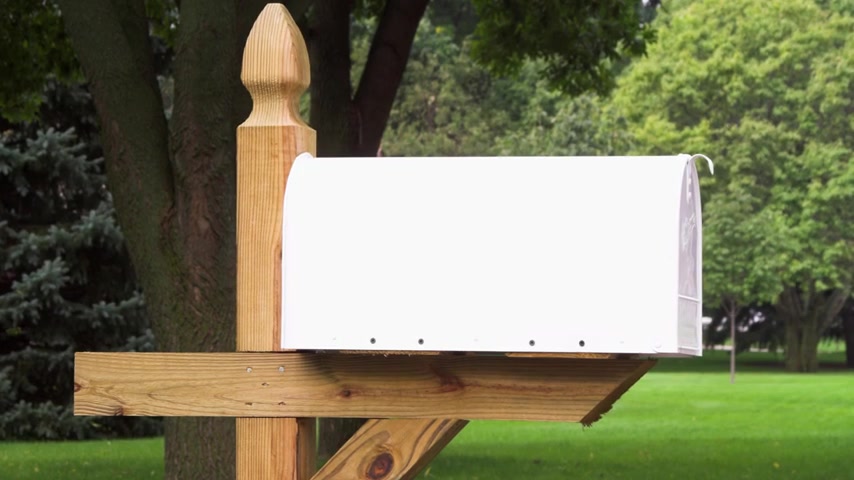
Once your concrete is fully dry , attach your mailbox to the post .

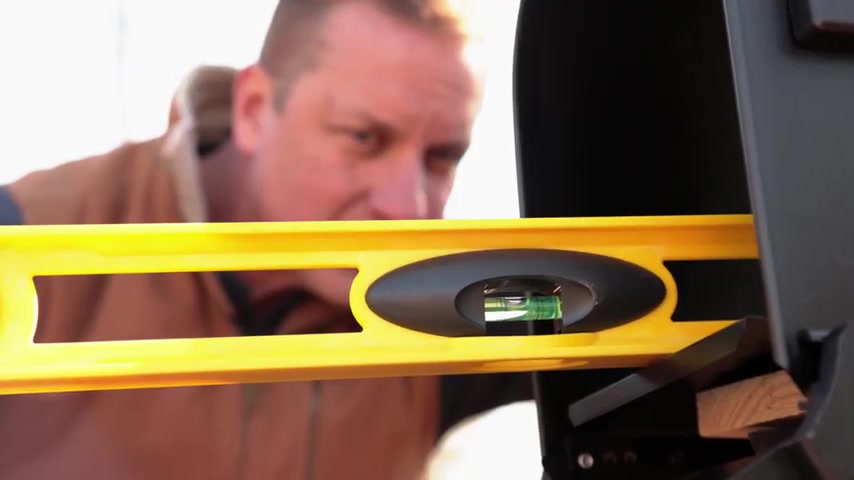
Following installation instructions , place your level inside the mailbox to make sure it's flat per U SPS standards .
Your mailbox has to be clearly labeled .
So make sure to add your house numbers or street address numbers should be at least one inch high to easily identify your address .
Now , dress it up , fill the last few inches of the post hole with dirt and plant grass or flowers .
You should regularly inspect your post mailbox to make sure it's standing up to the elements , check the hinges once a year and look for rust so you can repair as needed .
Good luck and thanks for shopping at the Home Depot .
Are you looking for a way to reach a wider audience and get more views on your videos?
Our innovative video to text transcribing service can help you do just that.
We provide accurate transcriptions of your videos along with visual content that will help you attract new viewers and keep them engaged. Plus, our data analytics and ad campaign tools can help you monetize your content and maximize your revenue.
Let's partner up and take your video content to the next level!
Contact us today to learn more.