https://www.youtube.com/watch?v=-DmVedGWAnU
2023-06-14 18:04:44
AMAZING FOCACCIA BREAD _ How to Make it in 6 Easy Steps
Is great .
If you're wandering into the world of bread making .
This video breaks down my recipe step by step .
So it's easy to understand and it produces a great loaf of bread .
I seriously think FAA is the gateway to the world of bread baking for a few reasons .
One because traditional FAA does not use a pre or a starter .
It's just a straight dough .
You add your flour , your yeast , water salt and olive oil .
You mix it all together .
Boom , you're done two because FAA is baked in a pan .
So you don't need any extensive knowledge of dough shaping .
None of that's required three .
It's a wetter dough .
So it doesn't require as much needing .
In fact , I barely need my dough at all .
Rather I use a series of folds which I will discuss later in the video .
Four .
Faca is the type of bread where it's perfectly acceptable to top it with whatever you want in this recipe .
I'm gonna use fresh rosemary , some garlic con and some coarse sea salt .
But when you make this just top it with whatever you want .
OK ?
To kick things off , grab a large bowl into it add 600 g or 4.5 cups of all purpose flour and a quarter teaspoon of dry active yeast .
Give everything a quick stir to distribute the yeast evenly and make sure to leave a well in the center of the flour that'll be for the liquids .
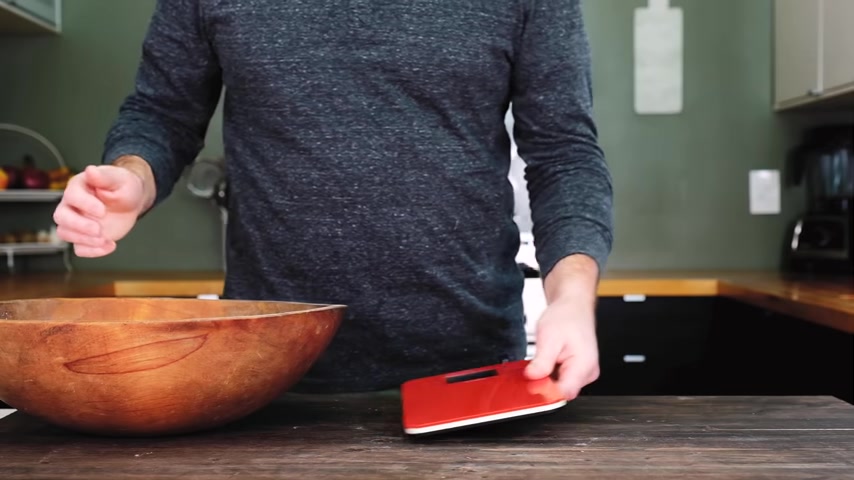
Now , go ahead and set those ingredients aside and grab another bowl .
Add 450 g of warm water and by warm , I mean , shoot for a target temp around 100 to 100 and five F too hot and you'll kill the yeast .
But if the water's too cold , then the yeast won't really activate .
Finish this step by adding the sea salt and then give the bowl a quick stir to help it dissolve .
Now , pour the warm salted water into the bowl with your flour mixture , then drizzle in two tablespoons of extra virgin olive oil , use your hands to stir the mixture together .
If you happen to have a stand mixer , that'll work too .
Just strap on that dough hook and off you go .
But sometimes it's good to get your hands dirty .
So that's the approach today .
OK .
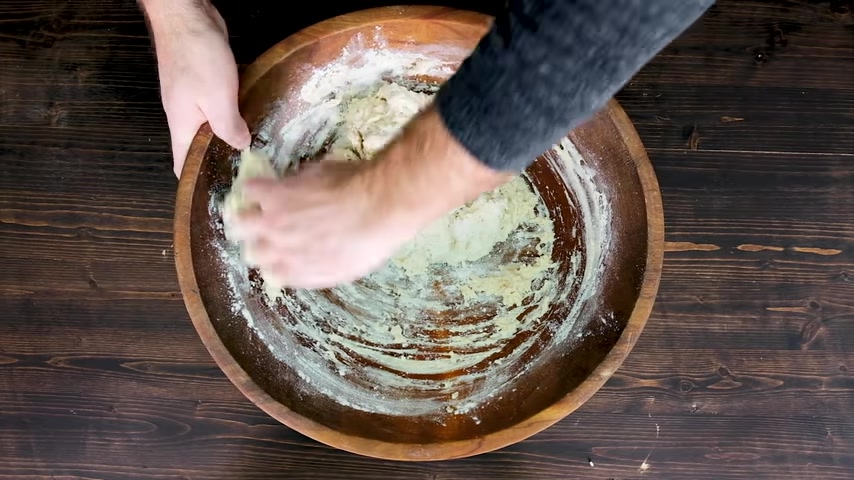
At first , the dough is gonna feel and look kind of shaggy .
But after a minute or so of mixing , it'll come together to form what will seem like a pretty wet dough .
See how I'm kind of pinching the dough with my index finger and thumb .
This is a great technique .
To incorporate ingredients without actually needing or handling the dough too much .
OK .
Now that we have everything evenly mixed together , it's time to transfer the dough to a lightly greased large mixing bowl , a plastic bench scraper with rounded corners on one side is the perfect tool for this step .
So go pick one up .
They only cost a couple bucks .
The hydration percentage for this dough is about 75% that's considered fairly wet .
So it can be tough to handle if you try to need it .
So in lieu of needing , I use a series of folds which introduce air into the dough .
It also helps to create gluten which will give the dough great structure .
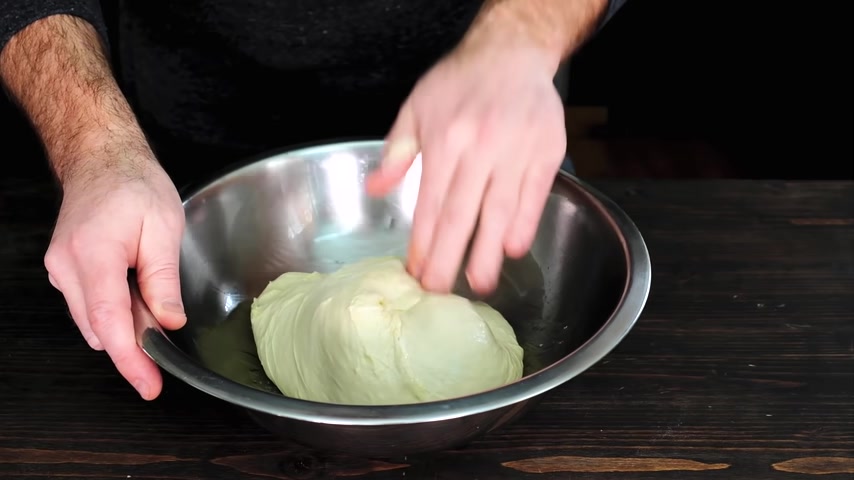
Grab a quarter to a third of the dough from underneath , lift up and stretch it until the dough resists fold it over onto itself and press down a bit to secure the dough in place .
Do this three or four times until you've completed a full turn .
Now cover the bowl with a wet towel and let the dough rest for about 20 minutes .
Then repeat the entire folding process three or four more times .
The dough is ready when it's smooth and silky and has some resistance when you poke it .
Now cover the bowl tightly with some plastic film because we need to let the FAA dough rest and ferment as a single mass .
This will be our first rise and it's easily one of the most important steps in bread making .
Once you have the bowl sealed , put it aside until the dough has doubled in size .
I'm doing an overnight bulk fermentation in my refrigerator .
Now , remember we're not using a starter or a pre ferment here .
So that additional fermentation time is gonna help develop more flavor in the dough gluten will continue to form overnight as well .
So that combined with the folding technique that should give us enough structure in the dough to support it for the second rise .
I usually make dough at night right after dinner .
Then I pull it from the fridge the following morning .
This is what the dough should look like .
It should have risen overnight , but the dough is still strong enough that it'll resist .
If you give it a few pokes , prepare a baking pan by greasing it with a tablespoon or so of extra virgin olive oil .
A nine by 13 inch pan is the perfect size for this recipe .
It's actually the same exact pan that I use for my Detroit style pan pizza .
So if you're curious about that recipe , I'll leave a link in the upper right hand side of this video .
OK .
If you have a dough scraper , grab it because you got to transfer that faca dough from the bowl to the pan .
You just lathered in olive oil , gently press the dough and stretch it into each corner of the rectangular pan .
If the dough's too tacky and it's sticking into your hands , just wet your fingers a bit .
That should solve the problem .

And occasionally I find that the dough can be stubborn and it just doesn't want to make it to each corner .
So don't force it .
Spread the dough out as much as you can without fighting it .
Then cover the pan and try again in 10 minutes or so .
Next cover the pan with a damp towel or some plastic film , whatever you prefer and leave it to rise a second time .
Ideally , the ambient temp should be somewhere between 80 and 90 F .
And it turns out that an oven with a light left on is the perfect environment for proofing bread dough .
This second proof is important for a few reasons .
One because it gives the yeast a second chance to produce more gas which will improve the crumb in the and two .
It allows the gluten to stretch out a little bit more which will trap those gasses and keep the dough from collapsing as it rises .
Pull the dough after it's been proofing for about an hour .
It should have risen but not quite doubled in height .
Then fill a bowl with some water and have it at the ready .
Then dip your fingers and begin dimpling the FAA dough .
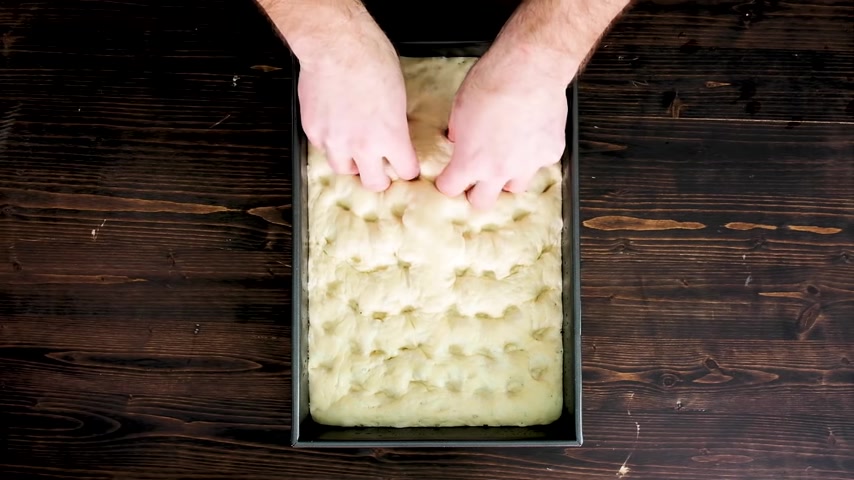
Press straight down to the bottom of the pan .
Don't be shy with this and work from one end of the pan to the other .
You can actually deflate the FAA dough if you're not careful here .
So keep dipping your fingers back into the water so that the dough doesn't stick to them .
Take that damn towel and cover the dough again , then stick the pan back into the oven and continue proofing the dough for another 45 minutes to an hour .
Check it again .
And at this point , the dough should have risen enough so that it fills about half to two thirds of the pan .
There should also be bubbles that are visible on the surface of the dough .
And if you shake the pan , it should jiggle a bit .
We're almost ready to bake .
But first , let's top the FAA with a few delicious things .
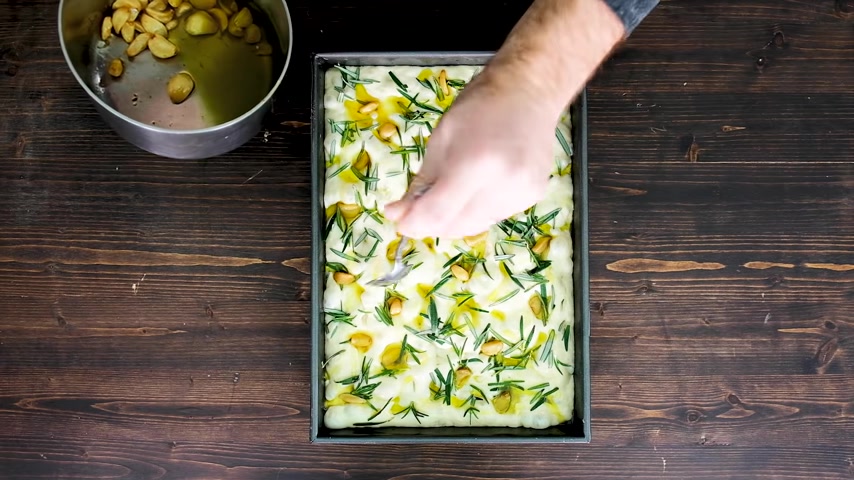
I've picked some fresh rosemary leaves from their stems and I'm just gonna Sprinkle them all around the surface of the dough from edge to edge .
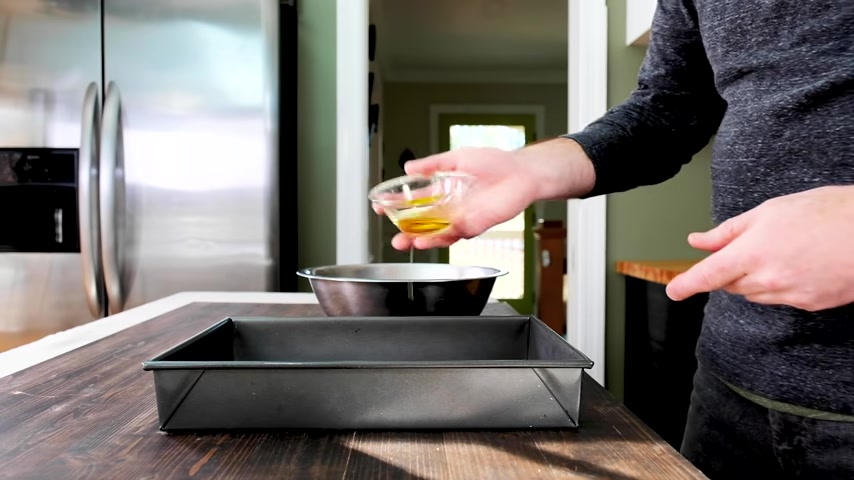
I'm also gonna add some garlic con .
Now this sounds fancy , but it's really not .
All I did was submerge garlic cloves and olive oil .
And I cooked them over very , very low heat for about 30 minutes until they're tender .
And that is it .
I added about 20 or so cloves here and I gently press them into the surface of the dough .
Don't forget to add a hefty drizzle of that garlic infused oil as well .
Oh , and I almost forgot I always finish off each faca with a few fat pinches of coarse sea salt .
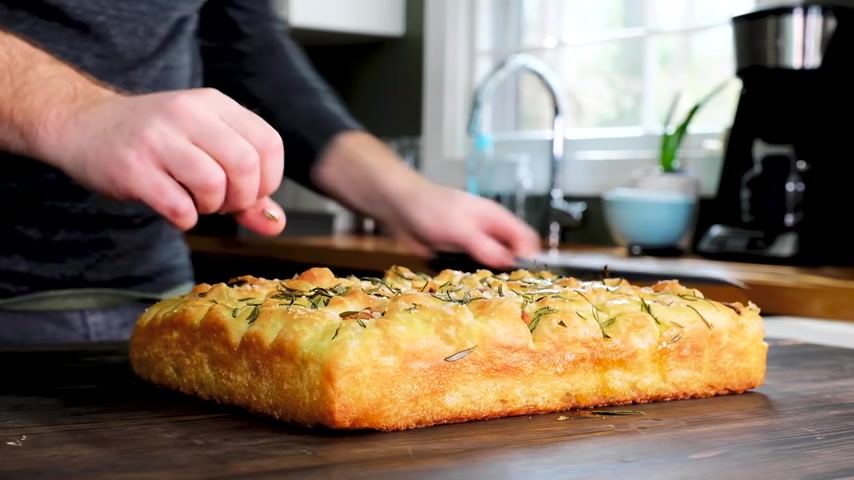
Now , bake your , on the middle rack of a preheated 450 degree Fahrenheit oven for about 15 to 20 minutes .
And when the internal temp hits 100 and 90 degrees , you should have a bread that looks something like this .
Carefully .
Pop the bread out of the pan and onto a wire rack .
It'll be hard to resist .
But you're gonna want to let it cool off for just a few minutes while it's still warm though .
I like to drizzle some good extra virgin olive oil all over the top of the .
I mean , the bread's gonna soak it up but it just makes it taste that much better .
All right , I'm gonna cut the bread in half and take a look at the interior .
Now should have a moist and airy crumb to it and the inside should be kind of springy .
There should be plenty of air holes throughout the bread and mine are typically smallish to medium in size and that's fine .
I mean , no one's ever filed a complaint with me .
The bottom top inside should be golden brown and a little crispy straight out of the oven .
Now , I've been staring at this for about an hour .
So it's time for a slice .
Another splash of olive oil and a final pinch of salt and I am ready to dig in .
I hope I did a good job of explaining the FAA making process to you .
If so hit me with a like and consider subscribing to my channel .
If you haven't already , if you have any questions , feel free to hit me in the comments below .
I will get back to you ASAP .
Thanks so much guys .
Have a good one .
Partnership
Are you looking for a way to reach a wider audience and get more views on your videos?
Our innovative video to text transcribing service can help you do just that.
We provide accurate transcriptions of your videos along with visual content that will help you attract new viewers and keep them engaged. Plus, our data analytics and ad campaign tools can help you monetize your content and maximize your revenue.
Let's partner up and take your video content to the next level!
Contact us today to learn more.