https://www.youtube.com/watch?v=DMORpDWq-q8
2023-06-14 18:04:25
DIY Elevated Garden Bed
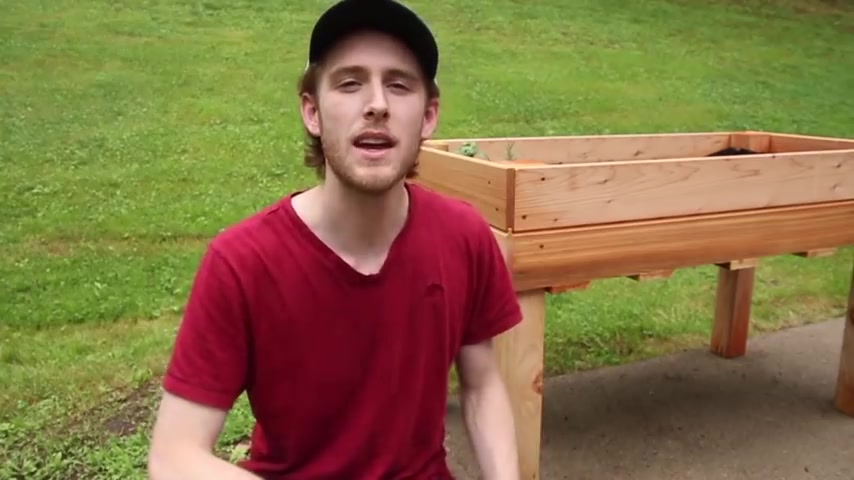
It's that time of the year again where we start planting our gardens , maybe you don't have space for a full garden where you're at .
So , in this video , I'm going to show you how I made this really simple elevated garden bed .
Let's check it out .
What's up ?
I'm Mitch .
And you're watching made by Mitch where I show you the things I make and what I learn , making them in this channel .
I make videos to inspire you to make the things that you want .
So if you're new , consider subscribing , I've been wanting to make this planner box for a while now and now that it's officially gardening season where I live , I figured it was time to jump on it .
This project , I'm using one by six cedar boards and these are actually tongue and groove paneling boards .
And the reason I chose cedar was because it resists water a lot better and doesn't rot for the four by four post for the legs .
I did use Douglas Fur .
Now this will rot , but I figured I could just change it out after a few years .
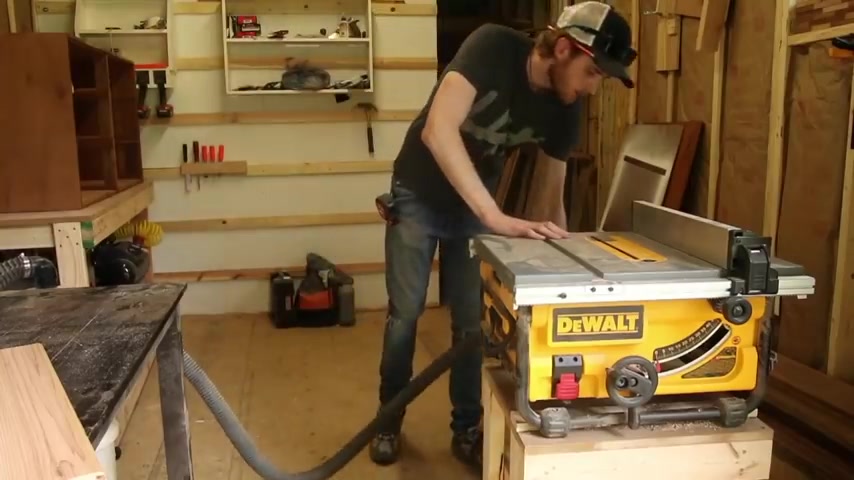
If it's getting too bad , what you've seen me do so far is just cut all the boards to length .
And for the four by fours , it was a little bit tricky .
What I did was I marked each side where my cut needed to be .
And then I ran the circular saw over one side .
I flipped it over and then repeated the same thing on the other side .
And a couple of them were a little bit off .
I just had to clean it up with some sand paper , but it worked out .
All right , after everything was cut to size , I wanted to clean up the cedar boards a little bit because they were tongue and groove boards .
I cut the tongue off of the top board and then I cut the groove off of the bottom board that way on each side , it just looked like a flat surface .
And some of my favorite people in the world brought me iced coffee .
This is awesome .
Next , it was just time to start assembling everything together .
So I used the clamp to hold the boards in place and then a speed square just to make sure everything was level .
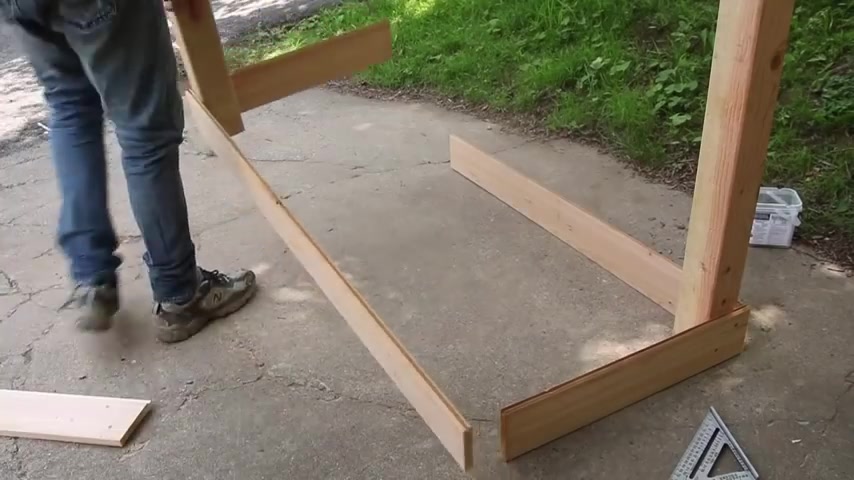
And then I pre drilled and used two inch screws to attach the boards to the posts .
I did this in two corners making two L shapes and then I just put them together and then added the remaining two posts in place .
And then I just went around and attached the first row of boards , all the way around , making sure with the speed square , everything was leveled the whole time .
Once the first row was in place , I just went around and added the second row and it was kind of nice that it was tongue and groove because I didn't have to hold these boards up and drill them in .
I could just put them in the groove and then go around and pre drill and screwed all of them into the posts .
I did get another piece of cedar that was just one by four and they attached to this on the bottom of the planner box just to help hold some of the weight of the dirt that I would be putting in there .
And I ran out of , of one by four that was cedar .
So I had an extra piece of pine that I put in place that worked just fine .
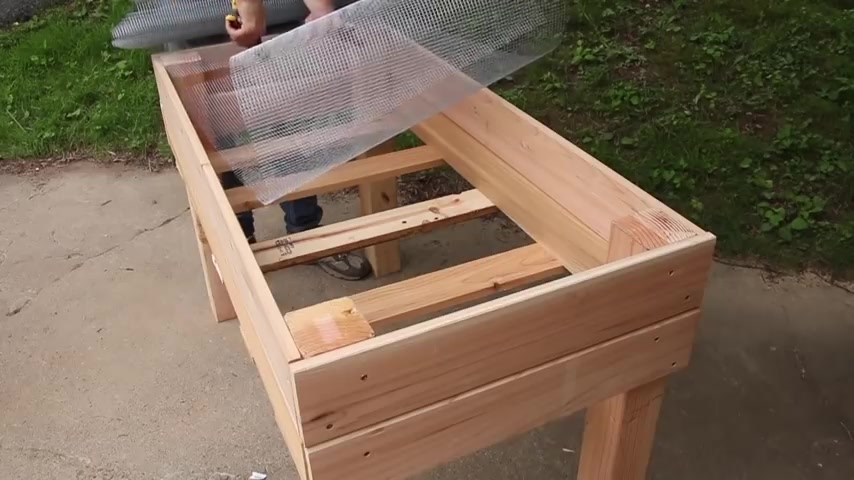
Next , I added a piece of steel fencing and the bottom that way it would hold some of the weight of the dirt .
I picked a roll of this up at my local home center and I got the smallest wire that I could find .
I believe the holes in this are a quarter inch apart .
The next thing I did was cut out holes for the corners to go in and I had to just really work this wire and get it to where it would fit .
Right .
I just kept going until I got it where I liked it .
And then once I did get it in place , I used the stapler to tack it in place .
Next , I use landscape fabric to line the bottom of the box and then I could fill it up with dirt .
I tried to make sure that when I was adding dirt , I was putting it on top of the fabric .
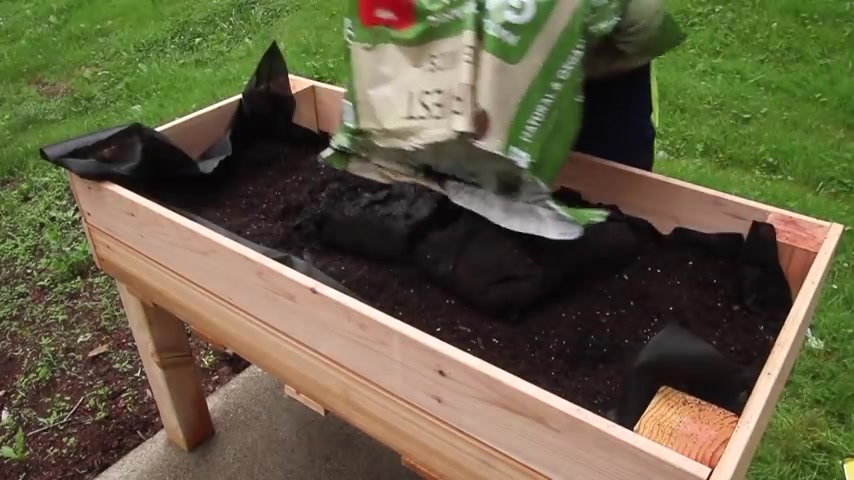
Otherwise , your dirt is just gonna fall right through the steel wire .
Initially , I was gonna add three bags of dirt to this .
But after adding the second bag of dirt , I think three would have been too many for the size of a garden bed .
Now , we're using our garden bed for mainly lettuce and kale and then some different herbs .
But you can use this for anything that you want .
You could plant flowers in this , you could do herbs , you can do lettuce , whatever it is that you want to plant in this garden bed .
This will work for anything .
Well , that's it for this video .
I hope you enjoyed it .
If you did enjoy it , hit that like button and if you haven't yet consider subscribing , I have a lot of other projects like this that are really simple on my channel .
I'll link those in the description below if you want to check those out .
But that's it for this one .
Thank you so much for watching this .

We'll see you in the next project .
Partnership
Are you looking for a way to reach a wider audience and get more views on your videos?
Our innovative video to text transcribing service can help you do just that.
We provide accurate transcriptions of your videos along with visual content that will help you attract new viewers and keep them engaged. Plus, our data analytics and ad campaign tools can help you monetize your content and maximize your revenue.
Let's partner up and take your video content to the next level!
Contact us today to learn more.