https://www.youtube.com/watch?v=vArGJLLdWh8
How to Solve the 4x4 Rubik's Cube (Tutorial - Learn in 25 minutes)
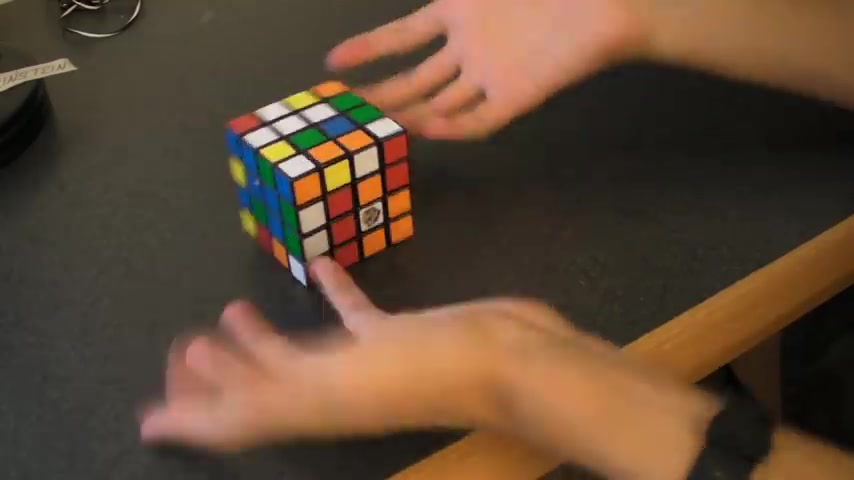
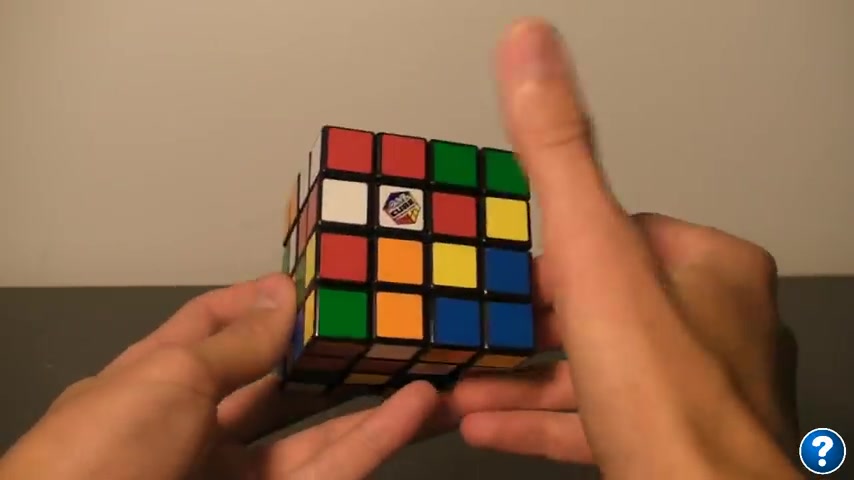
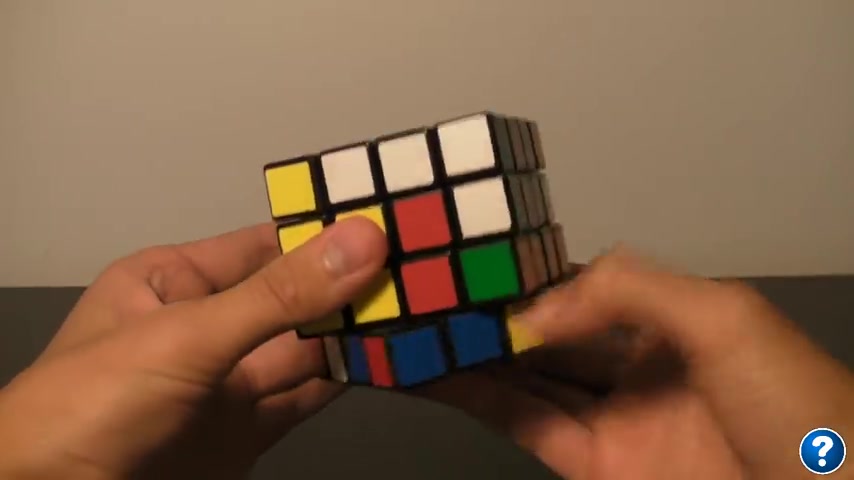
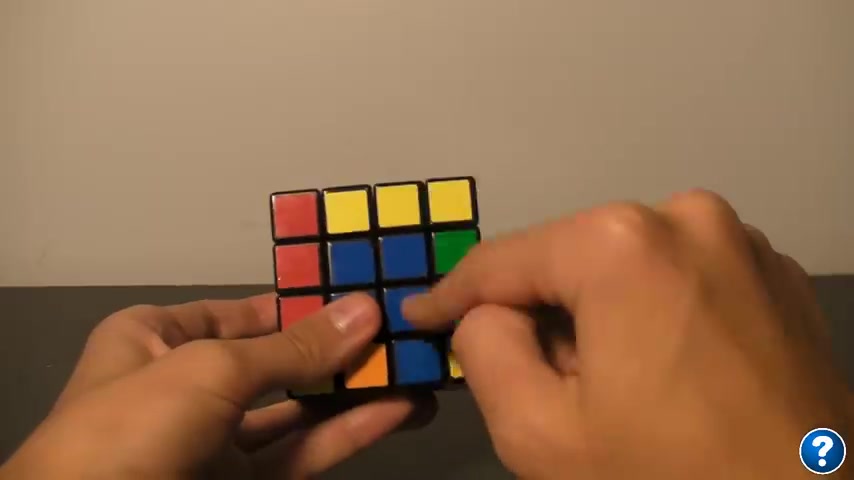
Oh , you finally got yourself a Rubik's revenge .
And after staring at it for a few hours , you decided , man , what's the worst that can happen after trying to solve it for another hour , you decided you were screwed .
You've tried twisting it , turning it , sitting on it , juggling it .
You've even tried taking it apart and then putting it back together , which was surprisingly effective but still lame .
So you decided to mix it up and look for a video that would actually help you solve it .
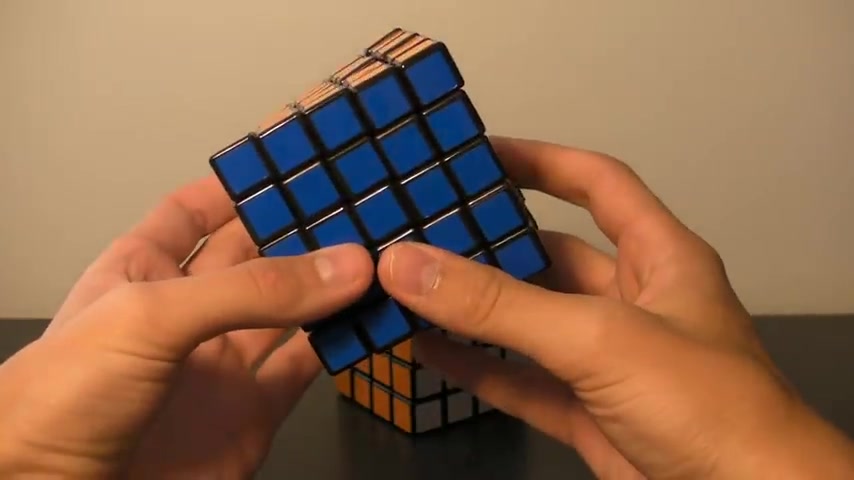
Luckily you don't need to look further because this is the video for you to grab your cube and let's roll images from sequence .
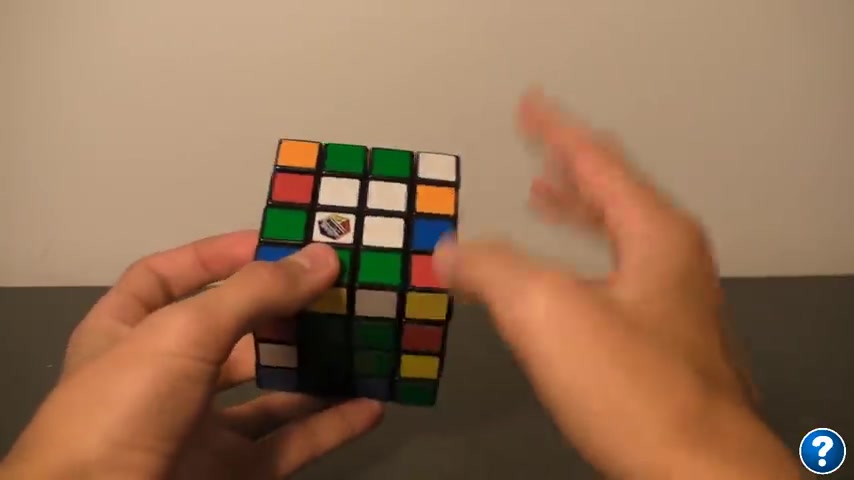
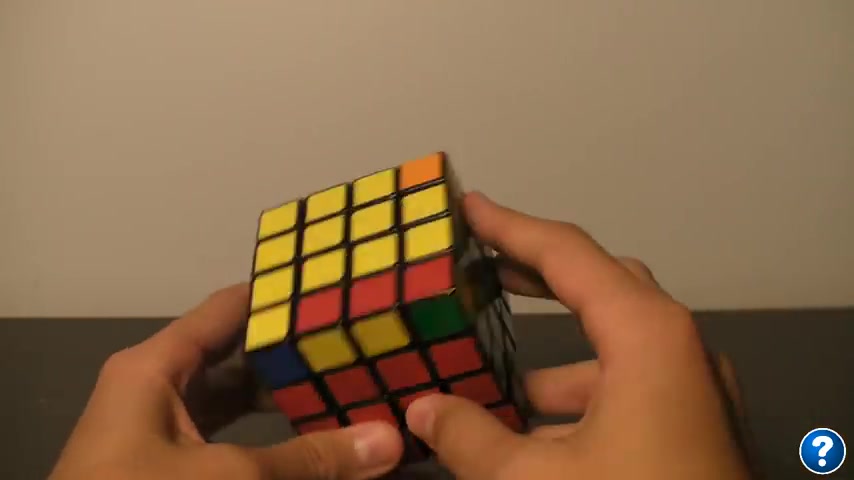
What's up Cubers and welcome to the simplest tutorial on the four by four Rubik's revenge .
And before we get into actually solving the cube , I wanna make a couple of things clear .
First of all , you really want to make sure you know how to solve the three by three Rubiks cube before you get into doing this .
If you need to brush up on those skills a little bit , you can go visit my original tutorial .
But the safest bet is if you can solve the three by three in under three minutes , then you can go on to the four by four .
Otherwise you need to patch up on your skills because this tutorial is going to be almost full intuitive .
And you're going to need to know how these twisty puzzles work and sort of the understanding of the 3D manipulations that you can do with this cube in order to actually understand what's going on with this one .
Secondly , this is going to be a crash course on the four by four , Ruby's revenge , just like my original tutorial was on the three by three , meaning I am going to go a little bit quickly in some spots .
If you do find that I'm going too quickly and you're missing some stuff or you want a little more in depth discussion on the different things that I'm doing .
Feel free to click that help button at any point and whatever portion of the cube I'm solving that button will redirect you to a video that will actually explain in more detail what I'm doing , you know .
So if I'm going a little bit too quickly and you get lost , feel free to click that button and it'll bring you to an additional help video .
Speaking of which if you don't have annotations enabled , that'll make it a little bit more difficult .
But every annotation that links to another video has its link in the description below .
Other than that , let's just get started So the four steps of the tutorial are going to be learning the basics , building the centers , building the edges and then solving the cube as a three by three Rubik's cube .
So if at any point you want to skip to those portions of the video , feel free to click those links at any time .
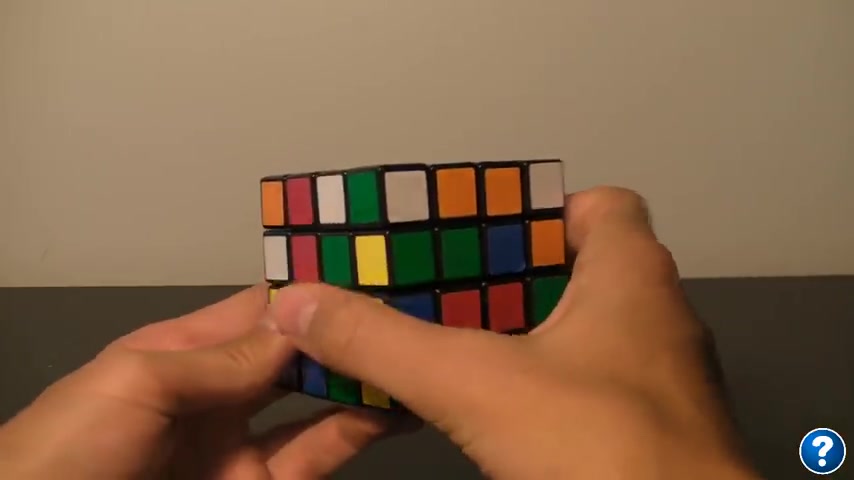
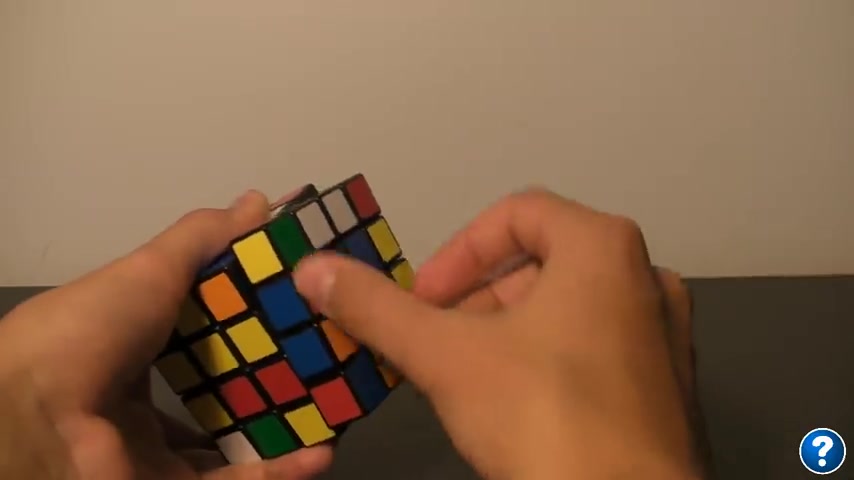
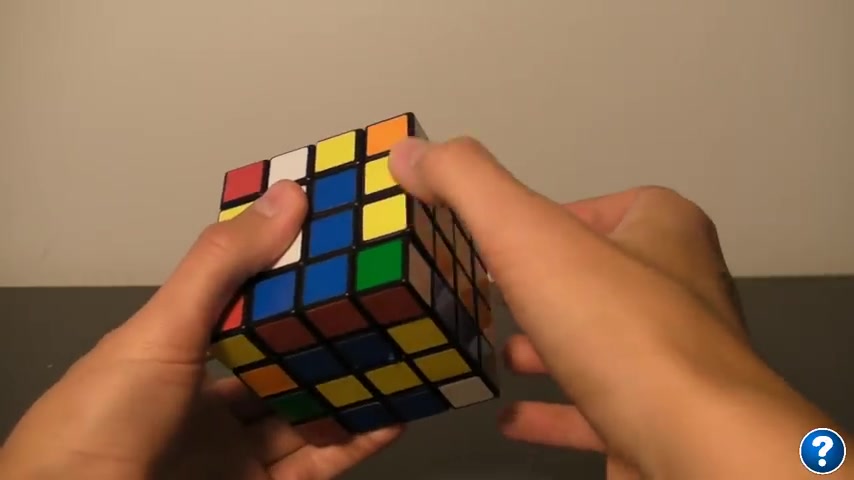
So before we actually get into learning how to solve this cube , we should know the basics how this cube is structured and how it's different and similar to the original three by three cube .
So as you'll notice uh the only difference with the four by four compared to the three by three is that the four by four actually has a middle layer that's comprised of two layers .
And so what what that means is that this cube is actually the same thing as this cube except its center pieces are composed of four pieces and its edge pieces are composed of two mini little cub .
OK .
So what that seems to suggest is that if we're able to build these centers and then build these edges , we can actually solve this like a regular three by three cube provided we solve for little errors like parodies which only occur in a four by four cube , which I will cover in the last step of this tutorial .
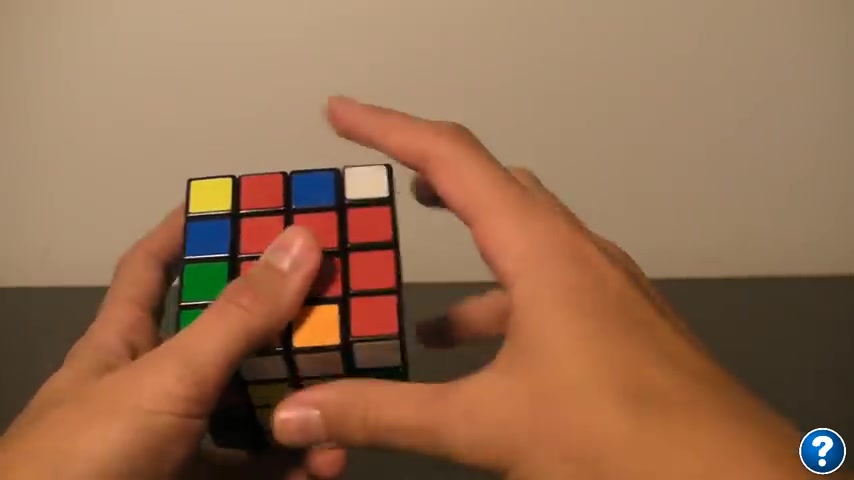
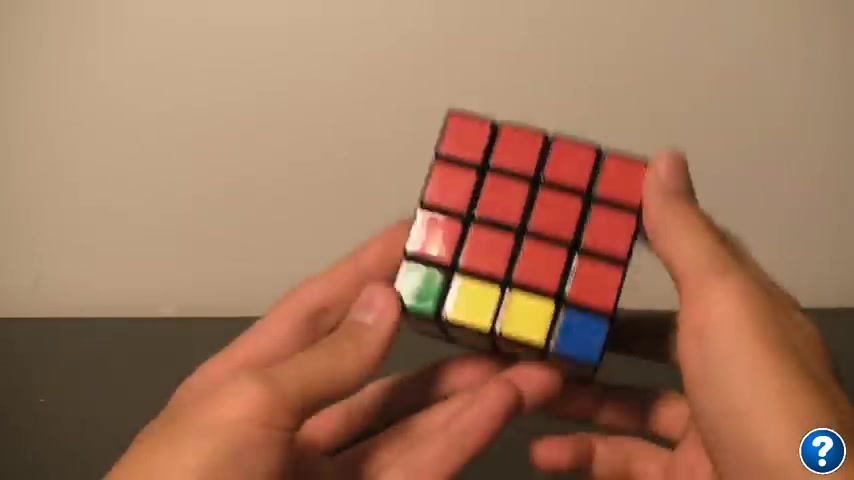
Other than that the basics are pretty much the same uh centers have one edges have two colors and corner pieces have three colors I mean , pretty much the same thing as a three by three except whereas in the three by three , the centers are all stationary where red is opposite , orange and yellow is opposite , white and blue is opposite green .
On the four by four , we can actually move those centers around really easily .
And so that's going to present us with a little bit of a problem when we get into solving those centers , but I'll be sure to cover that in this tutorial .
Other than that , the four by four and the three by three are pretty much similar .
And that's why I can really cover most of the stuff involved with the four by four in the next 15 minutes .
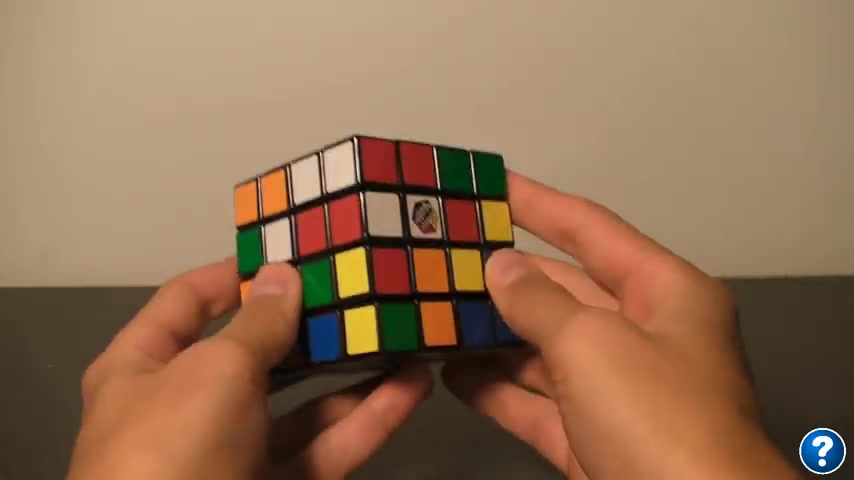
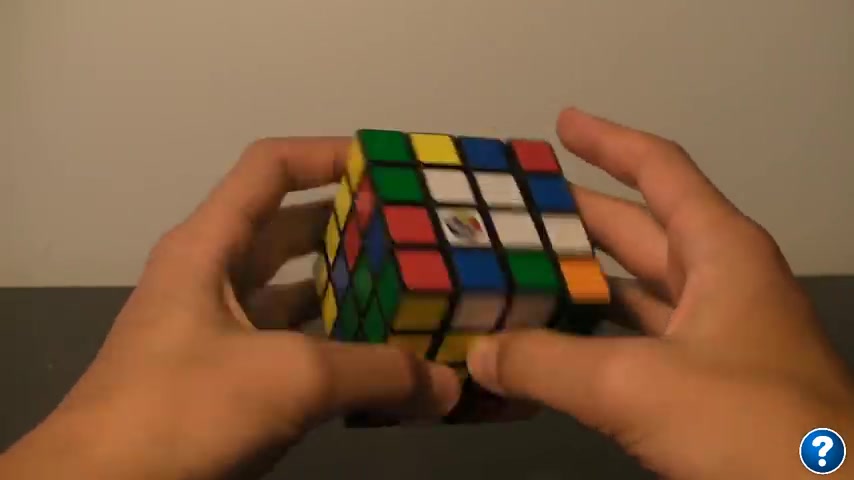
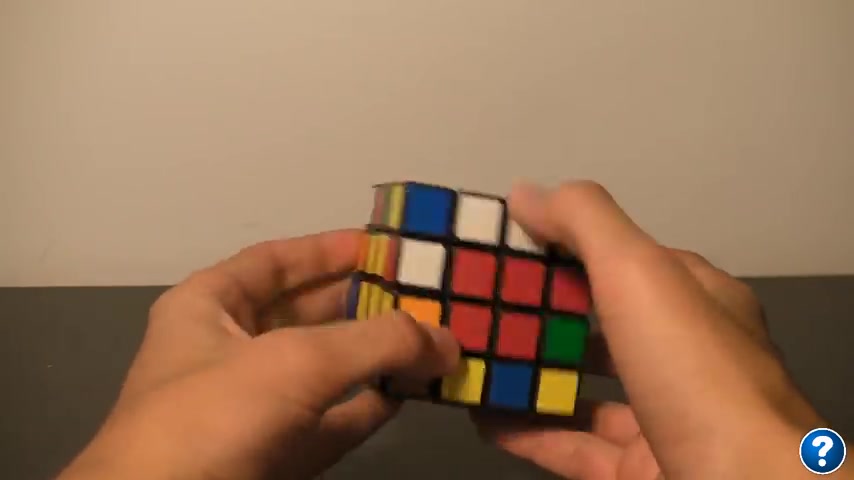
So let's give this you a little mix up and get right into it .
All right .
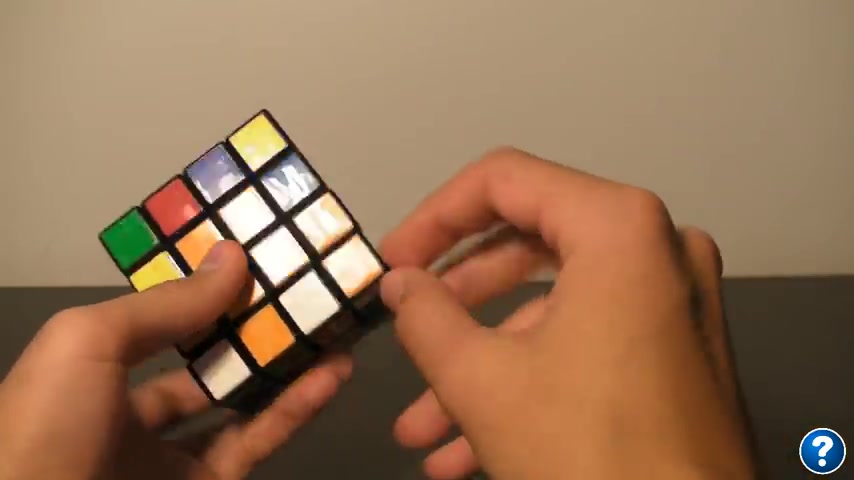
So I've given my cube a mix and we're ready to get right into solving this cube .
Now , what we're gonna do is we're going to solve the first center , then the opposite center , then the first middle layer color , then the second middle layer color and then the last two middle layer colors .
So those are going to be the steps over here .
You can skip to those at any point if you wish .
And then the steps to actually solving every single center are gonna be identifying the squares , building the lines and then connecting the lines into a square .
OK .
So let me tell you what that means .
Let's just go on to step one and solving the first color .
Now , from my original three way three rou tutorial people told me that they prefer to begin on the white color instead of the green color .
So for this tutorial , I'm actually gonna use white as my starting color .
You can follow along with any color that you please .
Uh but using white will probably make it a lot easier for you .
Ok .
So step one is to find the little squares .
And so what you wanna do is you want to find two little white squares like this that are hopefully perpendicular to each other on perpendicular faces .
So you see how these two faces are perpendicular and these two squares are on those faces .
That's what you're looking for .
It's fine if , if they're parallel to each other .
So if this piece is right here and the other white piece is on this side , that's also OK .
But if you can find something that's perpendicular , that's gonna be the best option for you .
And most likely you will be able to find two squares that are perpendicular .
Now , what we want to do with these two little squares is we want to connect them into a single white line because the way we build a block is we connect these little squares into lines and then we connect the two lines together into the full block .
So as you can see intuitively to connect these two squares together if this is in the top left , then we want to take this and put it into the bottom left .
So if we just give this face a turn like that , a single turn , now this is in the bottom left and this is in the top left and we can just slap those together into a single line .
OK .
So that's step two cover .
Now we go back to step one for the other two little squares .
So we have this little square and this little square .
So what happens is now this one again is in the top left and this one is in the bottom left .
So these two are lined up , but a lineup also works .
Maybe if this is in the top right and this is in the bottom right , you know , uh and you can do the same thing if they're on opposite sides of each other .
So if this is in the top right here and this was in the bottom right here , you could connect them together and make your line .
But the reason perpendicular is better is because the visualization is a lot better .
You can see both colors at the same time and actually see how they're going to be connected .
Another thing to watch out for is when you're building the second line , as you can see when we go to connect this second line , we're doing this motion of the top two layers .
And if your previous line was vertical like this , it would actually fall into this range of motion .
So you want to make sure that when you build your second line like this , you're not breaking your first line .
So you want to move that first line out of this range of motion either into it like this or out of it .
I prefer to go out of it , but it doesn't really matter as long as it's horizontal along this range of motion .
So uh we take these two little squares , we combine them together and making sure that we don't ruin our first line .
And now we have two lines , one is vertical and the other is horizontal .
So what we can do naturally is since this is on the bottom , we can take this and put it on the top .
And now these two , this one on this side and this one on this side , yours might be perpendicular either way .
If one of them is on the bottom , one of them is on the top , you can just slap these two together and build your first block .
Once again , if this is going a little bit too fast for you , feel free to hit the help button and you'll see a more in depth discussion of how to solve a center color .
OK .
Now we move on to step two , which is solving the opposite color on the bottom .
Now the standard cube color is white is opposite , yellow , blue is opposite green and red is opposite orange .
But if your cube coloration is a little bit different , you want to make sure you actually know what that is .
But in my case , since this is white , this is going to be yellow .
Now moving stuff into the bottom layer without ruining the top is a little bit tricky , but it's not too difficult .
So say hypothetically , I want to take this yellow dot and move it down into the bottom layer .
So I could simply do that .
And there it is .
However , what that does is that breaks the top layer and that's not something we want to do .

So we want to learn this simple move to throw stuff down into the bottom layer so that we can employ that move later on to build our yellow block down here .
So the way we do that is if we want to take this yellow square and move it down into the bottom layer , we can move it down and see again this concept of the range of motion , we're performing this motion with the full right side of the cube .
And so if we , once we bring it down here , if we move that out of the range of motion and lift this right back up , then we have maintained this white block , but we've moved this little yellow square down .
And so this is going to be a useful little tactic to move squares lines and other stuff down into the bottom layer or back up into the top layer just to move something down , move it out of the range of motion and lift it back up .
And that , that blue square is down here , you know , so you can bring anything down to the bottom layer using this strategy .
Now take a look at your middle layers here and find two little yellow dots such as this one and this one .
So this one is on the bottom left and this one's on the bottom , right .
So we do the same thing that we did for the white side .
If this is on the bottom left , we can take this and turn it until it's on the top left and then we can just slap them together like this into a line .
And now if you want to bring that line down to the bottom layer , what we can do is what I just showed you , we can just take this , bring it down into the bottom layer and see this is the range of motion that we're performing .
So if we bring it down and move it out of the range of motion , you see it's no longer affected by this because we did that face turn , what we can do is we can just lift this up and now we've got our block and our line .
OK .
So that was easy enough .
But now we have this little square here that we actually want in this layer up here .
So what you might want to do is bring this up .
So you do the same thing , but in reverse , you lift this up like that and then you move it out of the range of motion and bring it right back down .
So now you have your yellow square in the middle layer just like this other yellow square .
So this is a on the top left .
So we want this on the bottom left like so like that and like this and then what we can do is we can just turn this twice and they'll connect into a yellow line .
Now , for this last part , when you stick this yellow line down to the bottom layer , the intuitive part would be to just line it up like this into this lot , bring it down , put it down the range of motion and lift it back up .
Unfortunately , even though you got your line down there , you brought out the previous line .
And so that poses a little bit of a challenge .
How do we go about solving this challenge ?
Well , instead of putting them opposite to each other like on the left and on the right , because all that's gonna do is just reverse the situation and not accomplish anything .
We want to put them in a line .
So you want your yellow line , if that's on the left , you want this to be on the left and if yellow is on the right , you want yellow to be on the right .
So you want them to be in one line like this .
Because what that's gonna do is when you bring it down and move it out of the range of motion , when you lift this right back up , these are gonna connect and so your white is connected and your yellow is connected and we're ready to move on to step three , which is solving the first color of the middle layer .
So when we solve the first whole the middle layer , we want to pick a color that's pretty much completed .
I actually like this orange right here because we've got a line .
This L shape is a little bit weird .
So if you can find a line of some color that's gonna make your life a lot easier .
And now we can just go ahead and finish this orange color .
So we have an orange dot here and an orange dot here .
So this is bottom , right ?
And this is top right .
So all we need to do is just move this like that and we've got our line .
So we have this line and fortunately we haven't broken this line .
So this is horizontal .
This is vertical .
We can just give this a little turn like that to make it horizontal and slide them together .
OK .
So all I did was same thing I did for the white just inside of this layer .
I connected my little dots and I slapped the two lines together .
Now we build the second color and this is gonna be a little bit more tricky because it's sort of along the same lines as the white or yellow uh type of deal .
And it's also a bit tricky because we're not sure whether this is supposed to be green or blue and you don't want to solve the opposite color .
We don't want to make red just yet because that's gonna make everything nightly difficult and we just wanna keep them perpendicular .
OK .
So to find out what color this actually has to be , you can either refer to a regular three by three Rubik cube or you can memorize your color pattern or you can use this little simple trick that I'm about to show you .
Uh So when you have your white and your orange or whatever two colors , these are , you can find a corner that has those two colors such as this white , orange green and do a couple of turns to position it in such a way that the white piece of the corner is in the same face as the white center and the orange piece of the corner is in the same face as the orange center .
And then this color will reveal to us what center this must be .
So now we know that the right side has to be green and the left side has to be blue since we already have a blue line .
We might as well just build the blue over here on the left side , but you can build whichever one you want .
So , so let's just get right into it .
So we have our blue line , we have these two blue dots that's gonna make everything a little bit more complicated because we actually have to break up these blue dots before we can connect them into a line .
So to break up these dots , we'll have to move this dot away like this .
But what that's gonna do is it's gonna break this blue line .
So we wanna , we wanna check this range of motion here , which is these two top layers .
We want to move this blue line out of that range of motion .
OK ?
And so now we can just easily disconnect these two dots .
However , when we do do this , we're also gonna be breaking this orange block here .
So once again , we want to do the same thing that we were doing when we were building our yellow is when we break it up , we want to move what we just took out of the way out of the range of motion .
So this this blue dot that we're breaking up like this .
In my case , when we break it out like this , you see our top two layers are the ones that move .
So we want to move it , move this blue dot out of that range of motion and then reverse what we just did and that ensures that this orange thing that we built is not broken .
OK ?
So now we have these two blue pieces and we want to connect them into a line .
So this is on the bottom left .
So this can be on the top left .
And now once again , we connect them .
But in order to not break the orange over here , we want to connect them and then move this line out of the range of motion and then reconnect the orange .
OK ?
So hopefully that makes sense .
What I'm trying to explain here is that whatever motions you do here .
Now , you also have to reverse them to make sure that you don't break this orange piece just like everything we did with the yellow .
We wanted to reverse to not break the white block .
OK ?
So we have our blue line and our blue line line .
And once again to do a simple check , we have our corner here so we can twist this like that and we can see that this is white , this is orange , so this has to be blue .
So our blue square has to be here .
So we move the first line into where it's supposed to be .
So the blue is going to be here .
So we move the line in here , move it out of the range of motion and then reverse the motion that we just did in order to bring back this orange .
So now we have our blue line exactly where it's supposed to be and we have our other blue line here .
So once again , if you do , if you put this on top and you put this on bottom and you try to connect them together , move it out of the range of motion and then reverse what you just did .
That's of course , going to preserve the orange , but that's not gonna do anything for you with the blues .
So same thing that we did on the yellow face .
Uh if this is on top , we will also want this to be on top .
And so once they're in a line like this , so once they're both on top , we can do the same thing that we did to build this yellow square , which is , we move the blue into position , we move it out of the range of motion and then we reverse what we just did and there it is , we have our blue block on the left of the orange block and now we have the final step left , which is this red and green .
And this is probably the hardest configuration I could find myself in which is this two diagonals thing , but it shouldn't be too bad .
So let's take any two of these squares , let's just take this one that's in the top , right ?
And this one move it to the bottom right here like that .
OK ?
And then let's just connect them , move them out of the range of motion and then reverse .
Ok .
So what that did was it built me one green line and one red line .
Now I have these two guys left .
So this will be in the top left .
This will be in the bottom left like so and we can just connect them , move it out of the range of motion and then reverse what we just did .
OK ?
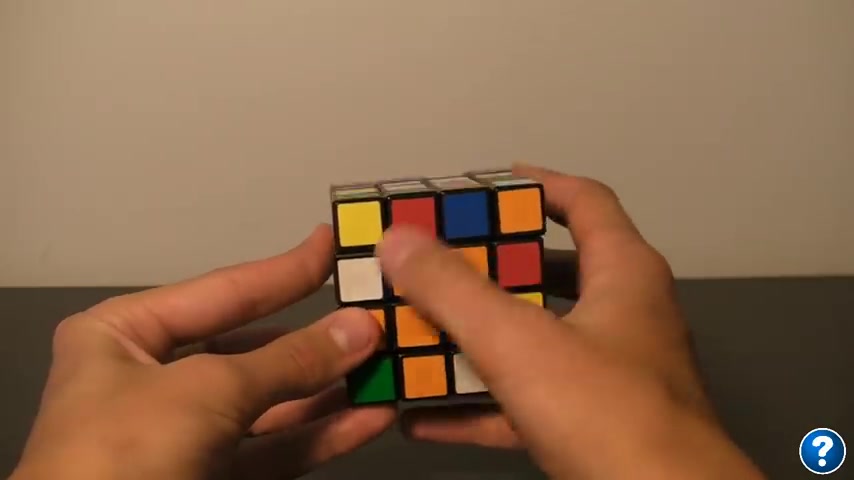
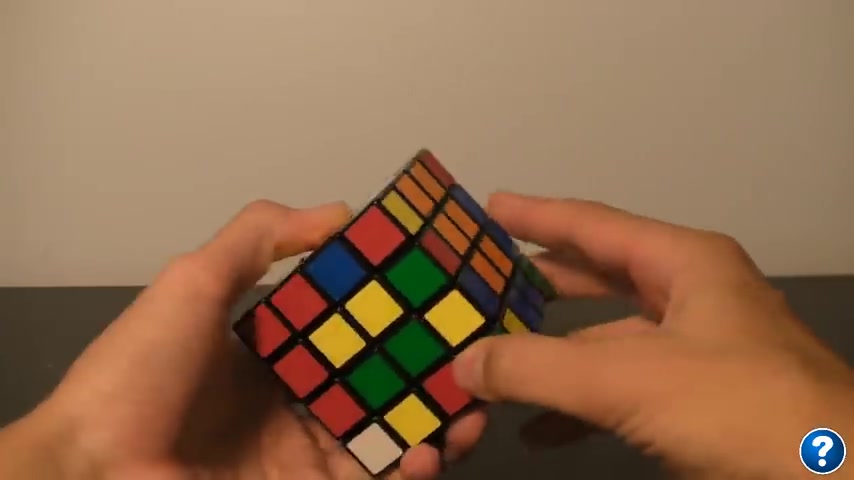
And now we have our red line , red line , green line , green line and we have our blue , orange , white , yellow .
So orange is here .
So red must be here and blue is here .
So green must be here .
So this is green , this is red .
So to build this green face again , we don't want our greens to be opposite each other .
We don't want it to be left and right because that's not gonna work out .
They have to be in a line like this .
And so we do the same thing that we did when we built the yellow , we just bring this green down , then we move it out of the range of motion and we lift it right back up and our green block is complete and so is our red .
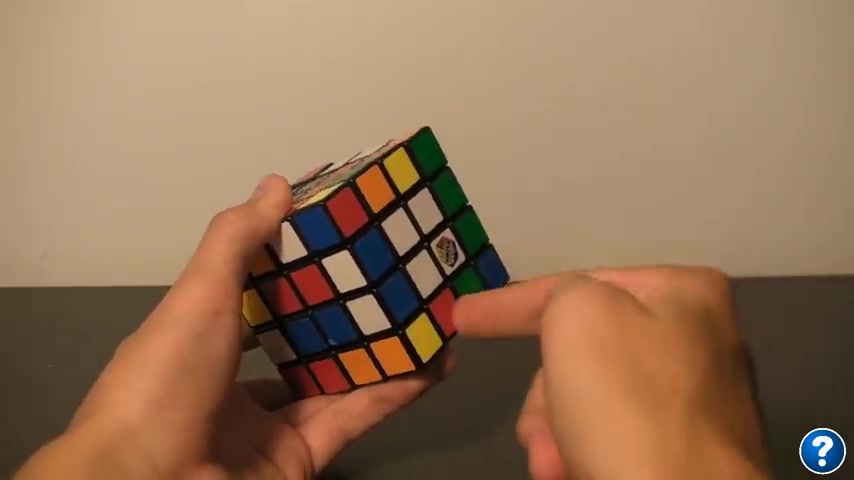
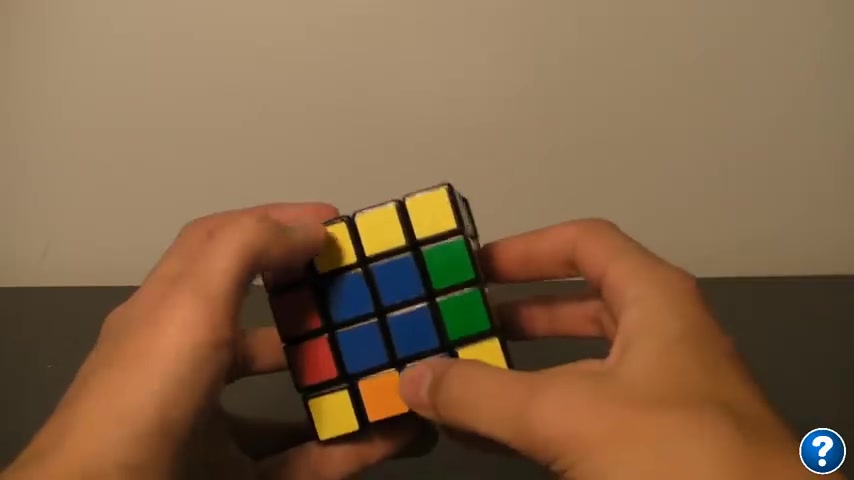
And in fact , all of our colors are complete and we're ready to move on to building the edges .
All right .
So now we're ready to build the edges of the four by four roots revenge .
And when we do this , we're pretty much gonna be doing the same exact pattern over and over again until we finish all of the edges .
But there's still a couple of steps , especially in the very end that are a bit tricky and I'll just show them all to you .
So the first part that we're gonna do is we're gonna build all four of the first color edges in my case , white .
So all four of the white edges , then we build all four of the non yellow edges and then we make sure that we have one single yellow edge completed and then we do the final step .
OK ?
So that shouldn't be too bad .
Now , the way we build an edge is we find the two little edge cubs , we connect them , we replace them with garbage and then we make sure that we didn't break anything .
OK ?
So what that means is , let's say I want to build this blue white edge , but you can pick white , blue , white , green , white , orange , whatever you want , just something with white .
So I have the white blue here and the white blue here .
And so the trick to this is once we found our two cubes , we have to align them in such a way that they fulfill three requirements , they must be in the same face .
So in the same rottable face like this , they must be on opposite sides of that face and they must also be flipped according to each other .
So if this one has white facing up , this one has to have blue facing up .
So in this case , what we can do is if this white blue is here and this white blue is here , they're opposite , but they're not flipped .
So I can just move this over like that , turn the face this way and then lift this right back up .
And what that does is that gives me this one here and this one here and they're opposite but flipped .
Now , this is the reason why I told you you really need to know how to solve the three by three because this requires a lot of spatial thinking and sort of understanding how the cube works in order to learn how to put these opposite and flip to each other .
Intuitively .
If you want a couple of examples of how to do that again , you can click the help button .
Otherwise I think we're good to go .
Now , the reason we want to put these opposite and flipped is that we can connect them thus .
OK .
So everything edge piece is going to be connected in this way .
So just like when we were building the centerpieces , we want to make sure that we reverse the motion that we're doing .
Otherwise we break the centerpieces by connecting it like this .
And once again , we have a range of motion that we simply need to take this edge piece that we've built out of .
And so we have all these convenient little unused edge pieces on the right and on the left that we can actually replace this built edge with .
So here's what I mean by that , once we found two cubs and we put them opposite and flip to each other , we connect them and then we can move them either to the right or to the left .
I prefer going to the right , but it doesn't really matter .
And once we've moved it to the right , you can see that it's right here and we can simply replace this with either of these three garbage edges .
So say this edge that's completely broken and useless .
Anyways , we can just place that in here then reverse what we just did .
So bring this right back up and then reconnect these centers .
And so what that does is it replaces our edge that we built with some rubbish edge that we can then break to make sure that the edge that we wanted to build remains .
OK ?
And let me show you another example .
So let's take this white green and this white green .
So that's step one .
We found our qvs .
Now we want to align them , flipped and opposite to each other like so white green , white green , then we connect them together and I'll show you moving to the left this time it doesn't really matter right or left .
So if we move it to the left , we have all three of these edge pieces to work with .
So here's our white green that we found and then we can just replace it with this edge piece here like so OK , or we can replace it with that edge piece there .
It doesn't matter as long as this edge piece right here , this white and green edge piece gets moved out of the way and replaced by something else , we can easily reverse our steps .
And then now that our edge piece is out of this range of motion , we can go ahead and reverse it , reconnect all of our centerpieces and have our white green edge complete .
Uh Here's another example .
So we have orange and white and its counterpart over here , orange and white .
So if I do this , they'll be perpendicular and flip to each other .
So the way to fix that is to move this edge out of the way , turn the top ones and lift it right back up and they're flipped and opposite to each other .
For a more detailed explanation of sort of how you can think through these again , you can hit the help button .
All right .
So we connect them together , we move them out of the way and we can replace it with this garbage .
As you can see , we can't replace it with this because this is an edge piece that we've already built before .
So you wanna be careful with what you replace it with .
You wanna always replace it with garbage that's pretty useless to us at the moment .
OK ?
So we replace it with this reverse this reconnect .
And now we've built our third white edge piece .
So we have one final one left , which is this white red and its counterpart is over here , the white red counterpart .
So this white is up top and this red is here .
So if we give this a turn and lift this up , these will be on opposite sides to each other , then we can connect them and then either on the right or left side , we can move this and replace it with garbage .
So let's move this to the right in this , in this example , replace it with this garbage .
Lift it right back up and then reconnect the centers .
And now we've effectively completed all four of our white edge pieces and we can move , move on to the non yellow edges , which is step two .
So the first line yellow edge I'm gonna do is gonna be this green orange and you'll notice that I'm just going to keep repeating the same thing over and over again .
All I do is I line this little QB up with its counterpart , which is over here .
And yeah , as you can see , they're already on opposite sides but they're not flipped .
So I can just take this , move it up , move this over to the side and then bring this up and now they're on opposite and flip sides to each other , then I connect them , move them over to the right and replace them .
Not with this , this isn't garbage , but with this , this is garbage .
OK ?
And if you can't find anything on the right side , just flip it over to the left side and you should be able to find something there .
OK ?
So then we reverse what we just did and we've built our first green , orange edge .
So our first non yellow .
Uh now we can go on to say doing this blue red .
So I see blue red and blue red .
I can just move this out of the way , turn this once and bring this back up and there they are opposite and flipped .
So we connect , move it to the right or left , whichever you prefer .
I prefer the right and then we replace this edge piece with garbage and then raise that garbage up and break it up while reconnecting these centerpieces .
Uh So there's that edge piece done .
Now , we can go on to doing blue orange .
So we have blue orange here and blue orange here .
Conveniently , they're already placed opposite and flipped .
So that saves us a lot of work so we can connect them like so move them to the right , replace them with this garbage right here .
OK .
Lift that garbage right back up and break it up while rebuilding these centerpieces .
And now we have one final edge piece left that doesn't have any yellow on it , which is gonna be this red , green , whose counterpart is right here , red , green , red green .
So again , they're opposite but not flipped .
So we can move it over and see if we lift this up .
They're gonna be oppo , they're gonna be perpendicular and flipped , but that's not what we want .
So we want to move this over by one so that they're actually opposite and flipped .
OK ?
Then we connect them , move this over to the right .
Replace it .
Not with this , not with this , not with this .
OK ?
So we've run out of stuff to replace it with on the right , which is understandable because we're reaching almost the end of all of this edge building .
So we can move it over to the left , uh replace it , not with this , but with this .
So we have one final edge piece left .
OK ?
And we reverse our steps and now we've built everything that's non yellow and everything that's white .
And we've even managed to build one yellow edge by accident .
So we've actually already covered step .
This is where it gets a little bit tricky .
Make sure that if you don't have any yellow edges built , you actually do build it in the same exact way that I just showed you with all my other edges , sometimes you will have accidental edges built .
So if you have two accidental yellow edges built , you're going to have to break one of those up .
And if you want to see how to do that , you can hit the help button .
Otherwise , if you find yourself in a situation where you've built every single edge piece except for three , which is the goal here , then you're good to go .
Here we go for the final step of solving the edge pieces of the revenge .
So the trick to doing this is it's pretty much the same thing that , that we have been doing with a little bit of extra spice .
So uh let's find the counterpart to this blue yellow edge piece right here .
OK .
So here's the blue yellow and here's the blue yellow and to put them opposite and flipped , I will rotate this twice and lift it up .
OK ?
So we have our blue yellow here and we have our blue yellow here .
OK ?
So those are the two edges here and this is a standard procedure .
But before we go ahead and connect them like we usually do , we want to check what this is and this is yellow red .
So before we go ahead and connect these two together , we want to get a yellow red , either on the left or on the right side , that's in the same orientation as this .
So previously , everything we've been aligning has been flipped and opposite to each other .
But in this case , after completing this alignment of flipped and opposite , we want another one that's perpendicular and not flipped .
So let me show you what I mean by that .
Uh where's our red yellow ?
Here it is .
OK .
So if we just do this , it's gonna end up on the right side in the same orientation as this and you'll see why we're doing this in a minute .
But this is the easiest way to finish the last three edge pieces .
So we have our blue yellow here .
We have our blue yellow here .
OK .
Flipped and opposite .
And we have our red yellow , perpendicular and not flipped .
OK ?
So here's what we do .
We connect the yellow like we usually do and then we turn this in the direction in which this red yellow is .
So in my case , that's on the right .
If I put this on the left , I would turn this to the left .
OK ?
But in my case , I'm gonna turn it to the right .
So turn it to the side uh where this piece is .
And the reason for that is instead of replacing this with garbage some random stuff , we're gonna replace it with the garbage that contains this second edge piece that we found .
So this red yellow , OK ?
And then we again lift it back up and as you'll see when you begin to reverse the move , you'll see that this red yellow actually connects with itself .
So this red yellow connects with itself and this blue yellow we already built .
So that leaves the third one to build of its own accord .
And we have now successfully built all of the edge pieces on the four by four , Rubik's revenge .
And that's it .
You're pretty much all set with solving the four by four , Ruby's revenge .
From this point on what you need to do is solve it just like a three by three Rubik cube .
If you want to see me do that , you can click on this cube here and I'll show you how using my strategies that I explained in my original video on how to solve the three by three , how I sort of visualize this just like a three by three and solve it using those algorithms .
All right .
So if your cube doesn't currently look like this with all the first three layers solved , uh give this video a pause and come back when you actually get to this state .
Once again , if you need some help , you can click on the cube here on the annotation that's around the cube .
And I'll show you how to sort of visualize this as a three by three .
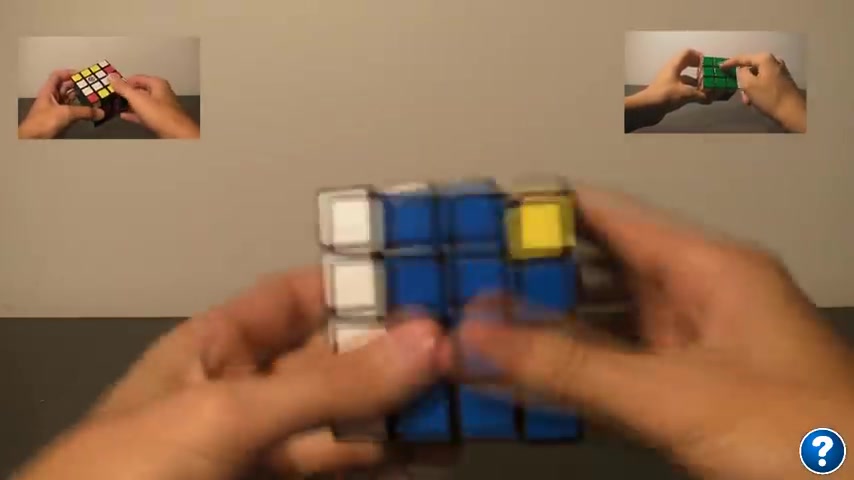
However , if you are at this stage , we can go ahead and move on to the bottom layer .
And what you might notice when you flip the cube over is that there might be some unconventional form of the cross .
You know , normally we expect there to be a dot or an L shape or a line or a cross .
You know , those are the four expectations that we have , but we never expect a T shape or maybe just an eye shape , you know , only one of them done or all , but one of them done .
And if you see this , that's a mistake , uh otherwise known as a parody , OK .
It's called a parody on a four by four cube .
And it never happens on a three by three cube .
And it's exclusive to this for the same reasons that we can move around the centers and stuff .
Uh We can also flip over the edges on the four by four because it has no solid placed centers .
And so that makes this a little bit of a challenge .
Luckily , there's an easy way , well , not an easy way but a manageable way to solve this parody .
And I'm gonna show it to you now .
So there are a lot of formulas for this and I'm gonna give you a couple of formulas , one for regular solving and one for speed solving down in the description .
This what I'm gonna show you here is the intuitive method .
And if you want a slower walkthrough through this , hit that help button right there and I'll walk you through it slowly .
But the idea is we're gonna use the left , the right side and the left side , these little middle wedges and we're gonna keep uh moving them around and then we're gonna spin the front face and the top face and we're gonna try and do this algorithm .
So I'm gonna do this in the style of my original three by three tutorial where I just go through the algorithm kind of dictating what it's gonna look like .
But if you want um a couple of mnemonics and how you can actually memorize this easily , you can hit that help button , but this is just gonna be a quick run through .
So what we do is we bring down the right spin the top twice , bring down the left , spin the front twice , bring up the left , spin the front place .
OK ?
Then we bring up the right twice .
OK ?
Just the right wedge twice .
And we spin the top twice , bring up the rate once , spin the top twice , bring down the right once , spin the top twice , then we turn the front twice , spinner right twice and then turn the front twice .
And as you can see what that does is that completes our cross .
So that's sort of the way we do it .
And if , if you want just straight up formulas , I have them down in the description or if you want me to explain this memo method again , hit that hell button .
All right .
So moving on to the corners .
Now , once we've built and aligned our cross , sometimes we can see this second parody where we have two corners that are correctly placed , but the other two are incorrectly placed .
Now , remember that on the regular cube , there can only be one or all of them placed correctly , there can never be two .
And if you have two , that's another parody .
And here's the second formula on how to solve this parody .
This one is actually a lot easier to remember .
But again , you can hit that help button if that's gonna help you out .
So what we do is we move the right wedge twice , then we move the top twice , then we move the right wedge twice .
Then we move the entire the , the double top , I guess both of the top layers twice .
Then we move the right twice and we move the middle top slice twice like that .
OK .
And that messes up our cross .
But once we rebuild this cross , uh we'll notice that our corners are correctly placed .
So let me just finish that off right now .
So what I decided to do here is just fast forward through me completing the final steps of the four by four cube .
What I'm doing is I'm applying the three by three algorithms that I taught in my original tutorial , which is linked on the top , right ?
And I'm applying these algorithms to the four by four cube .
If you want to see a more detailed instruction on how to do this , you can click the link at the top left or if you already figured out using my algorithms or your algorithms how to solve this final layer .
Once you've figured out all the varies .
You can just hit that big skip button on the bottom left and that's just going to bring you to the end of the video with the fully solved cube .
All right .
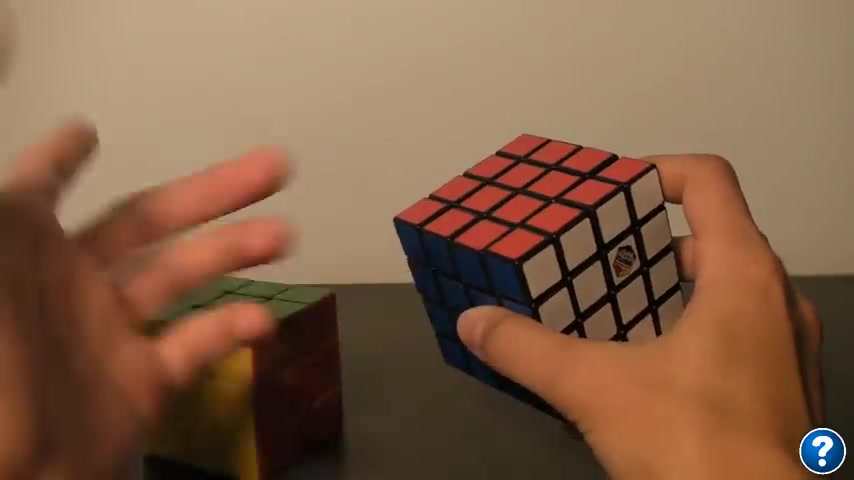
So hopefully you are now the proud holder of a fully completed four by four , Rubik's revenge .
Hopefully , the tutorial was not too confusing , but if I did miss anything , be sure to leave me a comment or leave me a video response explaining what your specific case is .
Otherwise , if you completely solved this cube , send me a picture , send me a video of you holding the cube .
I don't know , give me some advice on some of the stuff I could have explained better or some of the stuff I should have gone more slowly on .
Let me know if this sort of style of videos where I sort of give a really fast crash course and then do in depth videos is helpful .
Or if I just should do a whole long 40 minute video explaining in depth how to solve these puzzles .
Because I think the next thing I'm going to go for is the five by five professor's cube .
And this one is going to be , you know , quite a challenge , especially to those who haven't had any experience with it .
And I want to make sure that the tutorial is actually good .
So I appreciate all the sort of feedback you guys can give me also a lot of you have been asking me to cover the F two L and furnish methods for the three by three .
So be on the lookout for those .
But other than that , I hope you enjoyed solving your four by four , Ruby's revenge and I'll see you guys next time .
Thanks for watching .
Are you looking for a way to reach a wider audience and get more views on your videos?
Our innovative video to text transcribing service can help you do just that.
We provide accurate transcriptions of your videos along with visual content that will help you attract new viewers and keep them engaged. Plus, our data analytics and ad campaign tools can help you monetize your content and maximize your revenue.
Let's partner up and take your video content to the next level!
Contact us today to learn more.