https://www.youtube.com/watch?v=CTiPVR6szCA
How to Move Windows 10 from HDD to SSD - Quick Tutorial 2023

This is Jim Tour on the channel today .
I'm going to show you how to move a Windows 10 installation from a regular hard drive to a solid state drive quickly .
Well , here it is the new hard drive I shall install .
And I chosen the size of two terabyte to replace the drive I already have .
So we have this little rack from our computer and it's a little bit big .
Fortunately , we have this little metal thing here which we can put inside the bigger rack and put it in this little tray here .
And now we're ready to insert it , power off and unplug your computer here on the motherboard .
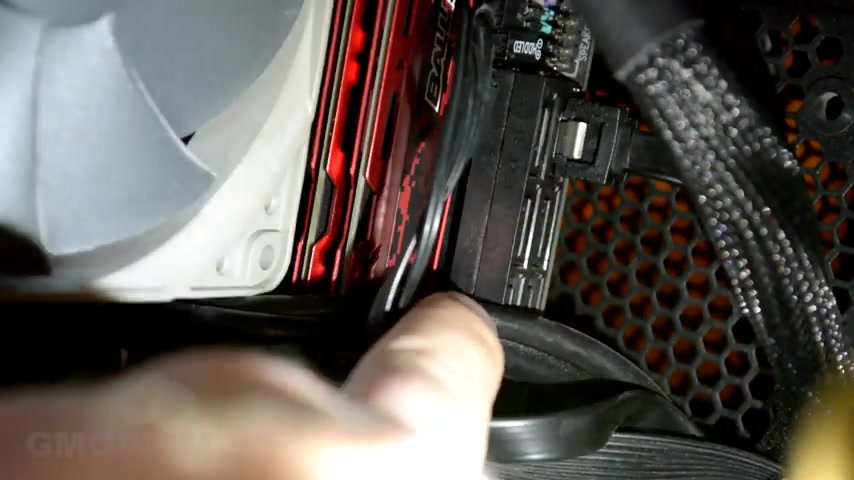
You can see this , this is a sata connector or serial A T A .
Now , this is the data connector uh We will be using for this drive .
It might be different if you bought an M two drive , which you'll need to insert it in the M two slot .
But this is a serial A drive .
And here on the theta express , it's uh different types of speeds .
Set express is one of the quicker ones .
We have Setta three , which is six gigabit per second .
That is also something you want to use if you have a serial , a one which this cable goes to , which is obstructed here and it goes to my DVD writer and it's serial 81 .
And that is a bit slow for like modern hard drives .
So make sure it's a serial , a three set express or one of the quicker ones , insert a little cable there just like that .
All right .
And now we see the hardware cabinet here , we can drag out this .
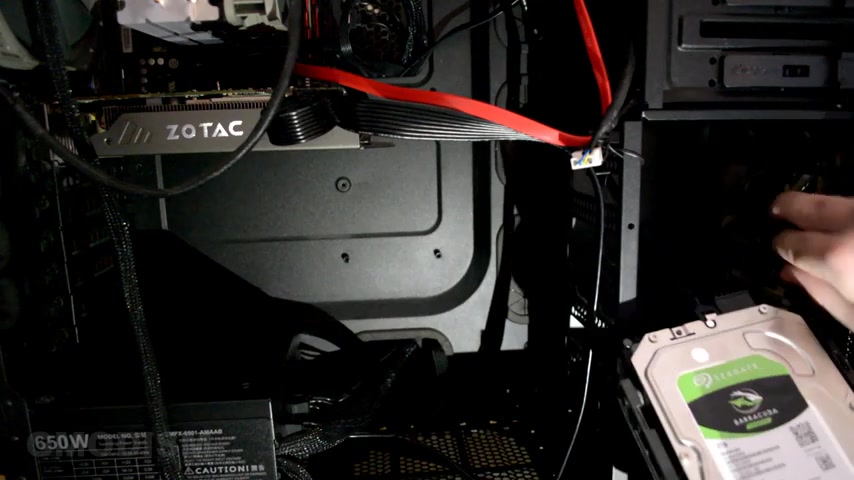
This is my current uh little , all right .
You can see it like right there .
It's connected with power and a serial data cable .
Let's put this back in securely , expose the serial data cable we connected and the power , we bring the new hard drive and connect them up .
Now we can insert this one securely and there the SST is installed in the system .
We can now begin to migrate our entire system .
So let's close this computer up and turn it on in this little manual here .
You can see some basic instructions for M 0.2 SSD installation .
If that is the type you got , if you're doing this on a laptop , you can see that you'll need a little adapter to connect the hard drive to be able to migrate the system to it .
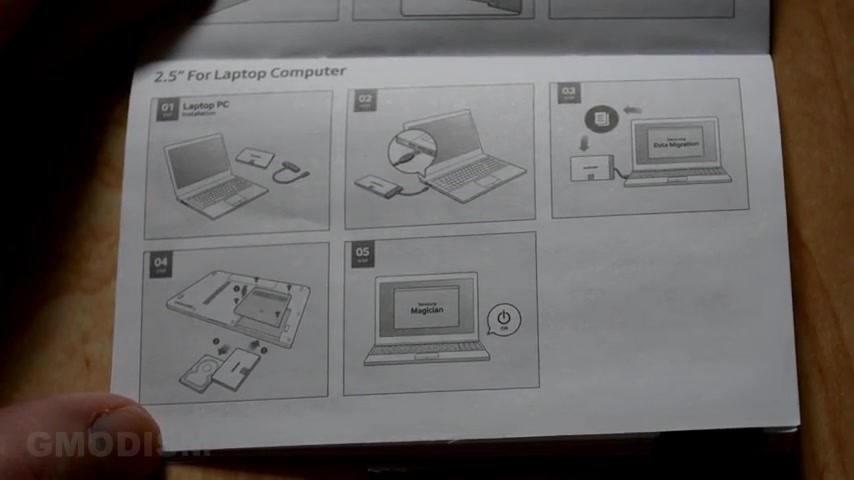
Since you can't usually have two hard drives installed at the same time in a laptop .
However , some laptops have that ability .
So open it up and check that yourself .
When we started the computer , we can first check if the drive even exists now .
Right , click your windows and select control panel or find it by search in control panel , you just search for disk and here you can see , create and former hardware disk partitions launch that .
Here .
We can see we have the disc one , which is this one here , unallocated .
This is the SSD and it's connected and working before cloning over the drive .
There are some things we want to do to prepare .
One of these things is simply get rid of a lot of unnecessary files .
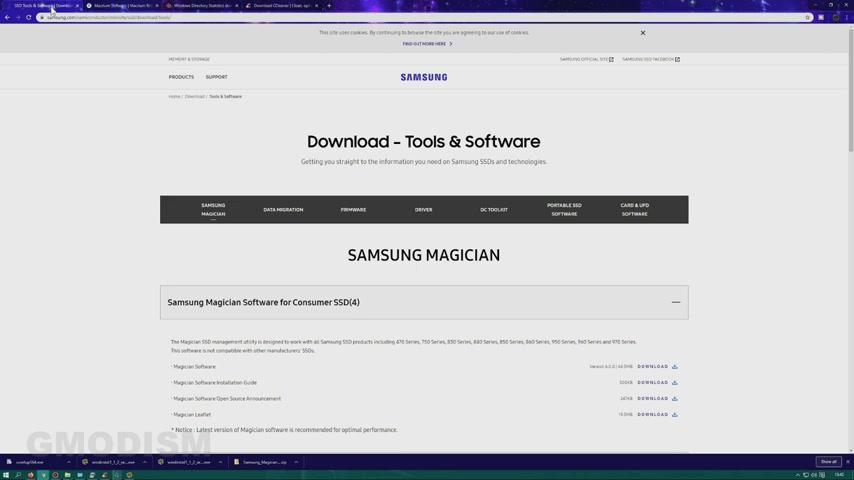
SSD drives may have newer firmware upgrades and this might improve the performance .
So go to your manufacturer and see if they can provide you to uh download links for new firmware .
Basically , I'm going to use the utility tool , Samsung magician to install the new firmware .
Then we also have the Macri software .
We are going to use Mac Room reflect seven free .
Now just go to the links in the description and you find this software here .
You can see this here reflect free or when we are on this page , we can select home use here .
You're requested to provide your email .
This is not necessary .
Click continue , let it download and install this software just like that and we click download here .
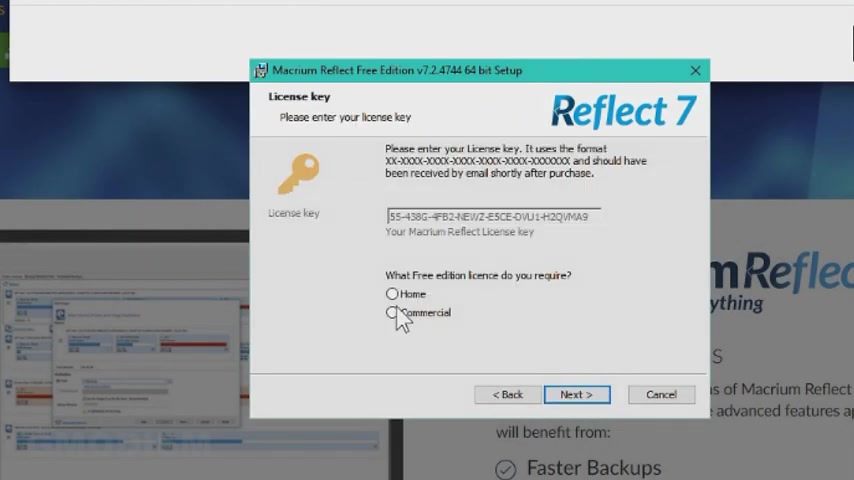
You click next , accept the terms and next , then you select the home version and next want to register for this and you click next desktop shortcut is something I want .
Yes and just click install .
Uh Samsung Magician is installed .
And what you can do is you can go to uh drive details and in the drive details , you find your drive .
Here , here is my Samsung Evo .
And here we can select update firmware .
It's just basically clicking .
OK .
But it will restart the computer when you do that .
So do that later , go to administrative tools and then you see the fragment and optimized drives .
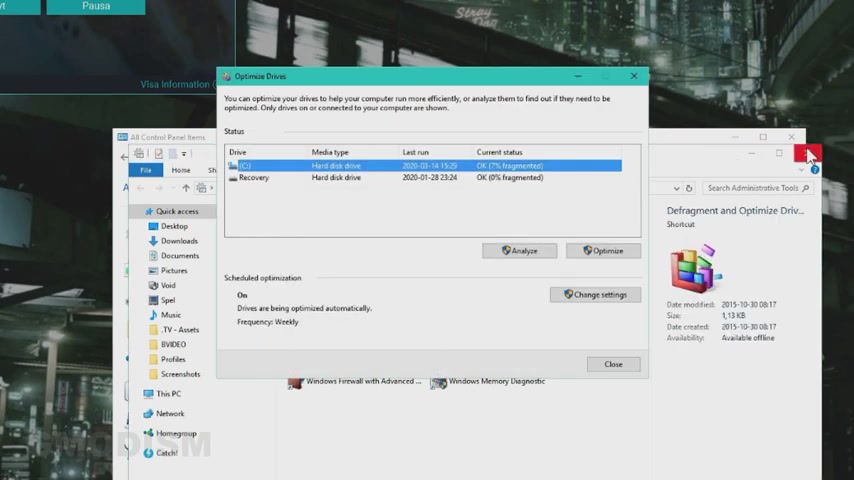
Now , if you run a drive like me , a hard drive HTD spinning disk , it will , it will be fragmented and to defrag it , you go into here and you click optimize and doing this will make it run a little smoother and it's also precaution .
So nothing goes wrong .
So I really would def fragment a drive before copying it over .
All right , the fragment is done and all scans are run complete .
Fantastic .
So now I will update the firmware .
If you don't need to update any firmware , you might as well restart the computer anyways to make sure that all the deleted files are really deleted anyways I update is firmer .
Restart the computer and then we will begin migrating to drive to DS SD .
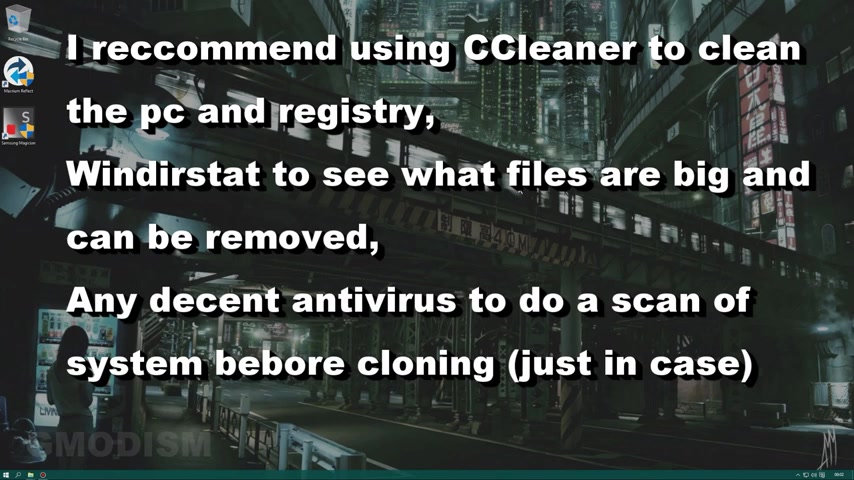
Computer has been scanned .
Computer has been cleaned of unnecessary files and the computer has been de fragmented .
Now , we are ready to clone the disk using macro reflect seven free edition .
But first to make sure nothing changes during the process , it's best to disconnect the internet .
So turn off your wifi or unplug the computer's internet .
Internet is now disconnected as you can see in the lower right corner .
Ok .
Make sure that all programs are turned off when you're doing the imaging process and don't work on your computer .
Just leave it be and do nothing with internet disconnected and we can start Mack Room Reflect seven .
Here you see the driver and here you see the driver you want to copy too .
So what we do is we click clone this disk .
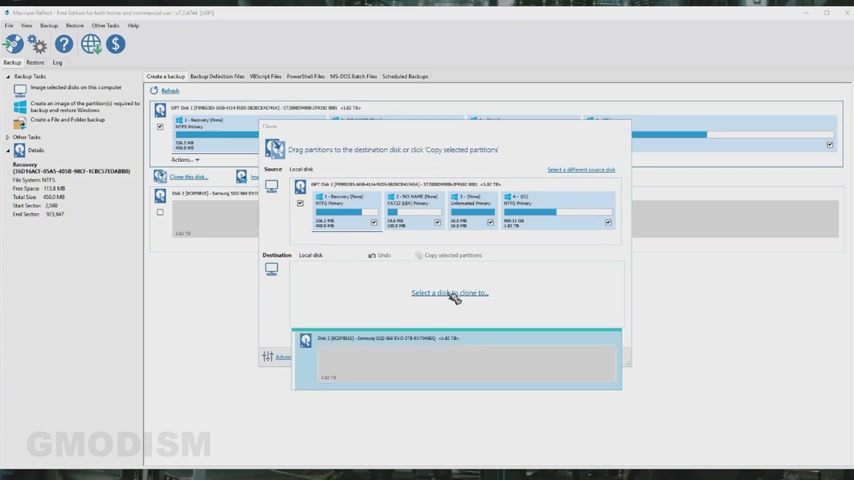
Now , select a disk to clone to and make sure you select the right disk .
Now , what you want to do is you want to drag down all of these done .
We can uh click on clone partition properties and here we see our primary drive here .
And uh what we can do here is we can increase and decrease the size .
If your drive , your coping two is much larger , you can make this larger or smaller when copying to an SSD .
The life span of the SSD will be longer if you do something that's called over provisioning , that means leaving some of the space unallocated , just not formatted and just leave it be nothing on that part .
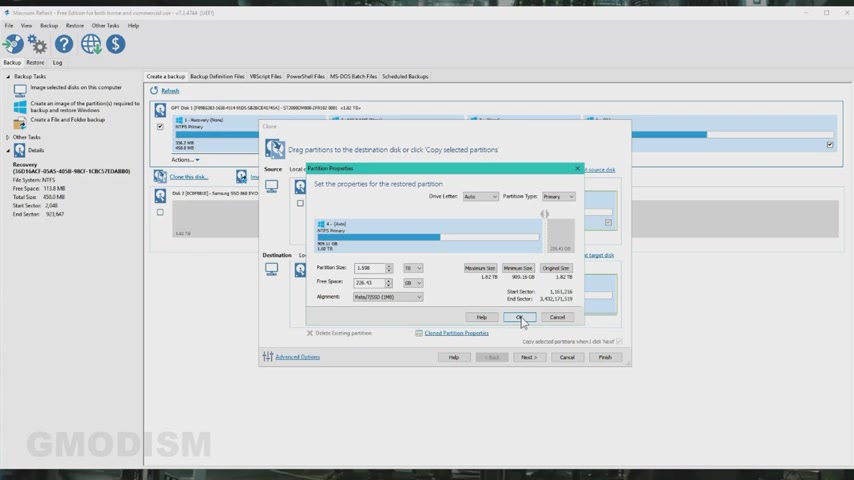
And uh the amount that you want to leave on all located is about 10 to 20% .
So we will go and select something around 200 gigabytes of an allocated space .
Then you will click .
OK ?
And now we can click next , we click next and here we can see the operation , copy two partition and we copy over all these parts .
We need to copy over all the parts to make sure it's a clone .
If we do not copy over a part and you don't know what it's doing , something may stop working .
That's why we just copy over all the parts and done .
We'll click , finish it .
Now asks us if we want to make a save of these options , we just selected .
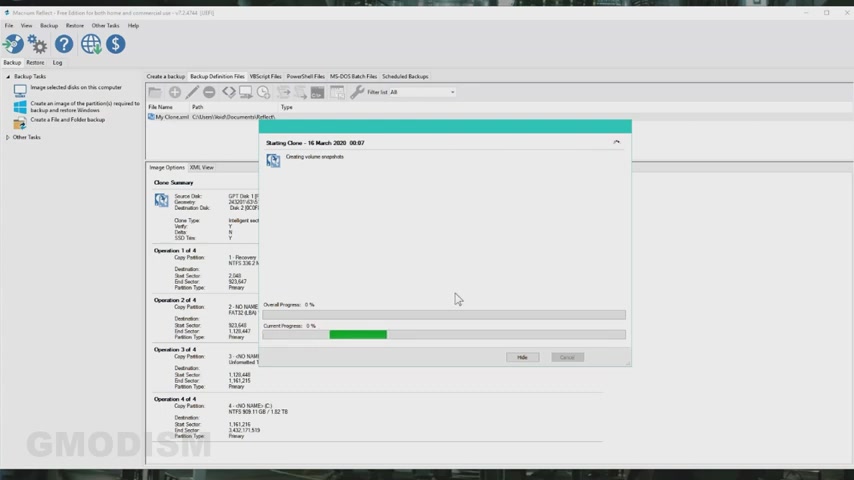
Now , it will start to clone the system .
If you're asked to confirm this override of the data to be overwritten , make sure you've selected the right drive and click .
Continue .
Now just let it copy over and leave it be , we turn off our computer and well , we open it up because now it's time to switch the drives , the easiest and best way to do this is to take the old drive disconnect its the cable , the data cable and the power cable .
Then you take the new drive , drag it out and uh you switch the old Setta cable and then you instead connect in the Setta cable of the drive , you're replacing .
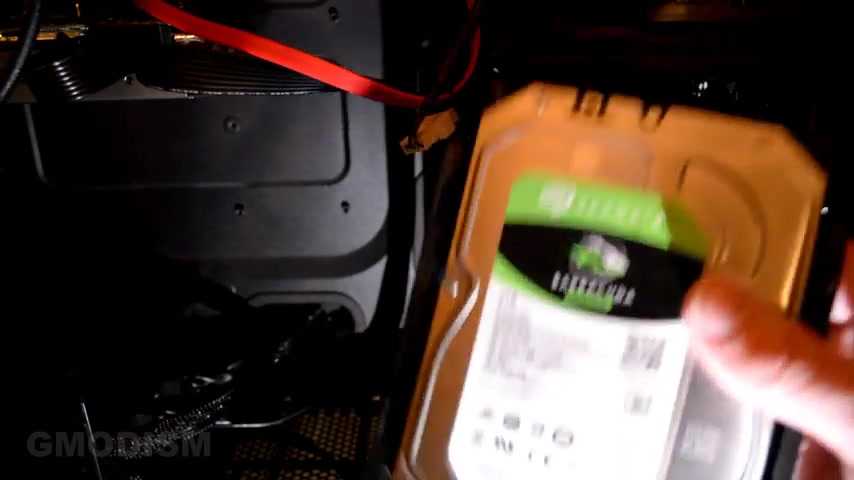
Now this drive , we just replaced , we need to lay it to rest .
Because if we have any type of issues with our new drive , we want the old drive to be available to us if we need to use it .
If the new drive is working or fails because of this , I will let my drive lay unused for about a month before I write it over .
Now , let's try and start a computer .
You don't always have to do this , but you might need to set the boot menu to set up the boot menu .
You will need to get into Bio , which you can do by delete .
You can also go into the boot menu directly if you have that option .
But I'm just going to bio buy some features or anything else that seems relevant and you will find boot option under your boot options .
You want to set the boot option , one to Windows boot manager .
So windows boot manager should be the first boot option .

Then we can just click save and exit , save and exit , set up .
We cannot let the computer boot and there we have it .
Computer successfully gets into Windows .
Well , I hope that this tutorial has been very useful for you to clone over your system to a new drive .
If you like this video , please leave a like if you really want to help the channel , you can donate .
In any case , I'll see you in future videos .
This is Jim Total .
No channel signing out .
Are you looking for a way to reach a wider audience and get more views on your videos?
Our innovative video to text transcribing service can help you do just that.
We provide accurate transcriptions of your videos along with visual content that will help you attract new viewers and keep them engaged. Plus, our data analytics and ad campaign tools can help you monetize your content and maximize your revenue.
Let's partner up and take your video content to the next level!
Contact us today to learn more.